App Installation & Overview
Intro
Welcome to the Testing Your First Application course! Over the next few lessons, you will install Cypress, write your first end-to-end tests, and pick up some best practices along the way. By the end, you will be comfortable testing a real application from start to finish.
info
This content assumes you know the basics of HTML, CSS, and JavaScript/TypeScript. You do not need any prior experience with Cypress. We will teach you everything you need to know.
Getting the course application
Throughout this course you will be writing tests against a sample application, so the first step is to get a copy of it onto your computer. There are two ways to do this, so pick whichever you are most comfortable with.
Cloning with Git
If you already have Git installed, the quickest option is to clone the repo by running this command in your terminal:
git clone https://github.com/cypress-io/cypress-realworld-testing-course-app.git
Downloading a zip file
If you are not familiar with Git or don't have it installed, you can download a zip file of the repo.
tip
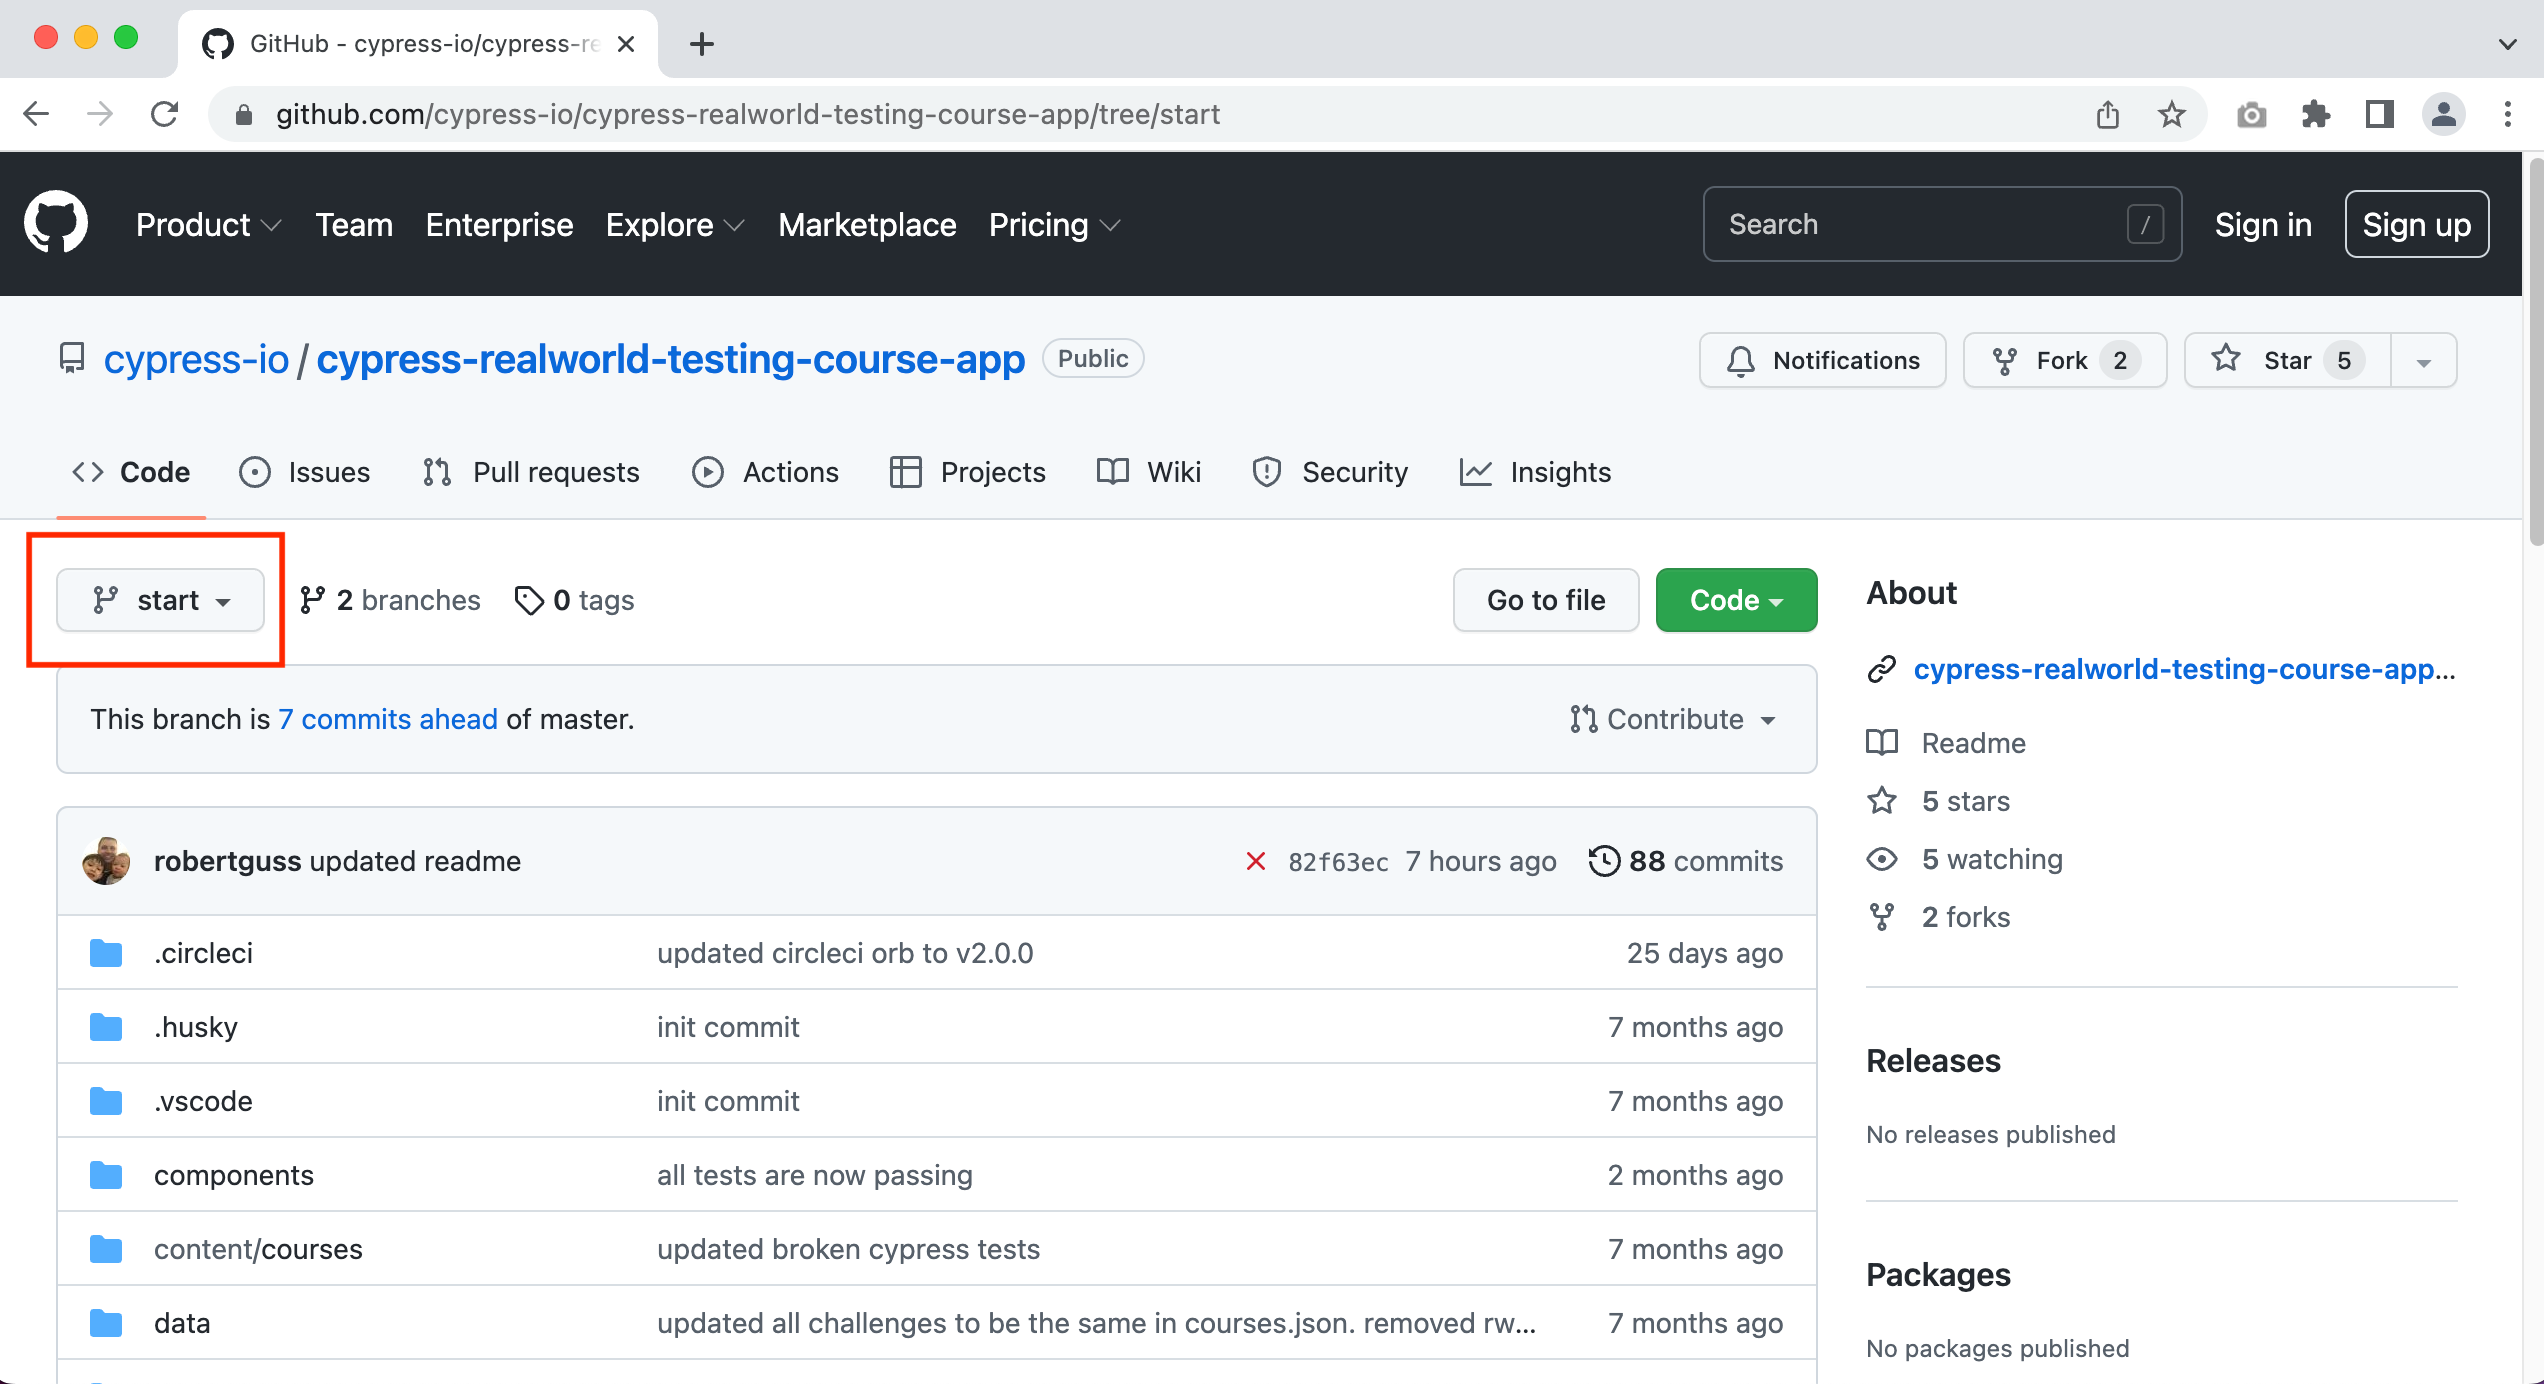
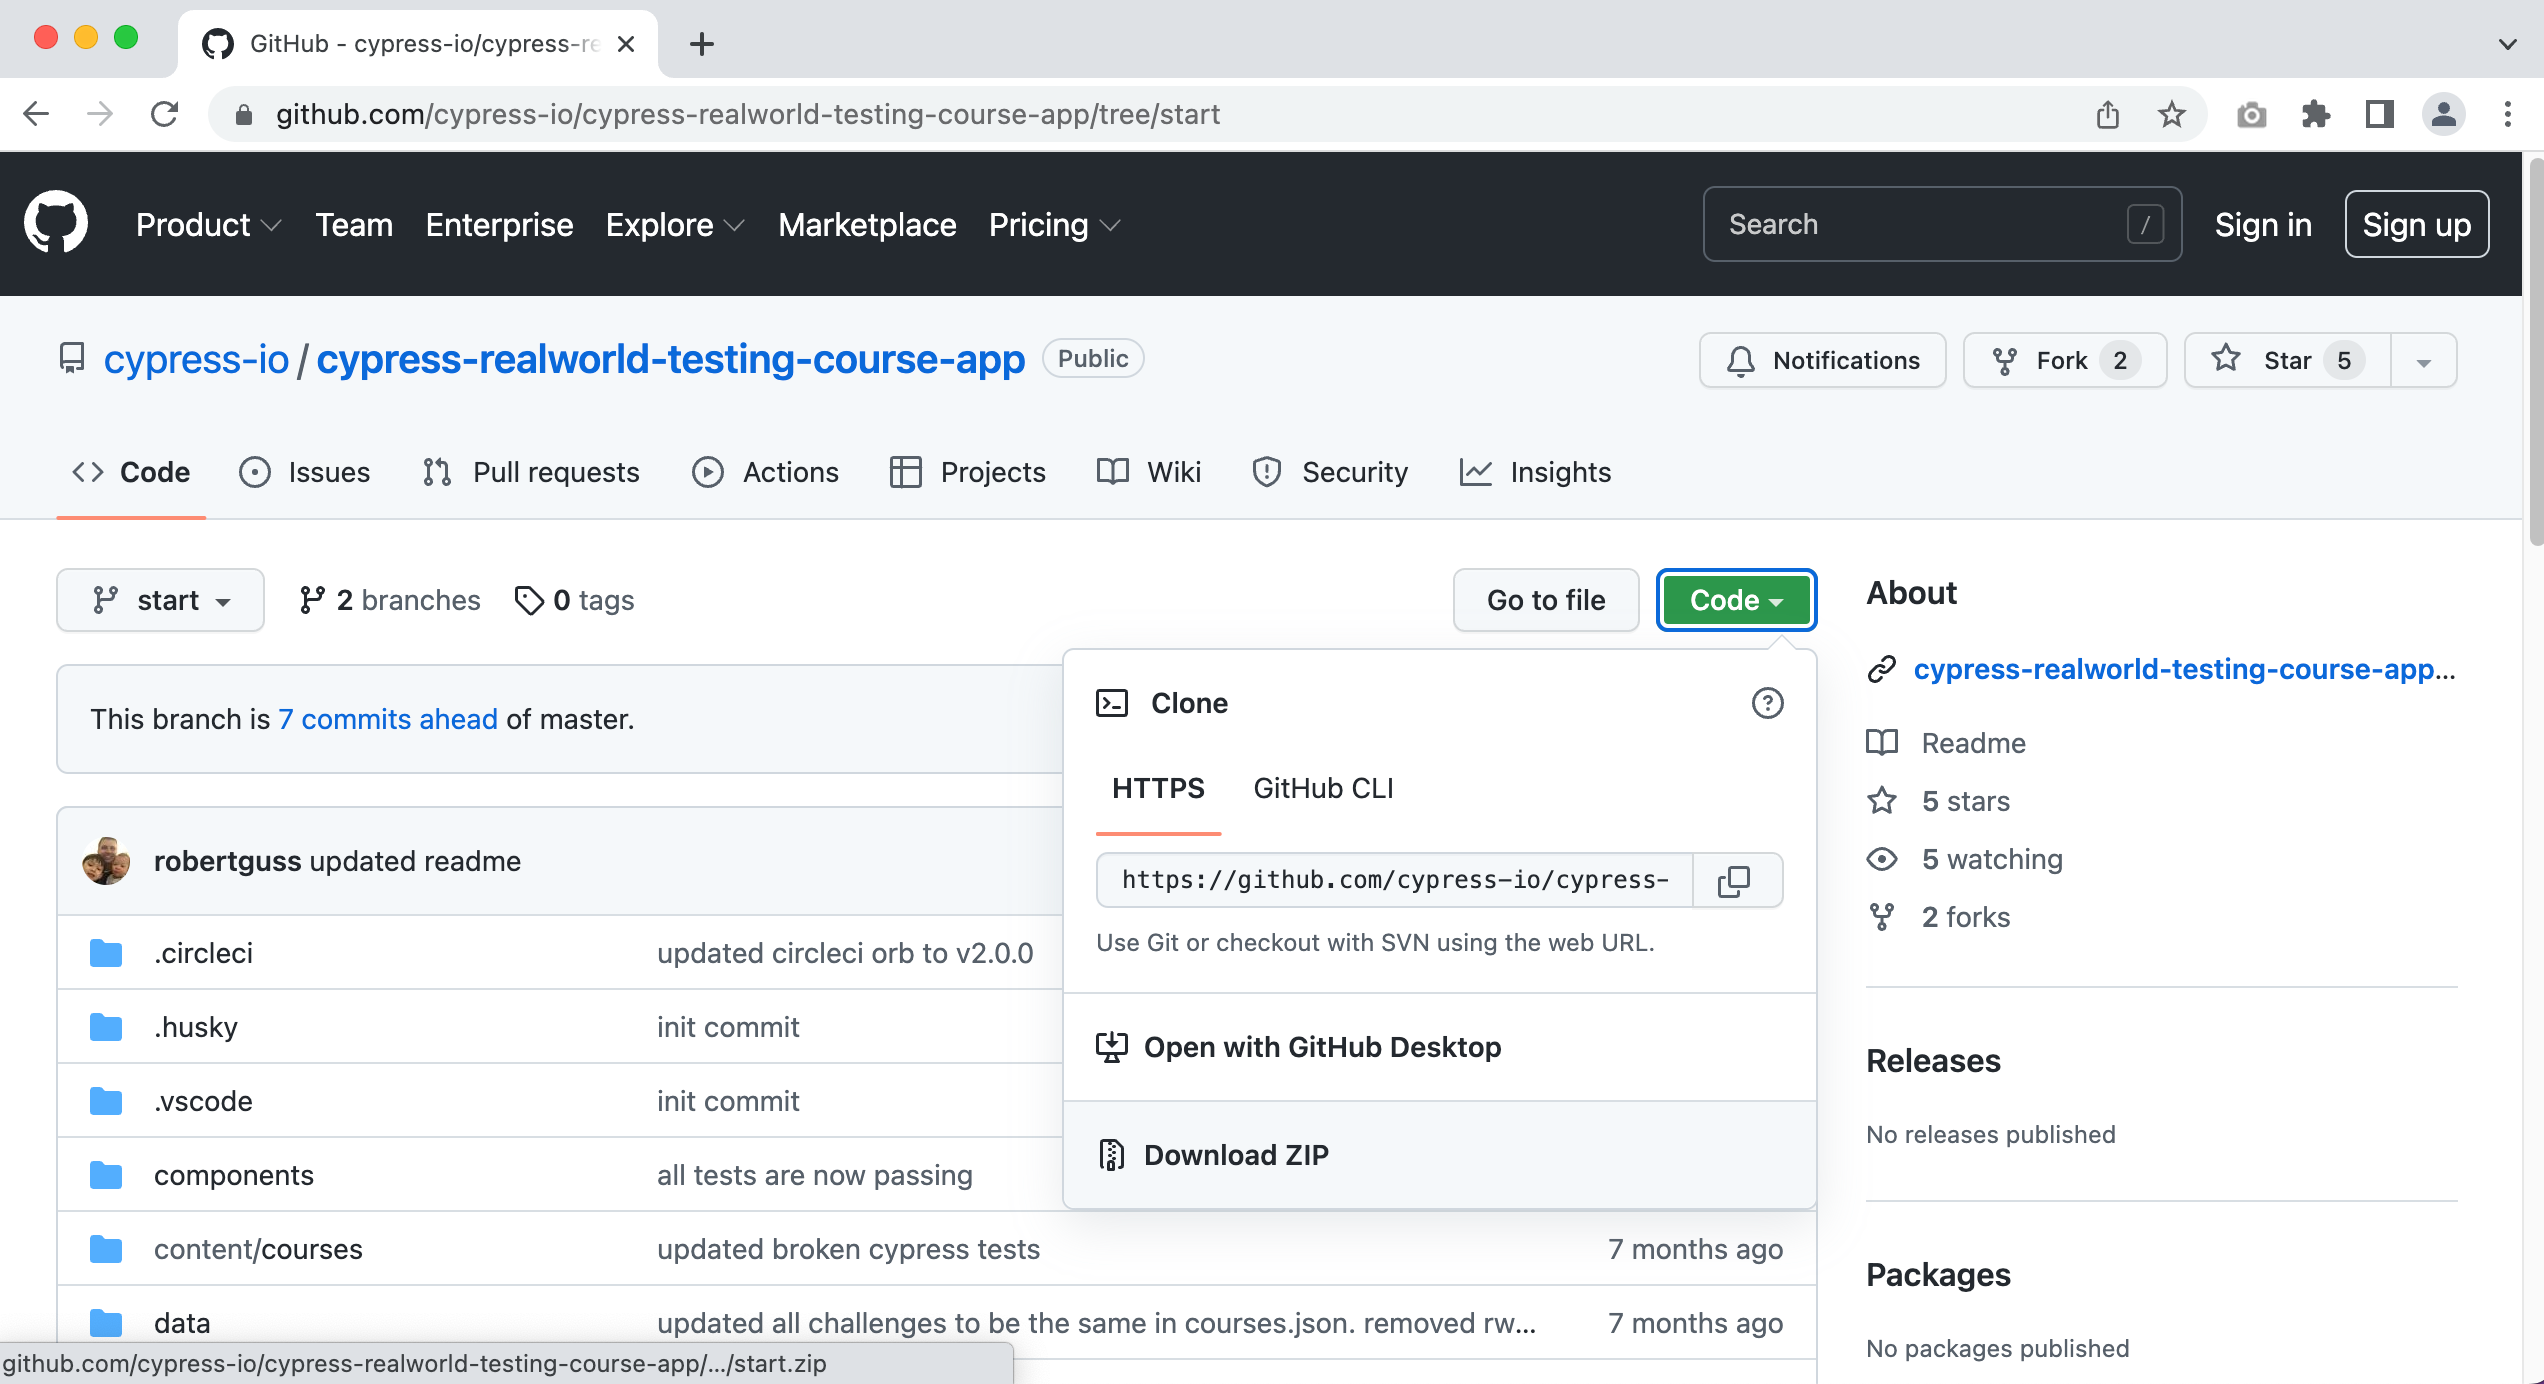
You can click on the images to enlarge them.
Click the green “Code” button, then click “Download ZIP.” This downloads a zip file of the repo onto your computer, which you will then need to unzip.
Installing Node.js
Whether you cloned the repo or downloaded the zip file, you will need Node.js installed before you can run the application. If you don't already have it, download and install it now.
Make sure you choose the LTS (Long Term Support) version of Node rather than the “Current” version. The course app is updated regularly to support the latest LTS versions only.
VSCode
With Node installed, you will also need a text editor to open the project. This course uses VSCode. You are welcome to use any editor you like.
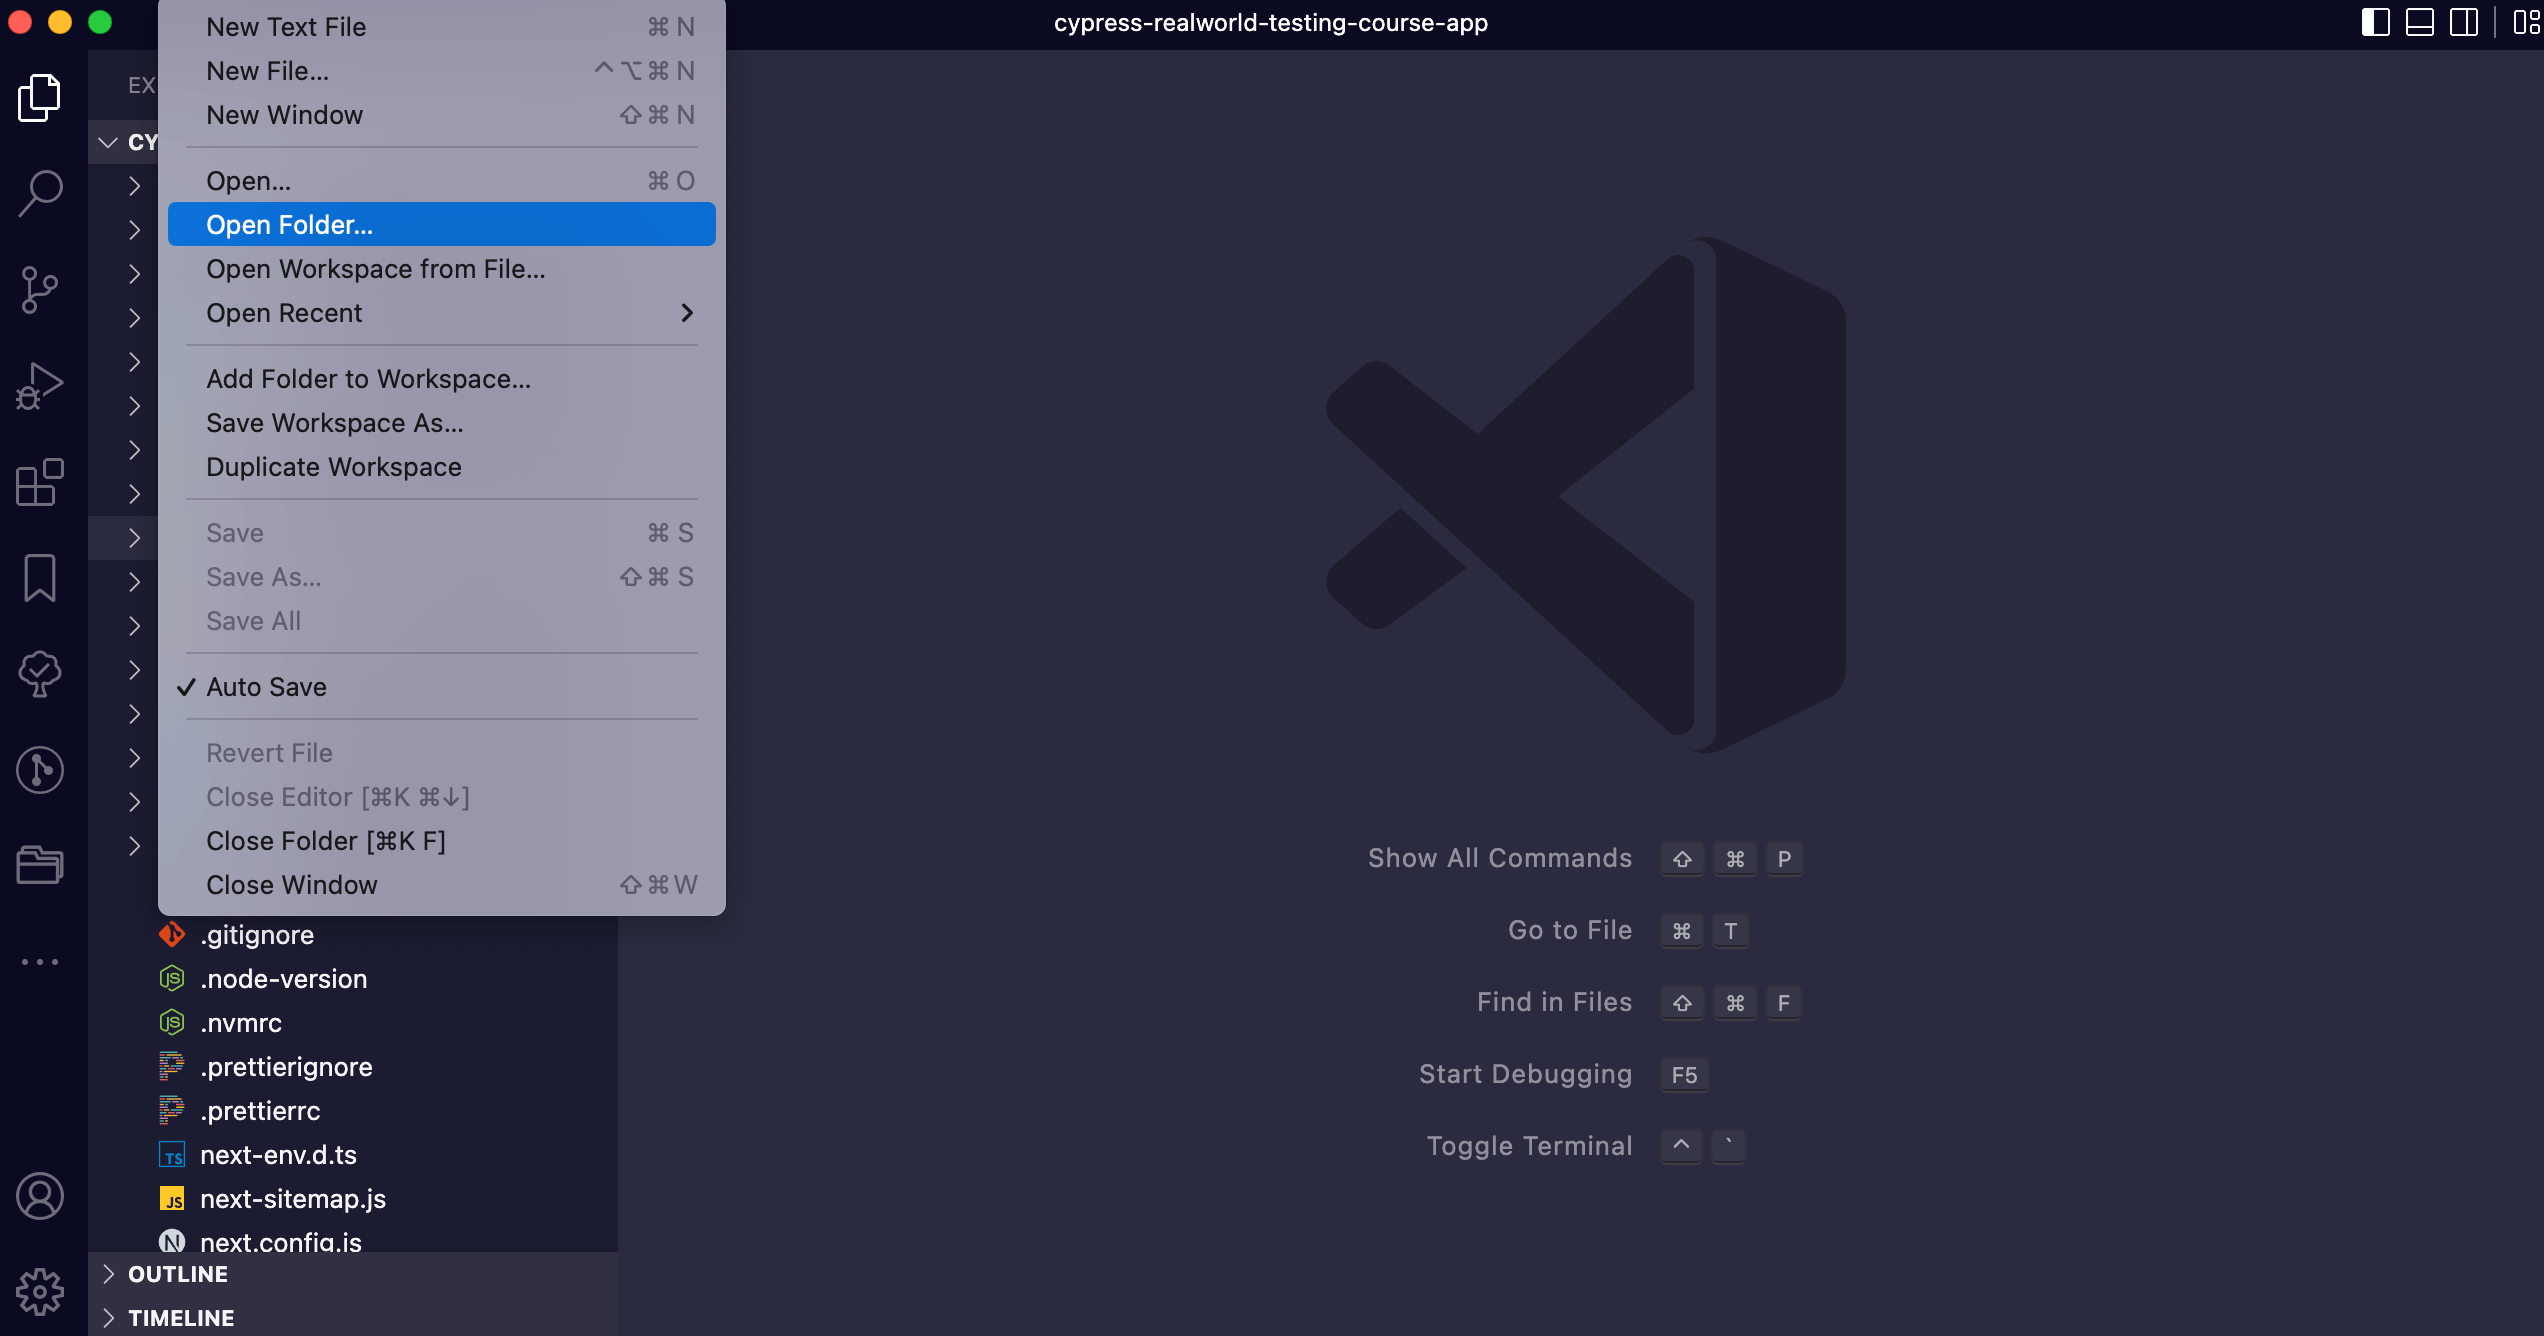
In VSCode, open the project via File > Open Folder and select the course app folder.
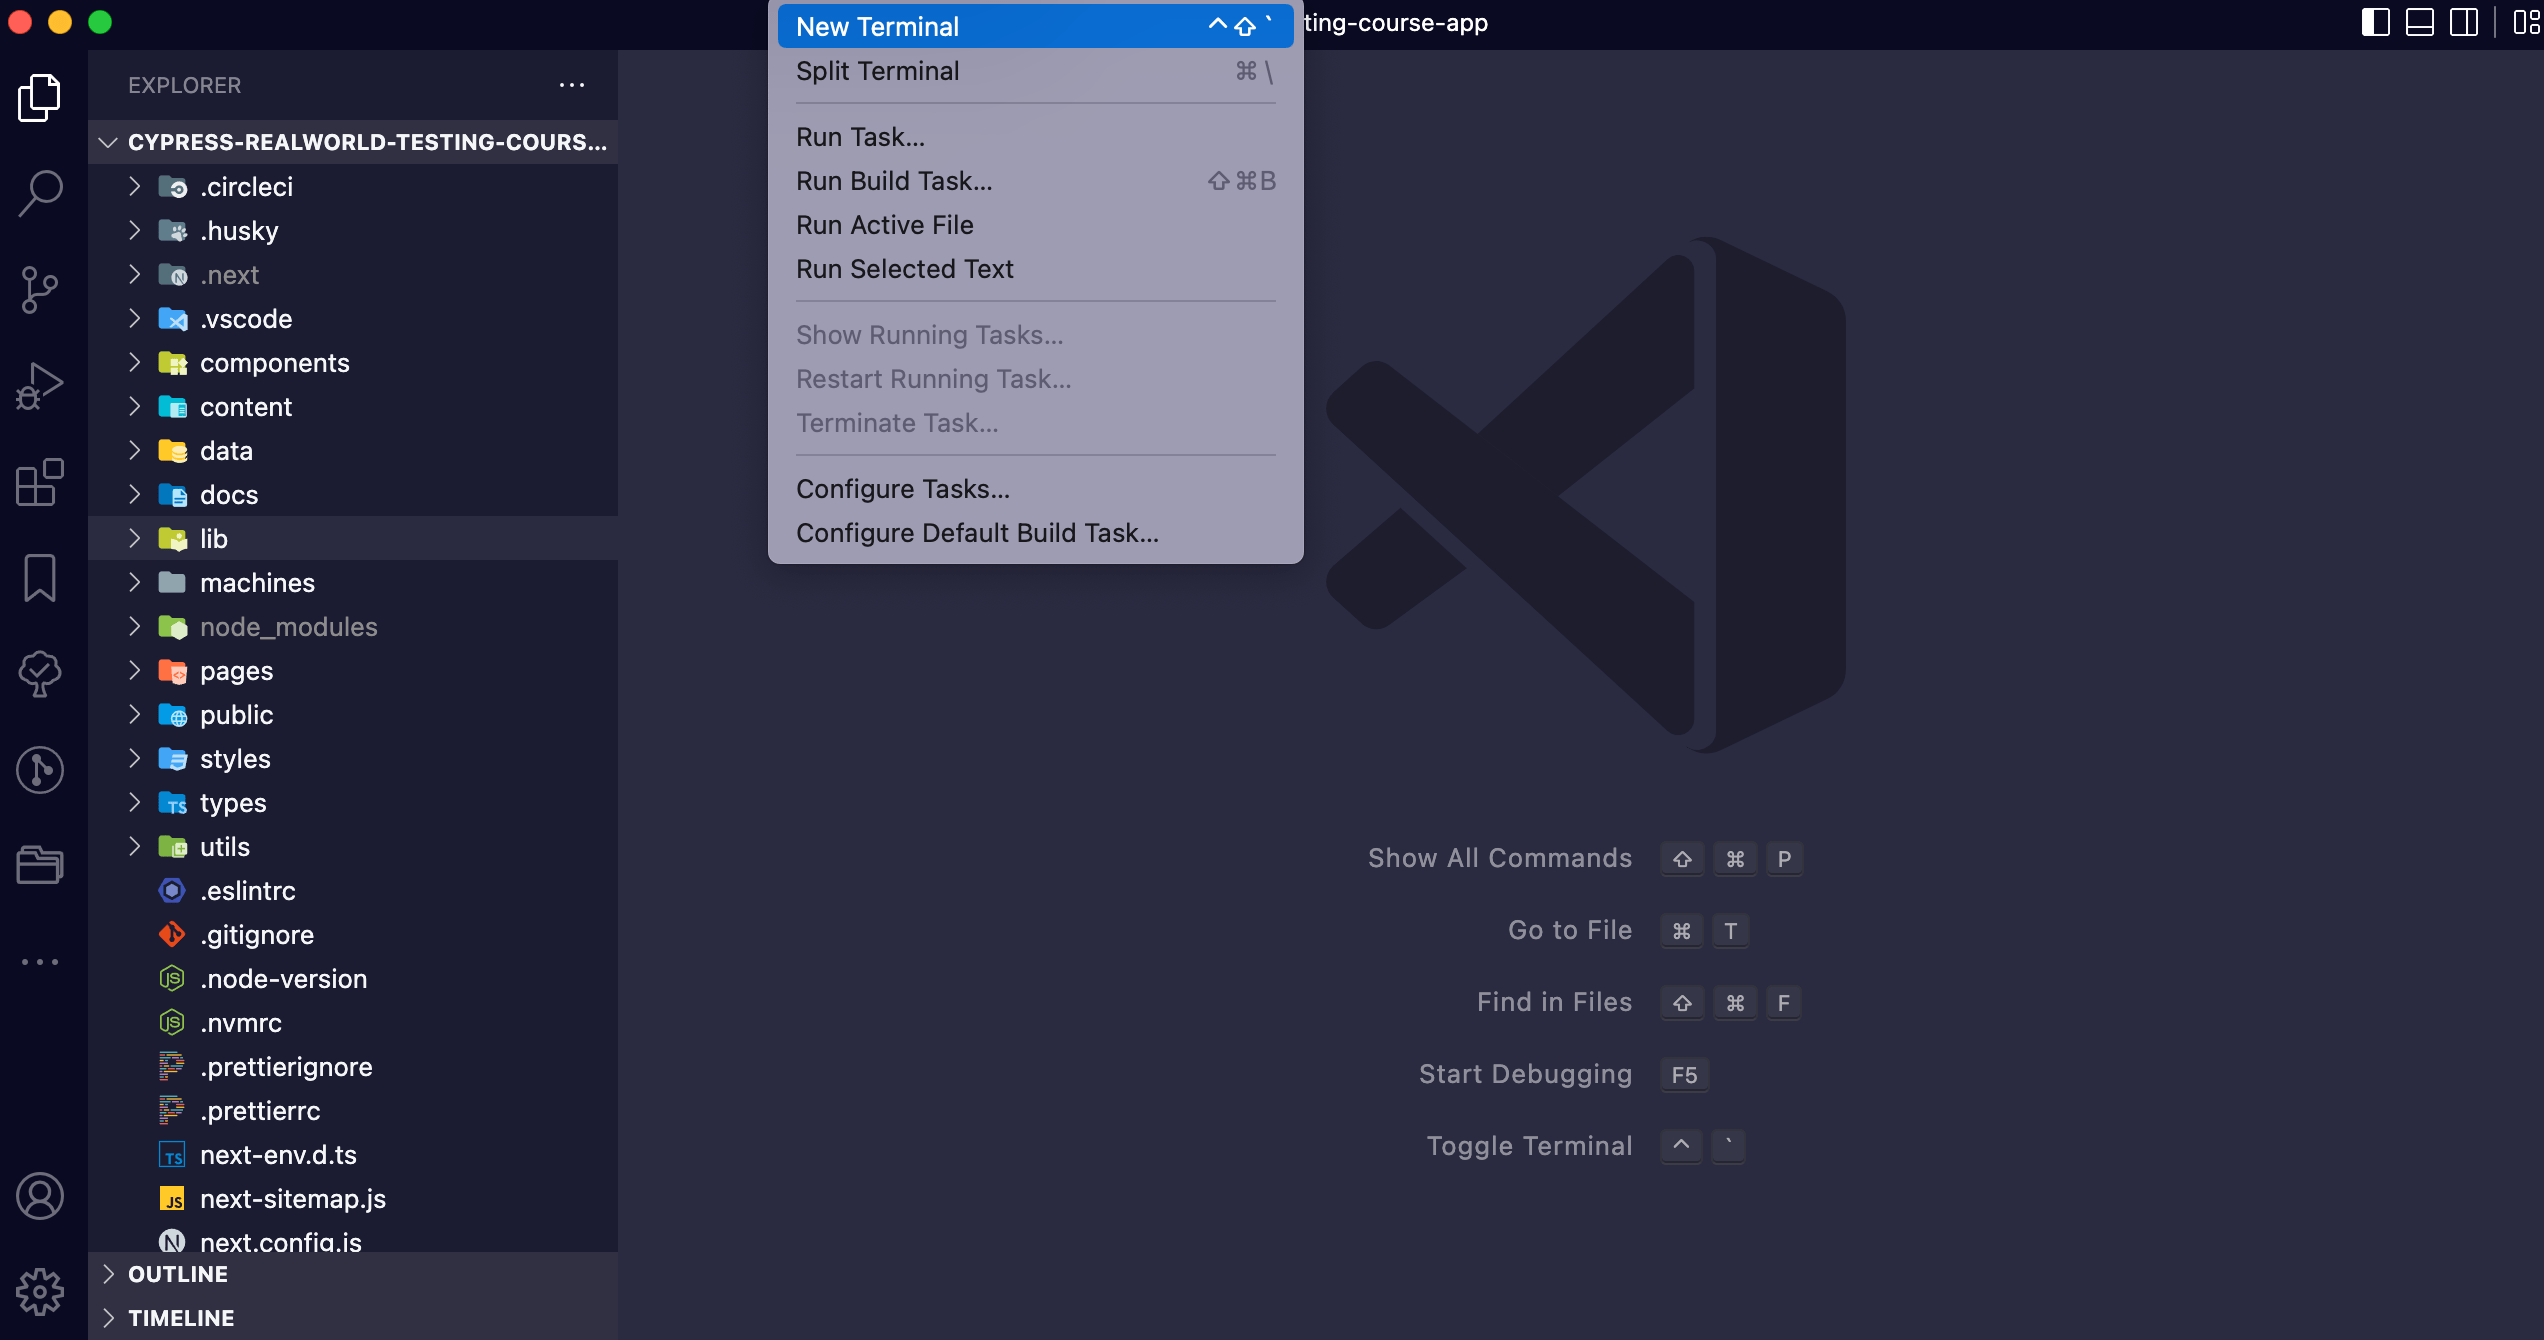
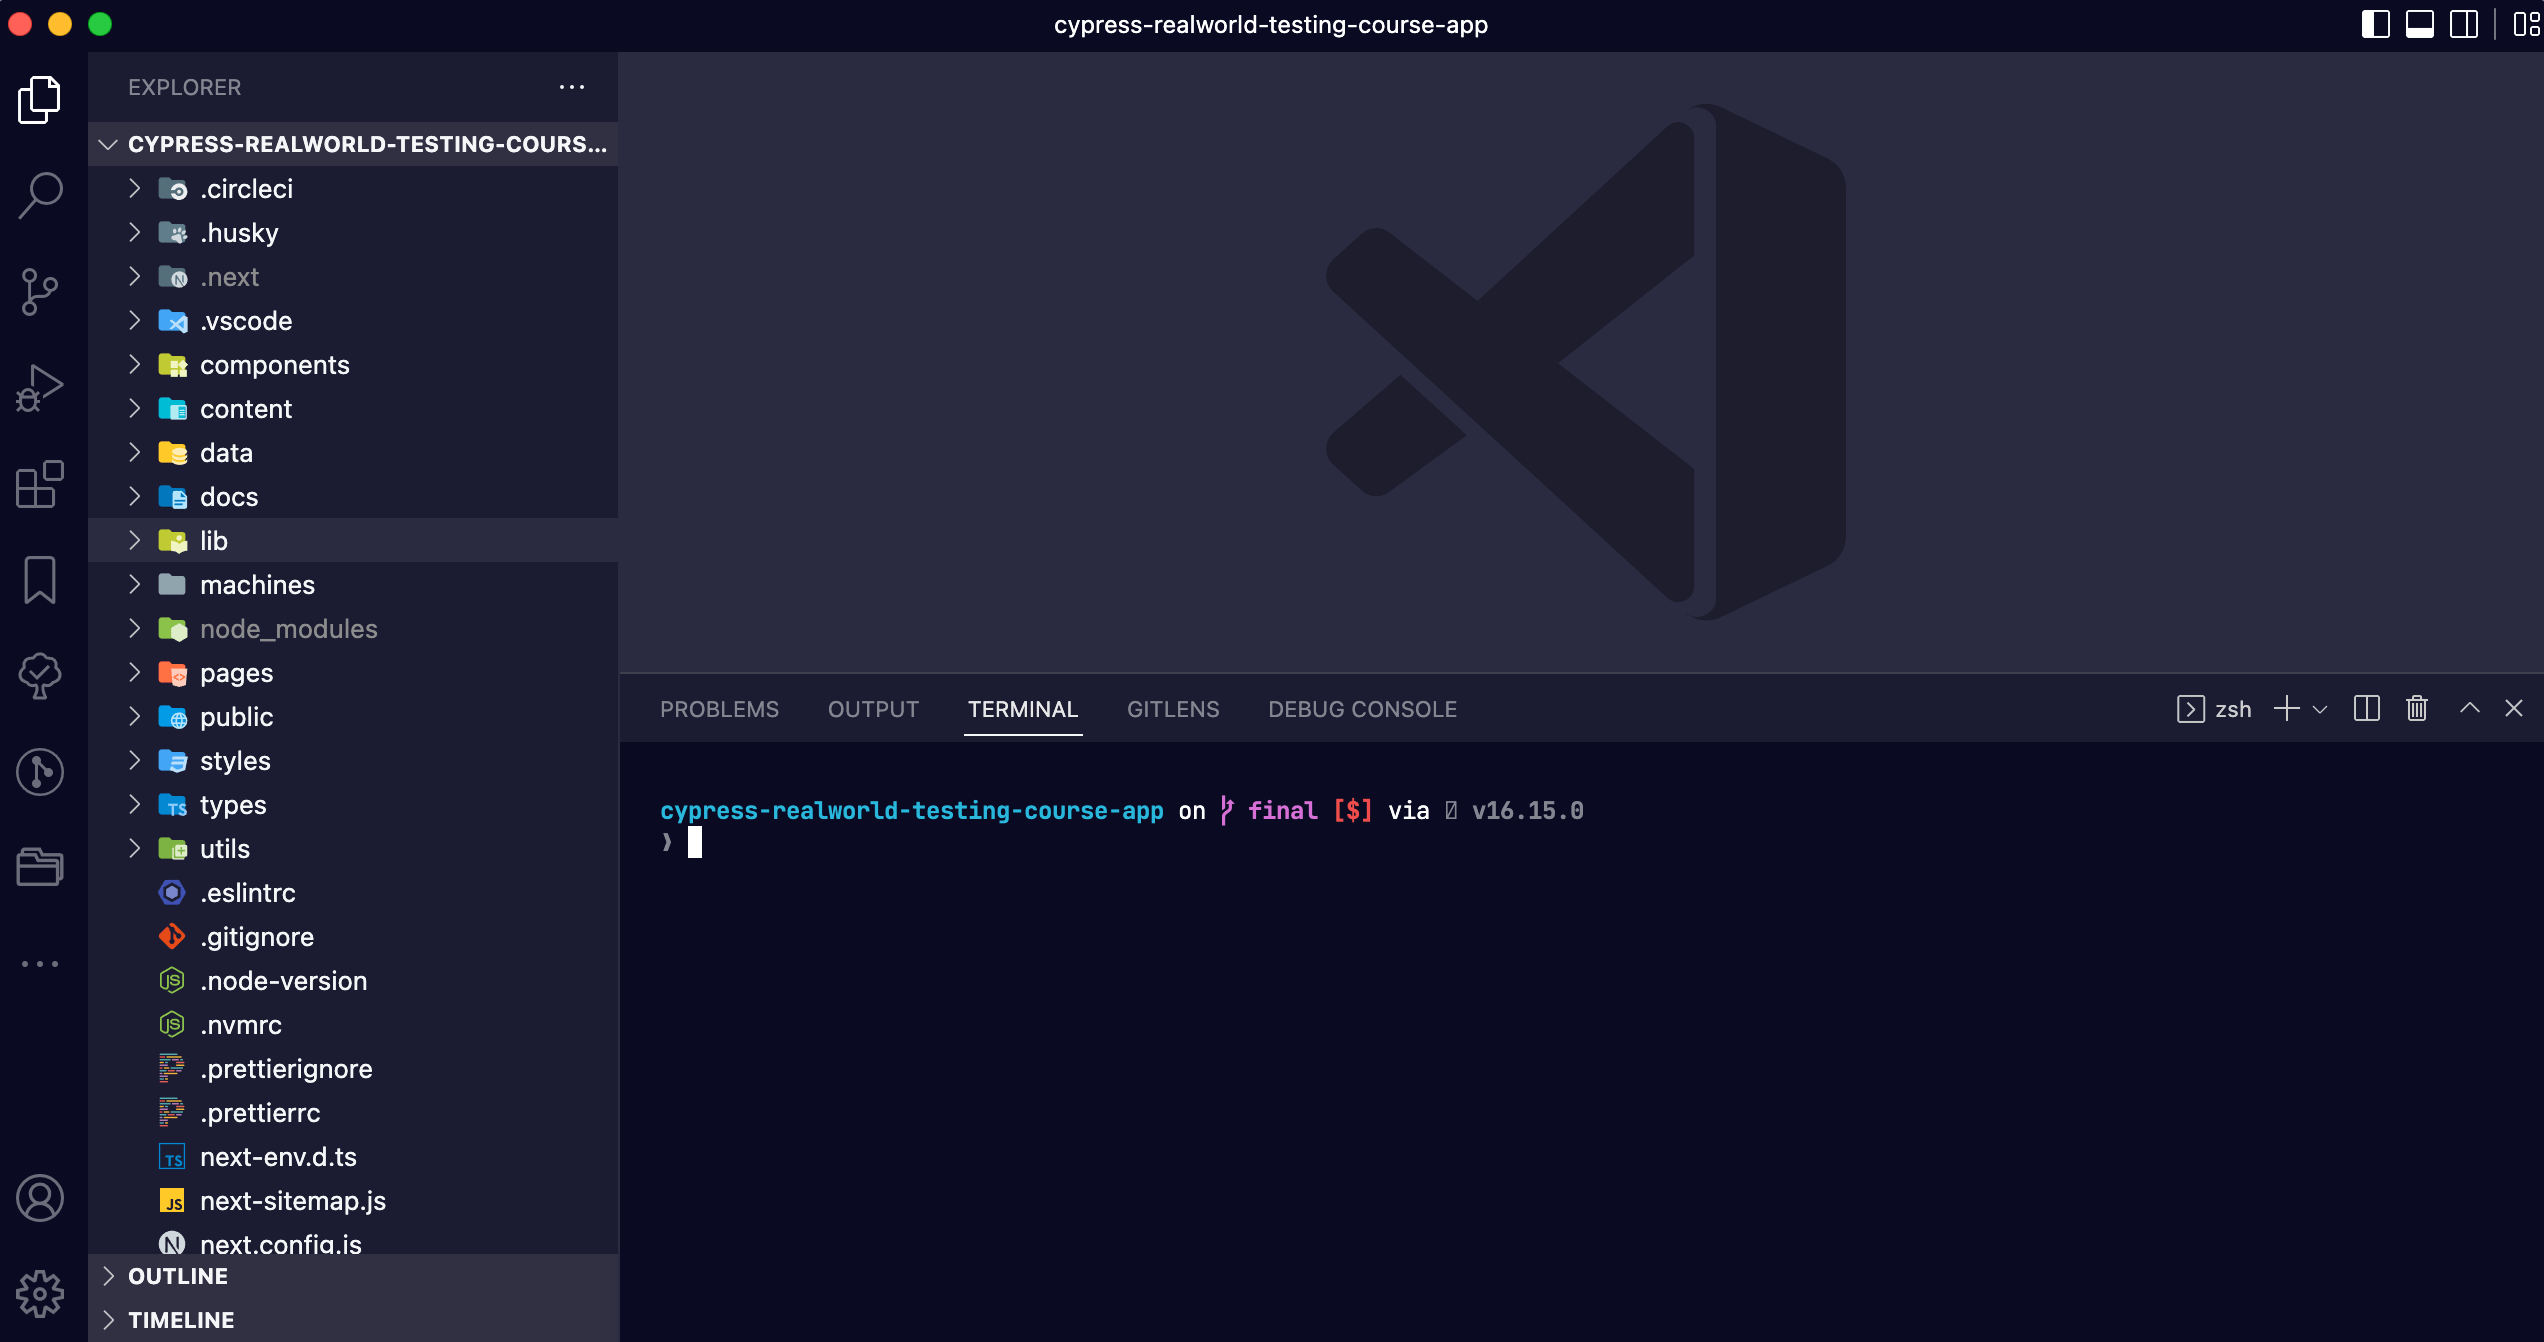
With the application open in VSCode, you can use the built-in terminal to install the project's dependencies.
Open the terminal via Terminal > New Terminal.
Installing the npm dependencies
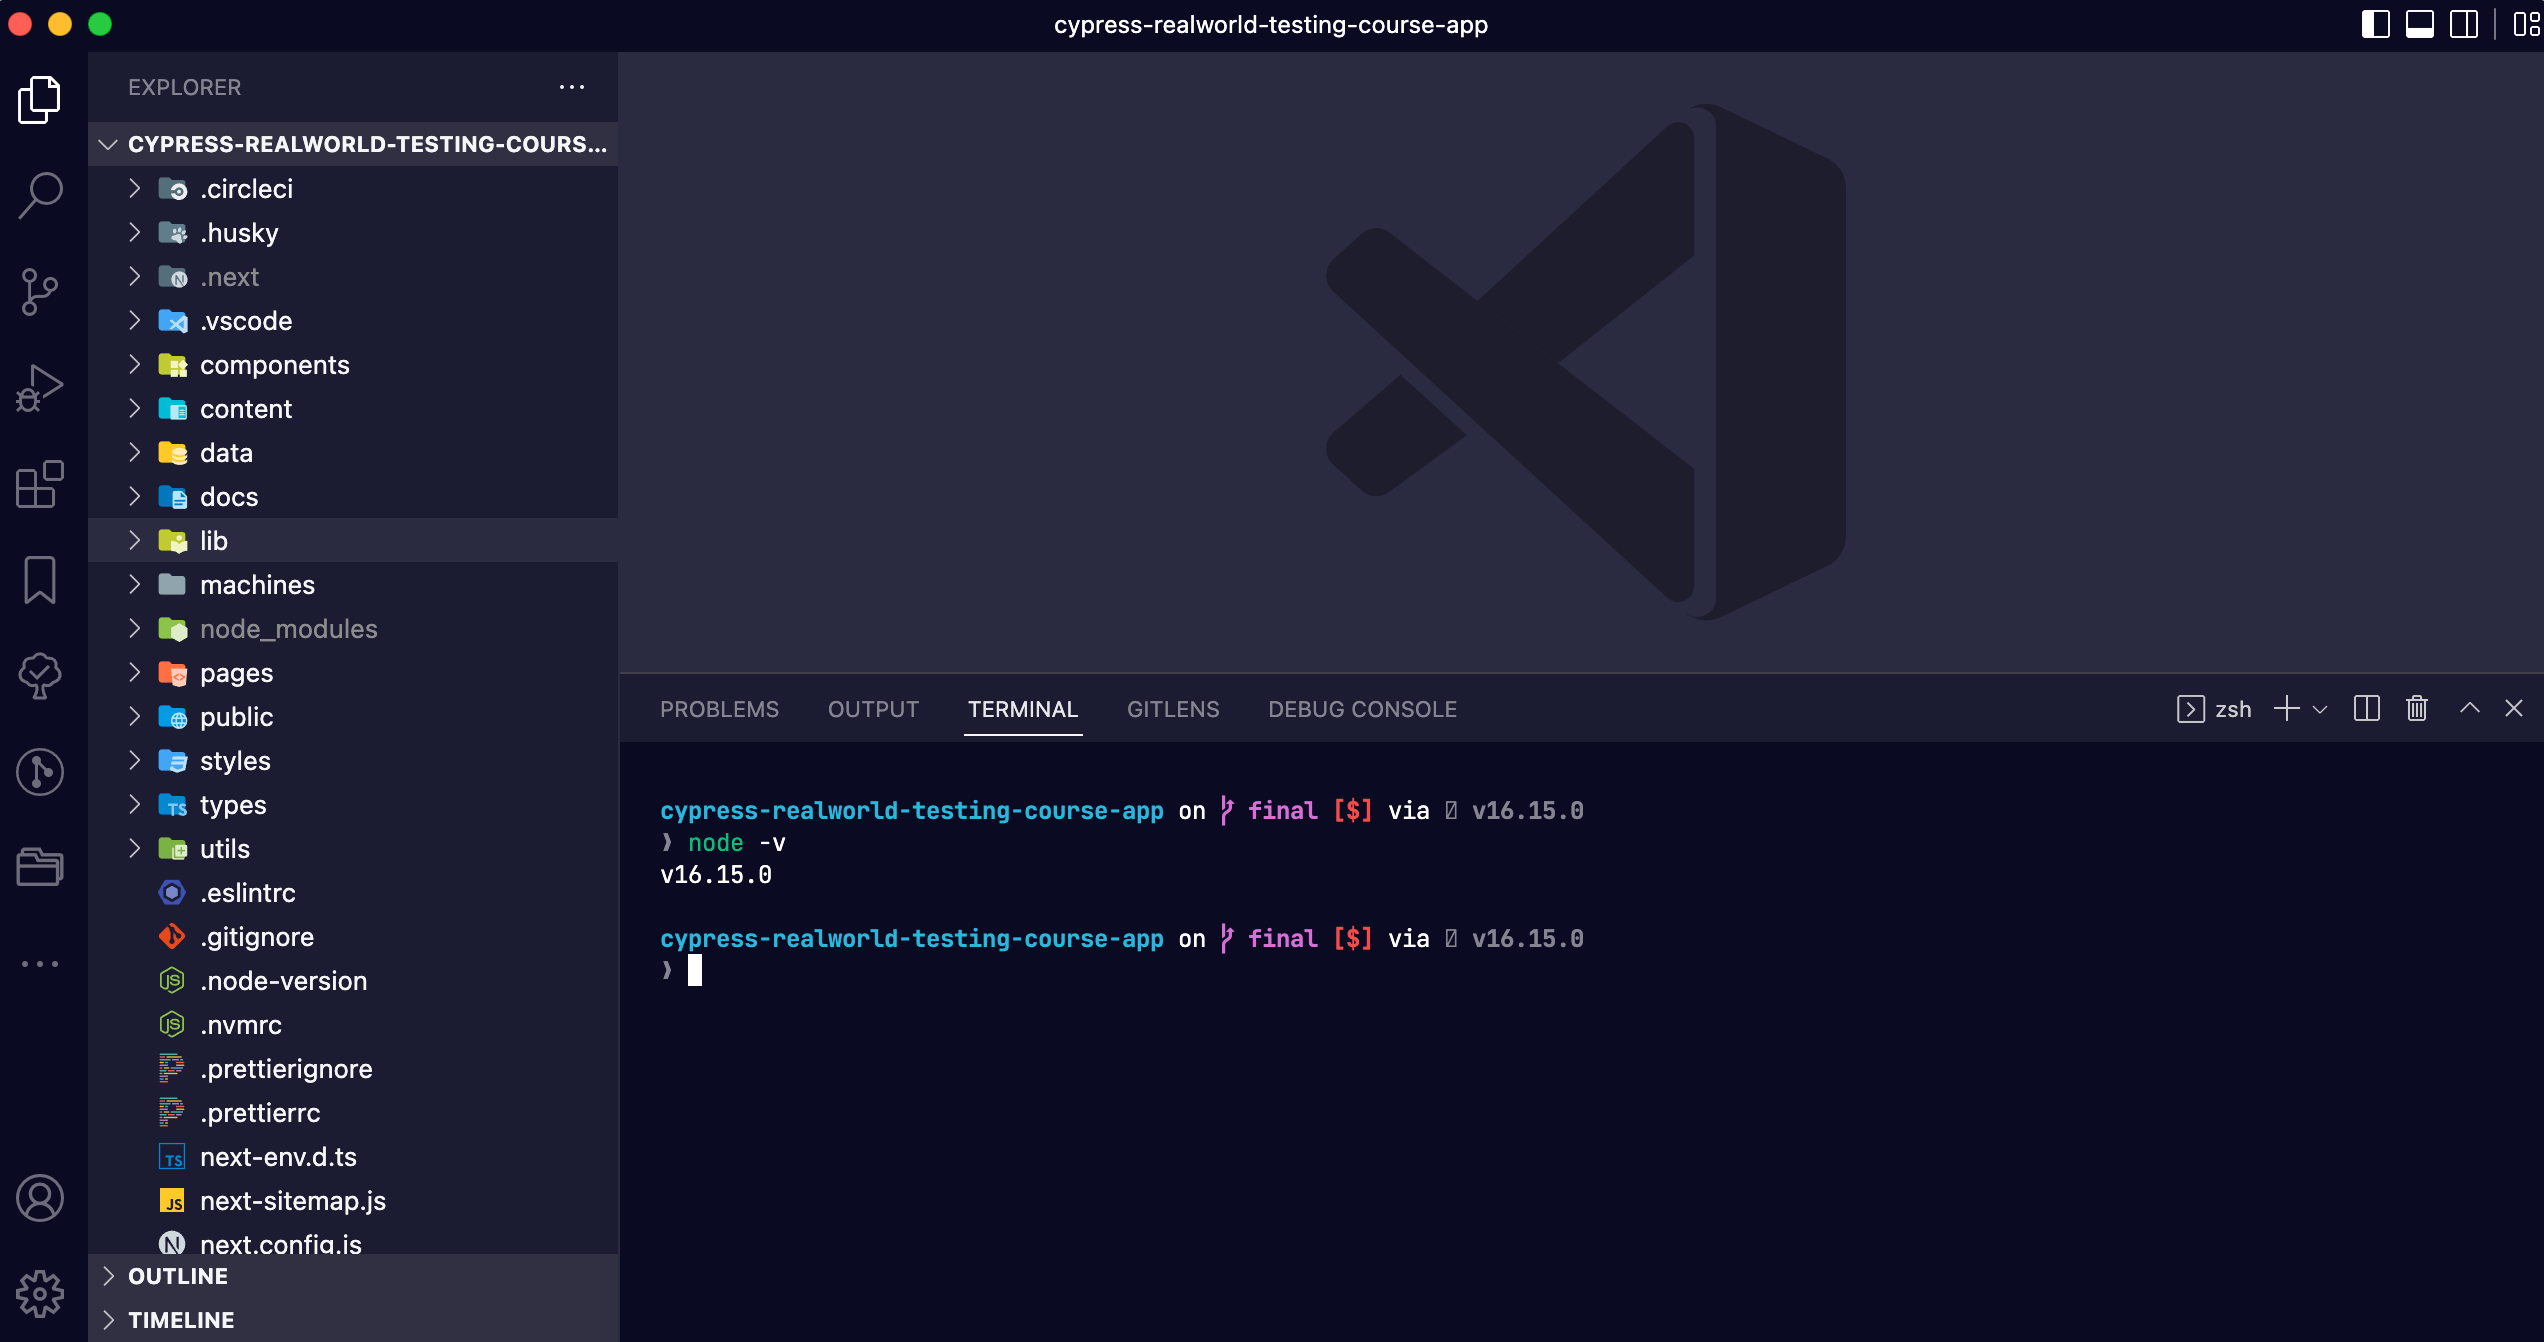
Before installing anything, let's confirm you are running the correct version of Node.js. In the terminal, type the following and press enter:
node -v
The terminal should print the same version as the LTS version of Node.js you installed.
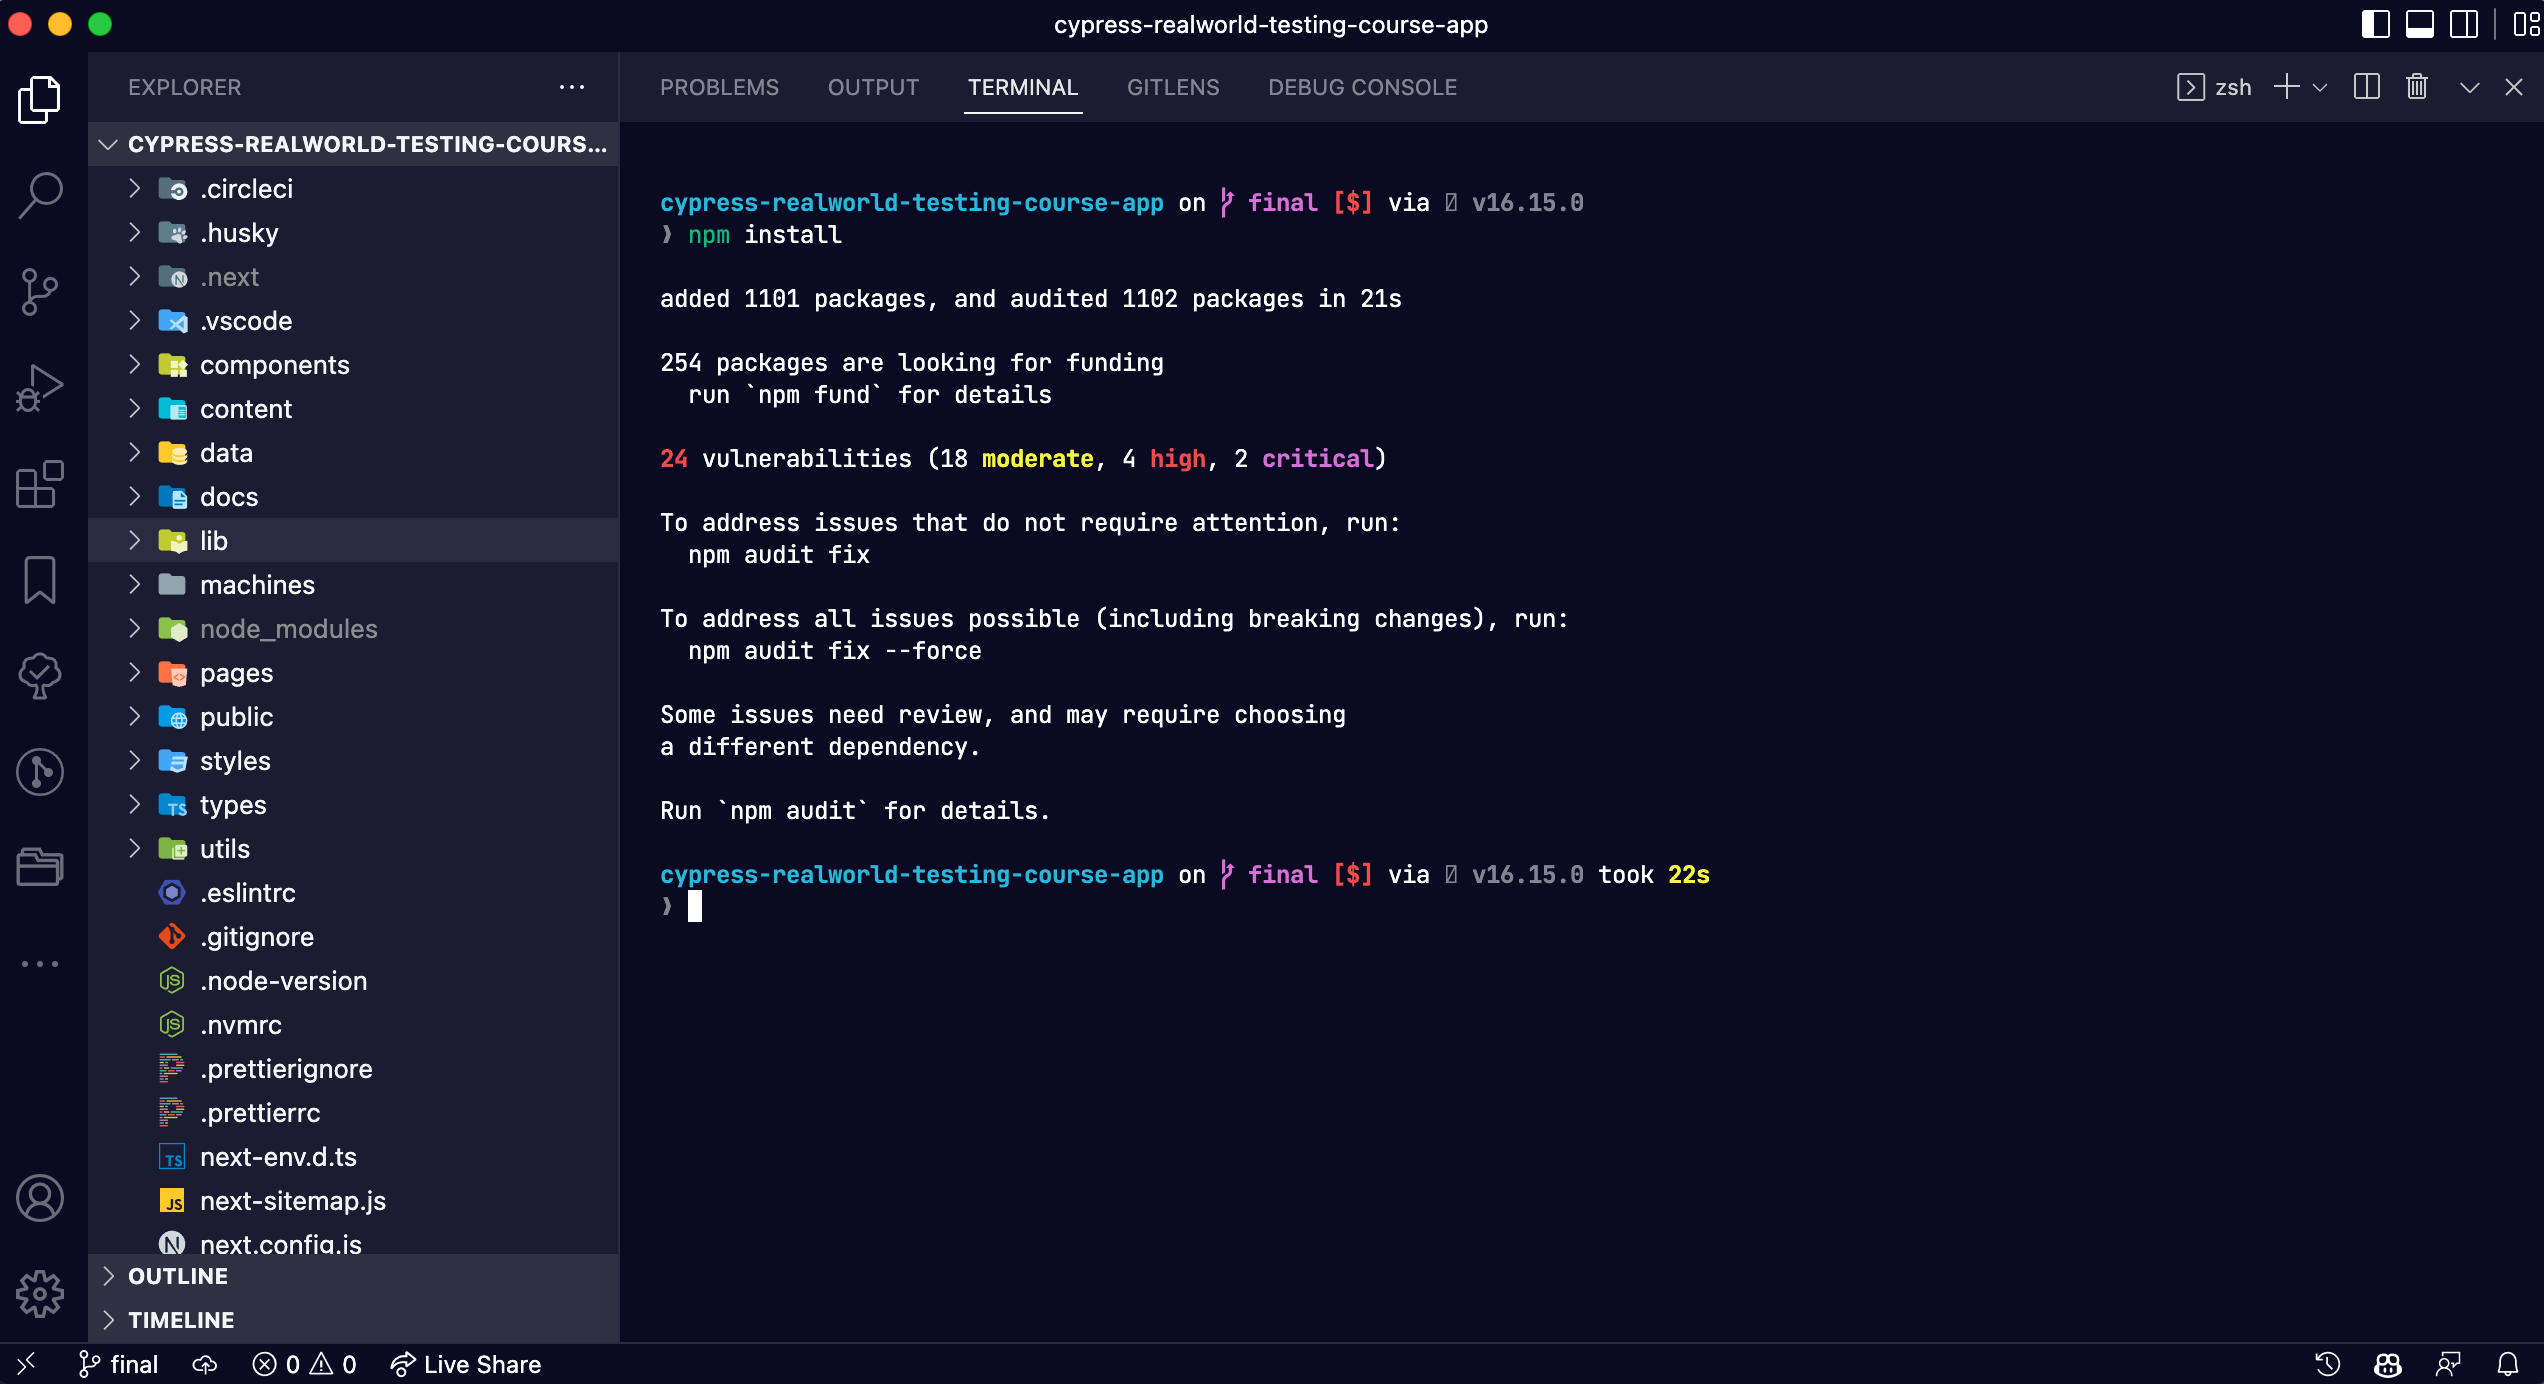
Now install all of the project's npm dependencies:
npm install
info
We will be writing all of our Cypress tests in TypeScript throughout this course. You don't need to install anything extra to follow along. TypeScript is already included as a dependency of the course app, so running npm install above sets you up to write your tests in TypeScript.
Starting the application
With the dependencies installed, you can start the application's development server with:
npm run dev
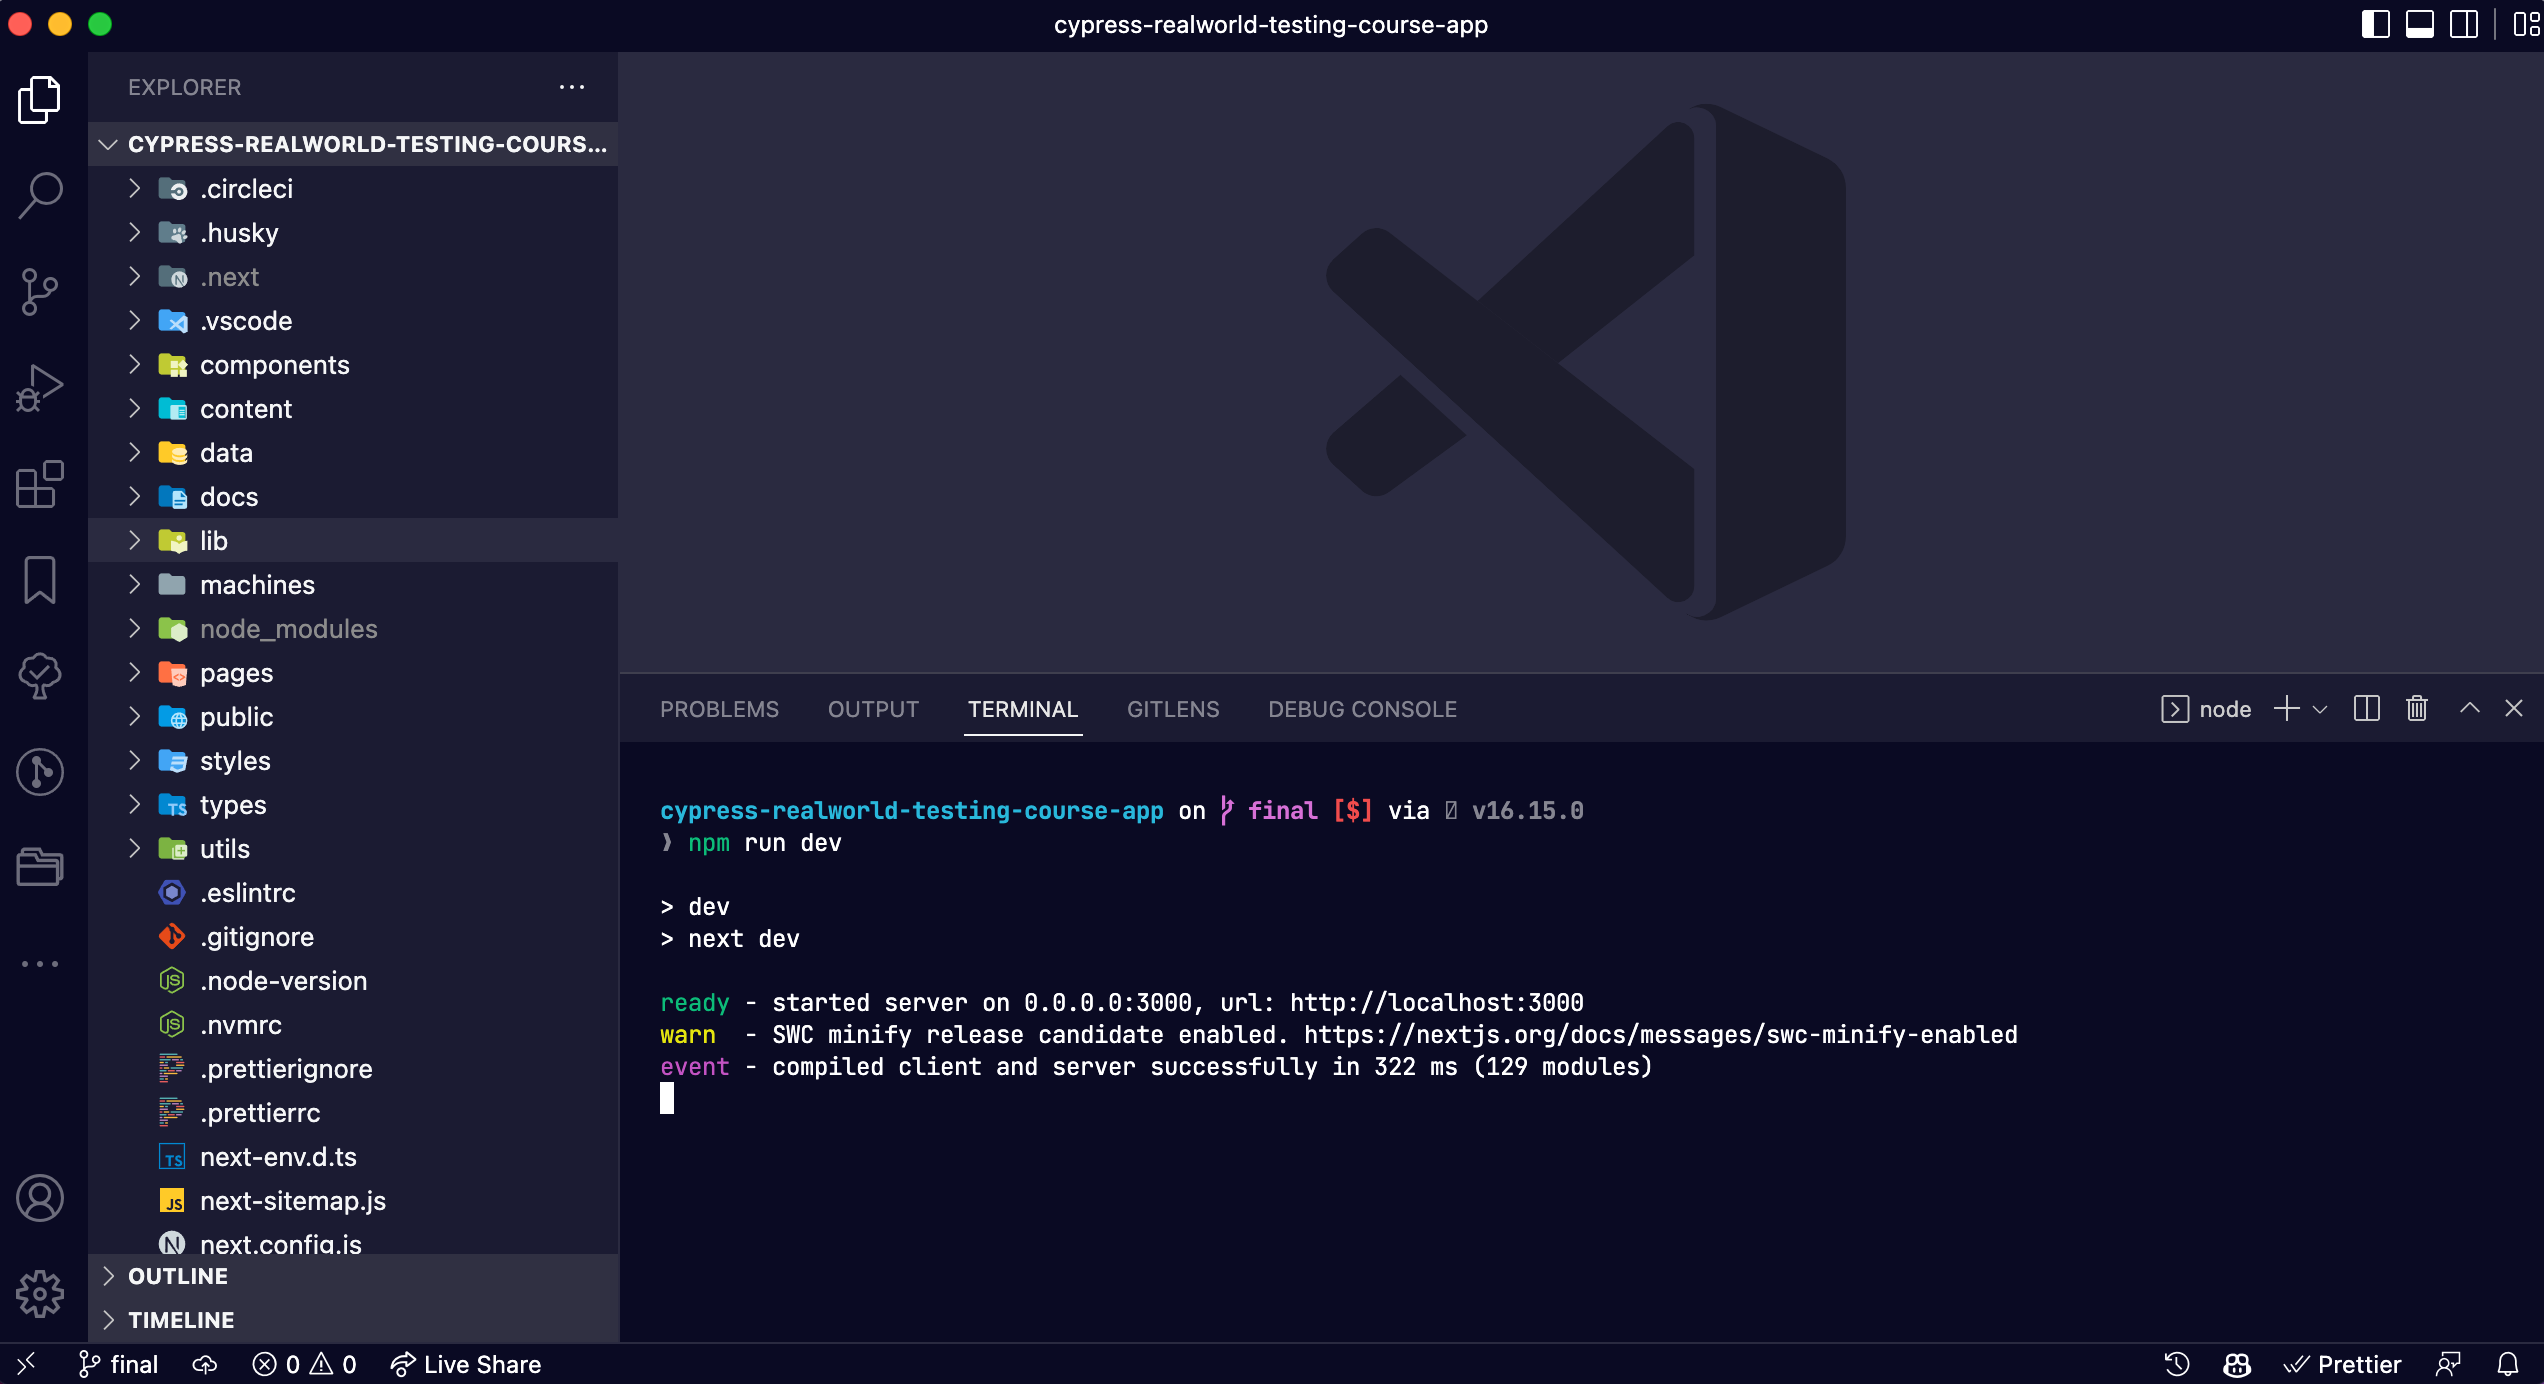
Then open your web browser and enter localhost:3000 in the address bar to view the running app.
App Overview
The application you are going to test is a course application. Its behavior and functionality are virtually identical to the official Real World Testing with Cypress site you are reading right now.
Before writing any tests, it helps to have a basic understanding of the app's pages and how they work. Let's walk through each one.
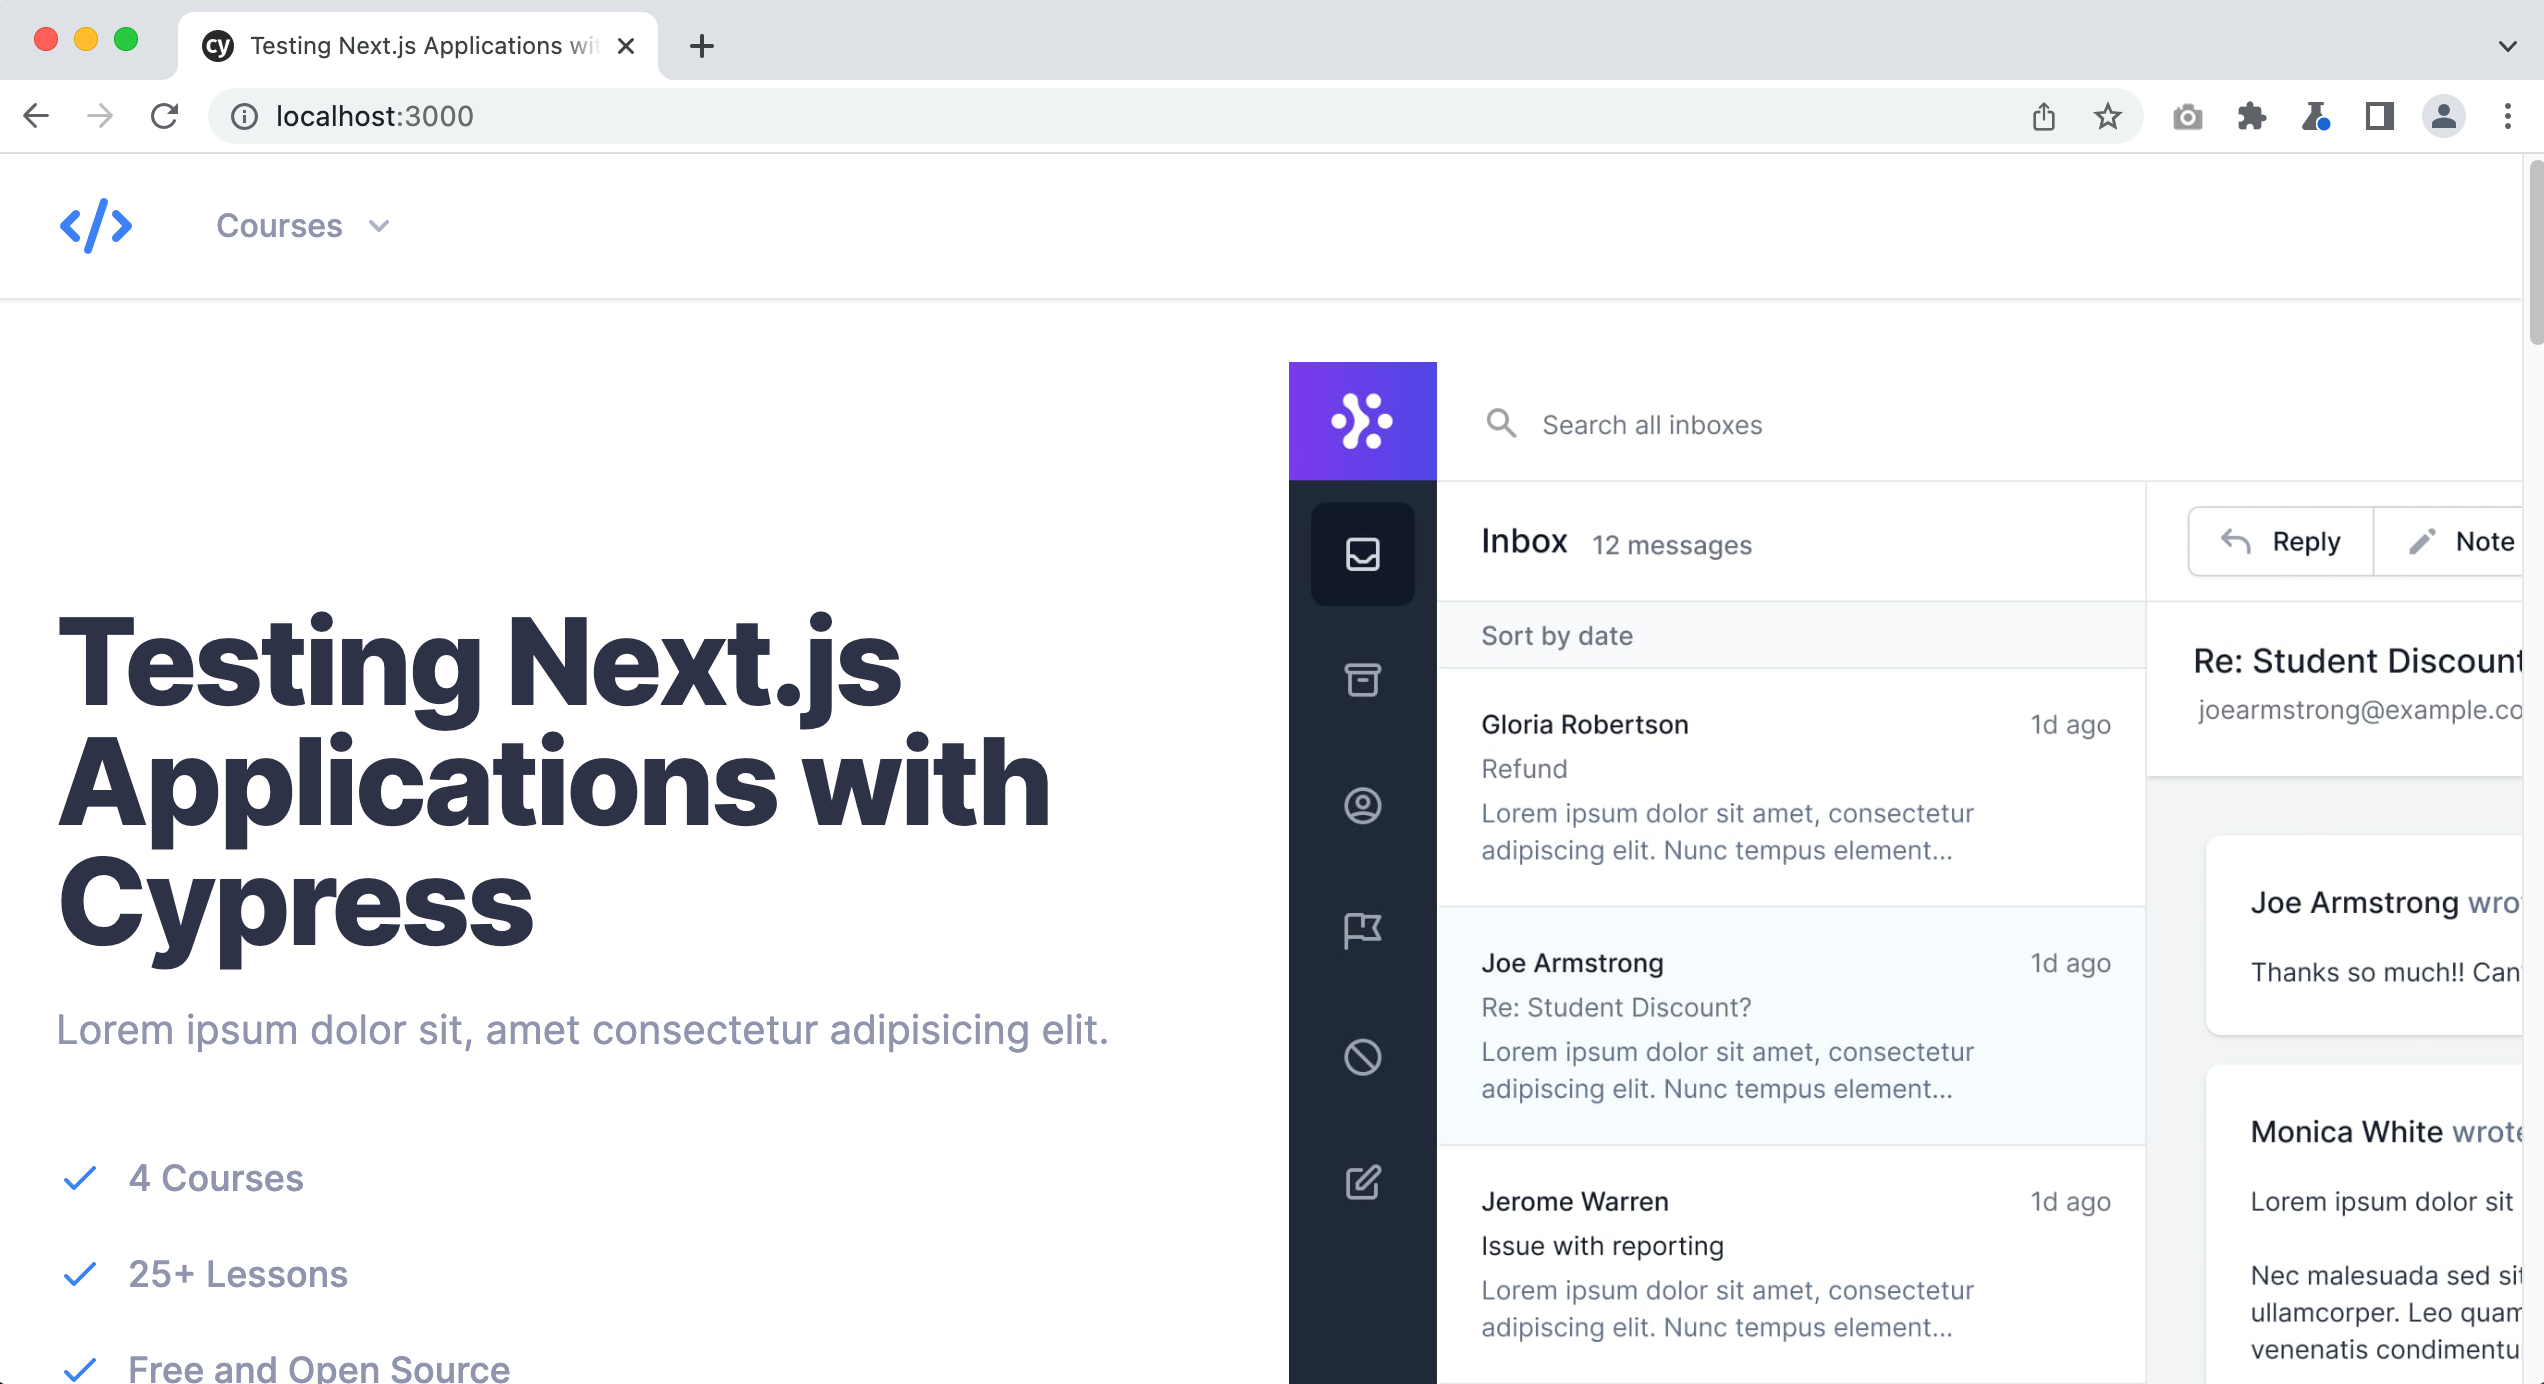
Home Page
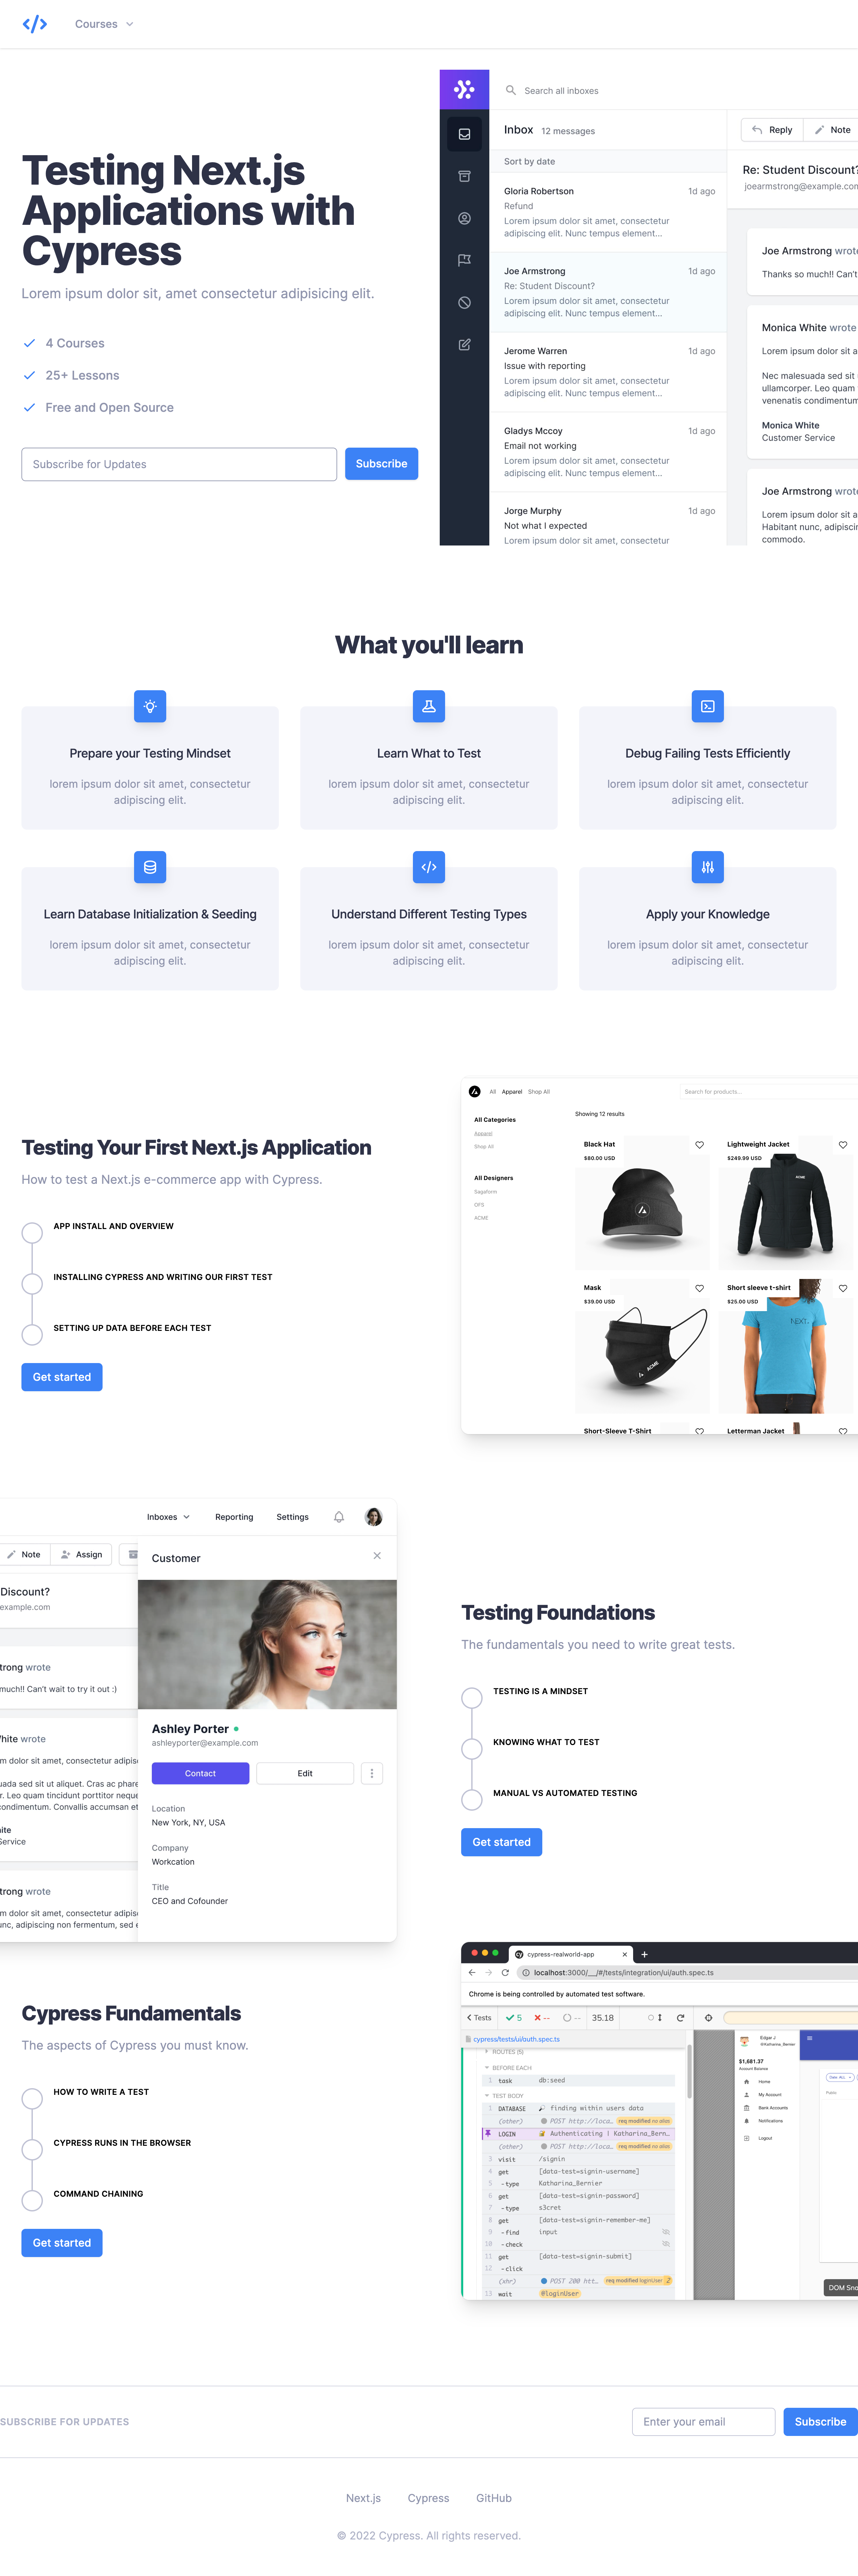
The home page is a landing page that showcases the app's three courses. Each course lists the lessons it contains along with a “Get started” button. Clicking that button takes you to the course's landing page.
Course Page
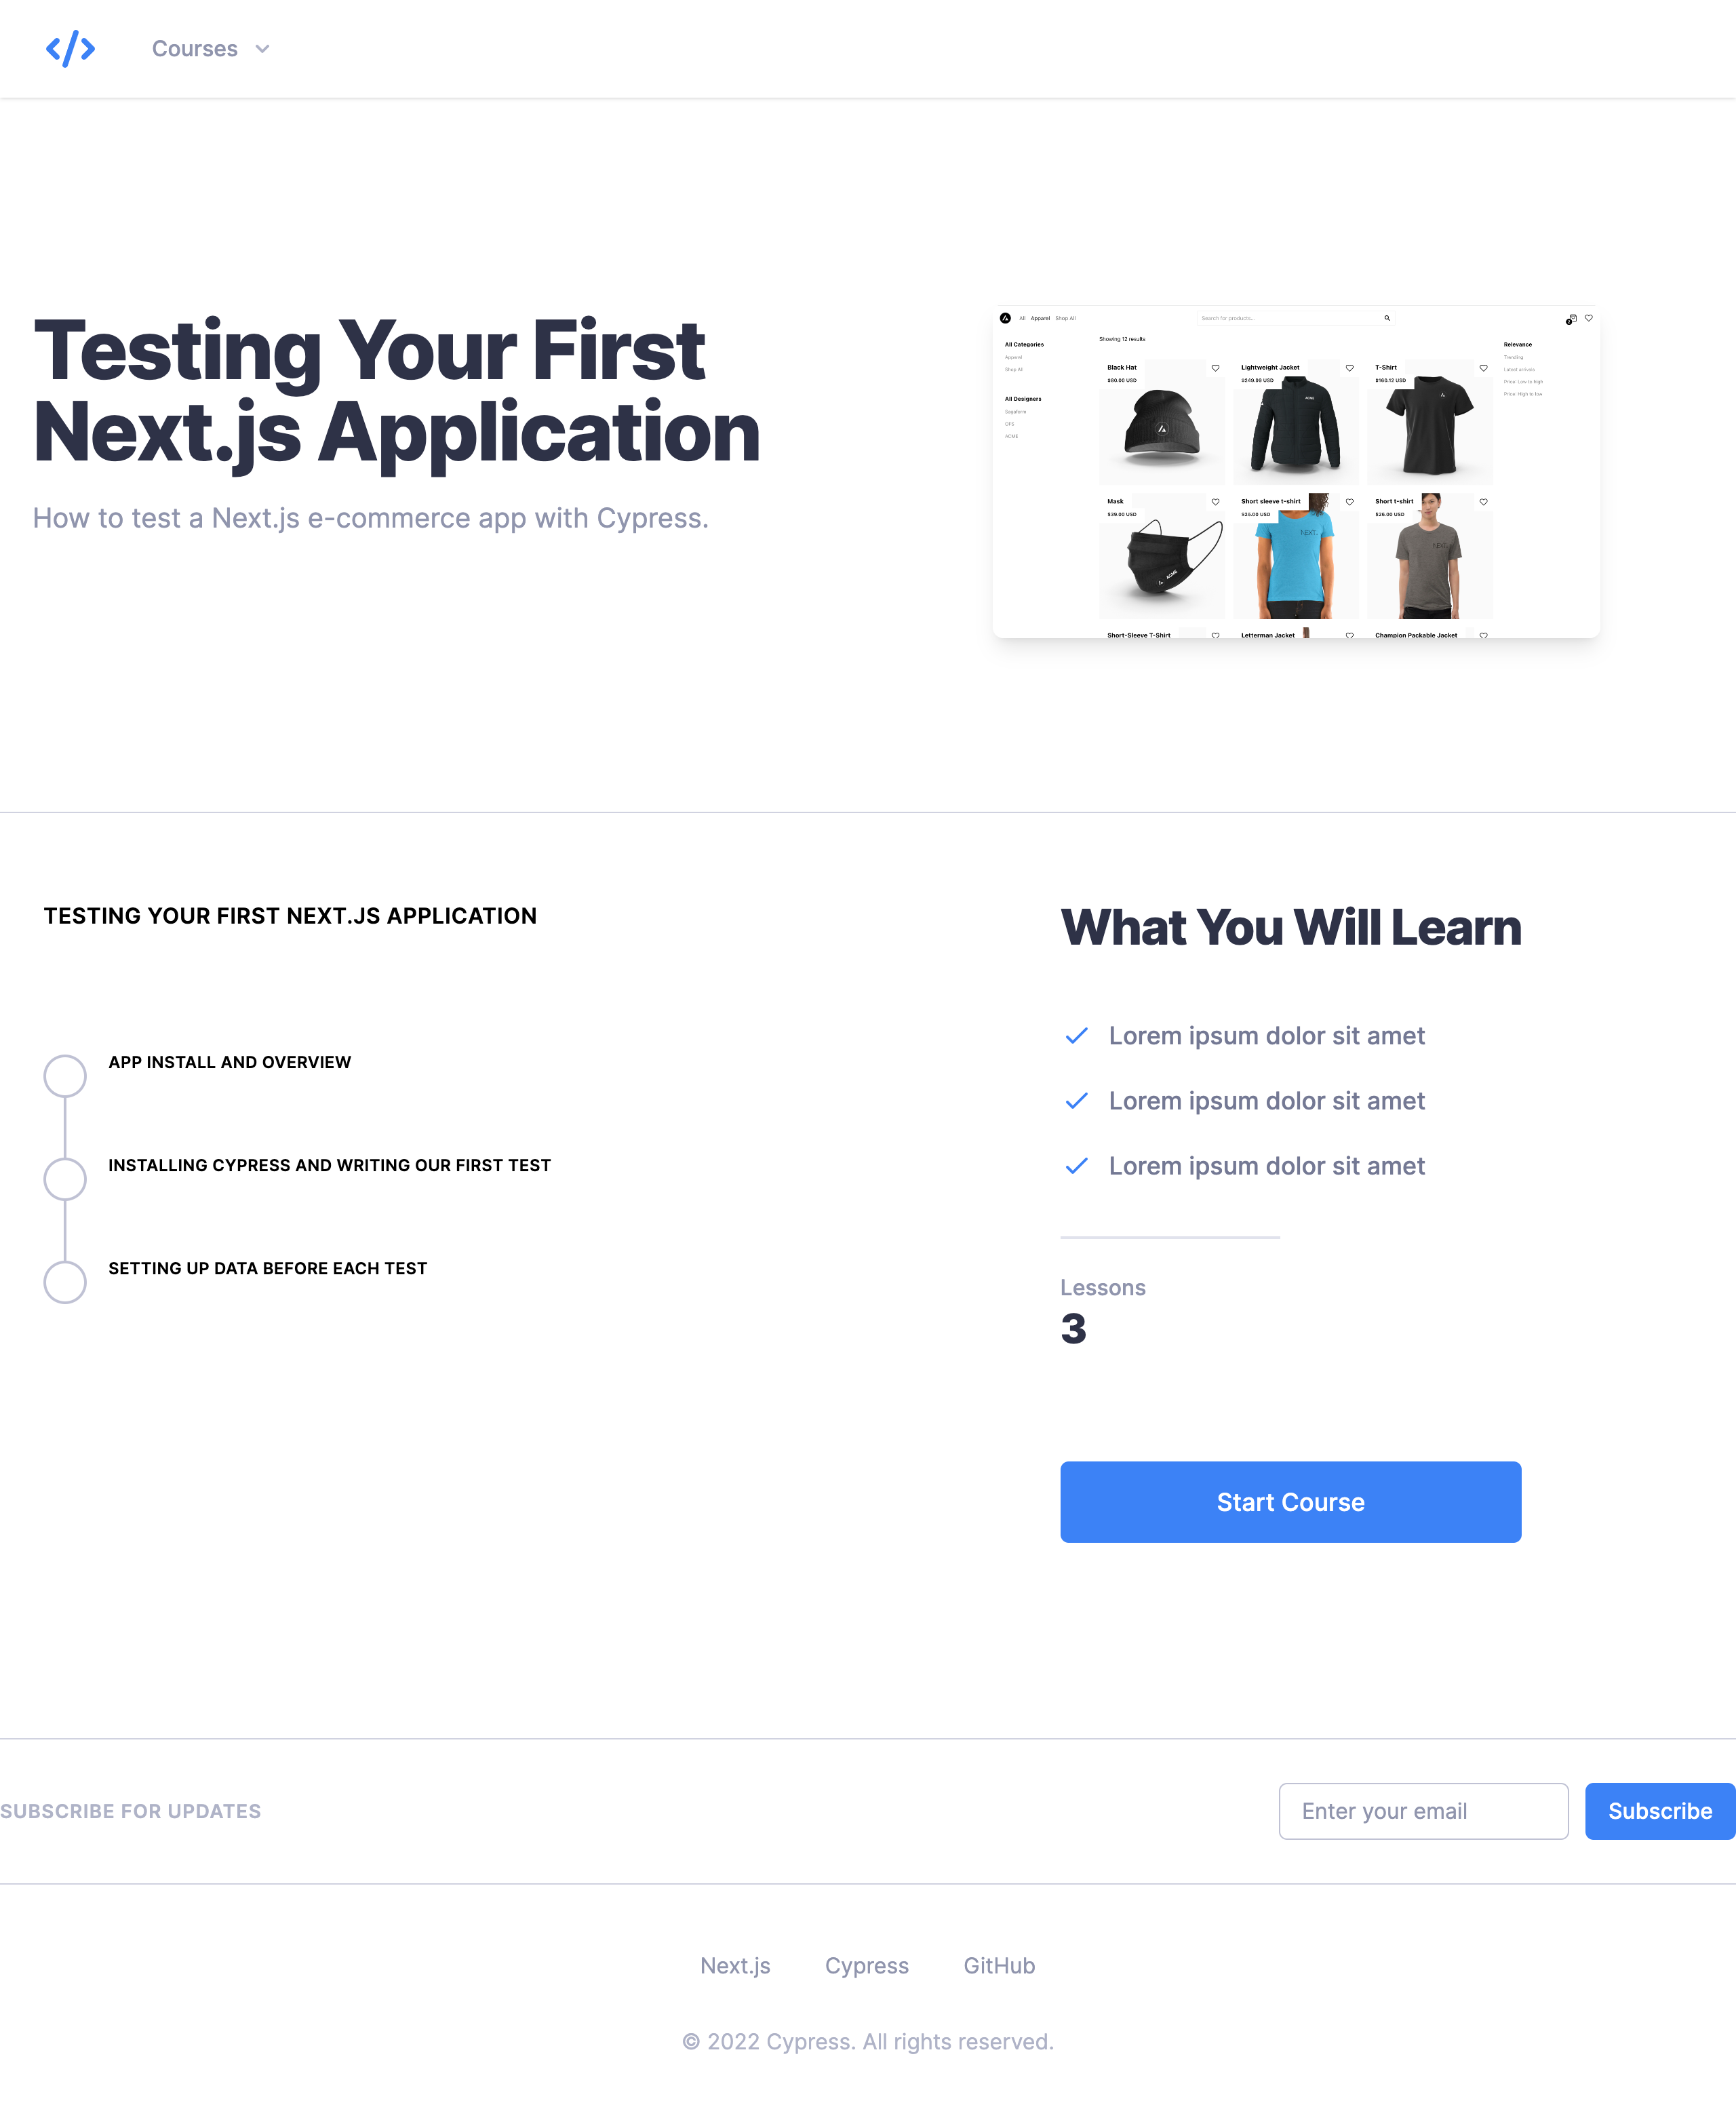
The course page provides additional details about a specific course and lists all of its lessons on the left-hand side. The small circle to the left of each lesson indicates whether that lesson has been completed. Once a lesson is complete, the circle is filled in, like so:
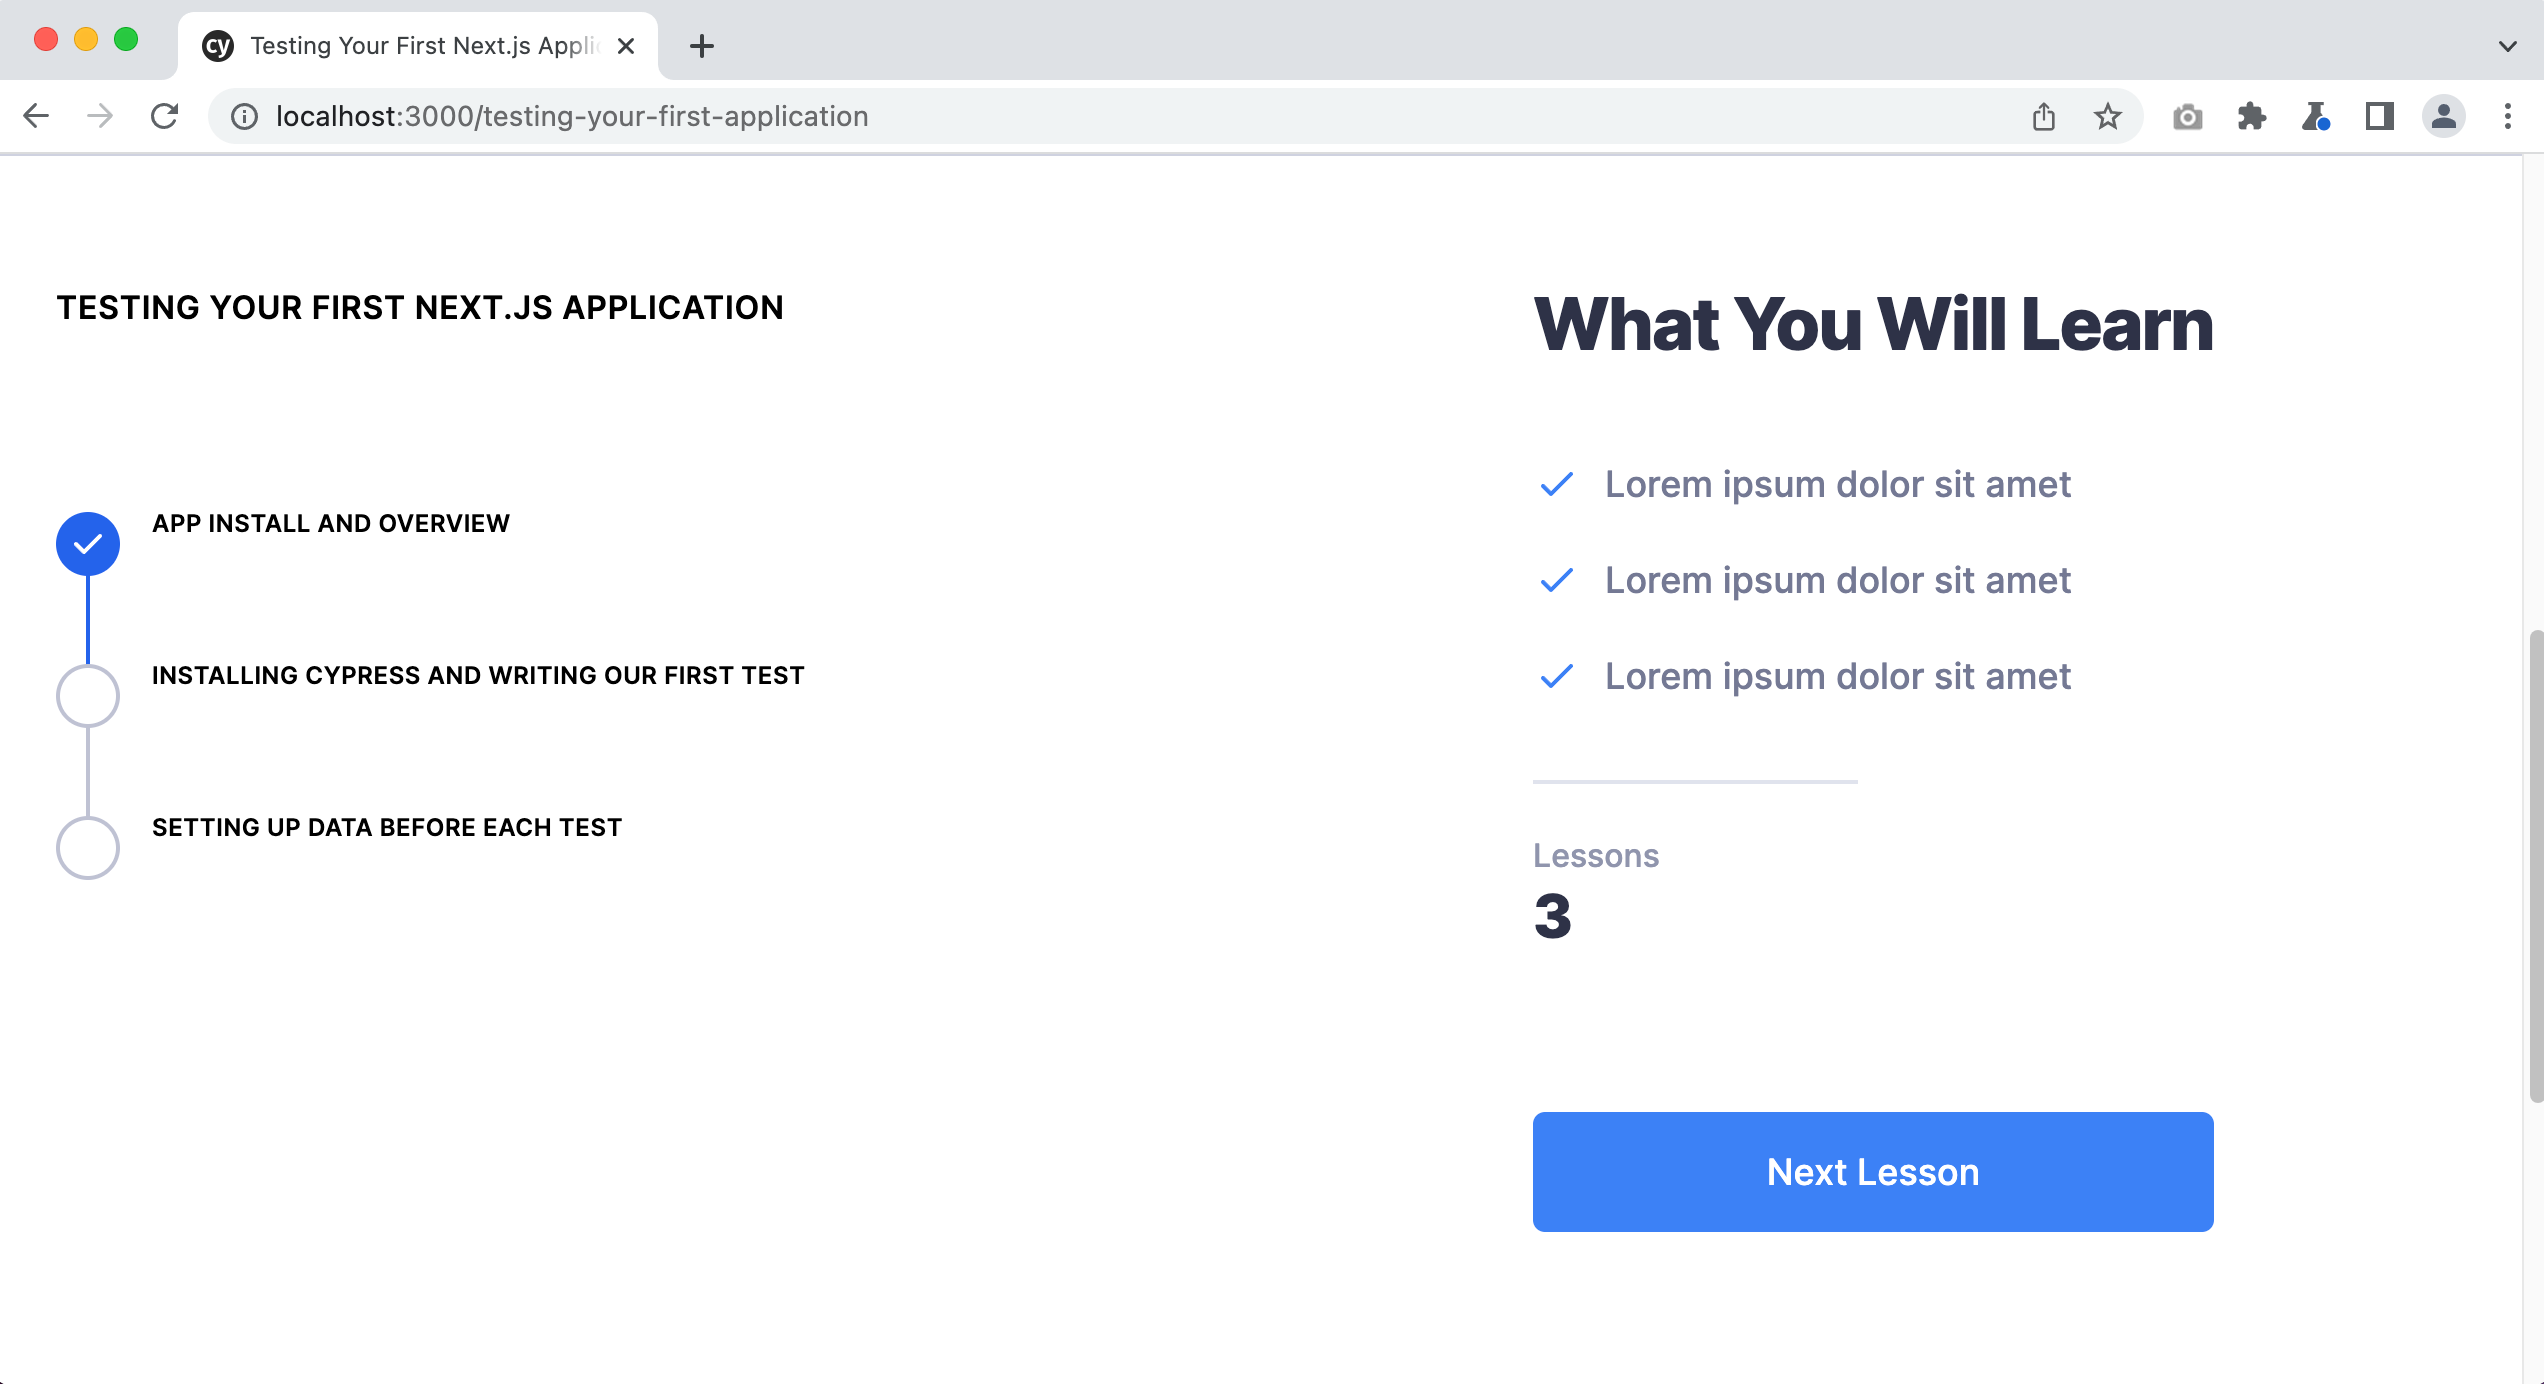
Notice in this screenshot that the button text has changed from “Start Course” to “Next Lesson” now that the first lesson is complete. This button is dynamic, so it automatically updates its text and link to point to the next lesson. Clicking it takes you to the lesson page.
Lesson Page
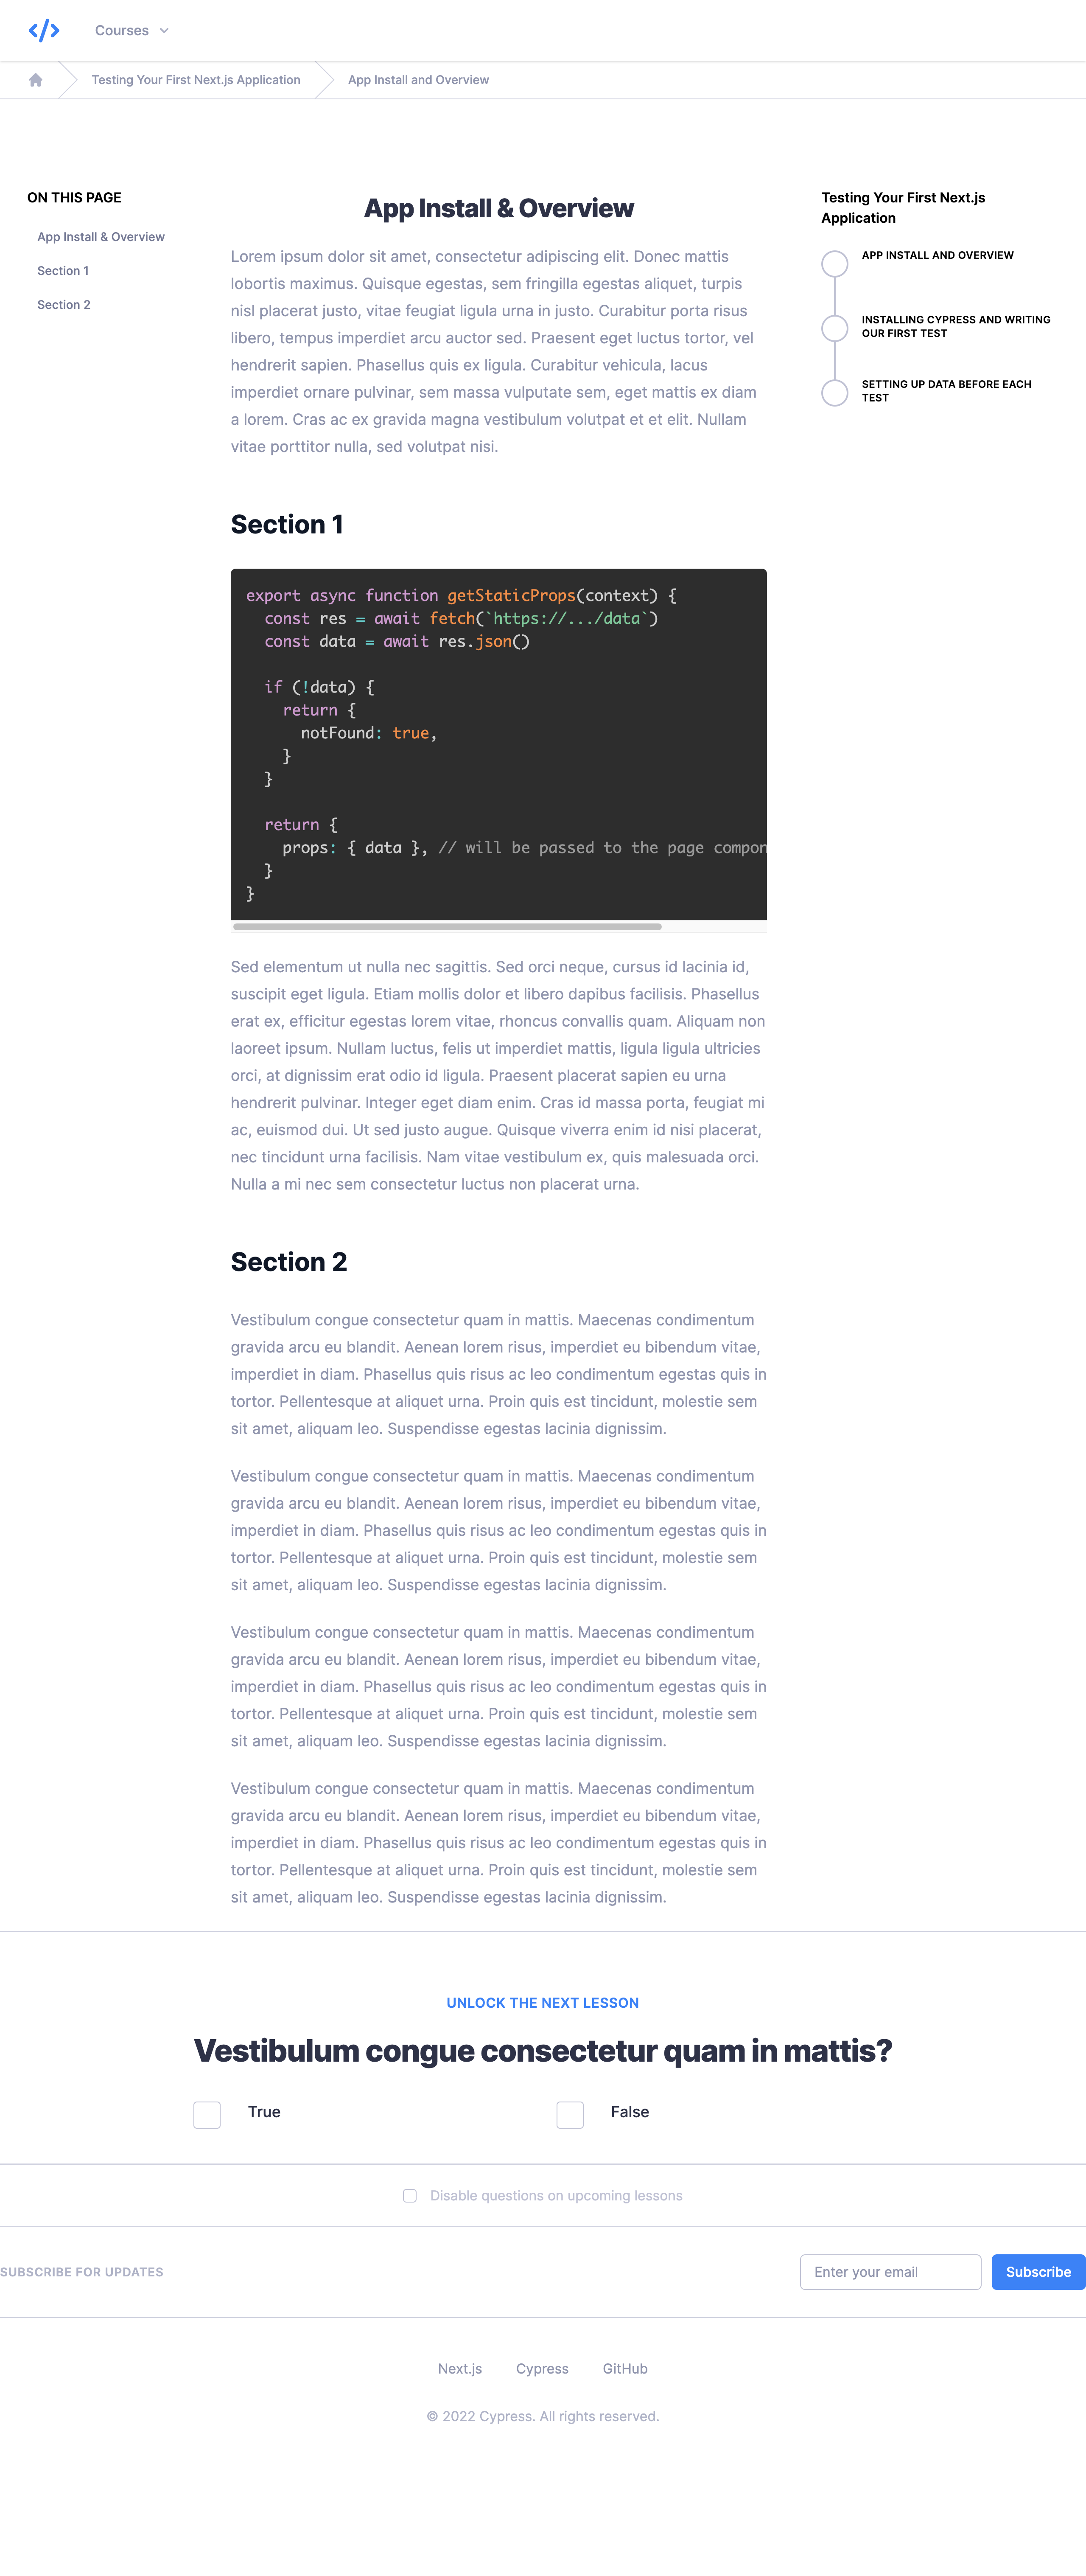
The lesson page shows the lesson's content in the middle section. The left-hand side holds the lesson's table of contents, with links that jump to the corresponding section of the content when clicked. The right-hand side shows a progress indicator tracking how many of the course's lessons are complete or incomplete.
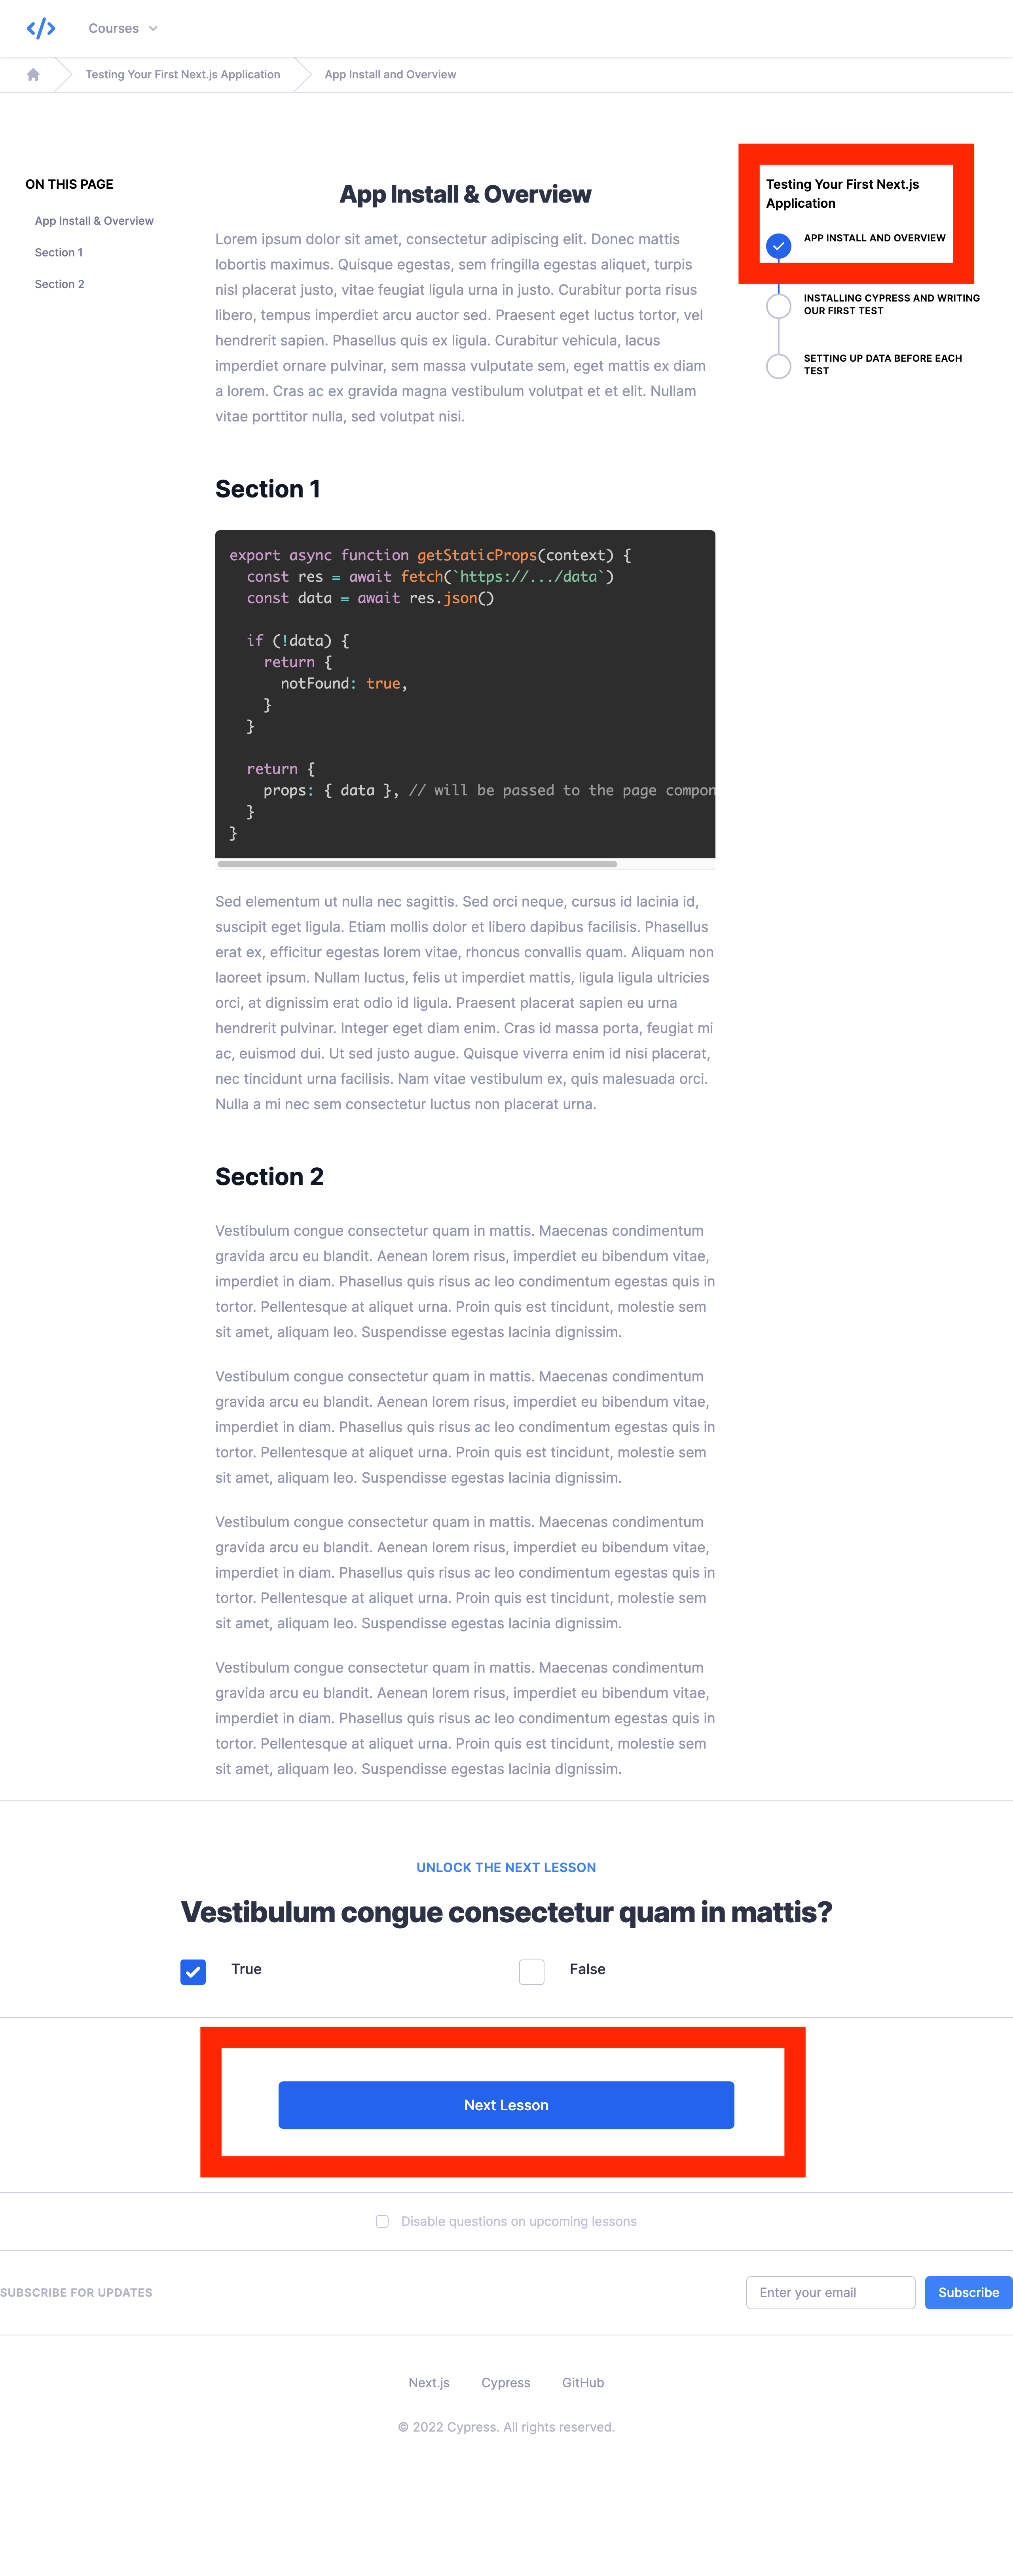
At the very bottom of each lesson is a quiz. In this application, the correct answer is always “True.” After you click the correct answer, a “Next Lesson” button appears and the lesson is marked as completed in the right-hand progress indicator.
Wrap Up
In this lesson, you got the course application onto your computer, either by cloning it with Git or downloading a zip file. You then installed Node.js, set up VSCode, and installed the application's dependencies with npm. After that, you launched the app's dev server on localhost:3000.
Finally, you toured the app's pages and core functionality, so you now have a solid understanding of what the app is and how it works.
In the next lesson, you will learn how to install Cypress and write your first test for the course app.