How to test forms and custom Cypress commands
How to test forms & custom Cypress commands
Custom Cypress Commands
In the previous lesson, we updated our test to use a data-test attribute like so:
cy.get("[data-test='hero-heading']")
While this is perfectly valid, wouldn’t it be nice if we could clean up this syntax; making our tests easier to write, read and reason about?
To do this, we can write our own custom Cypress command. What a custom command allows us to do is to reuse code or functionality across all of our Cypress spec files.
For our use case, we want to create a custom Cypress command that will allow us to “get” data-test attributes more easily. To do this, we need to add our custom command to the cypress/support/commands.ts file.
By default, this file will contain a bunch of code comments that provide some instructions on how to create a custom command. Add the following to the file:
declare namespace Cypress {
  interface Chainable {
    getByData(dataTestAttribute: string): Chainable<JQuery<HTMLElement>>
  }
}

Cypress.Commands.add("getByData", (selector) => {
  return cy.get(`[data-test=${selector}]`)
})
Since we are using TypeScript, we must add the type definition for our custom command. We extend the Chainable interface from the Cypress namespace, which allows us to use (and provide code completion) for the getByData() method off of the cy object.
After that, we add a custom command called “getByData” which will allow us to pass in the value only of any data-test attribute, like so:
cy.getByData("hero-heading")
instead of:
cy.get("[data-test='hero-heading']")
Now that we have created our custom command, let's refactor our cypress/e2e/home.cy.ts test to use it and make sure our test is still passing.
// home.cy.ts

it("the h1 contains the correct text", () => {
  cy.getByData("hero-heading").contains(
    "Testing Next.js Applications with Cypress"
  )
})
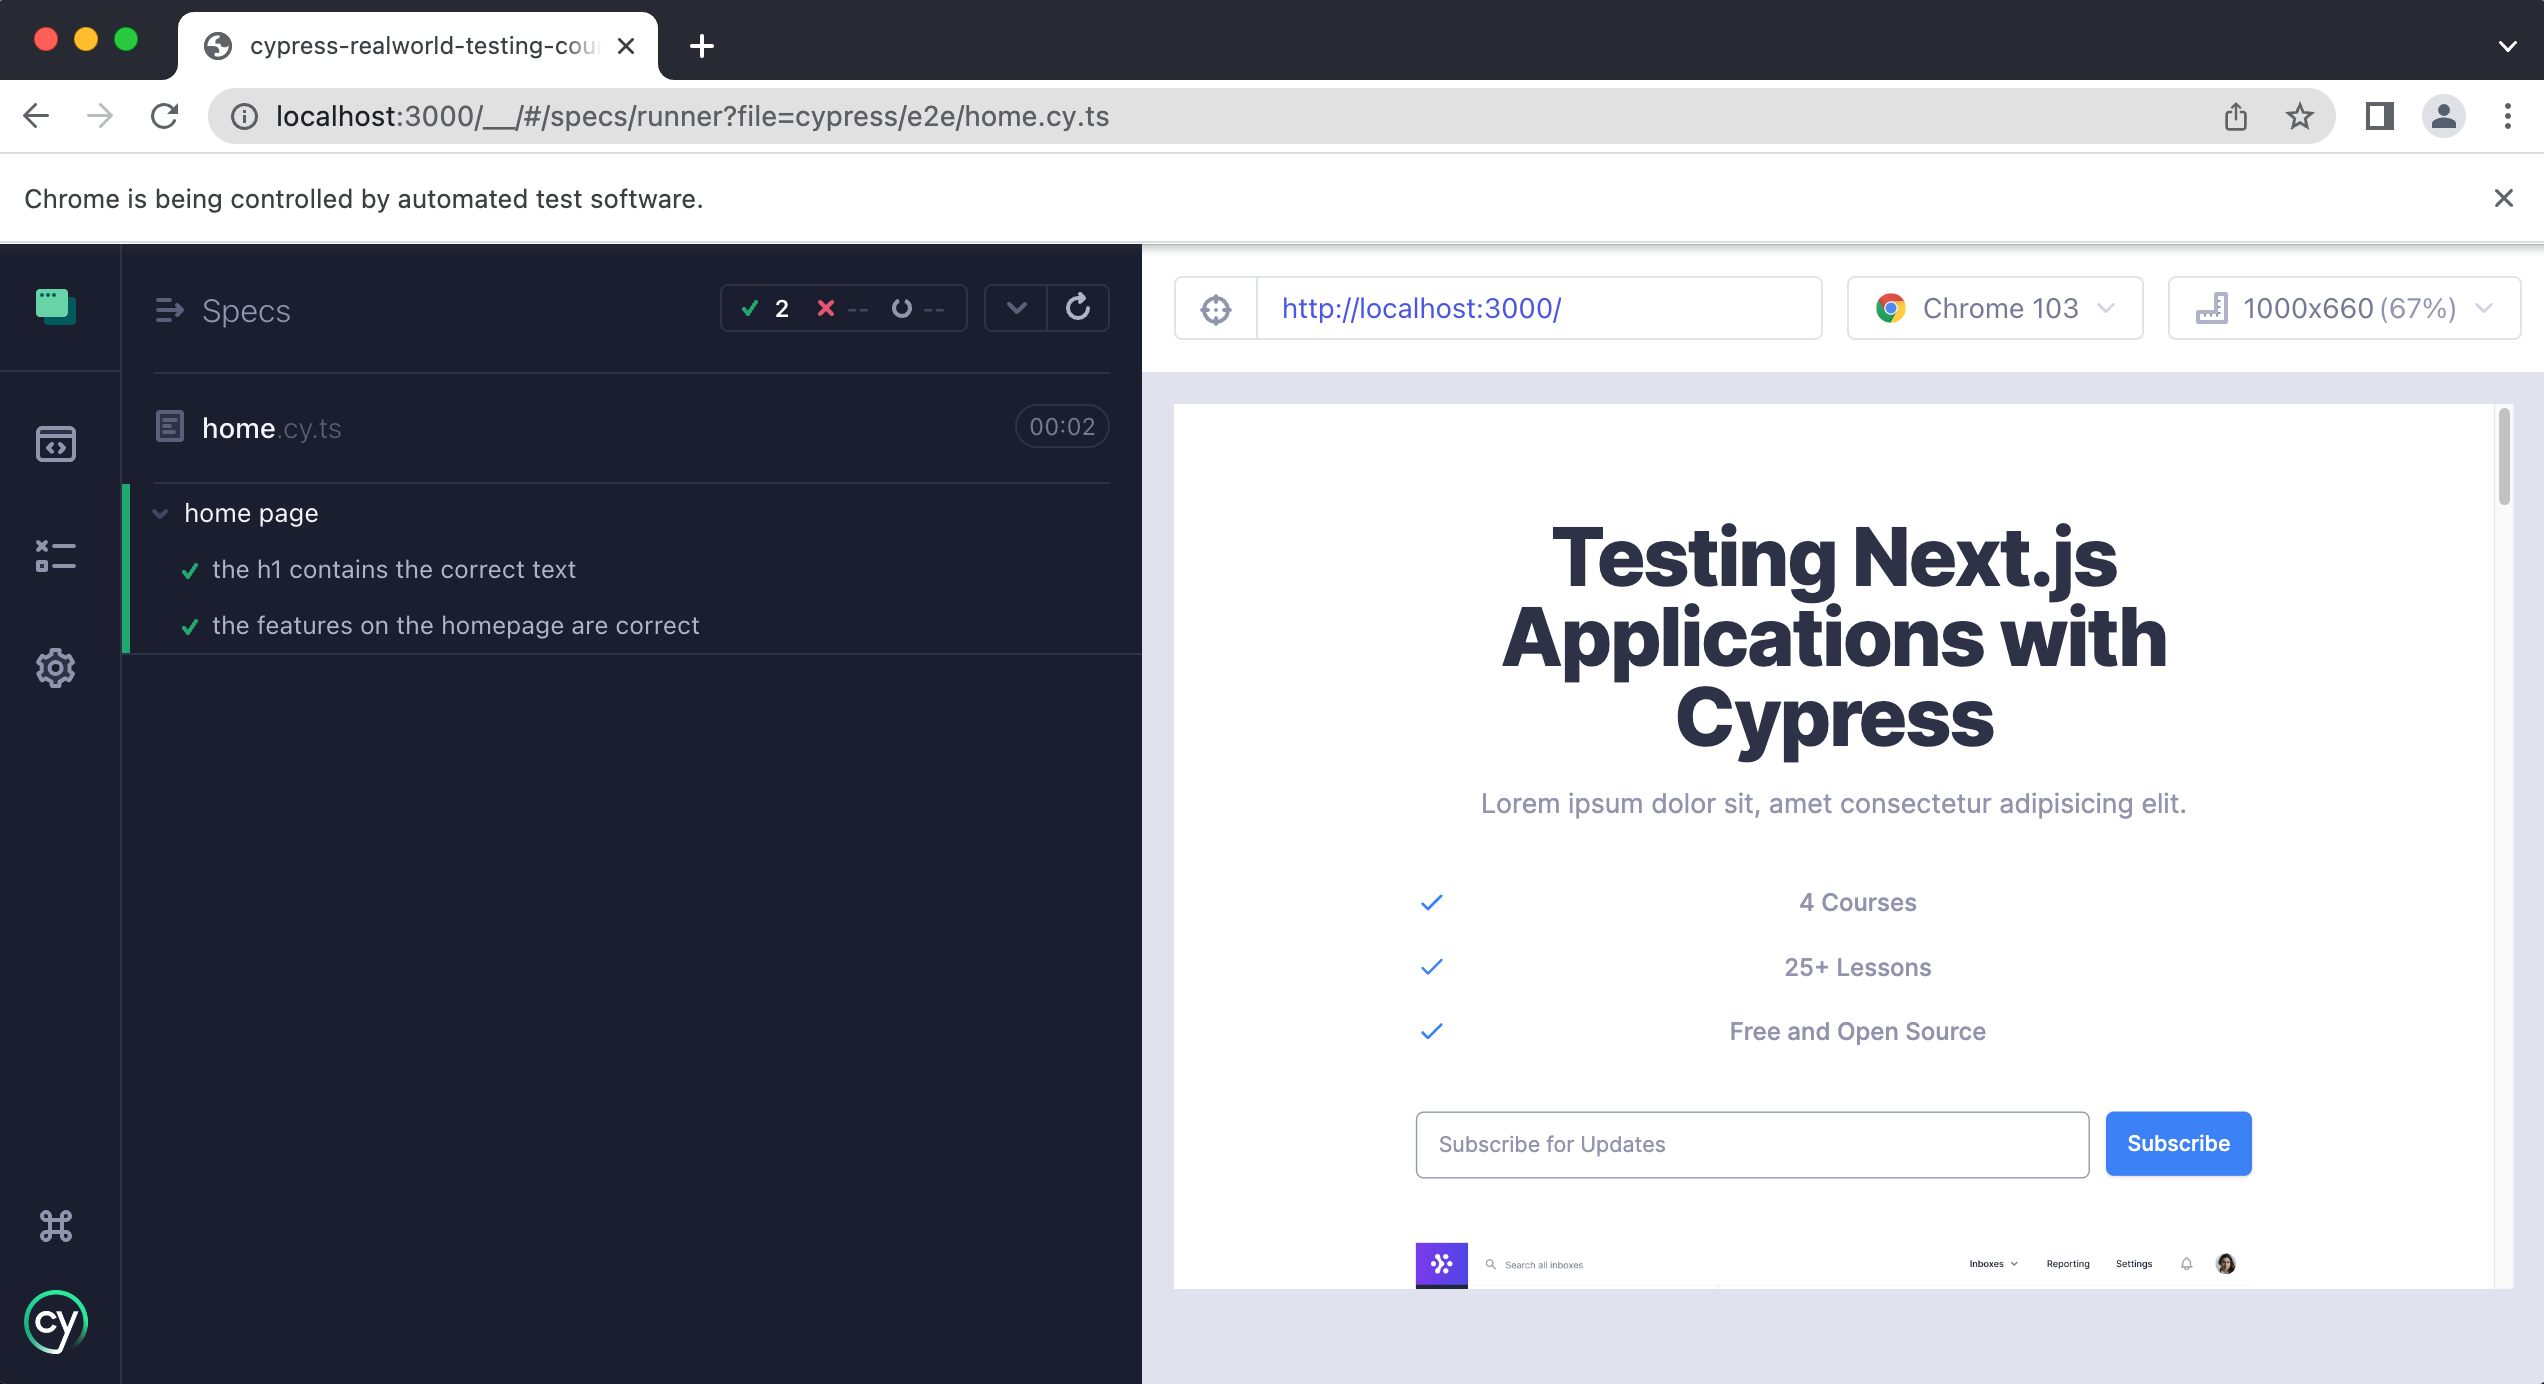
Now if we launch cypress and run our test should still be passing.
tip
You can click on the images to enlarge them.
In case that explanation went too fast or was not very clear, we have created a short video that explains in-depth how our custom Cypress command works.
Throughout the rest of this course, we will be using this custom Cypress command to get our elements for testing. Custom Cypress commands are powerful and useful. You will find yourself writing them all the time once you gain more experience with Cypress.
To learn more about custom commands you can check out our docs.
Testing forms
One of the most common things you will find yourself writing tests for in any web application are forms. Since that is the case, we are going to spend the rest of this lesson discussing how to write tests for them.
In our course application, in the hero section of the home page, we have a single input field and button that allows users to signup for our newsletter.
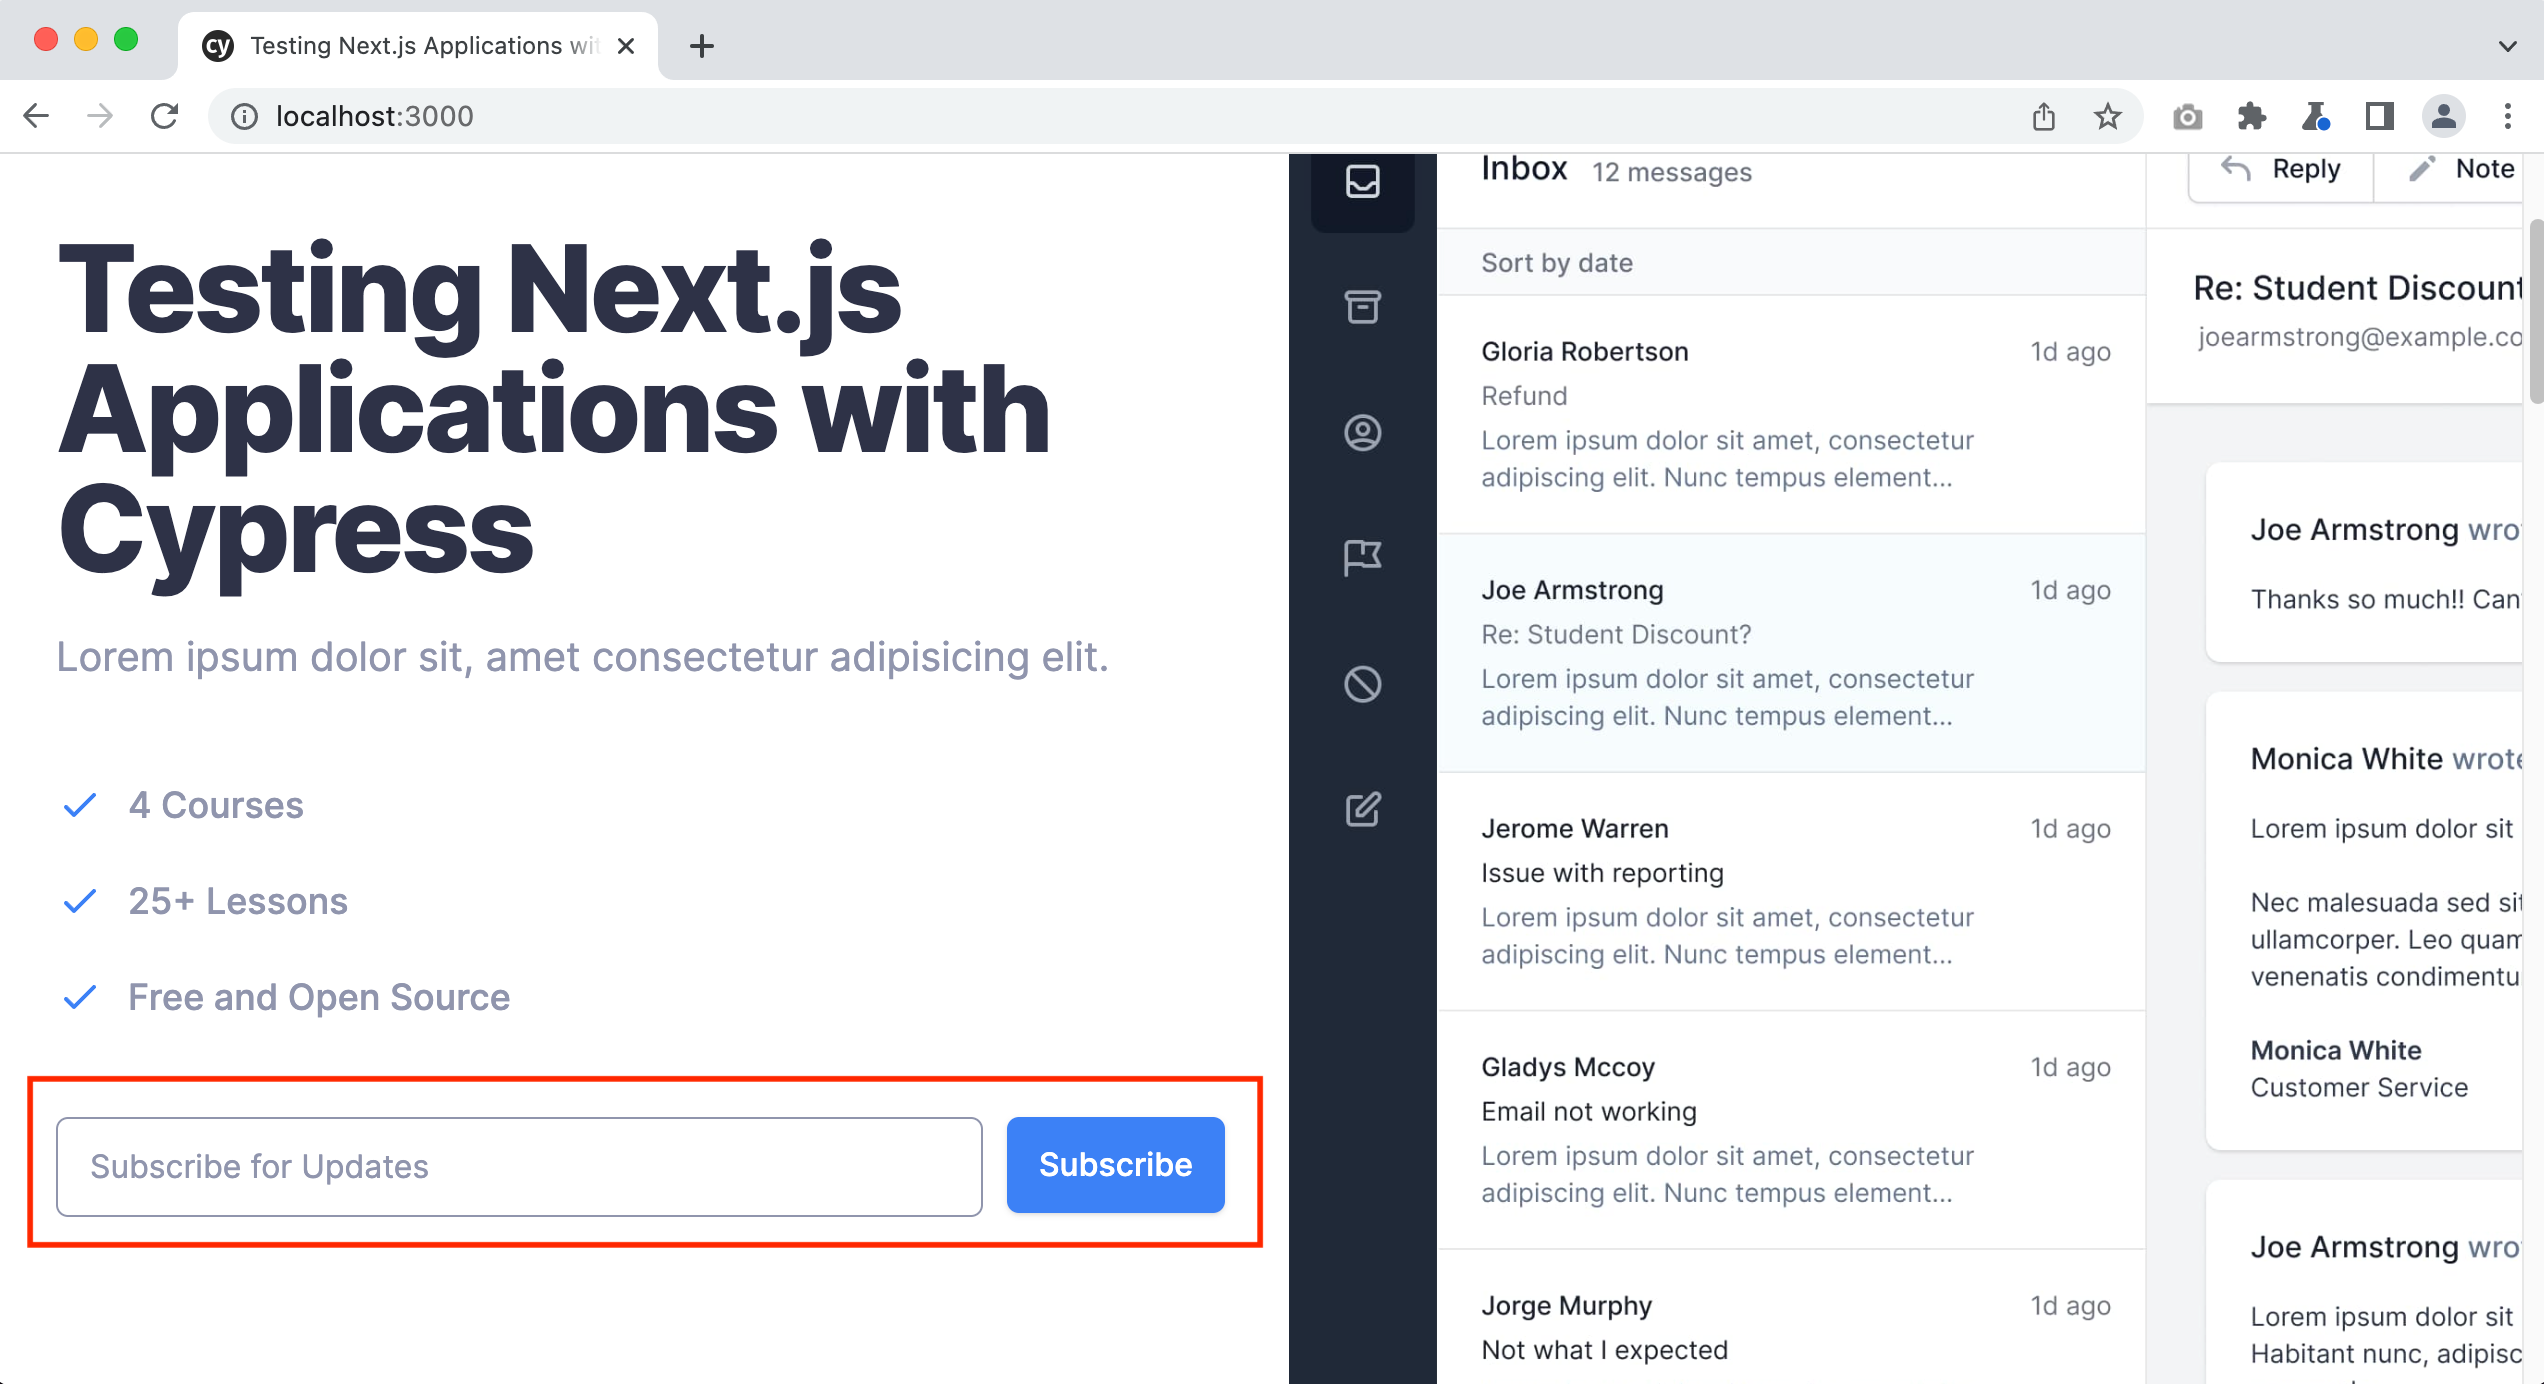
On the surface, this simple form may seem like an easy thing to test, after all, there is only a single input field, right?
Not so fast.
Before we begin writing tests for this form, let's discuss all of the various scenarios our users can experience with this “simple” form.
- How do we know if a user has successfully subscribed to our newsletter?
- What if a user enters a bad email?
- Does the form display a success message when a user has signed up successfully?
- Does the form display an error message when things go wrong?
- What happens if the user has already subscribed to our newsletter?
- What happens if the input field is blank and they click the subscribe button?
As you can see, this simple form is quite complicated once you begin to think through all of the various scenarios and states a user can experience.
Aside: Happy vs unhappy paths
As we are considering the various scenarios and states a user can experience with our newsletter signup form, we wanted to discuss the topic of “unhappy” vs “happy” paths. This idea is very important when learning how to write tests for your application. When you are considering what to test and which tests you need to write it is important to not only include the “happy” paths, or the paths that a user can take that lead to successful results.
You also need to take into consideration the “unhappy” paths or the paths a user can take that could get them into trouble, throw an error, cause your application to crash, etc. You should also be writing tests to make sure a malicious user cannot get access to information that is private, perform an XSS attack, and more. These are just some of the things you need to be considering as you are testing your application.
Remember the internet is open to the entire world, and some of the users of our application may have ill intent and wish to exploit or “hack” your application for nefarious reasons. Make sure to write tests to try and protect your application and your user's private data from being exposed to the wrong people.
Test: Users can successfully subscribe
In the context of our newsletter signup form, an example of a “happy path” would be when a user enters a valid email address and is able to successfully sign up for our newsletter. An example of an “unhappy path” is when a user enters a bad email and is unable to signup for our newsletter.
Now that we have a better understanding of some of the various scenarios a user can experience with our form, let's write some tests for them.
First, we will write a test that confirms that a user is able to successfully signup for our newsletter.
Create a new file cypress/e2e/subscribe.cy.ts and add the following:
describe("Newsletter Subscribe Form", () => {
  beforeEach(() => {
    cy.visit("http://localhost:3000")
  })

  it("allows users to subscribe to the email list", () => {})
})
Notice that right off the bat, we are adding a beforeEach() hook which we discussed in the previous lesson. The reason for doing this is that every single test in this file is going to need to navigate to the homepage of our application since that is where this form is.
The first thing we need to do is get the email input field of our form like so:
describe("Newsletter Subscribe Form", () => {
  beforeEach(() => {
    cy.visit("http://localhost:3000")
  })

  it("allows users to subscribe to the email list", () => {
    cy.getByData("email-input")
  })
})
Let's run this new spec file and make sure things are working properly.
info
Remember that you need to have both the local dev server npm run dev and cypress running at the same time npx cypress open and in separate terminal windows or tabs.
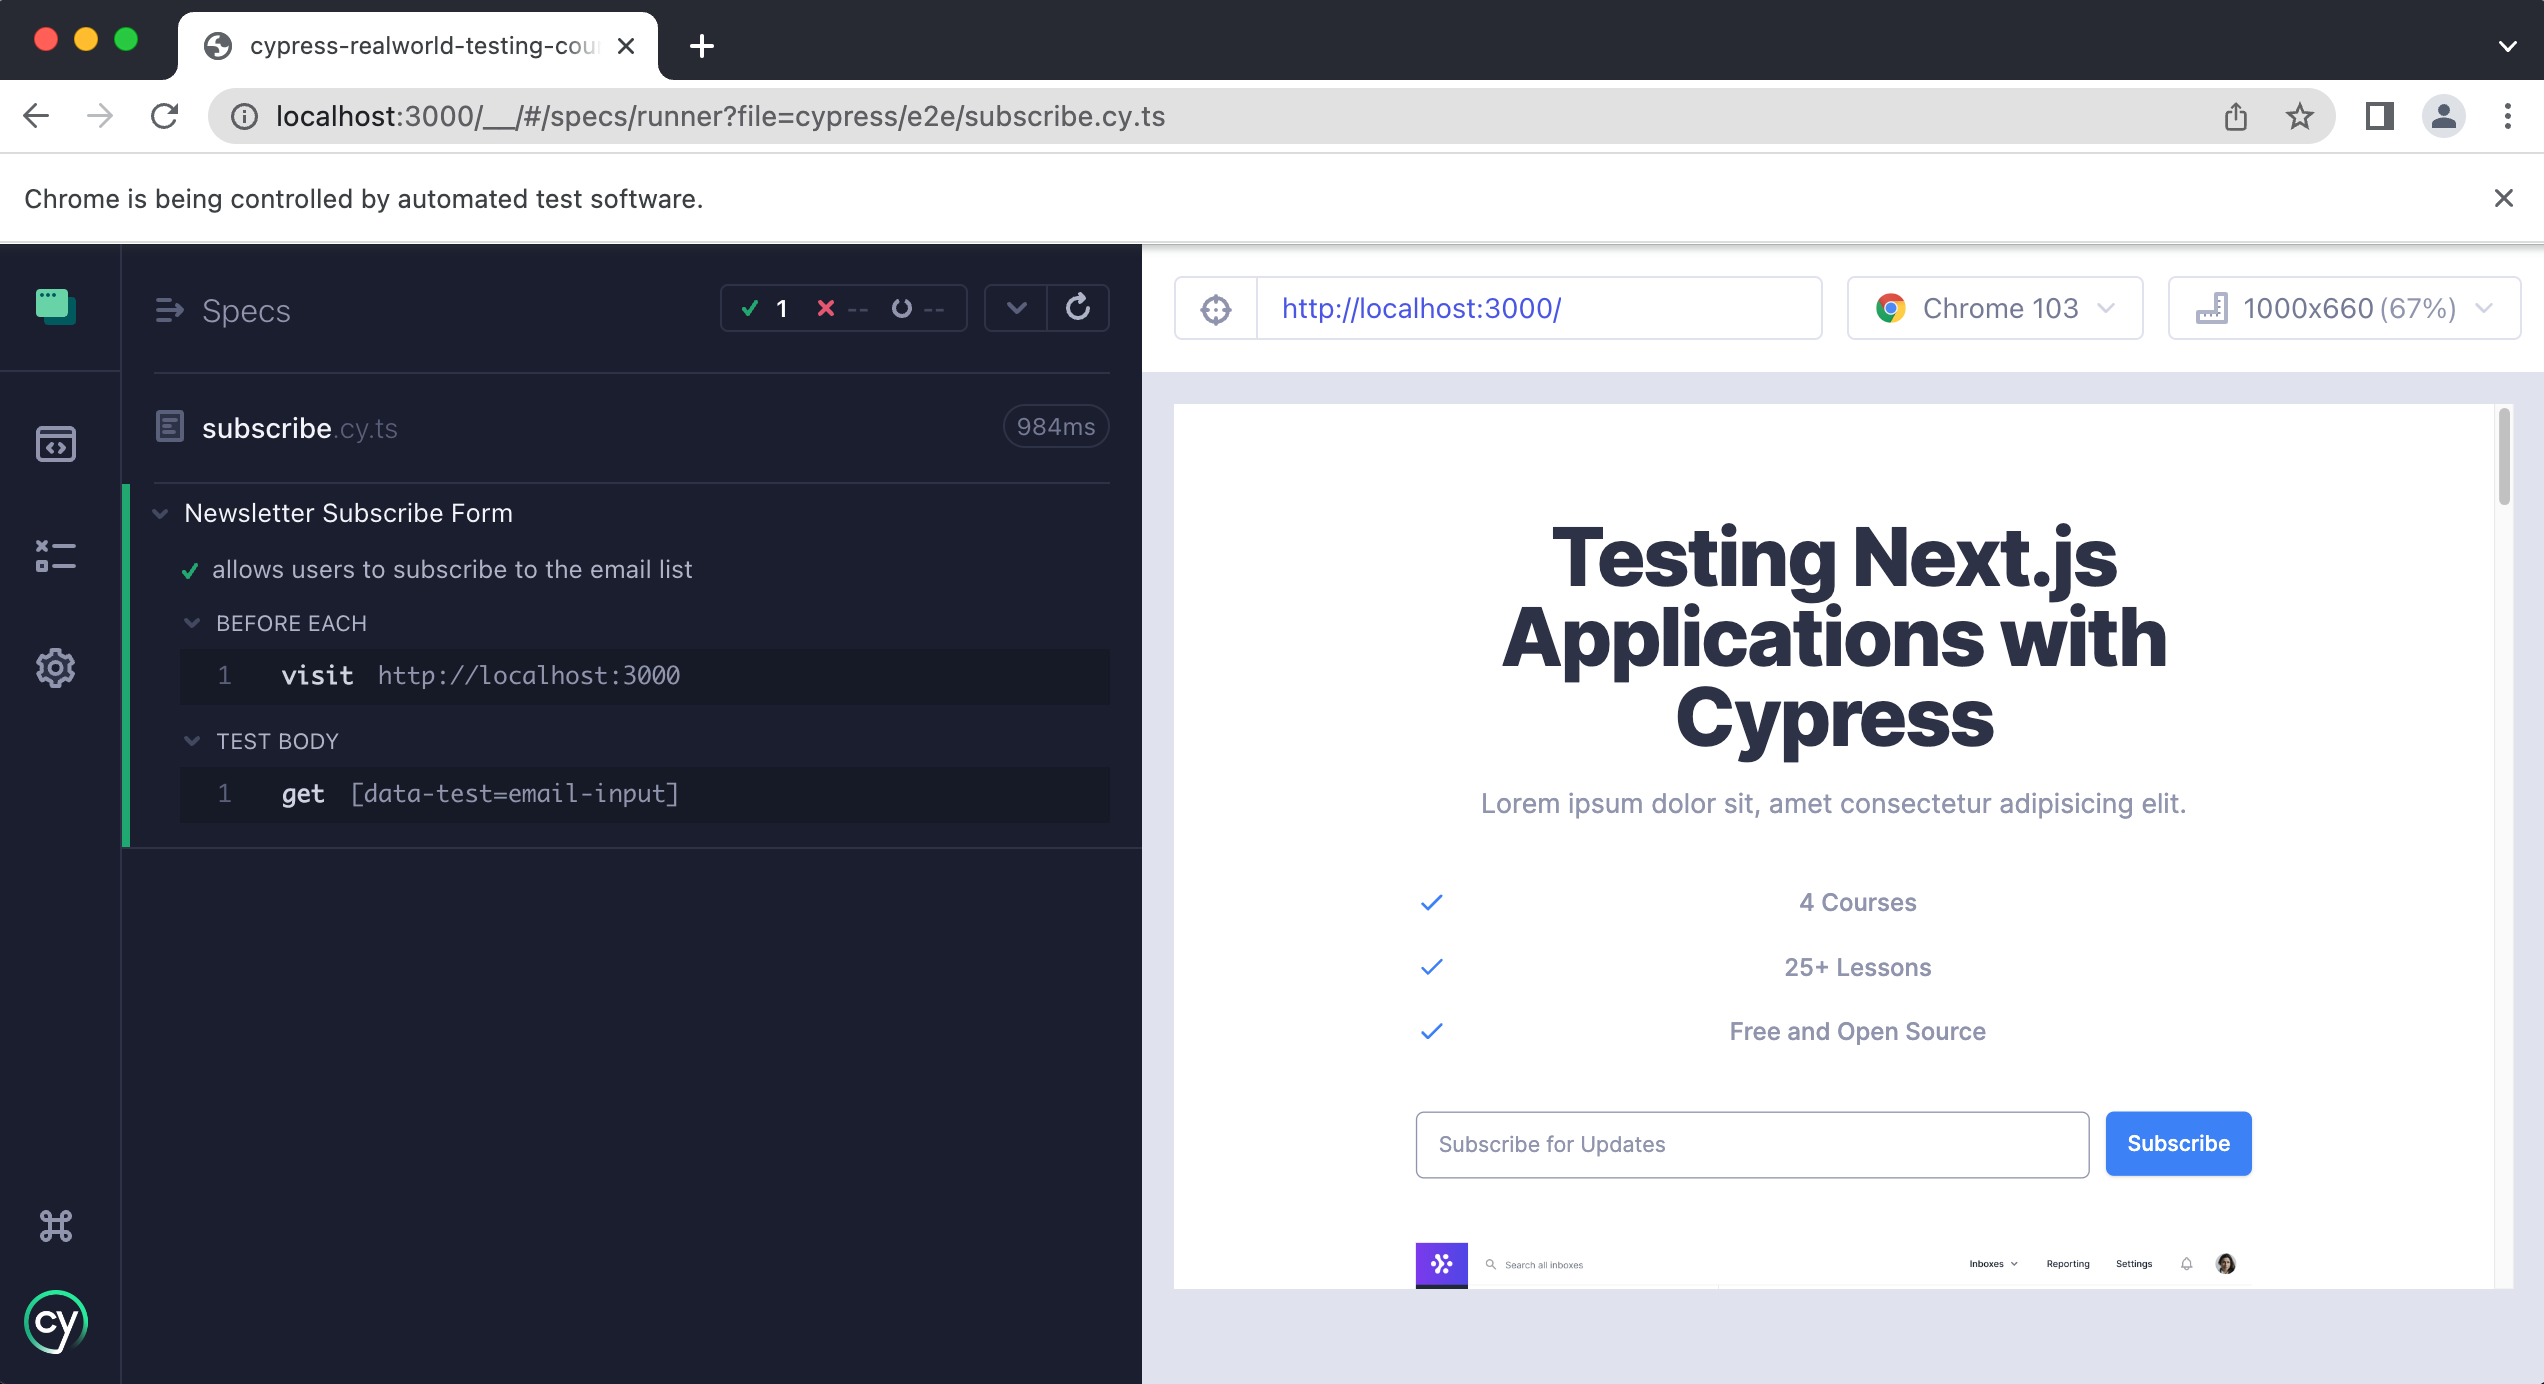
Now that we know things are working properly, let's continue writing our test.
We have the email input element, and now we need to type in a valid email. We can do this by chaining the type method like so:
it("allows users to subscribe to the email list", () => {
  cy.getByData("email-input").type("tom@aol.com")
})
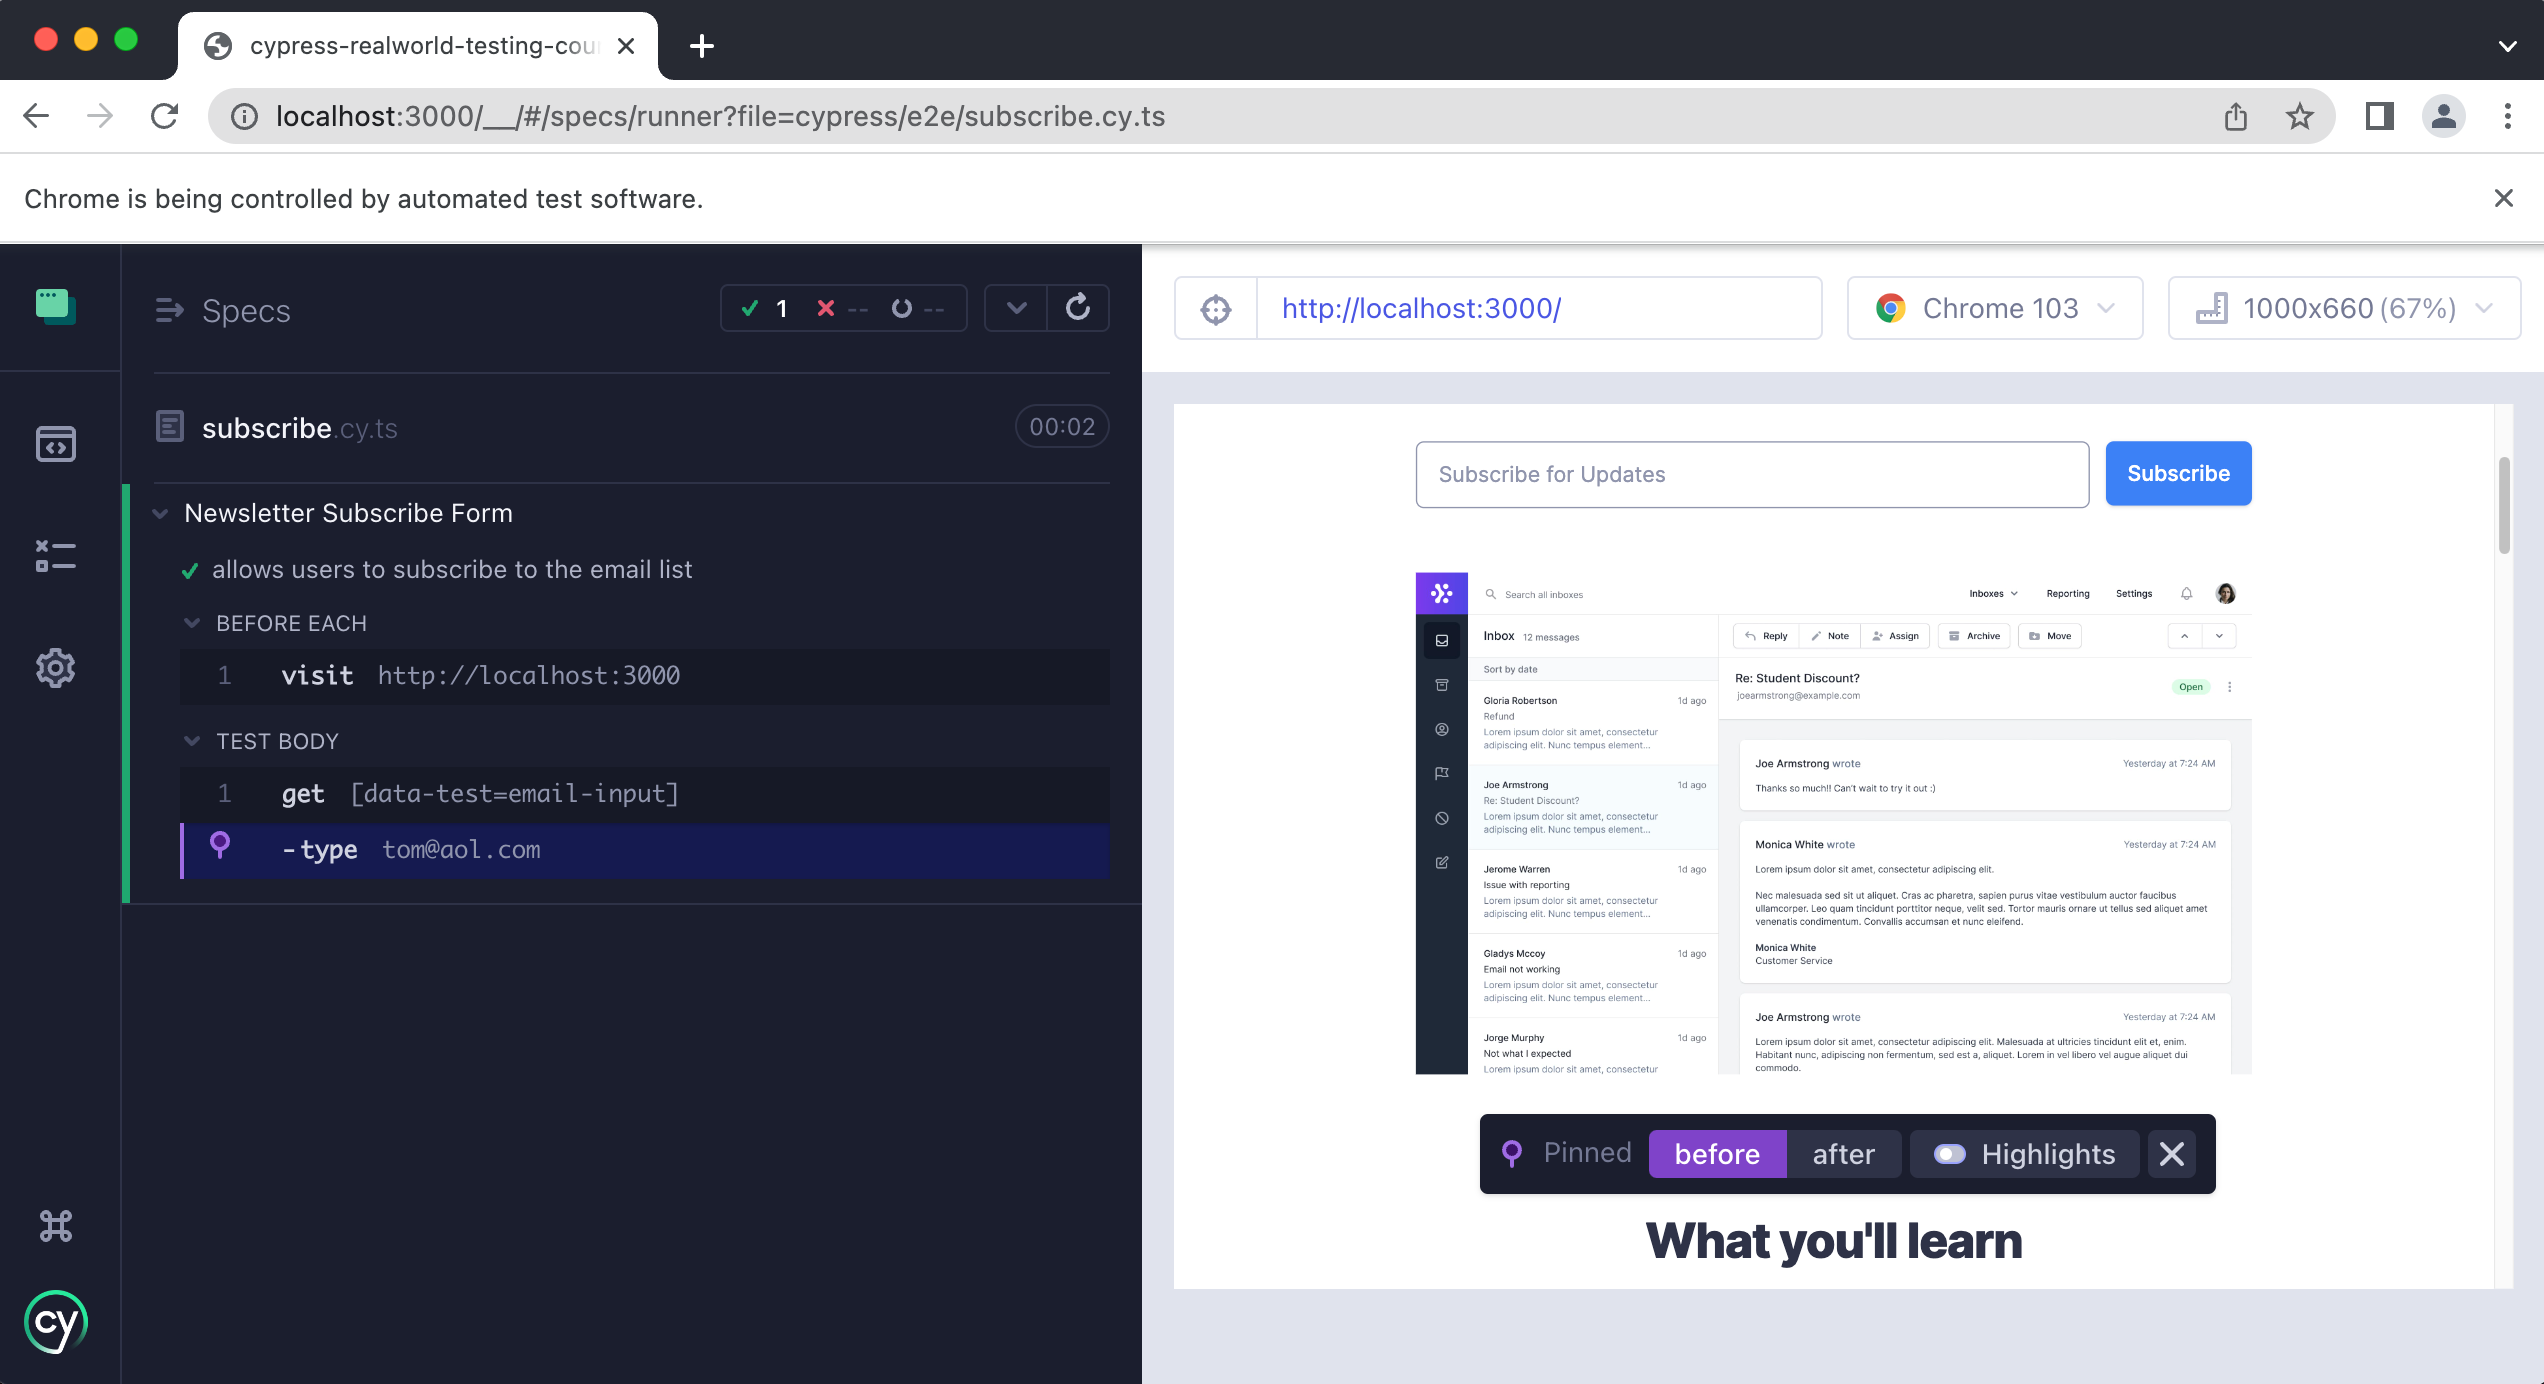
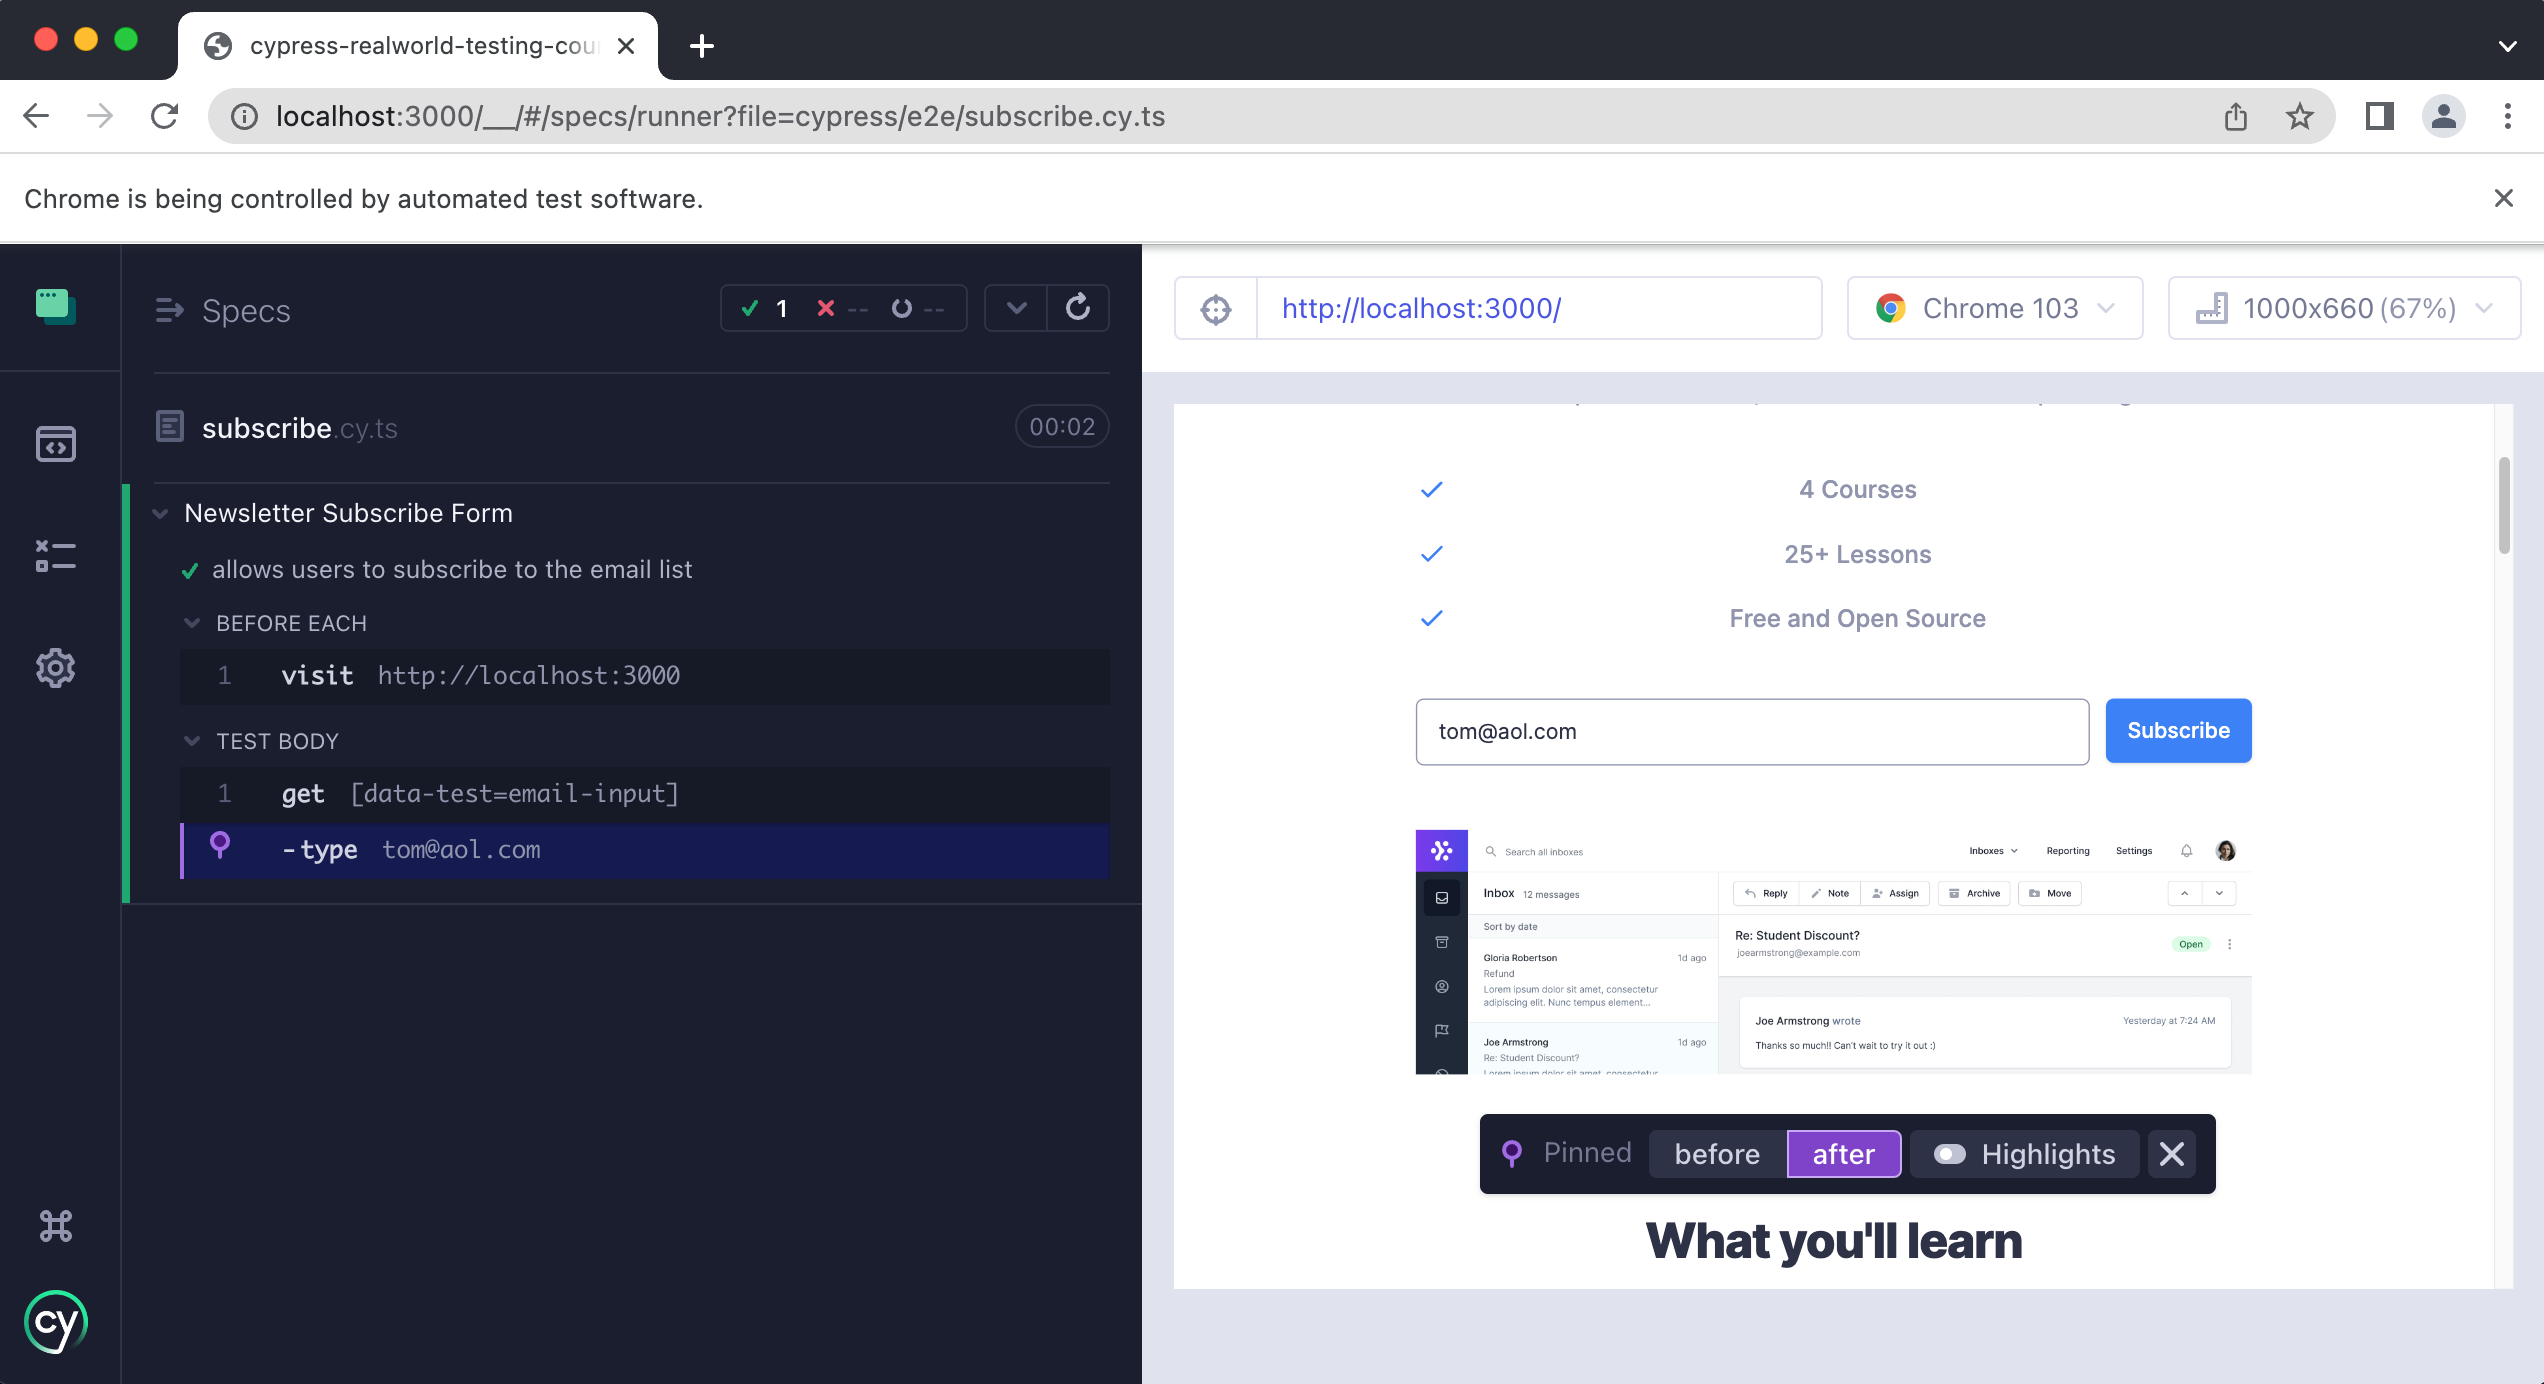
Back in the Cypress app, we can inspect the type method and see the state of our application before we type in the email and after like so:
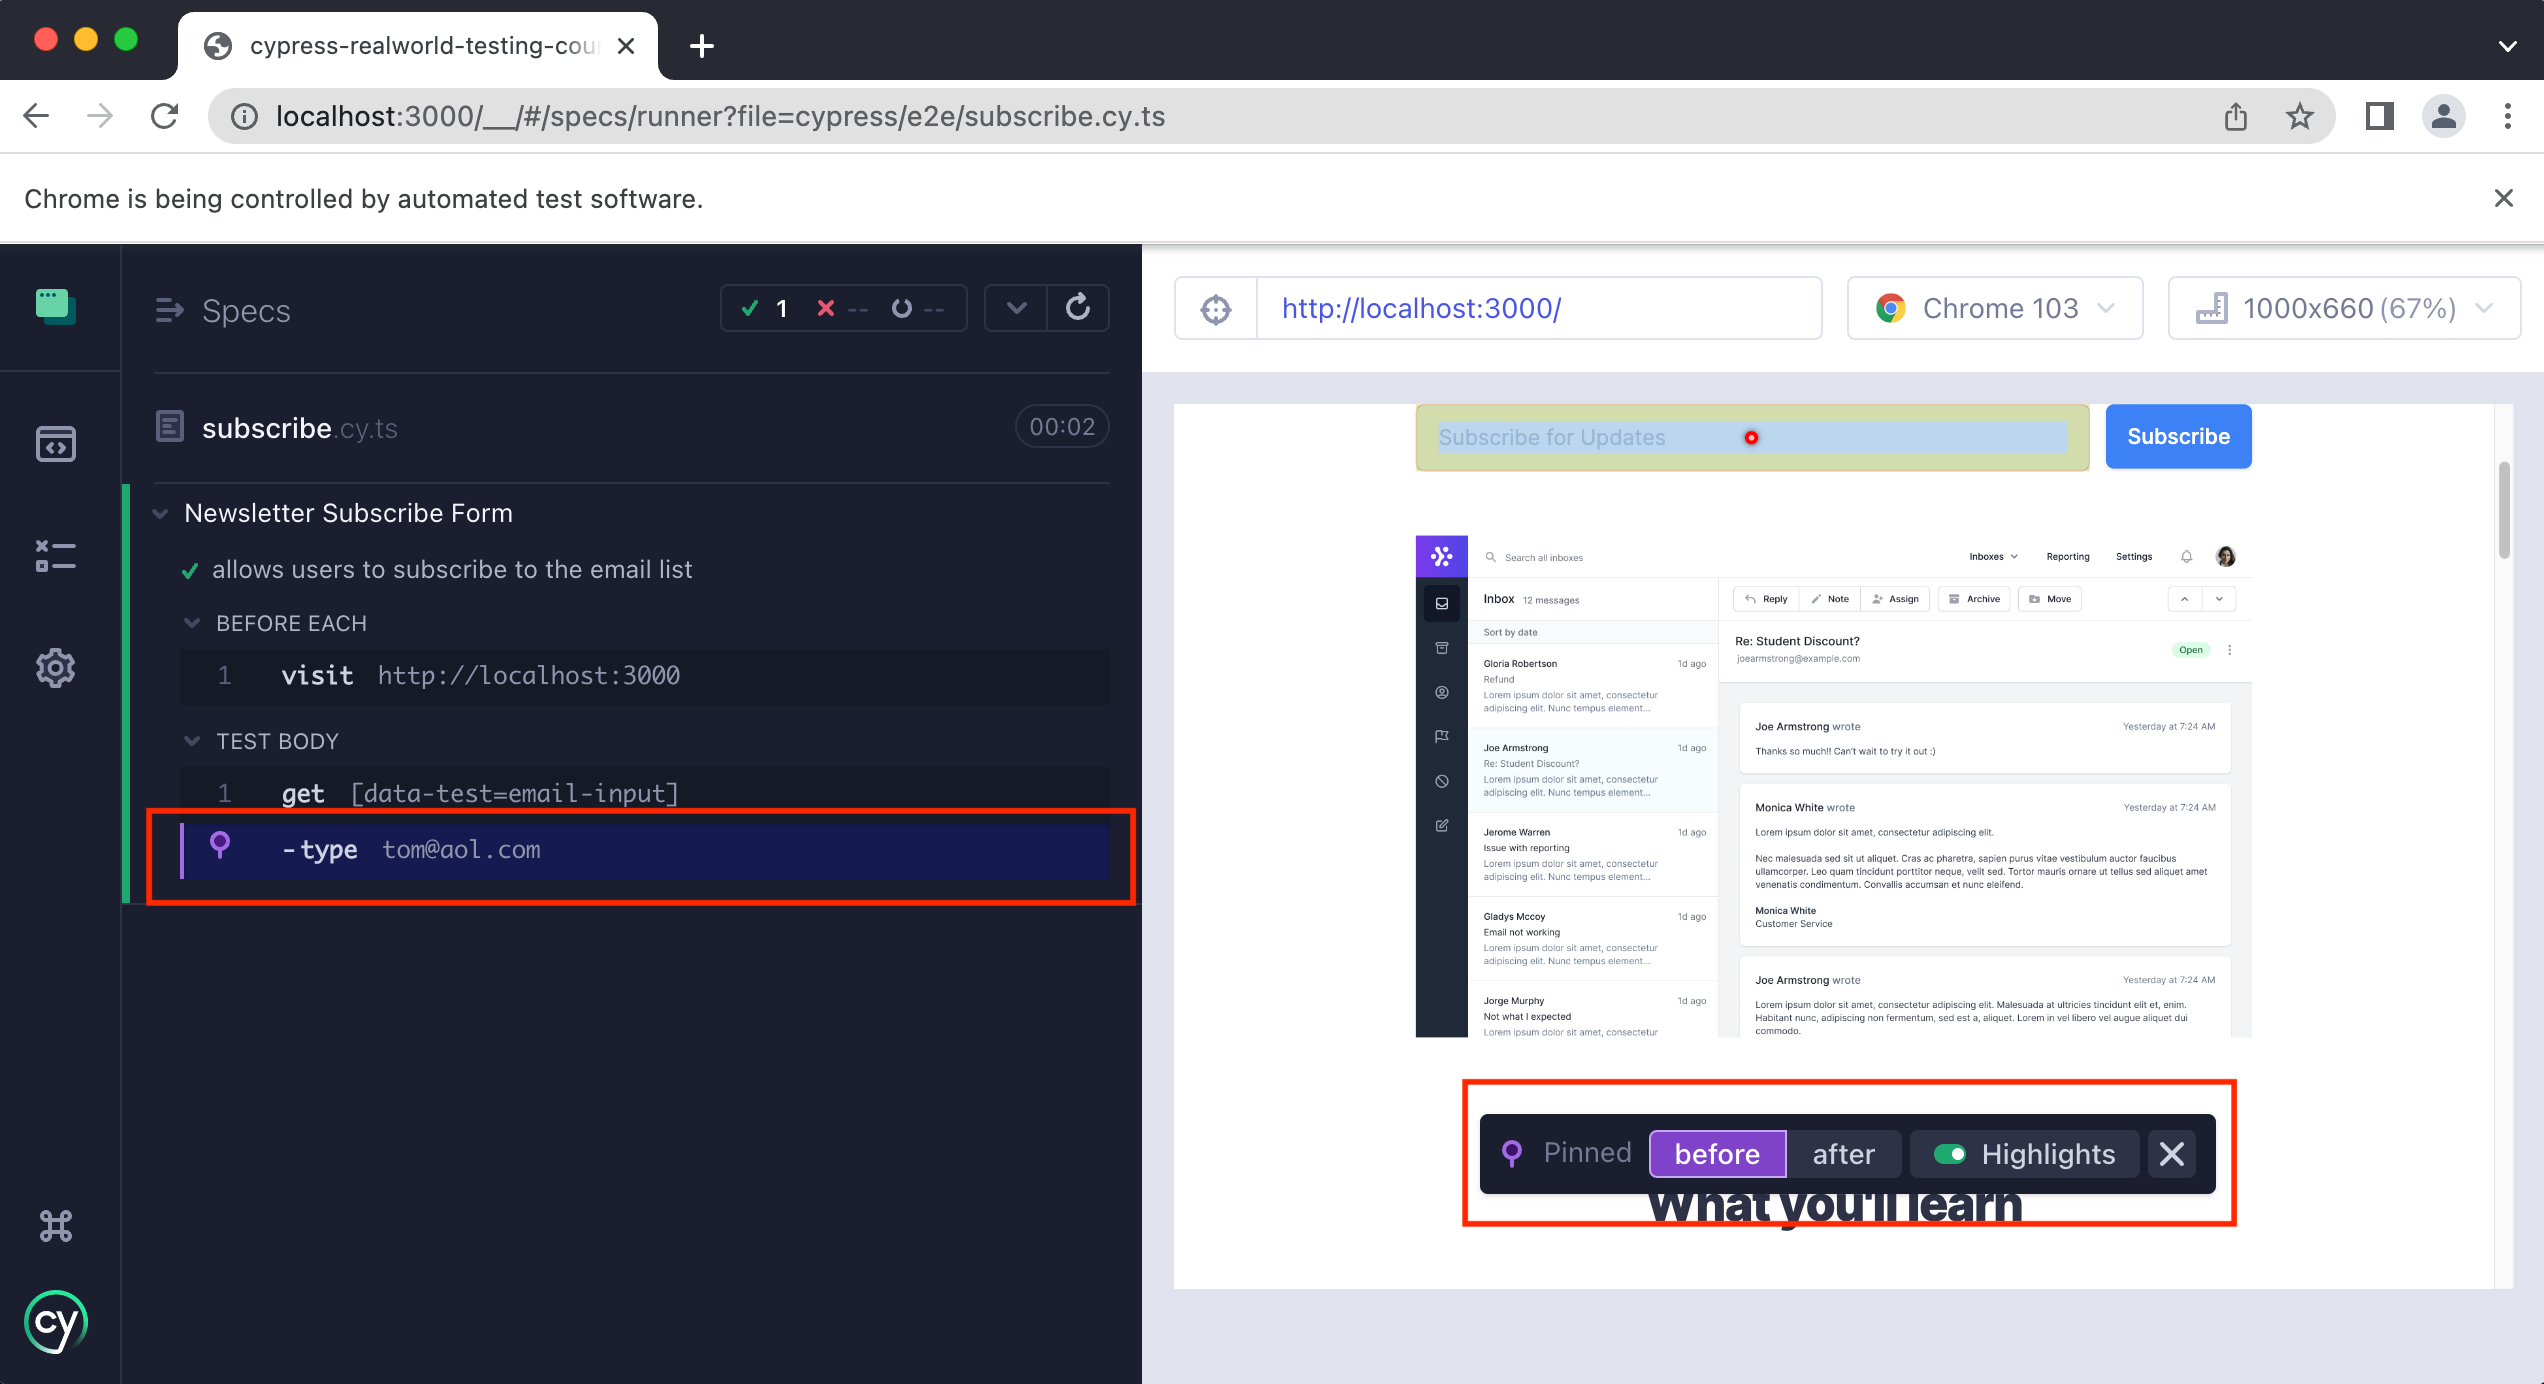
Cypress offers “time travel debugging” which is a powerful way of inspecting exactly what is going on inside of our tests. By clicking on the “type” step we can then click on “before” and “after” and see the state of our app before we type into the input field and after we type into the input field.
Before:
After:
Next, we need to get the “Subscribe” button so that we can click on it and submit the email and our form.
it("allows users to subscribe to the email list", () => {
  cy.getByData("email-input").type("tom@aol.com")
  cy.getByData("submit-button").click()
})
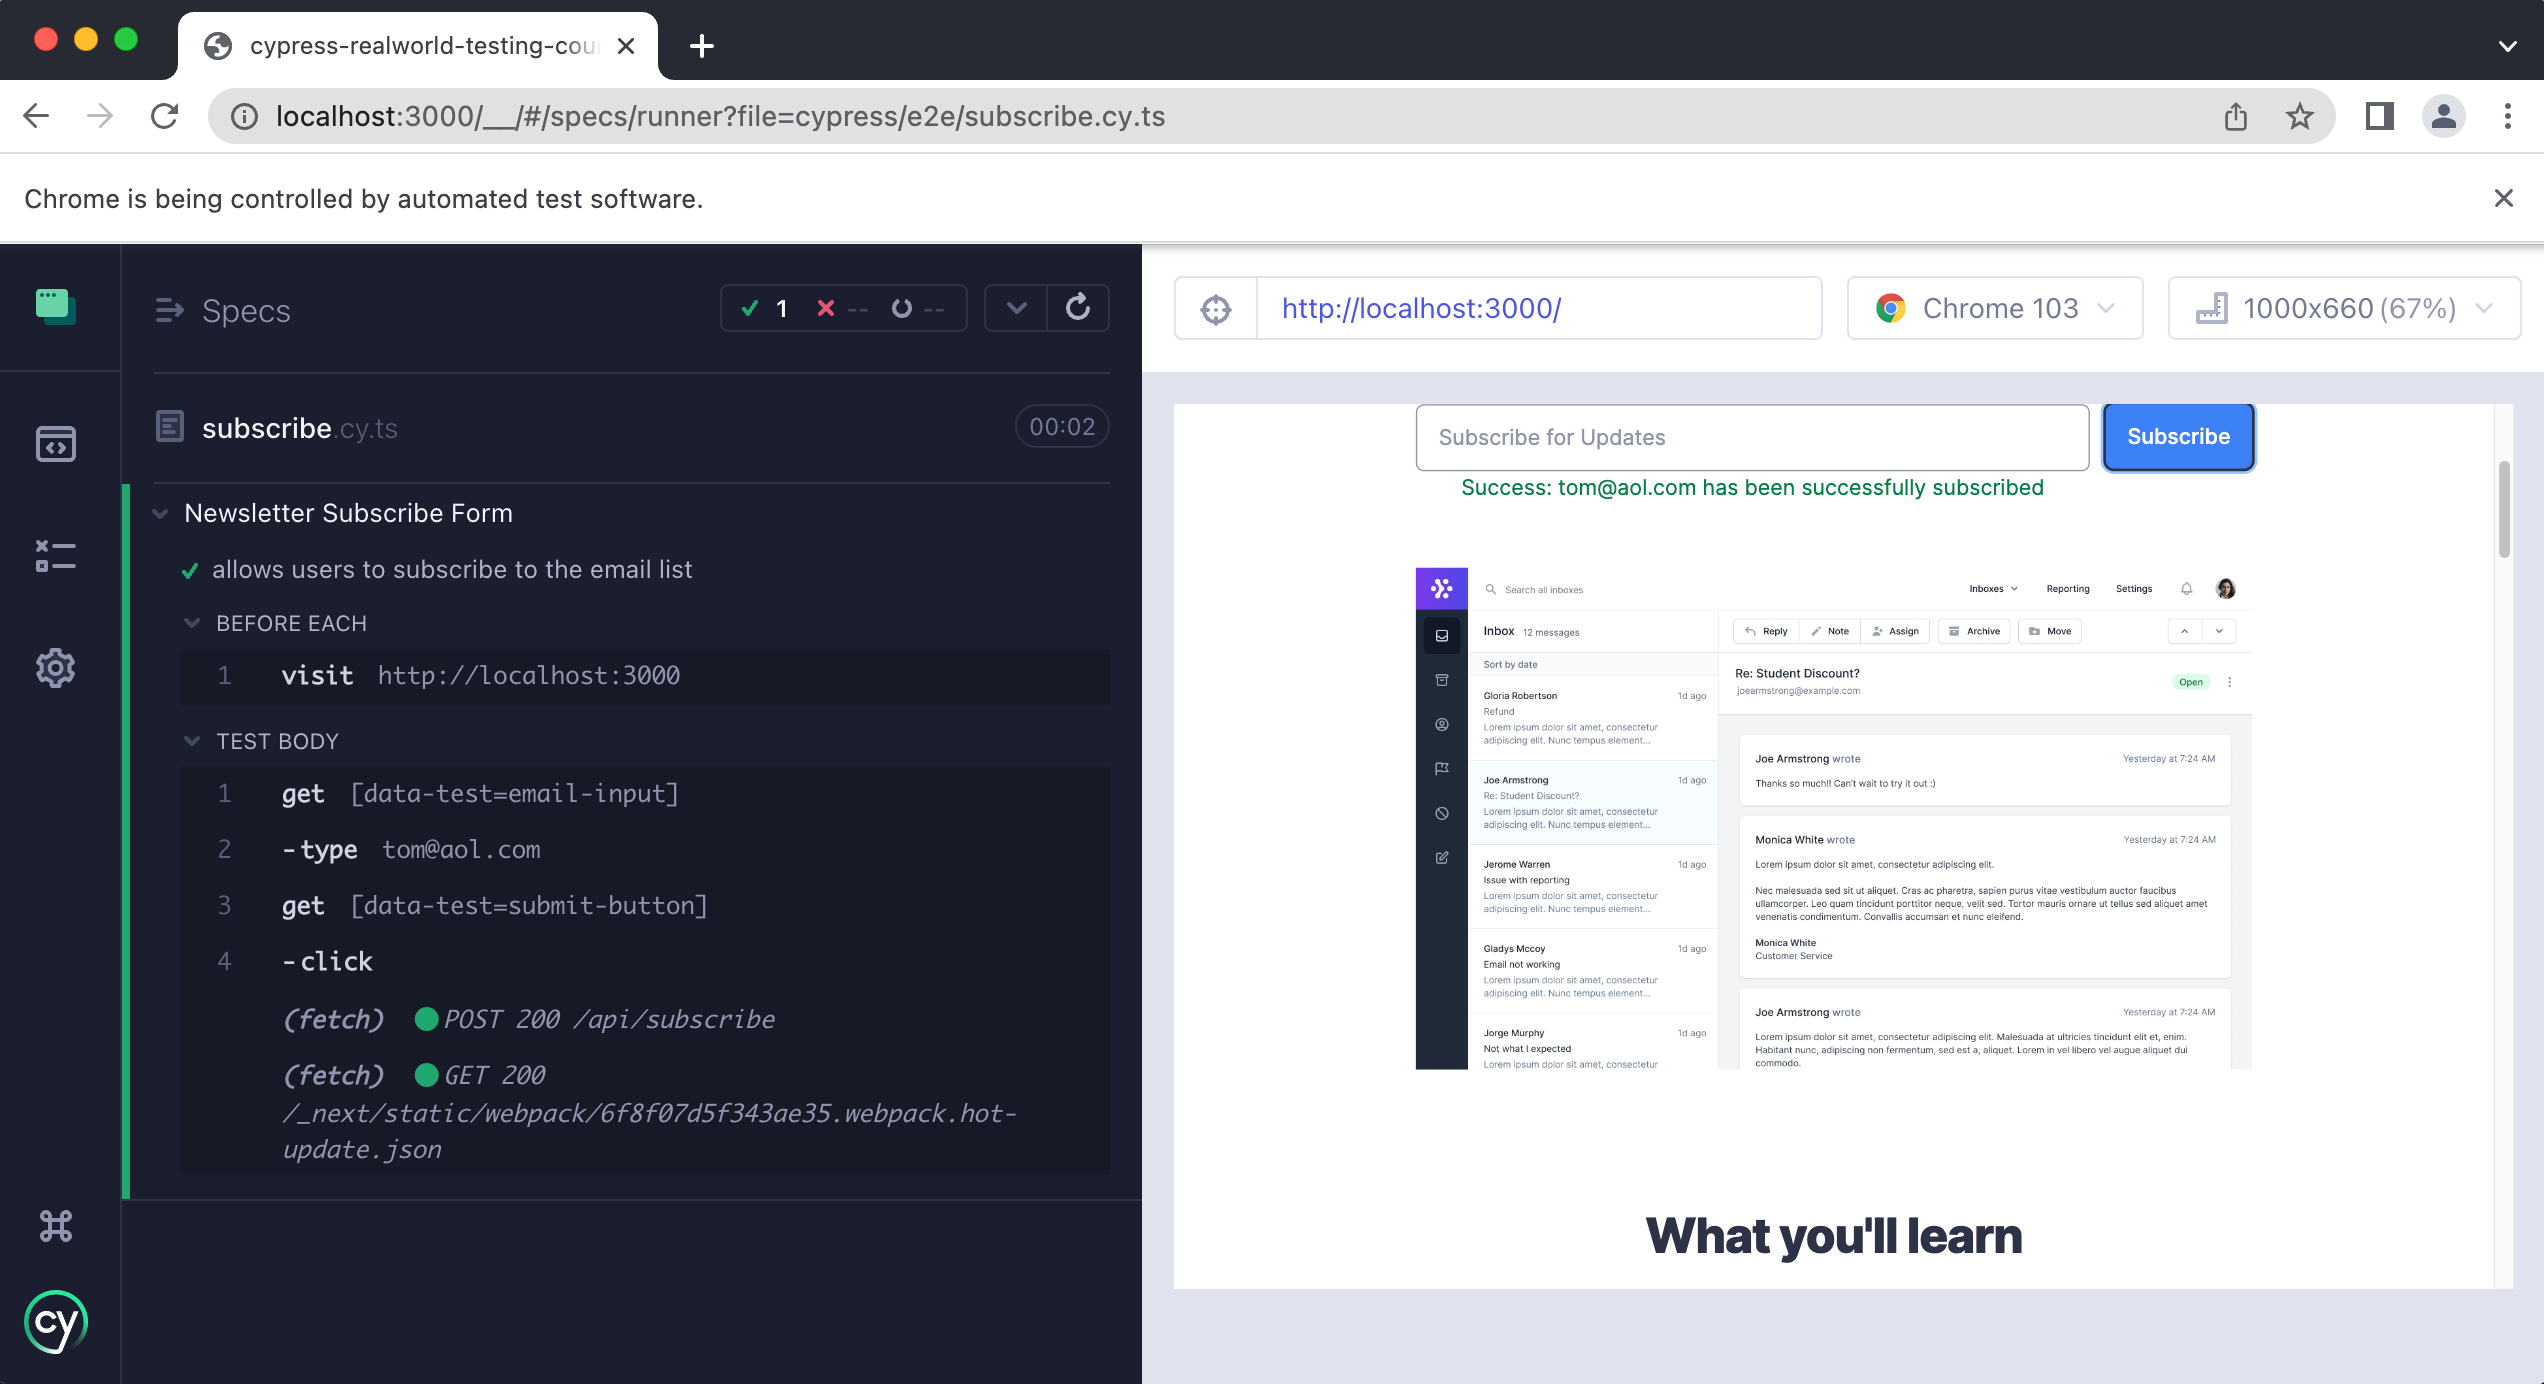
In the Cypress app, we can see a success message displayed to the user letting them know that they have subscribed successfully. Let's write an assertion to make sure that this message appears after successful submission.
First, let's get the success message element on the page.
it("allows users to subscribe to the email list", () => {
  // ...
  cy.getByData("success-message")
})
Then we want to make sure that the success message element “exists” in the DOM, like so:
it("allows users to subscribe to the email list", () => {
  // ...
  cy.getByData("success-message").should("exist")
})
Finally, we want to assert that the message contains the email address that was successfully subscribed.
it("allows users to subscribe to the email list", () => {
  // ...
  cy.getByData("success-message").should("exist").contains("tom@aol.com")
})
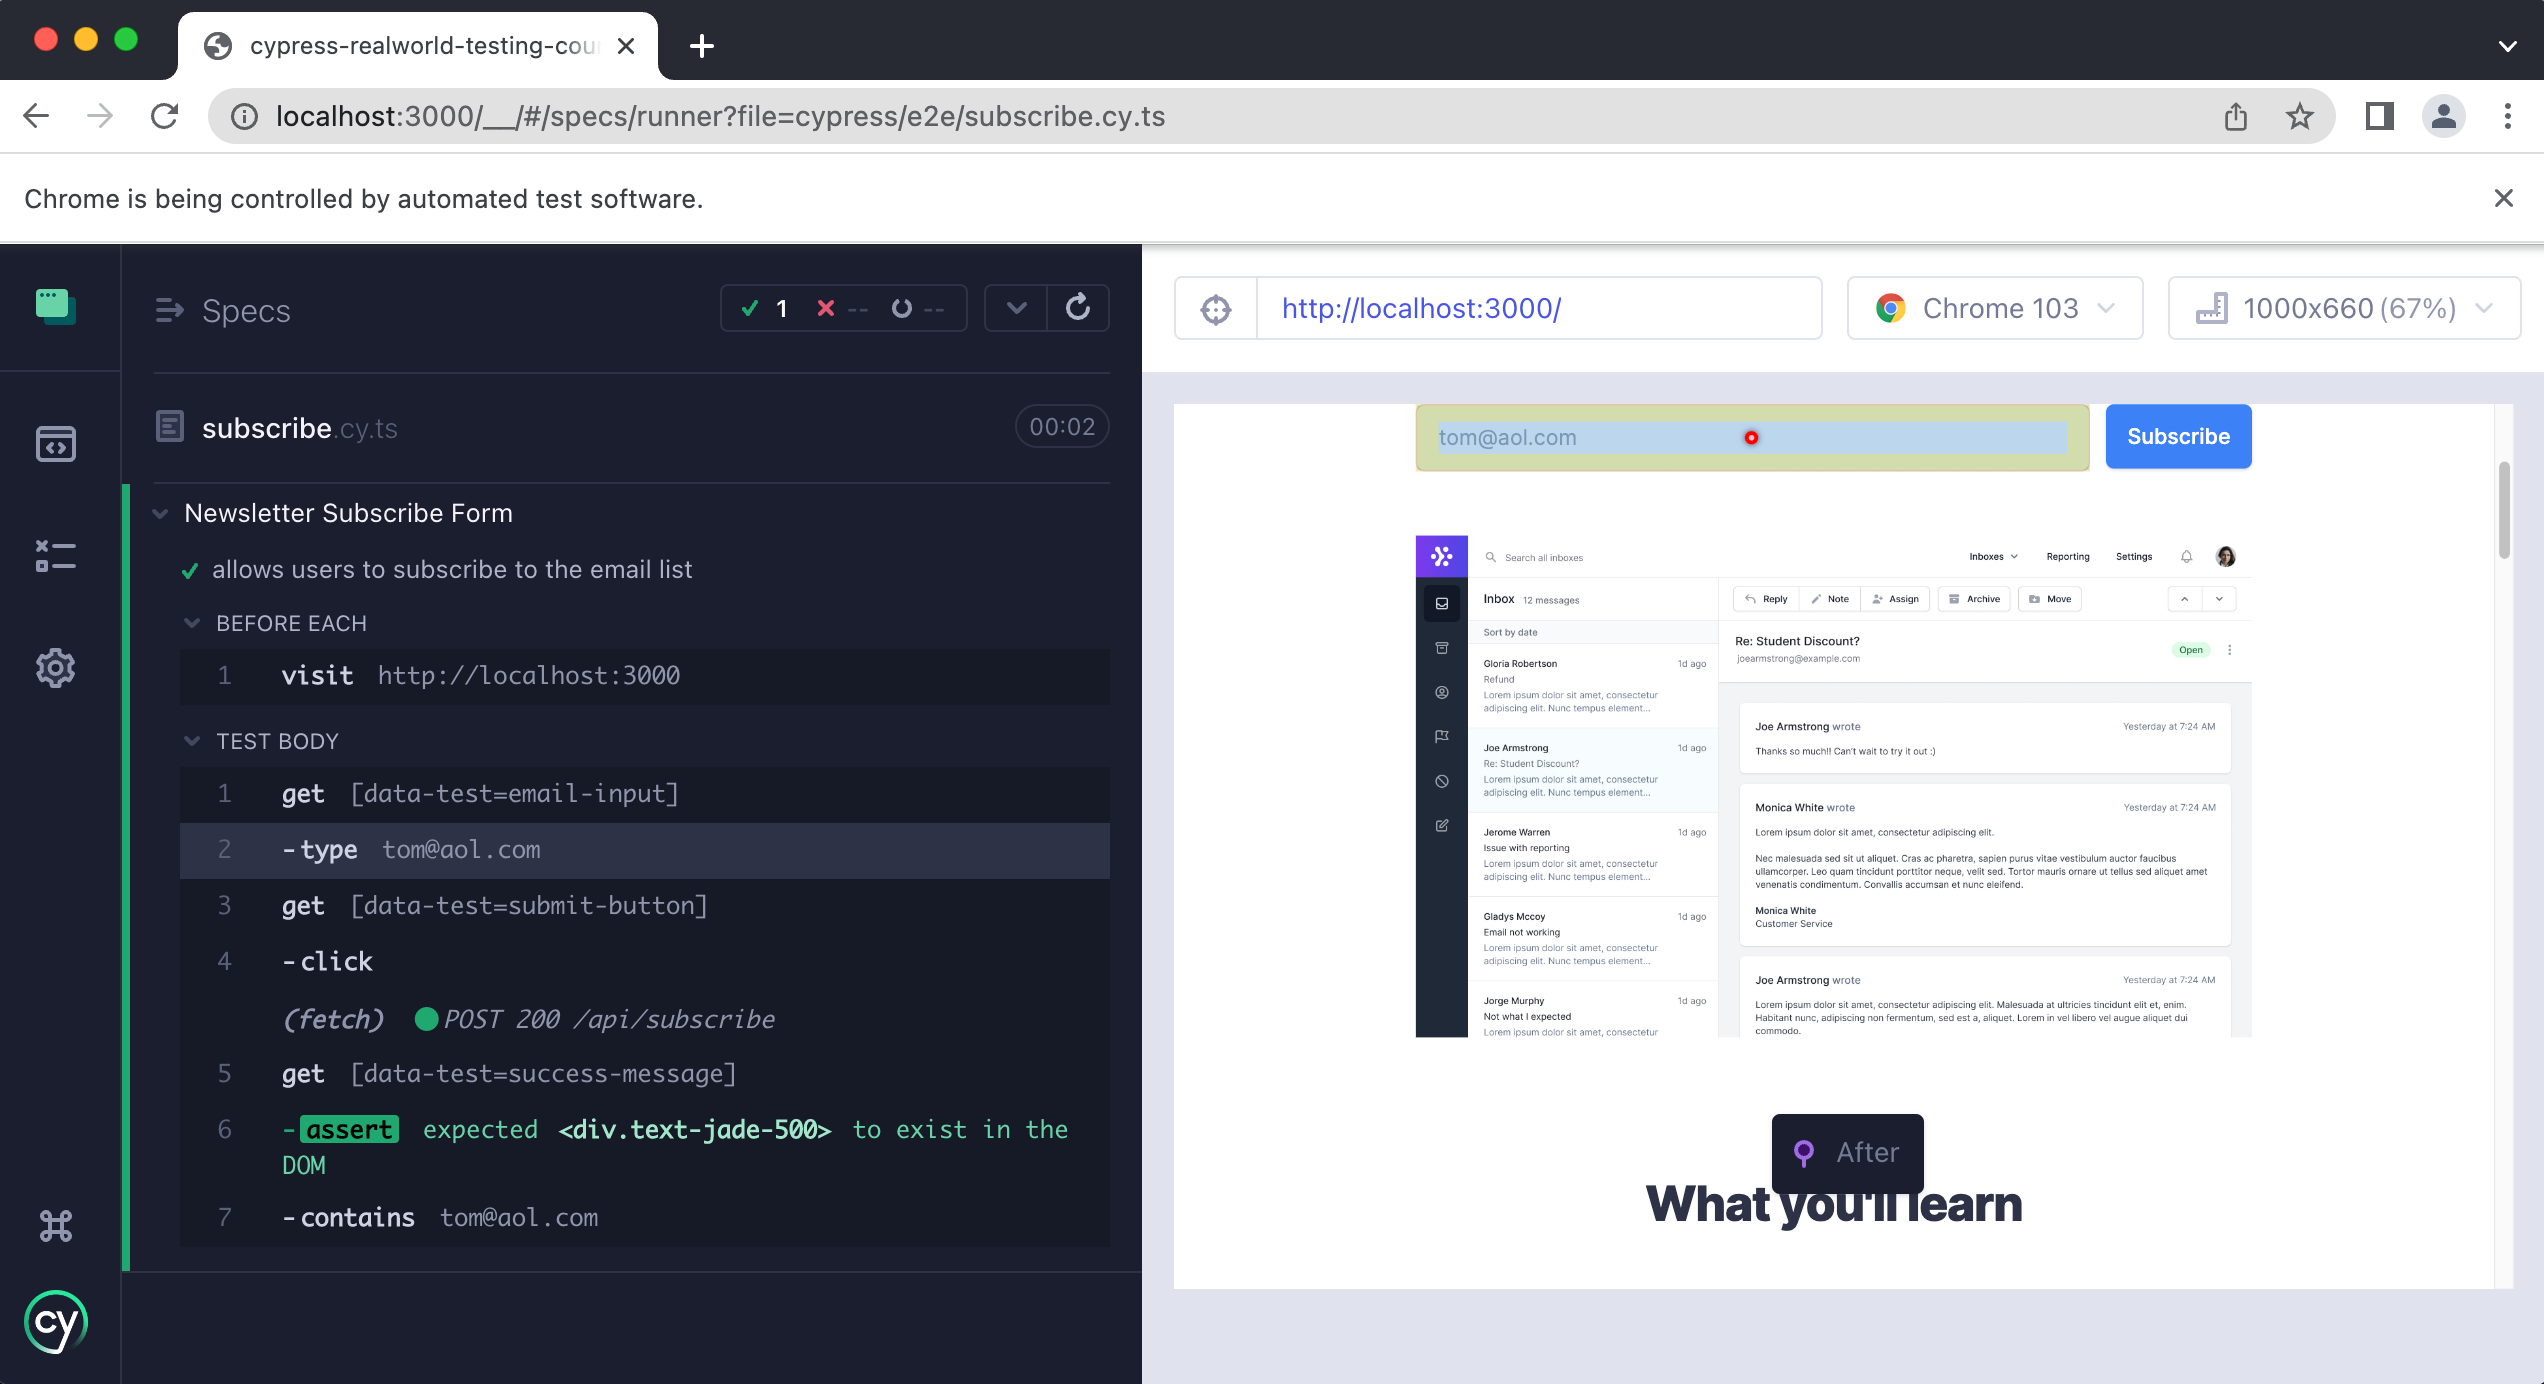
The entire subscribe.cy.ts spec file should look like this:
describe("Newsletter Subscribe Form", () => {
  beforeEach(() => {
    cy.visit("http://localhost:3000")
  })

  it("allows users to subscribe to the email list", () => {
    cy.getByData("email-input").type("tom@aol.com")
    cy.getByData("submit-button").click()
    cy.getByData("success-message").should("exist").contains("tom@aol.com")
  })
})
Reminder: How to find data-test attributes
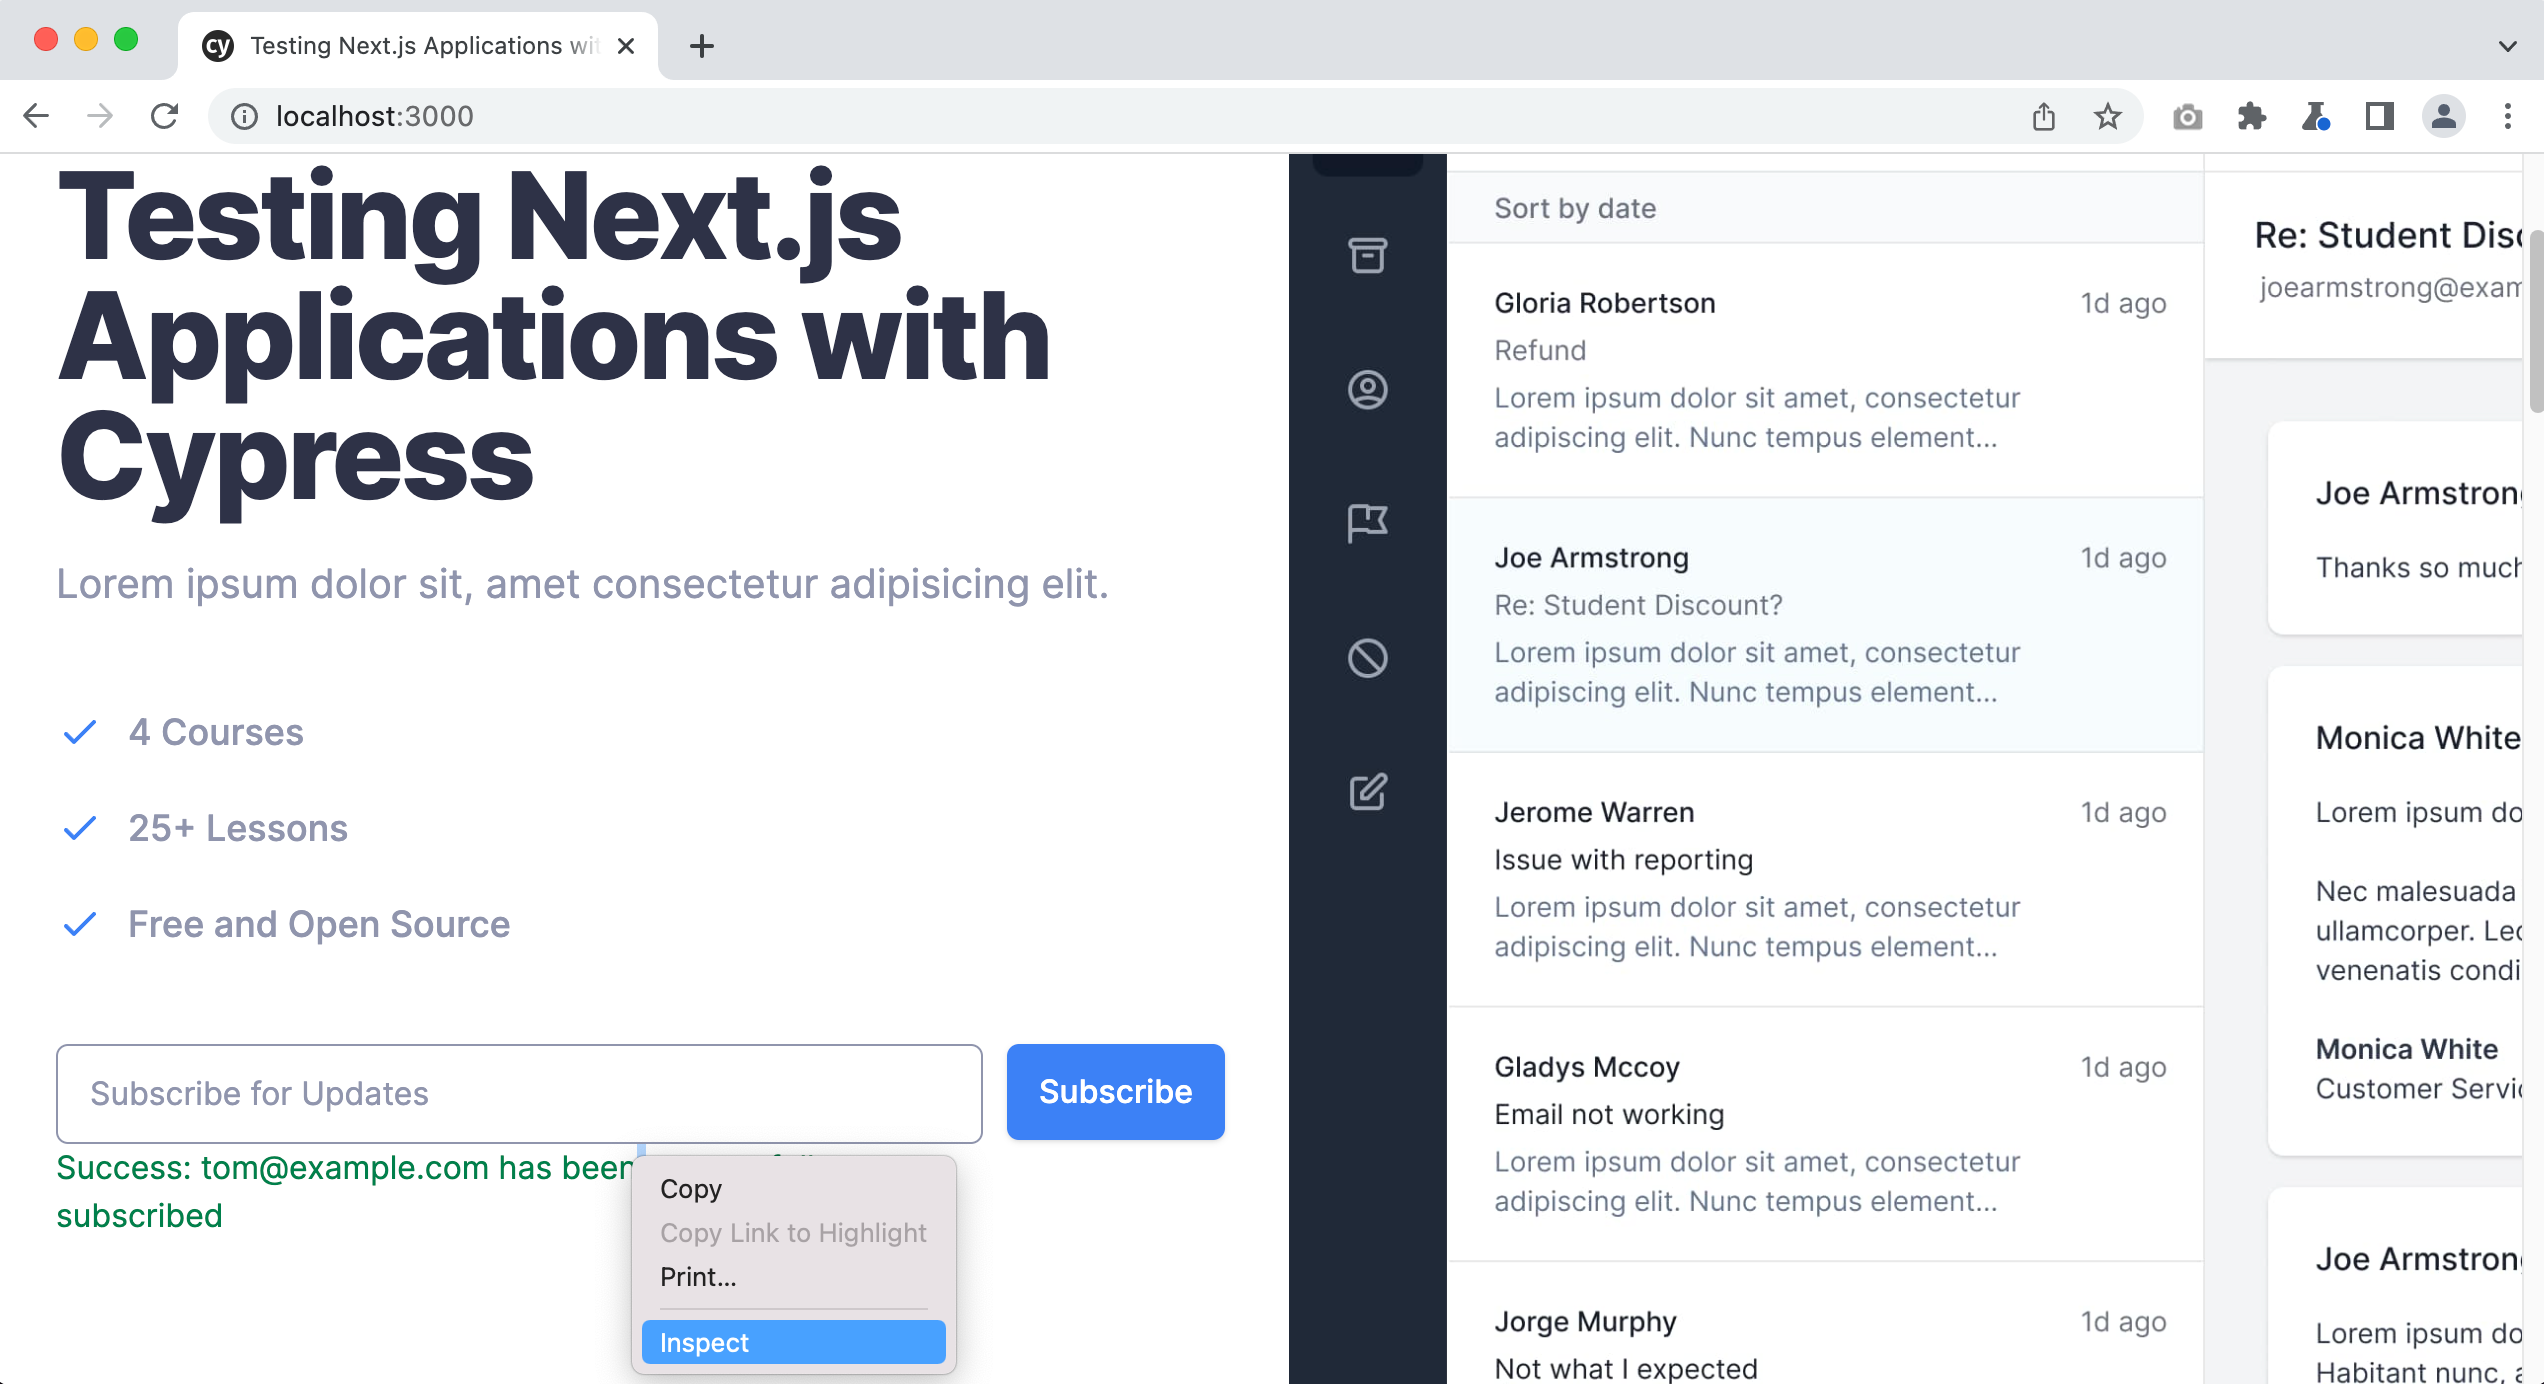
If you have been following along up until this point and are confused as to how we are finding the data-test attributes on each element, remember you have two tools at your disposal. The first is the developer tools within your browser. You can open them by right-clicking on any element on the page and then selecting “inspect.” like so:
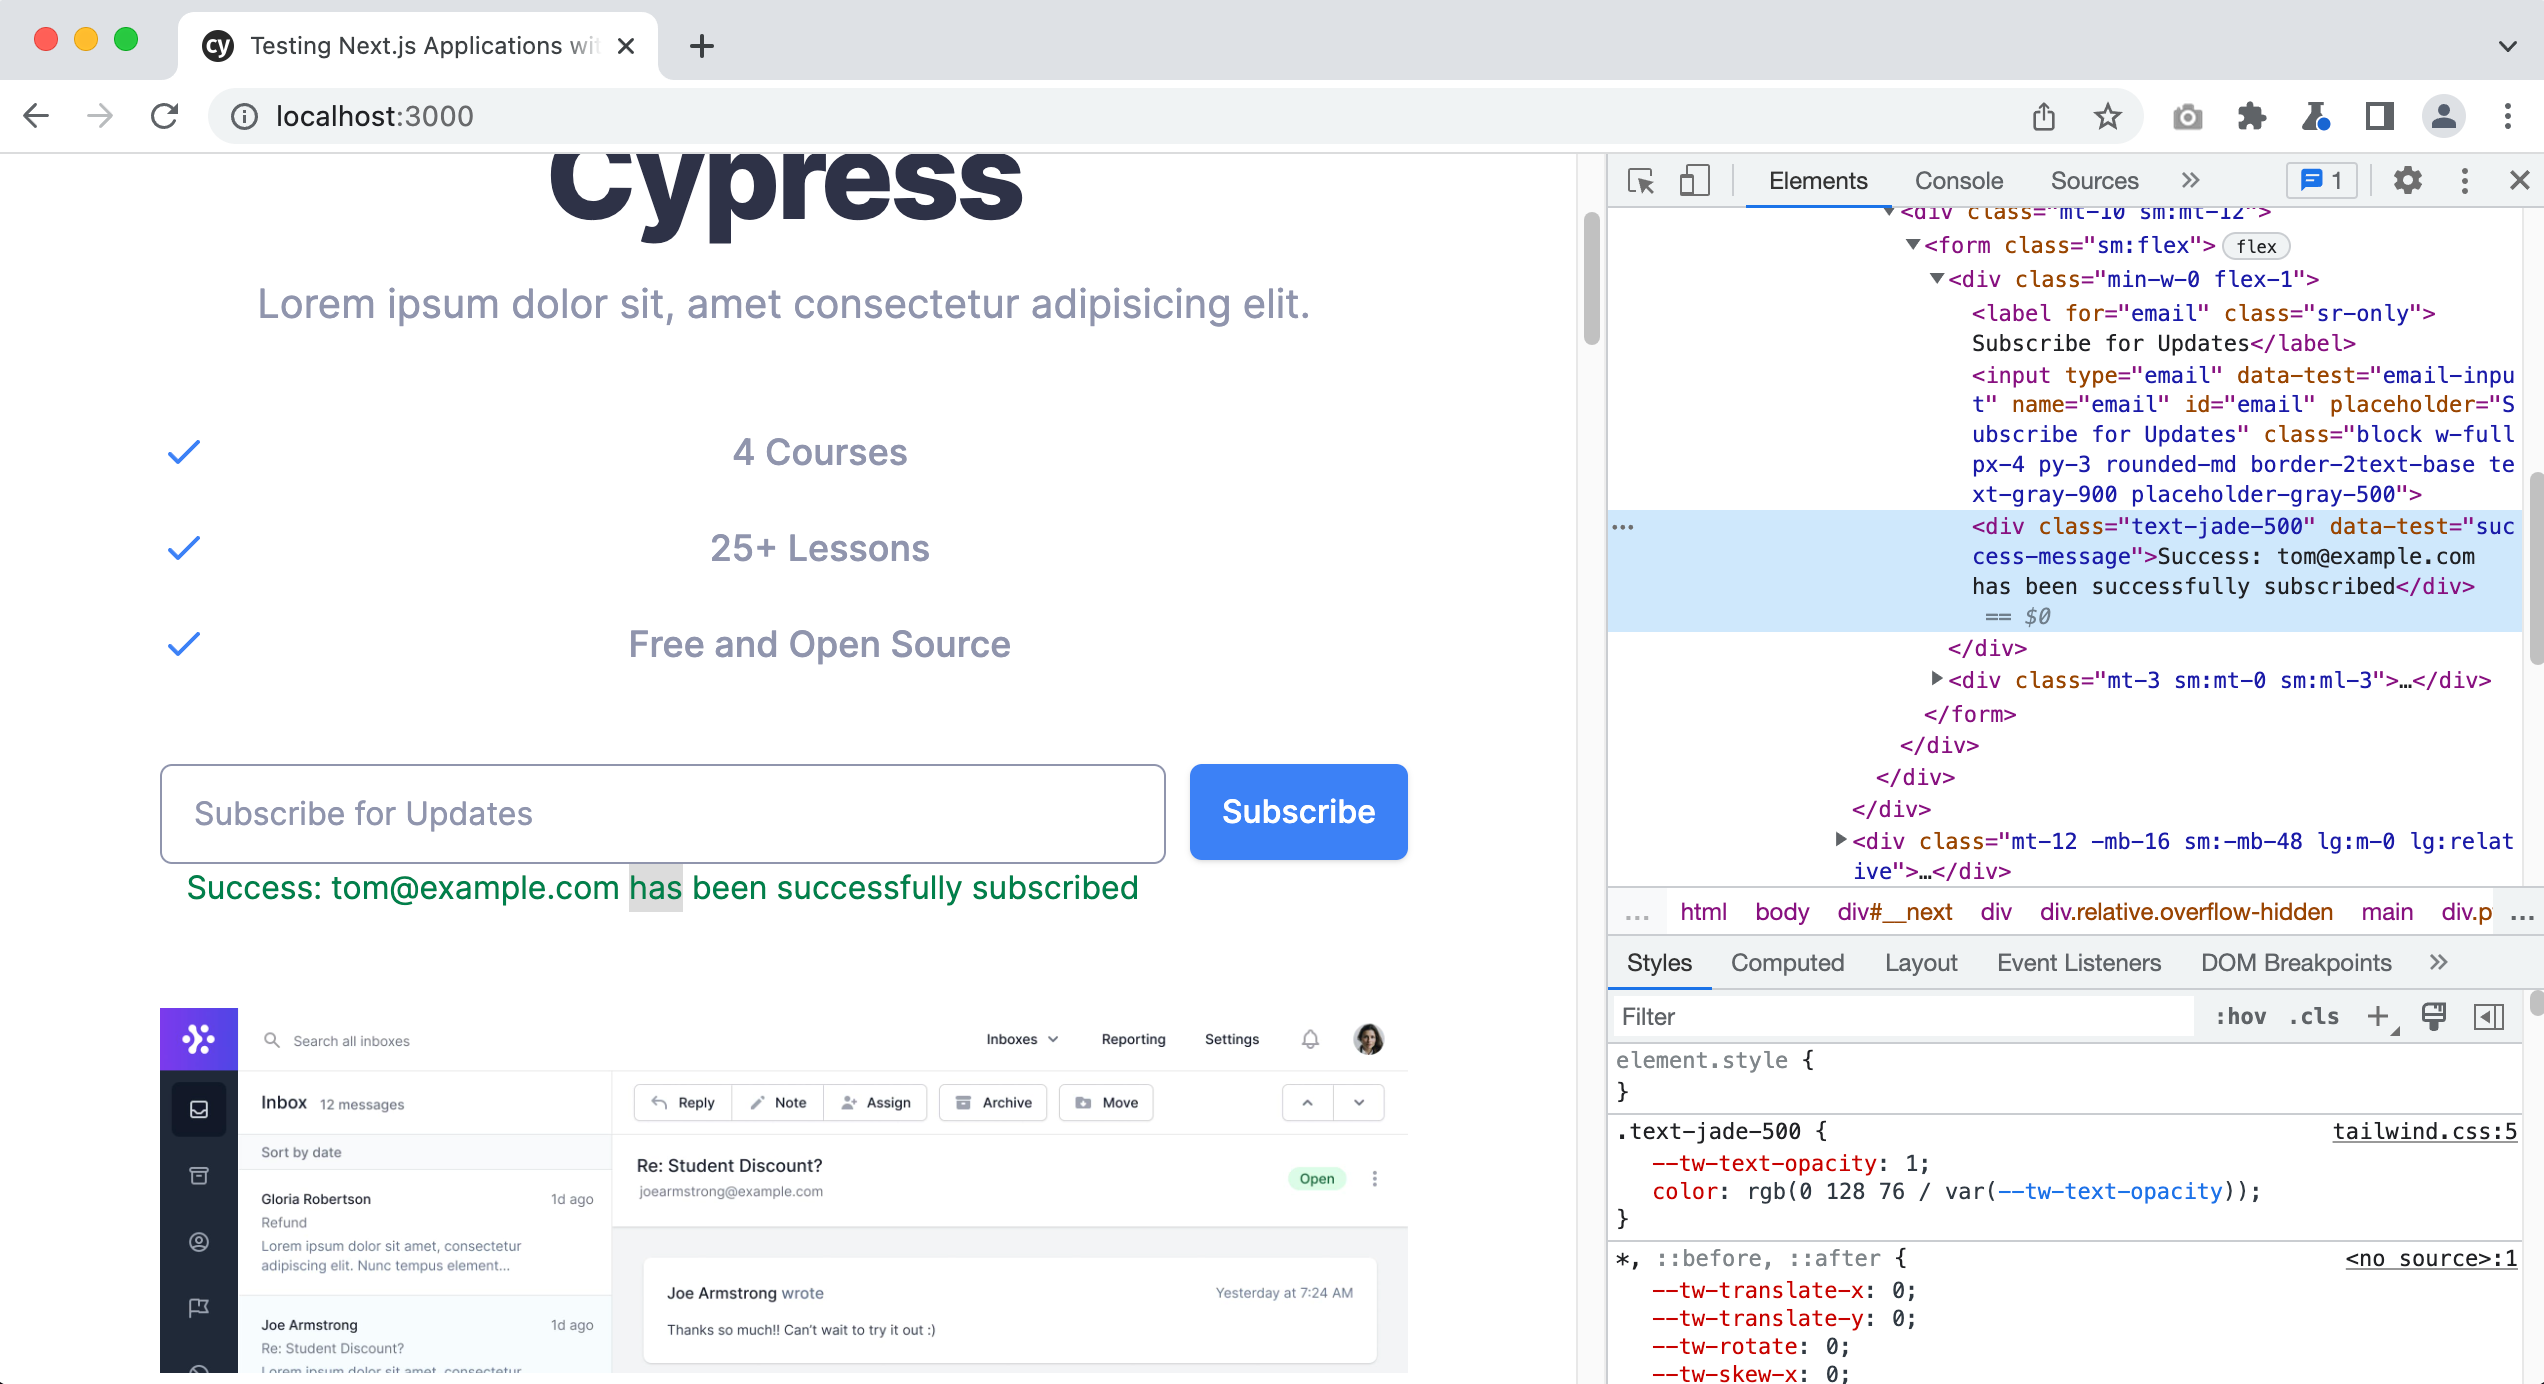
You can also open them with the keyboard shortcut cmd + option + i on a mac and ctrl + shift + i on windows.
Or, you can also use the “selector playground” in the Cypress app like so:
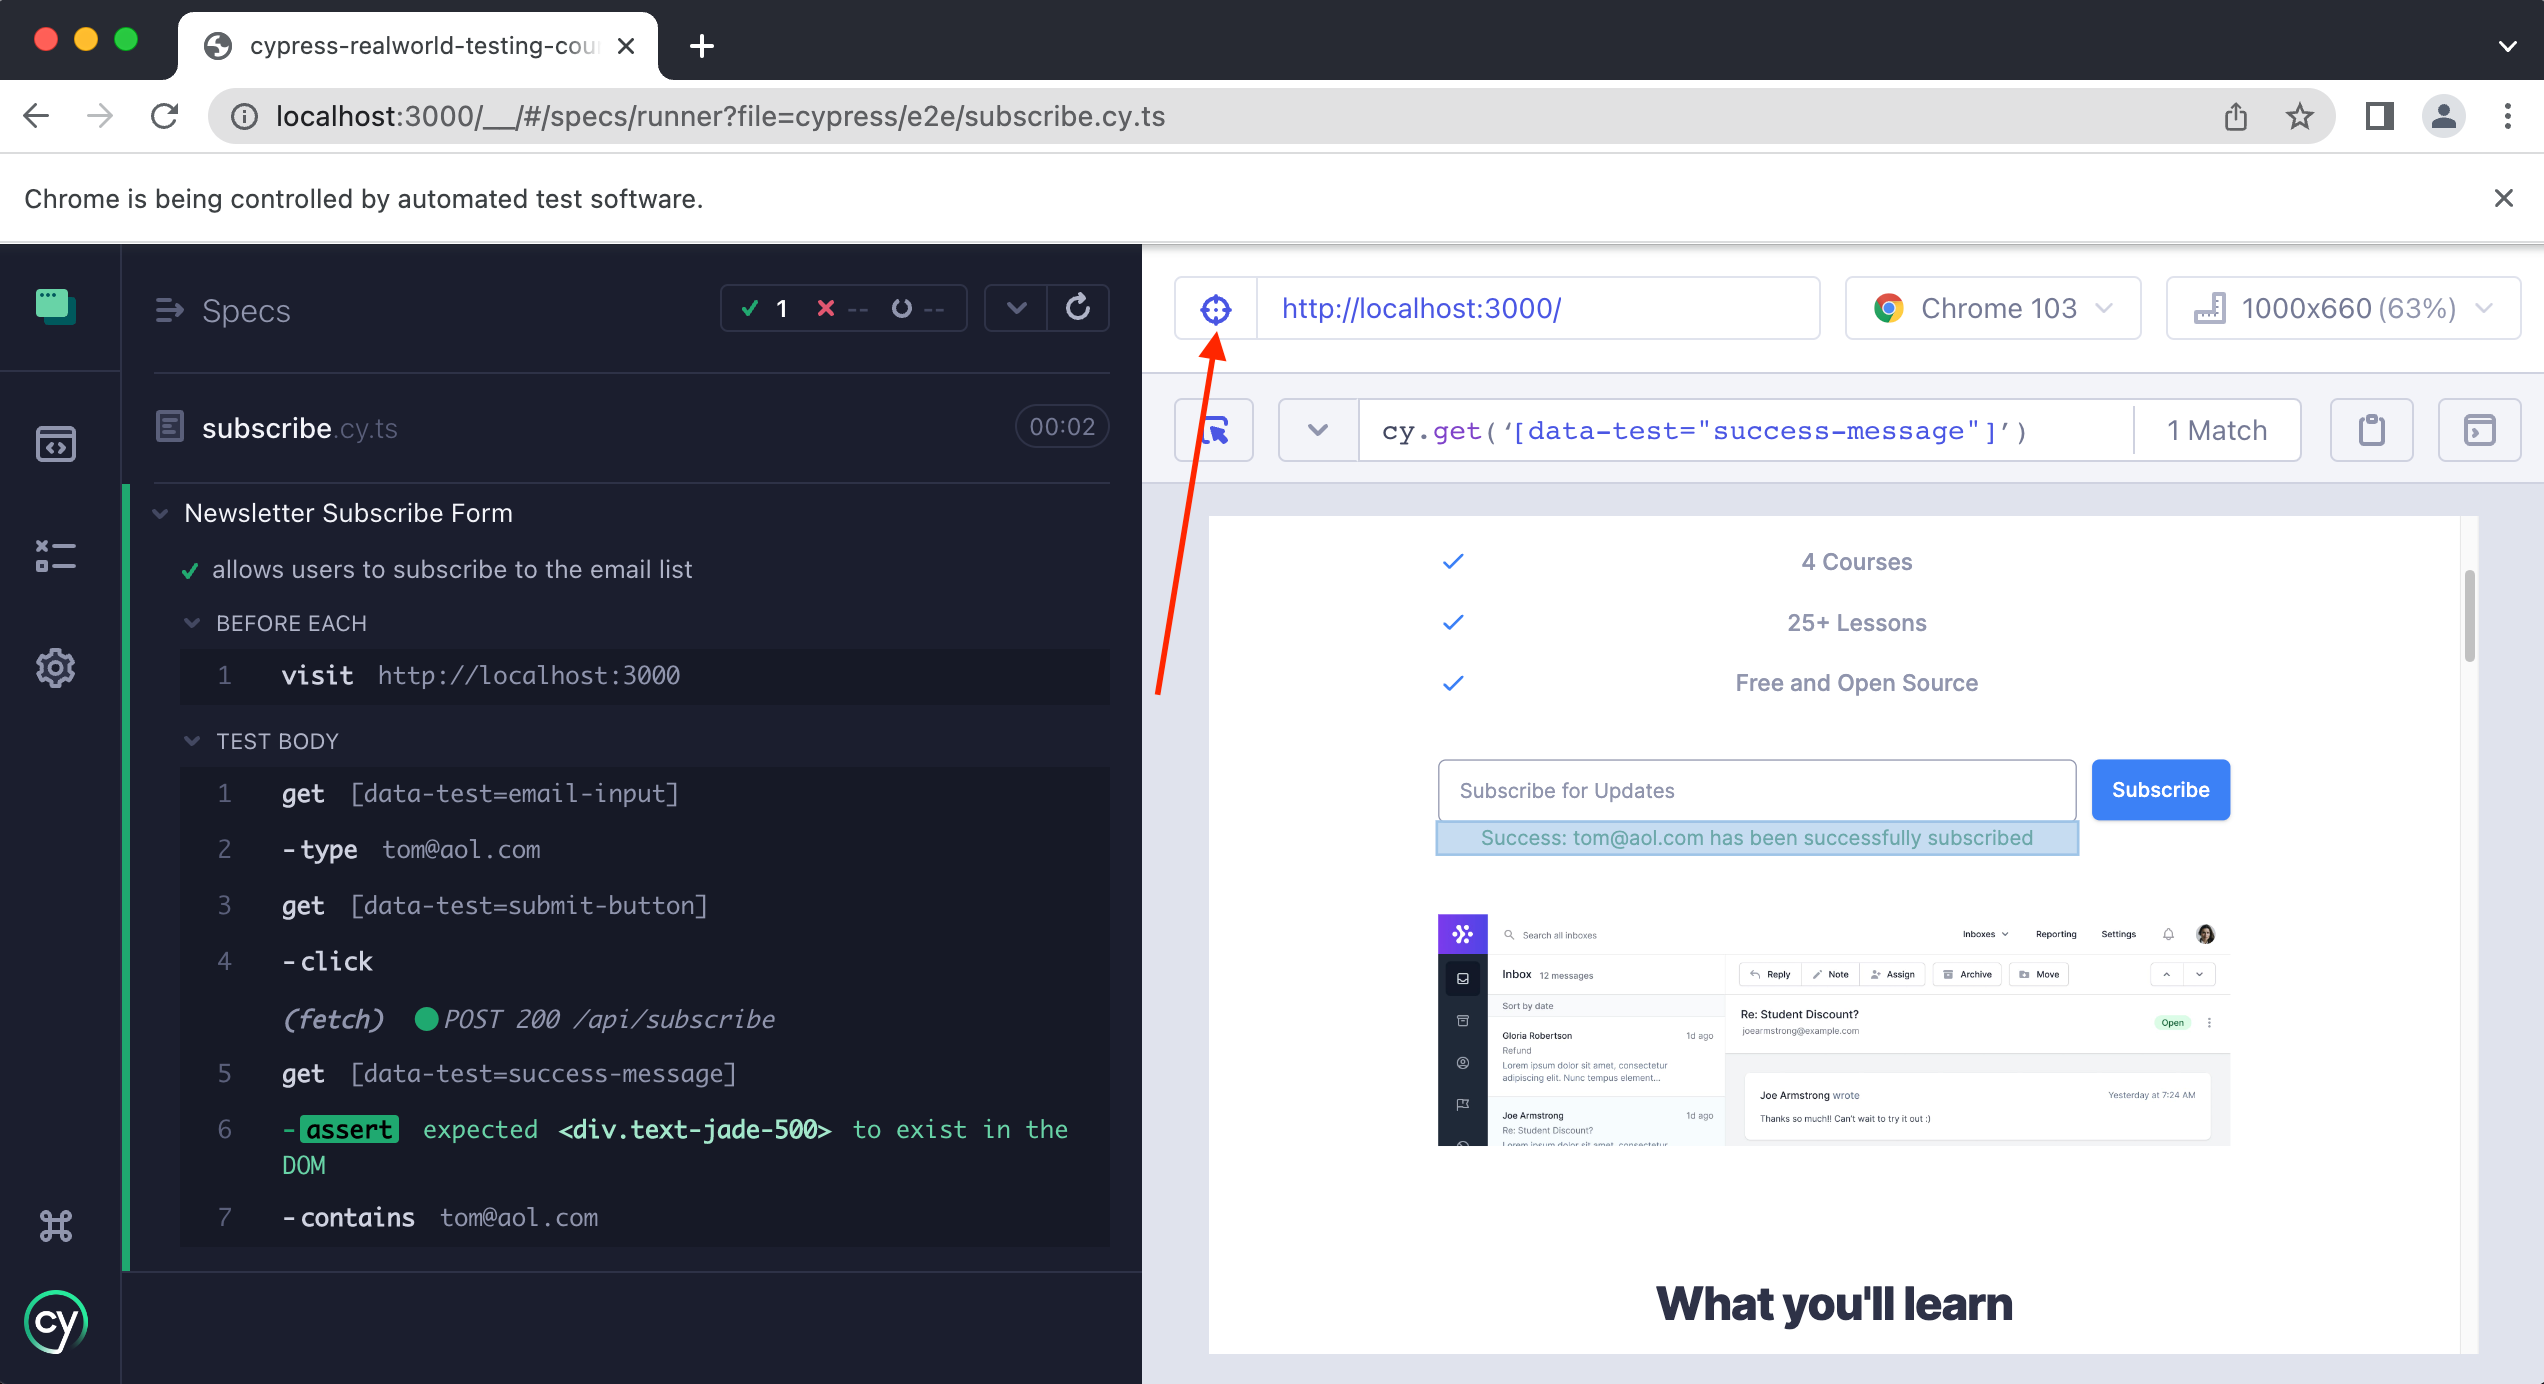
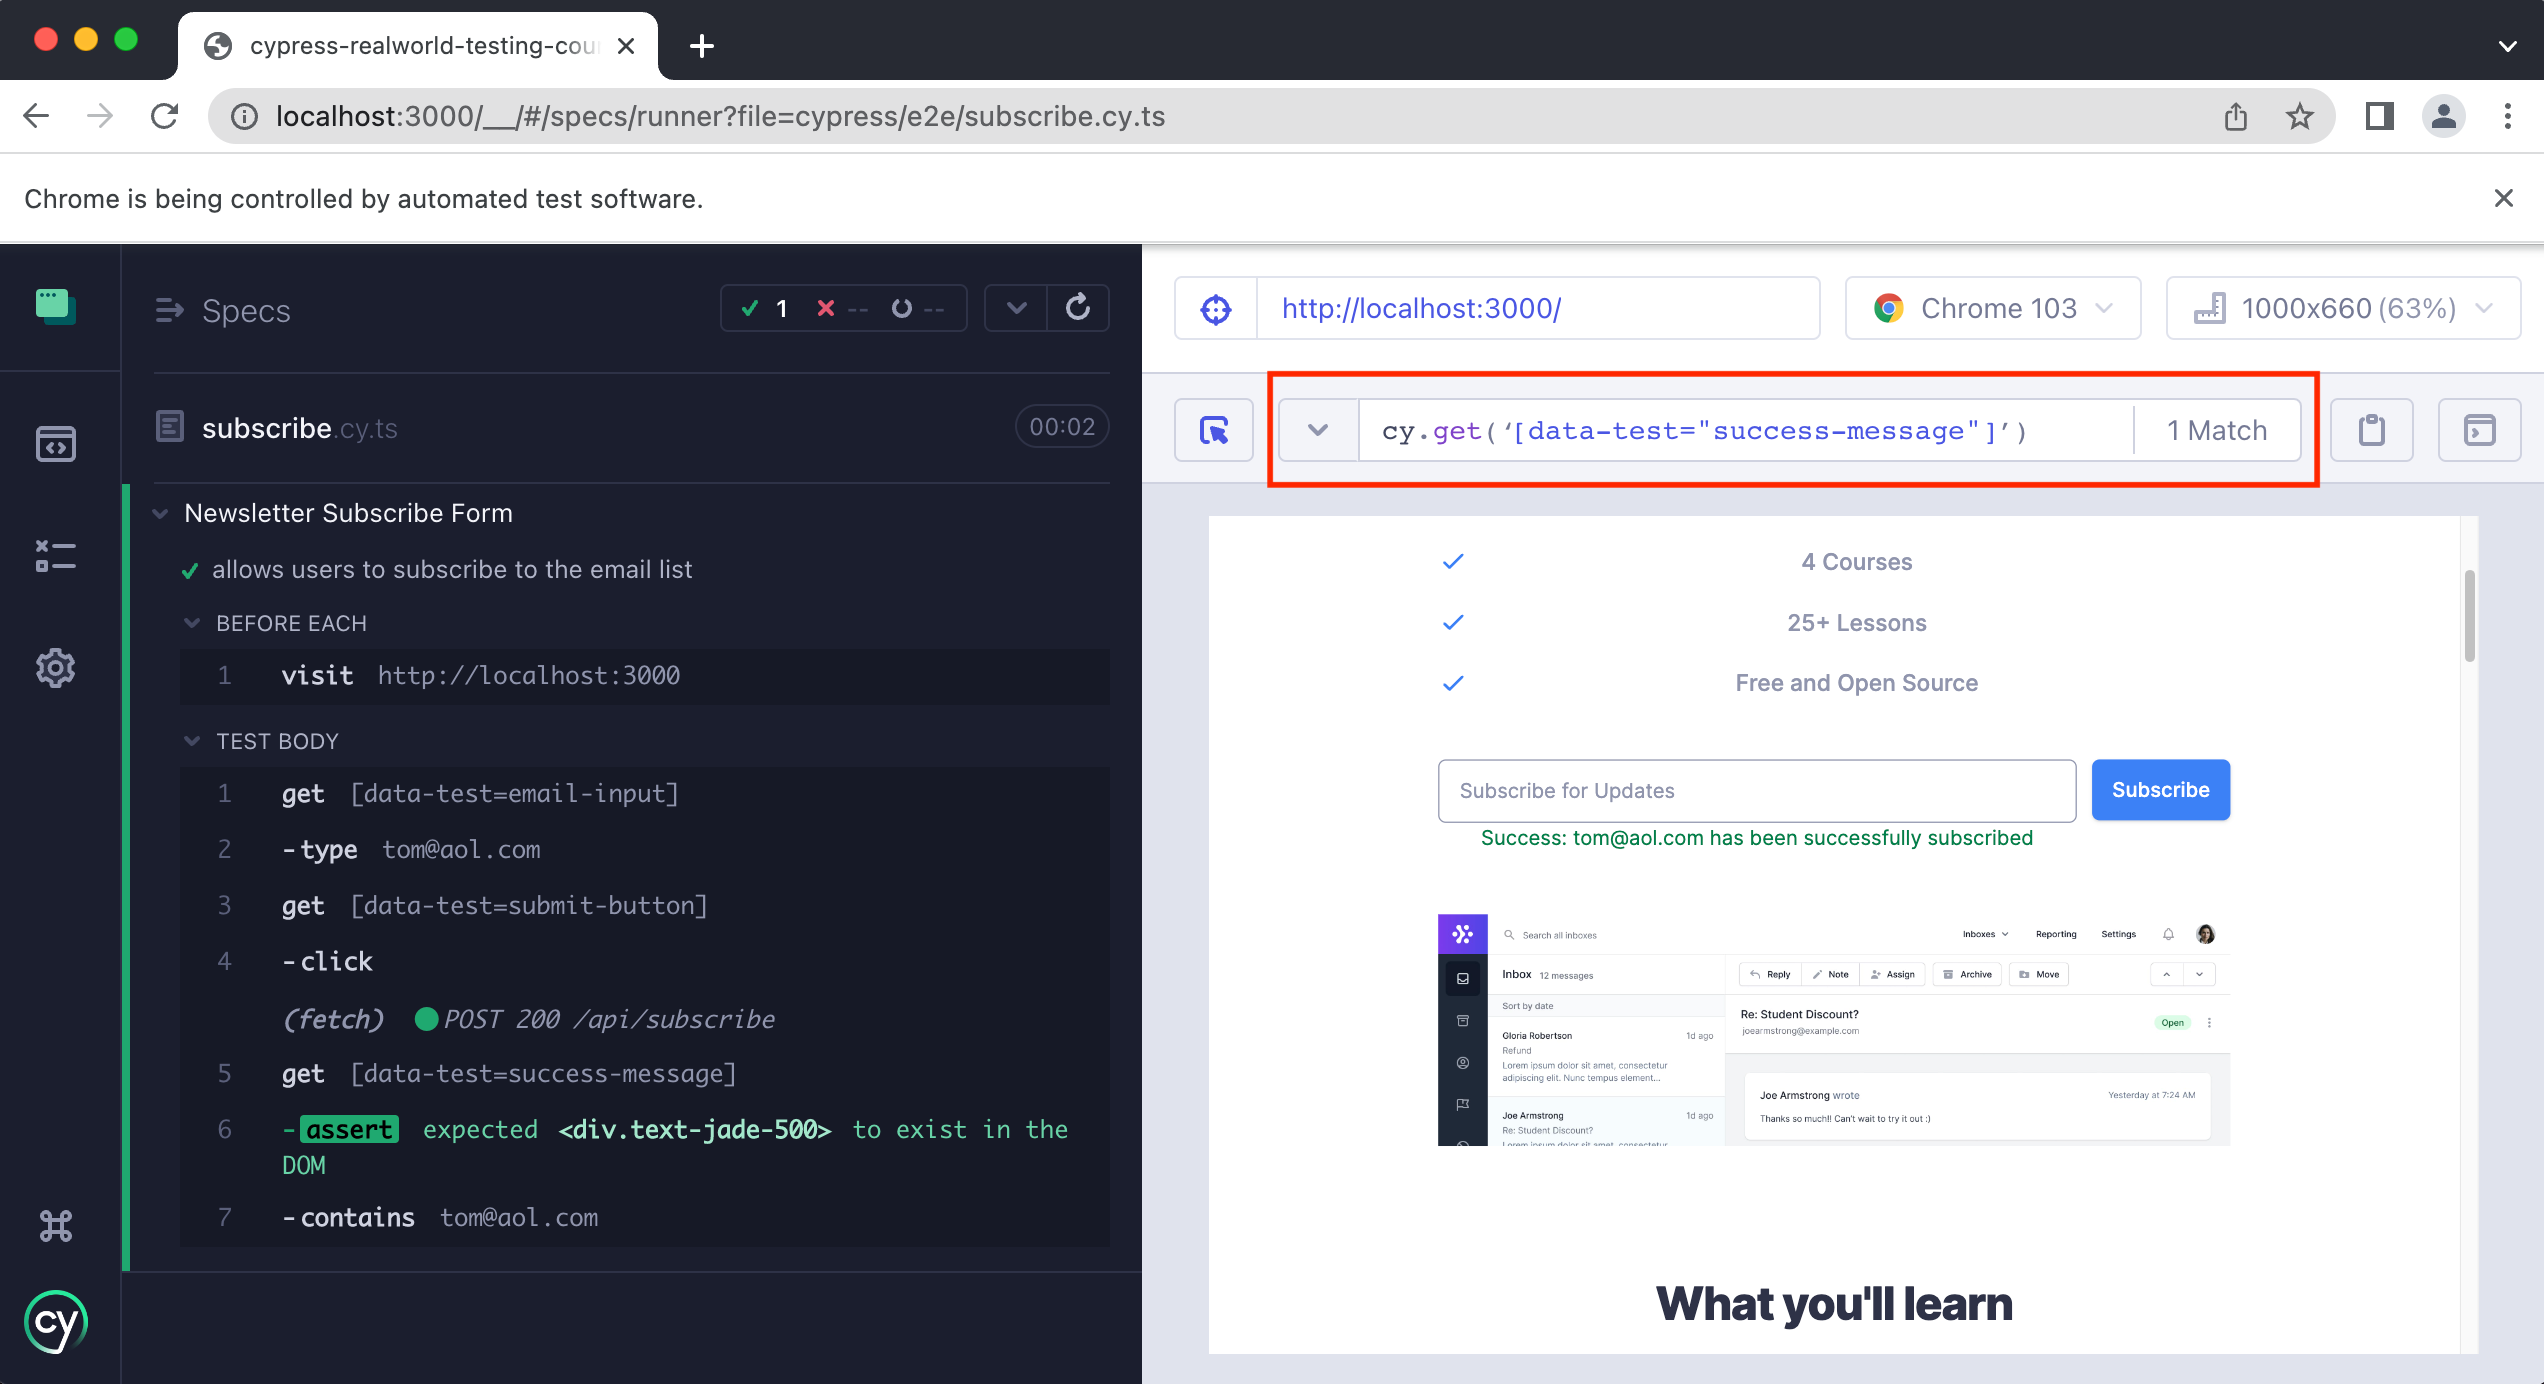
Once you click on the “selector playground” button you can then select any element in the app and Cypress will give you the correct selector.
Test: Invalid email address
For our next test, let's write a test for one of the “unhappy paths,” by making sure that our form does not accept an invalid email address.
Add a new test like so:
// subscribe.cy.ts

describe("Newsletter Subscribe Form", () => {
  beforeEach(() => {
    cy.visit("http://localhost:3000")
  })

  it("allows users to subscribe to the email list", () => {
    cy.getByData("email-input").type("tom@aol.com")
    cy.getByData("submit-button").click()
    cy.getByData("success-message").should("exist").contains("tom@aol.com")
  })

  it("does NOT allow an invalid email address", () => {})
})
We can then copy and paste the contents from our previous test and make a slight modification.
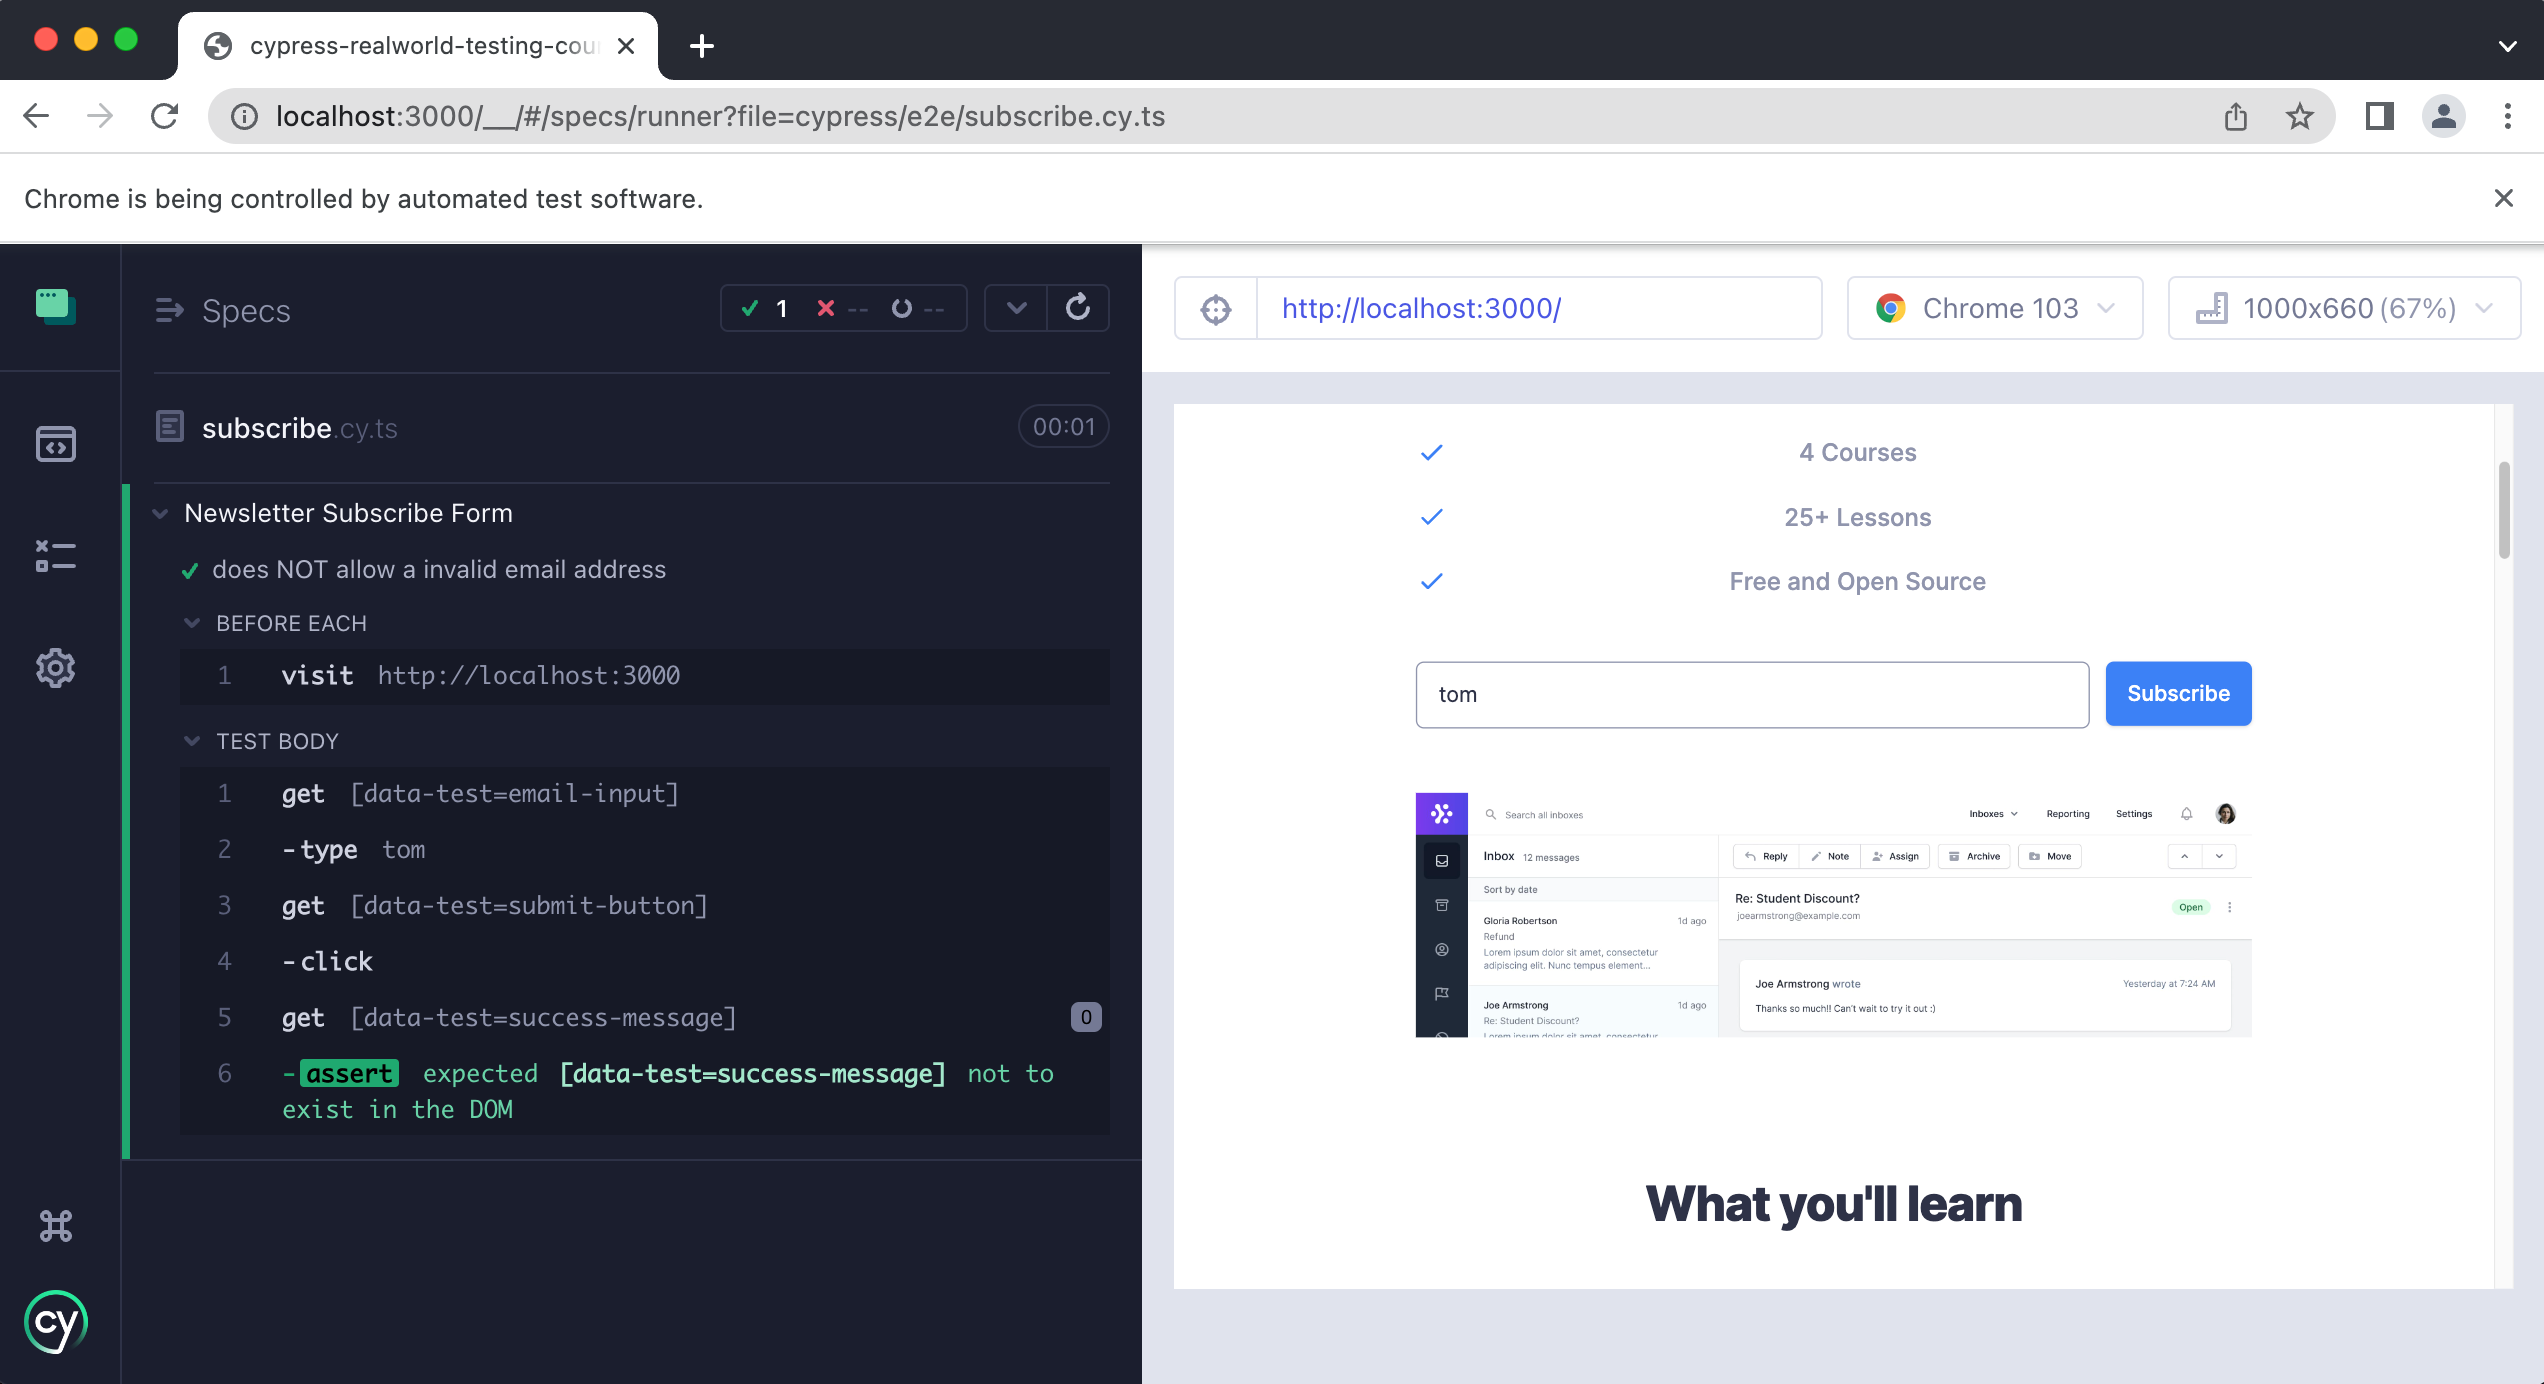
it("does NOT allow an invalid email address", () => {
  cy.getByData("email-input").type("tom")
  cy.getByData("submit-button").click()
  cy.getByData("success-message").should("not.exist")
})
First, we are getting the input field and then type in our invalid email address. Then we click on the submit button. Finally, we write an assertion that says that our success element message should not exist.
Practice
For our final test in this lesson, we are going to ask you to write it all on your own for practice. For this test, you are going to write a test to make sure that users cannot sign up for our newsletter if they are already subscribed.
tip
For this test, use the email address john@example.com, which is an already subscribed email. Using another email the test will not pass.
Before you begin writing the test, enter in this email address into the app and try to submit it. See what happens and make note of the error message that is displayed.
If you get stuck, make sure to take a look at the previous two tests we have already written for some ideas.
Practice Answer
Final Spec file
Wrap Up
In this lesson, you learned how to create custom Cypress commands. Then we learned how to test forms and the importance of testing “happy paths” vs “unhappy paths.” You then learned how to write tests for both a single “happy path” and “unhappy path.” Finally, you wrote a test that asserts users are unable to subscribe if they are already subscribed.