How to test multiple pages
In this lesson, we are going to learn how to write tests that span multiple pages. This is extremely common when writing E2E tests as oftentimes you need to click on a button or a link that navigates to a new page.
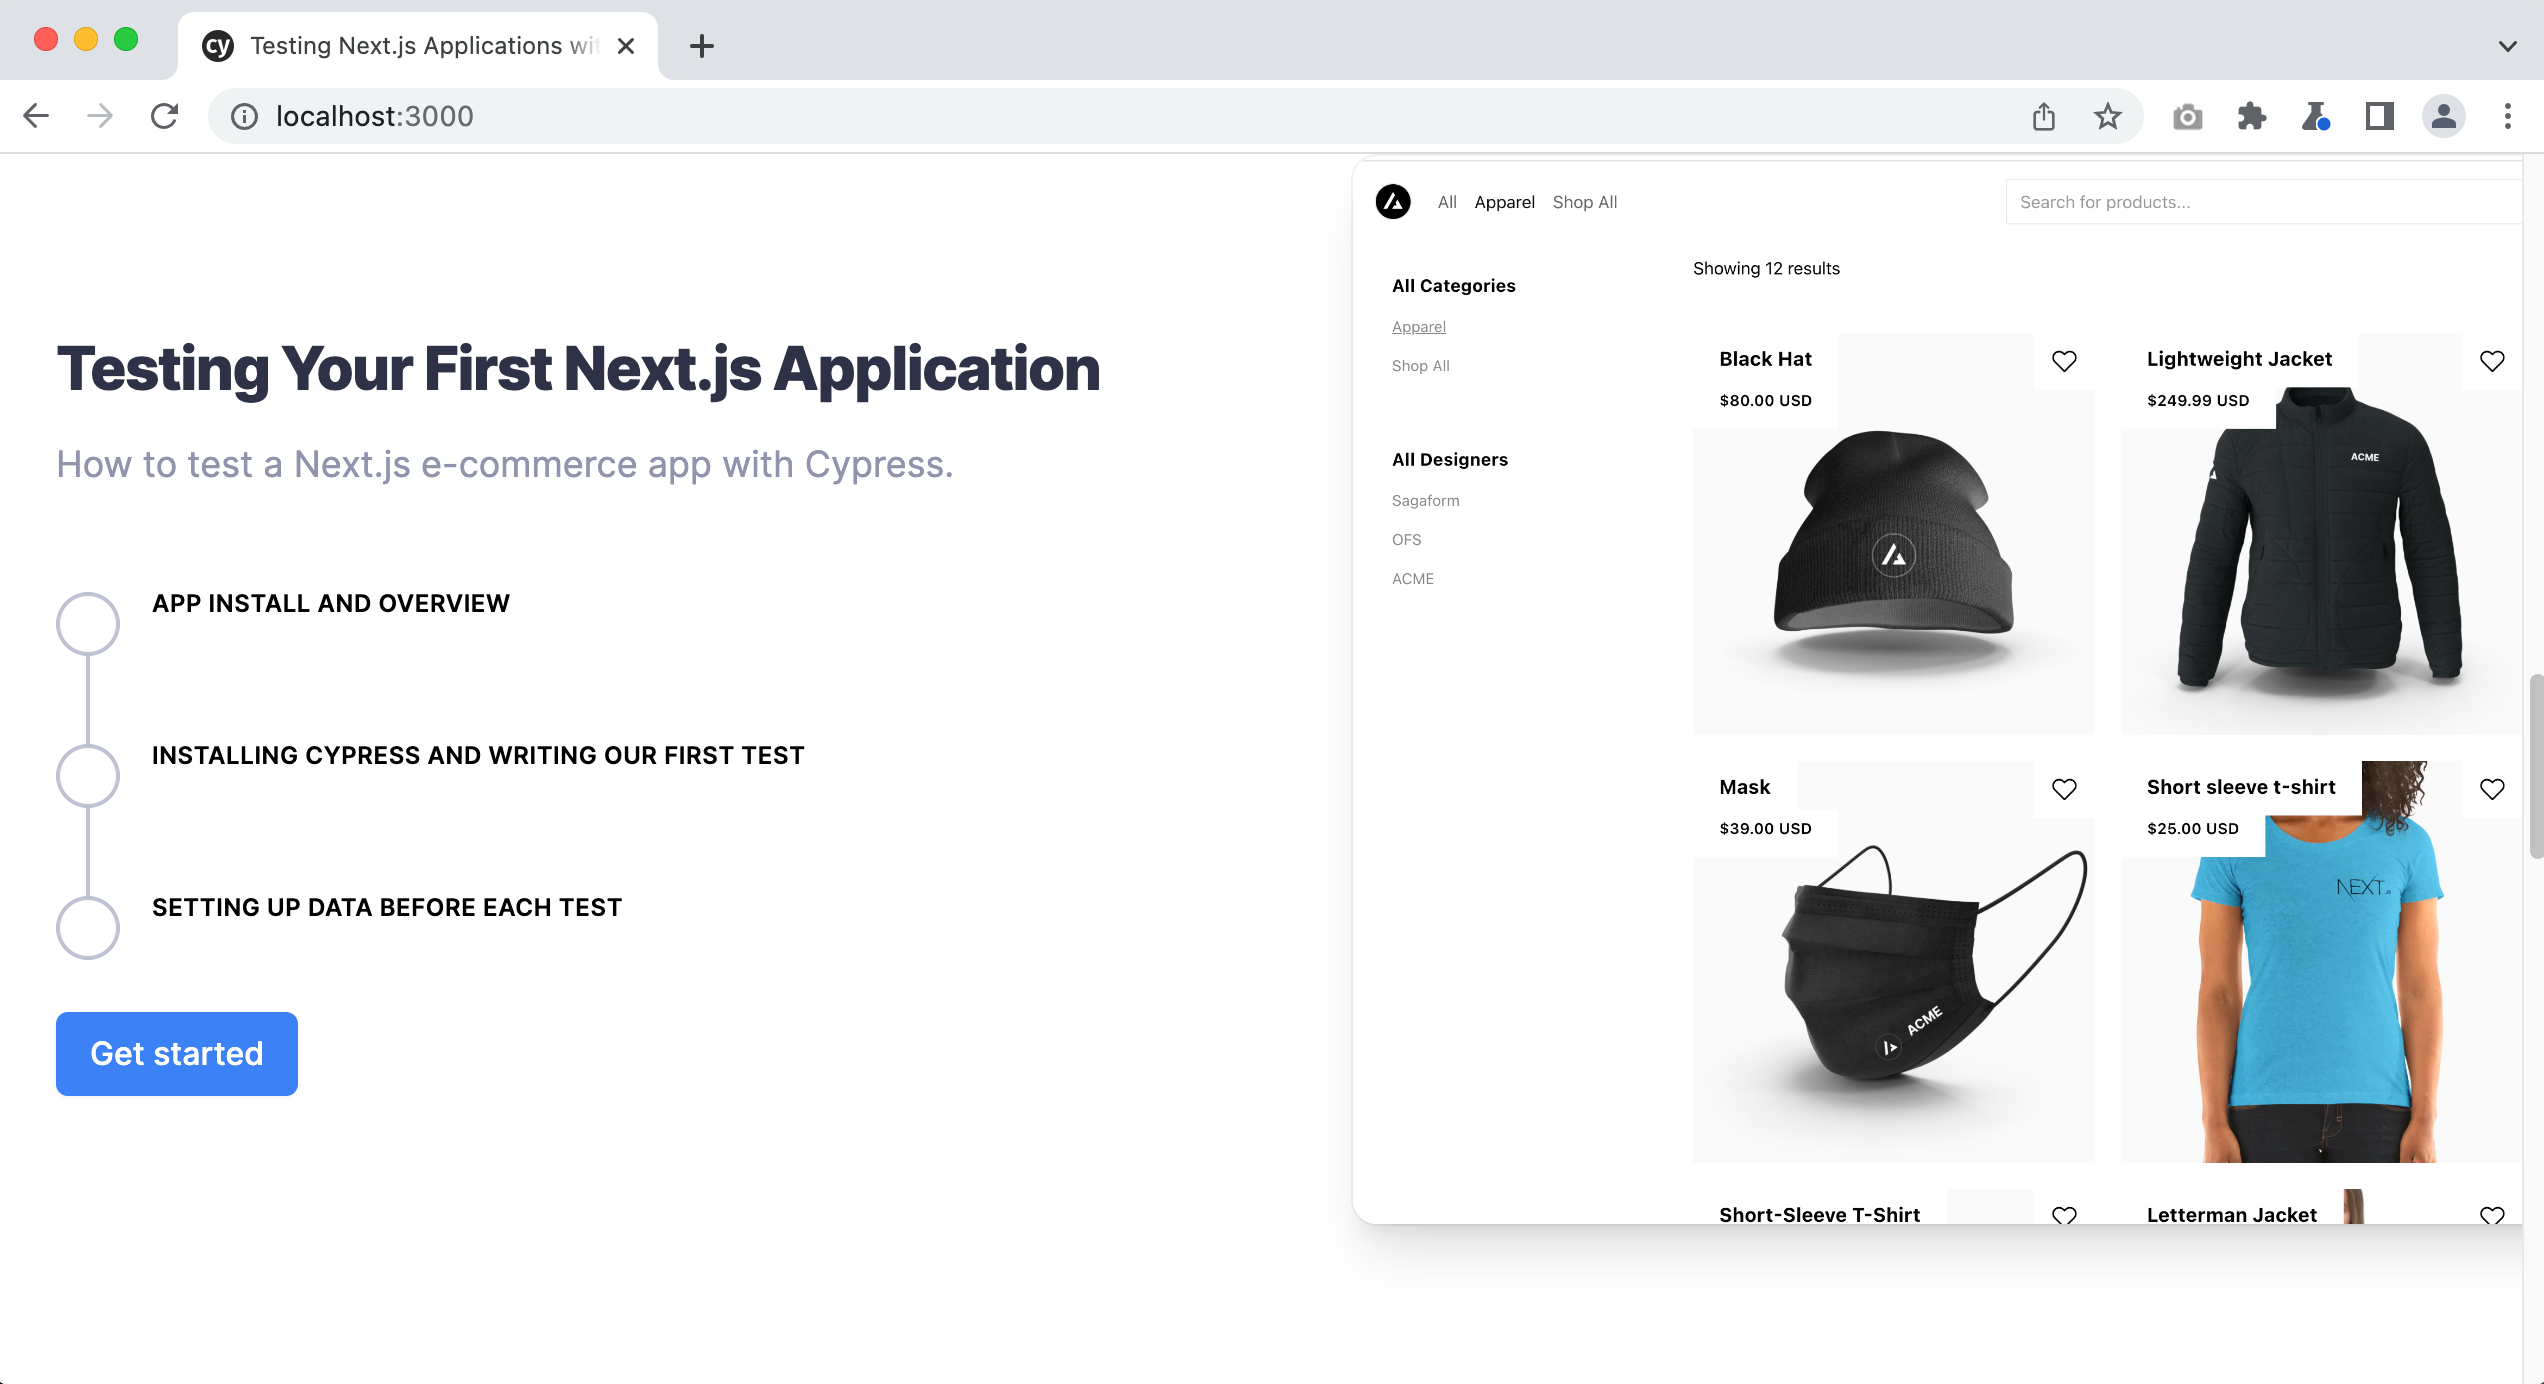
In the context of our course application, on the home page, there is a section for each course, like so:
tip
You can click on the images to enlarge them.
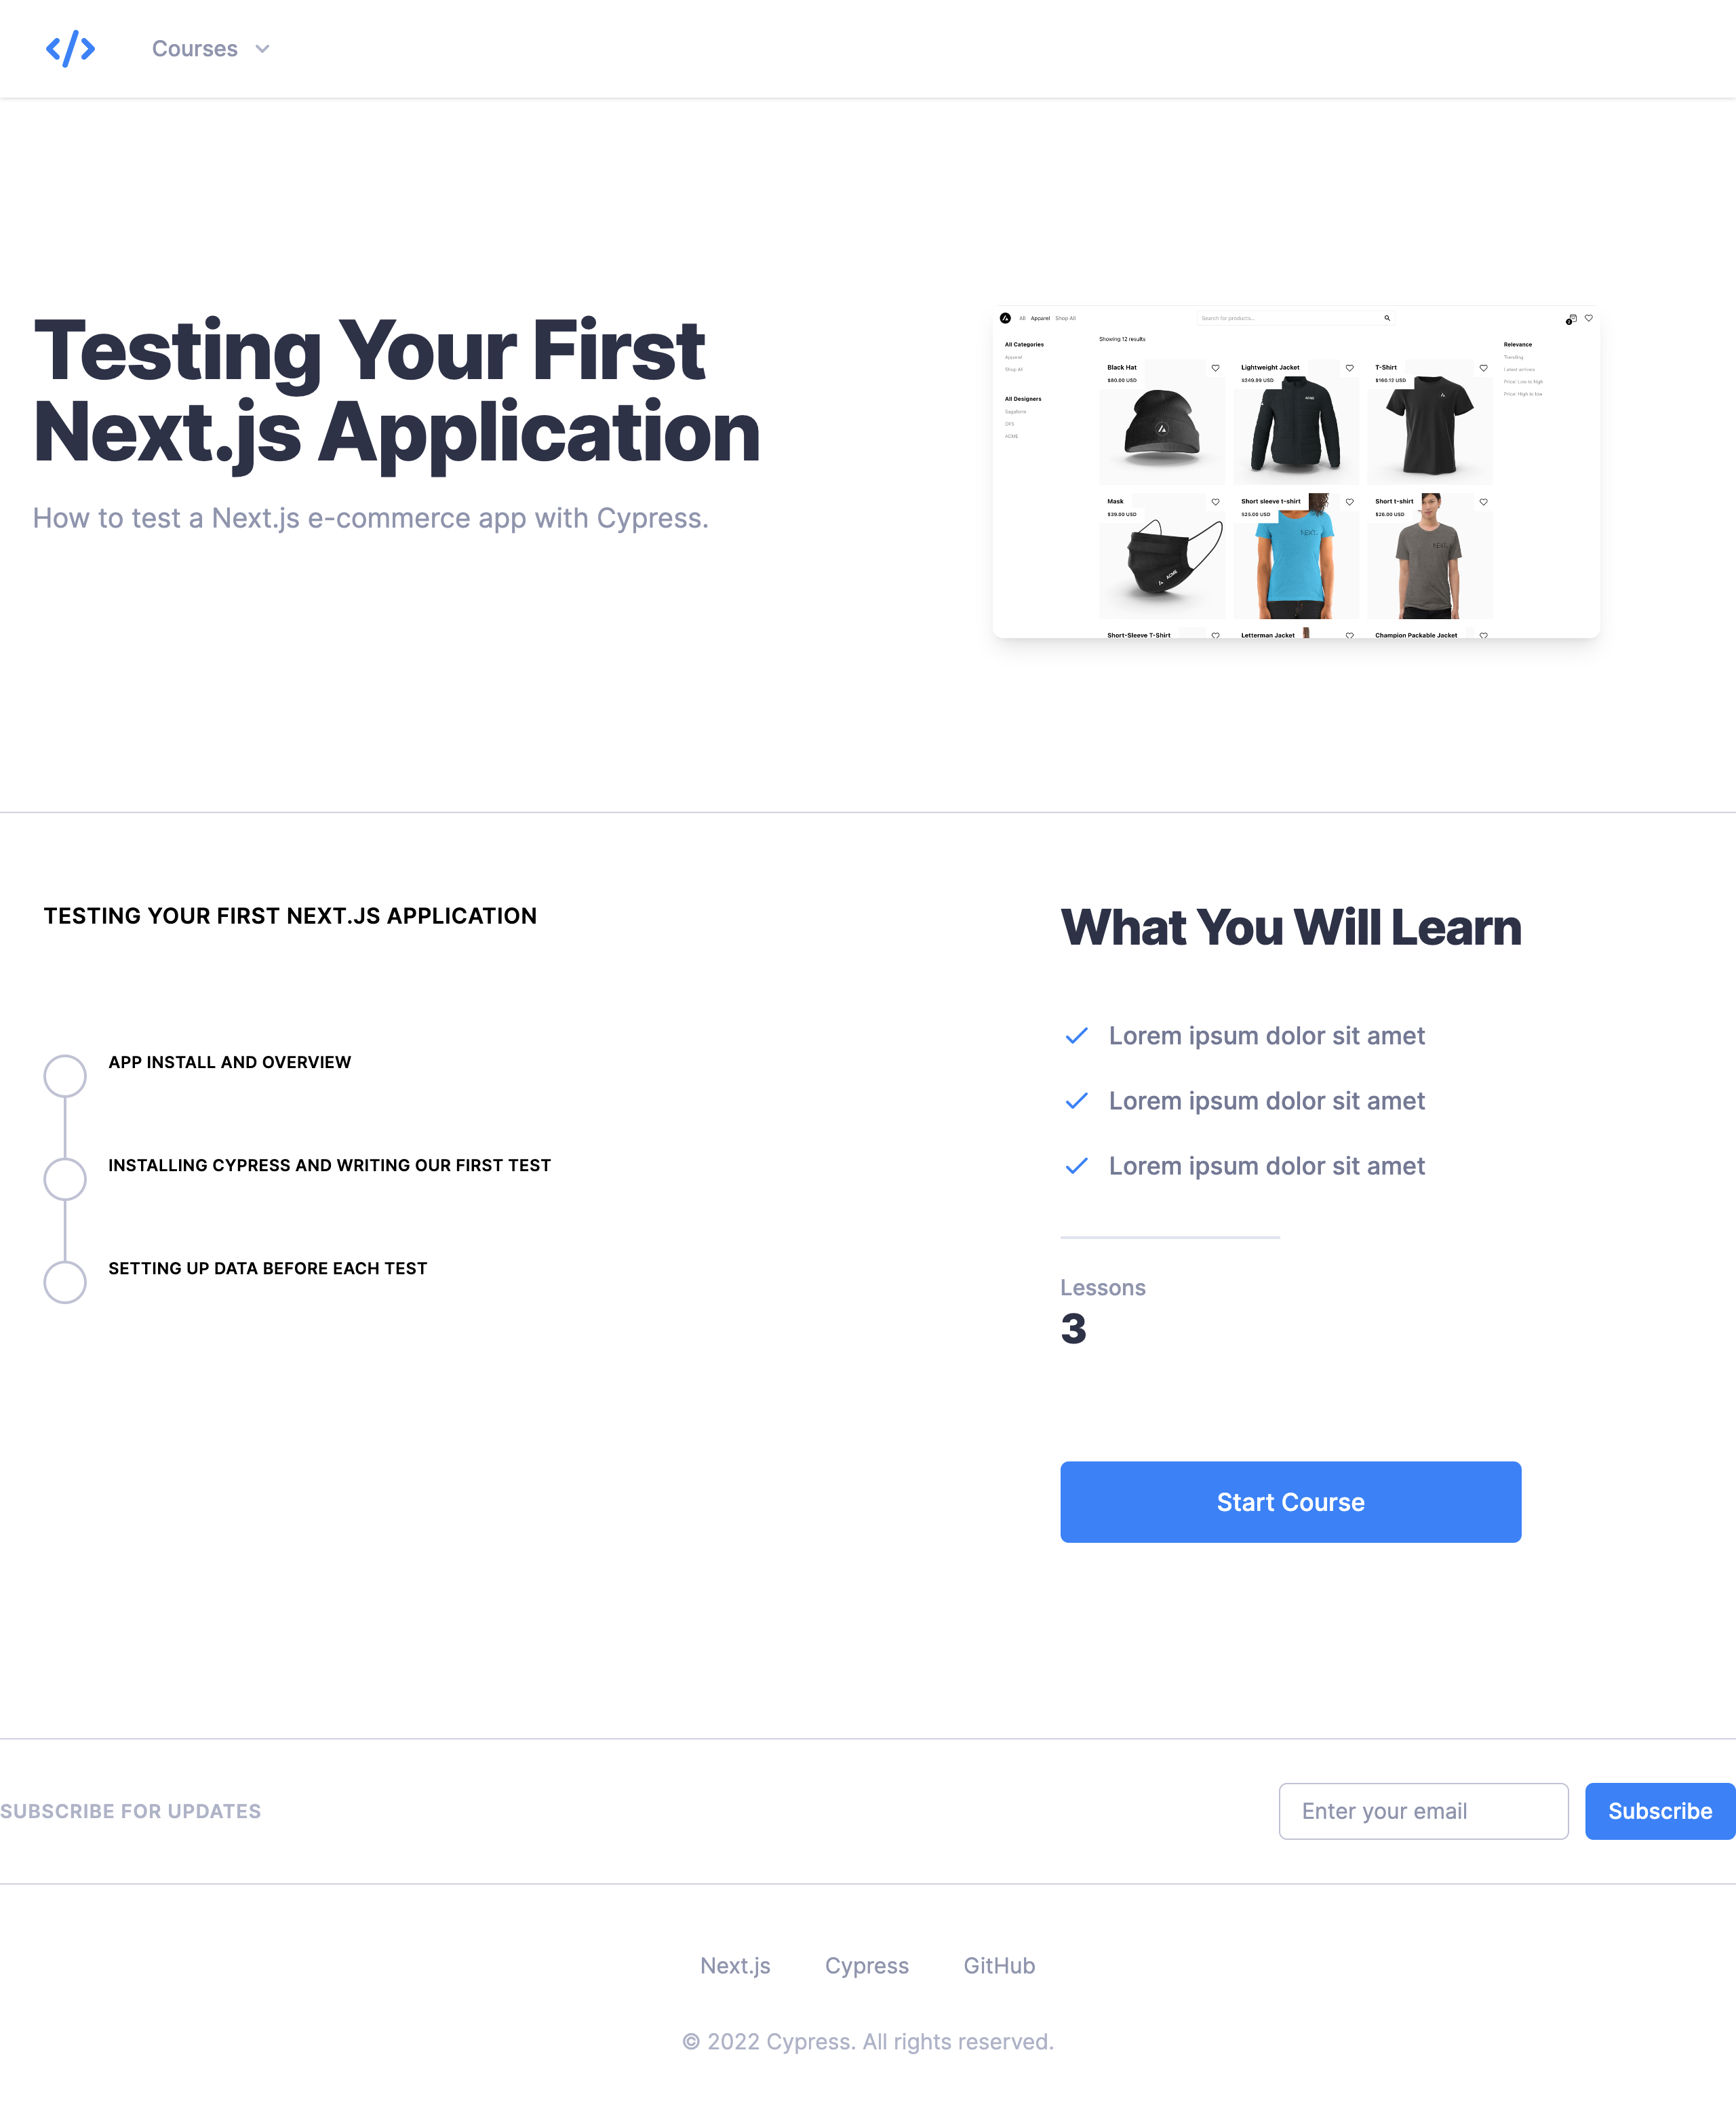
The “Get started” button links to the course page and provides more details about the lessons contained within that course.
Writing our multiple page test
Now that we understand how these “Get started” buttons work on the home page, let's write some tests for them. We will be writing these tests in the home.cy.ts spec file.
Our spec file up until this point looks like the following:
describe("home page", () => {
  beforeEach(() => {
    cy.visit("/")
  })

  it("the h1 contains the correct text", () => {
    cy.getByData("hero-heading").contains(
      "Testing Next.js Applications with Cypress"
    )
  })

  it("the features on the homepage are correct", () => {
    cy.get("dt").eq(0).contains("4 Courses")
    cy.get("dt").eq(1).contains("25+ Lessons")
    cy.get("dt").eq(2).contains("Free and Open Source")
  })
})
Aside: organizing tests with context
Currently, all of the tests within the home.cy.ts spec file are related to the hero section of our home page. We are now about to write tests for an entirely different section of our home page. While we could just go ahead and start writing our tests, wouldn’t it be easier if we could group related tests together? We can do this using context.
What the context method does is allow us to group related tests together making our spec file easier to read. Here is what our updated spec file looks like when we use context.
describe("home page", () => {
  beforeEach(() => {
    cy.visit("/")
  })

  context("Hero section", () => {
    it("the h1 contains the correct text", () => {
      cy.getByData("hero-heading").contains(
        "Testing Next.js Applications with Cypress"
      )
    })

    it("the features on the homepage are correct", () => {
      cy.get("dt").eq(0).contains("4 Courses")
      cy.get("dt").eq(1).contains("25+ Lessons")
      cy.get("dt").eq(2).contains("Free and Open Source")
    })
  })
})
As you can see, by using context we can wrap all of the tests related to the hero section of our home page together, which makes it quick and easy for anyone reading this spec file to know that these tests are for the hero section of our home page.
If we run our tests, everything is still passing.
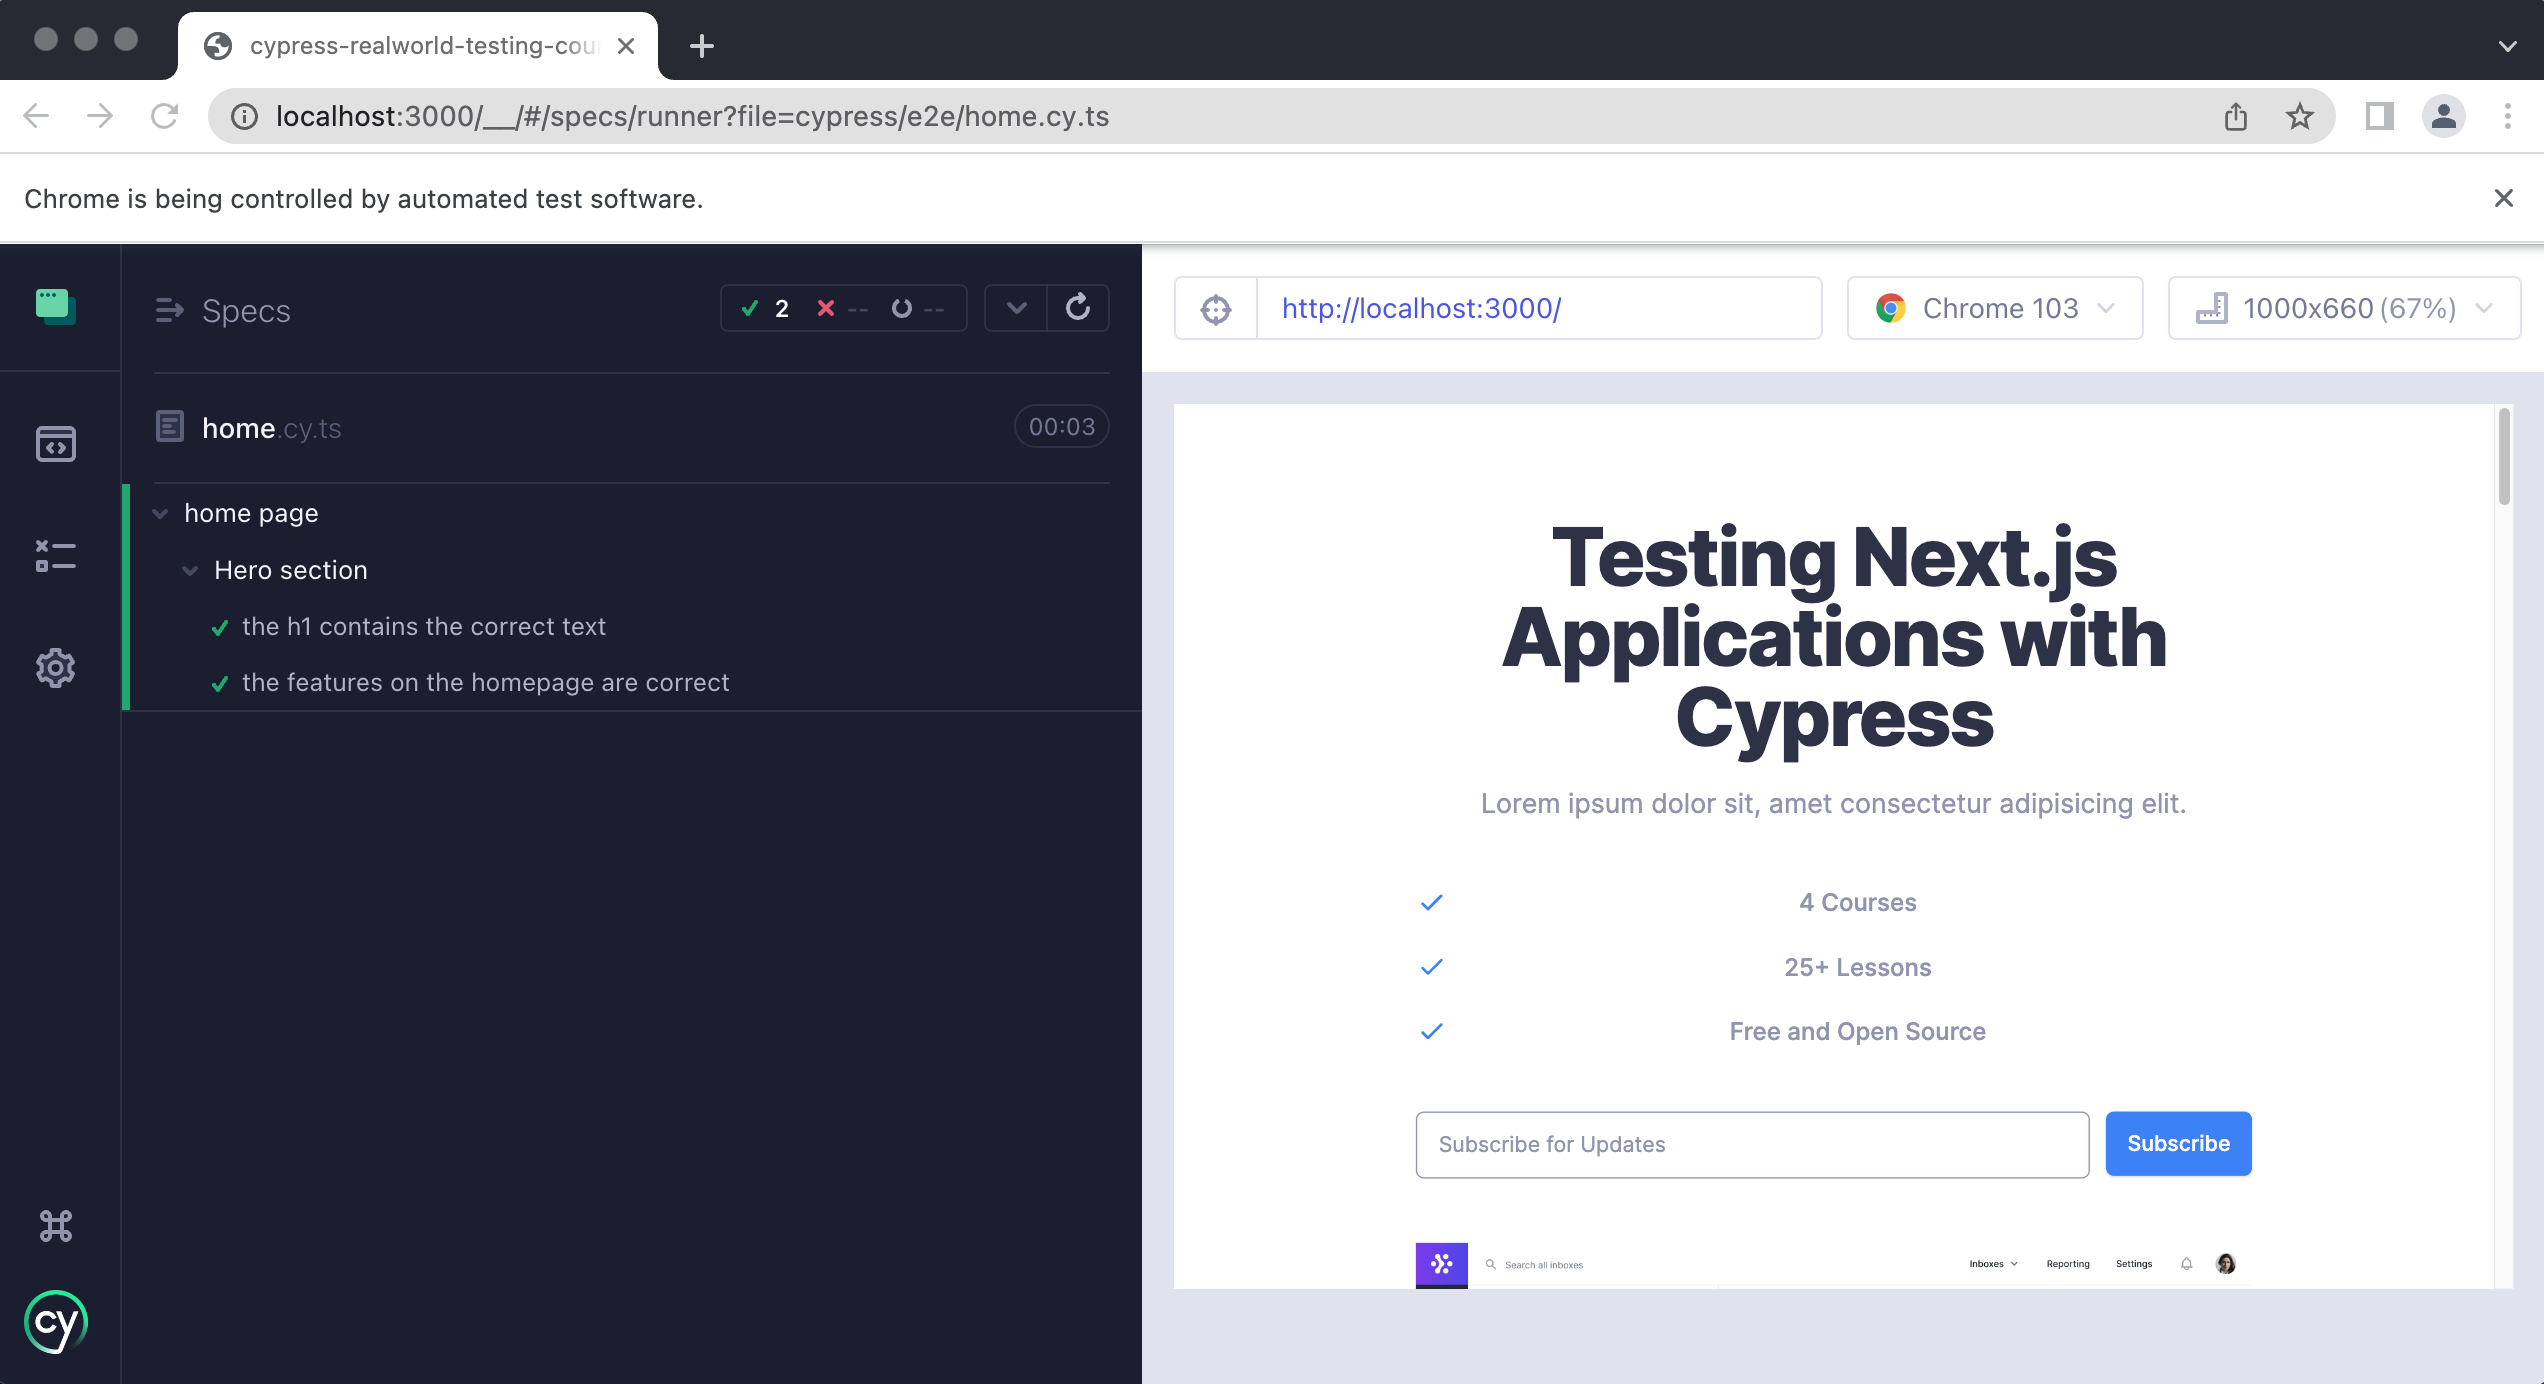
Also, when you are running your tests in headless mode, which is how they will run in Continuous Integration, you will see the following in the output.

Notice how all of the tests related to the hero section are nested underneath the “Hero section” heading. This too makes it very easy to understand which tests are for what at a quick glance.
Test: Courses section
Now that we understand how context works, let's create a new context for the courses section of our home page.
describe("Home page", () => {
  beforeEach(() => {
    cy.visit("/")
  })

  context("Hero section", () => {
    it("the h1 contains the correct text", () => {
      cy.getByData("hero-heading").contains(
        "Testing Next.js Applications with Cypress"
      )
    })

    it("the features on the homepage are correct", () => {
      cy.get("dt").eq(0).contains("4 Courses")
      cy.get("dt").eq(1).contains("25+ Lessons")
      cy.get("dt").eq(2).contains("Free and Open Source")
    })
  })

  context("Courses section", () => {})
})
Next, we will create a new test for the first course, “Testing Your First Next.js Application.”
// ...

context("Courses section", () => {
  it("Course: Testing Your First Next.js Application", () => {})
})
Now, we need to get the “Get started” button, however, there is a slight problem. The “Get started” buttons do not have a data-test attribute on them. Since we have access to our application's source code, we could easily add them, however, what do we do if we don’t? If we inspect the DOM, with our browser’s dev tools, we can see that each course is wrapped in the following markup.

<div data-test="course-0"></div>
We are now going to learn a new Cypress command that allows us to narrow down the scope in which Cypress looks for an element. We can tell Cypress to find elements that are nested anywhere within this element, ie: the element's descendants.
context("Courses section", () => {
  it.only("Course: Testing Your First Next.js Application", () => {
    cy.getByData("course-0").find("a")
  })
})
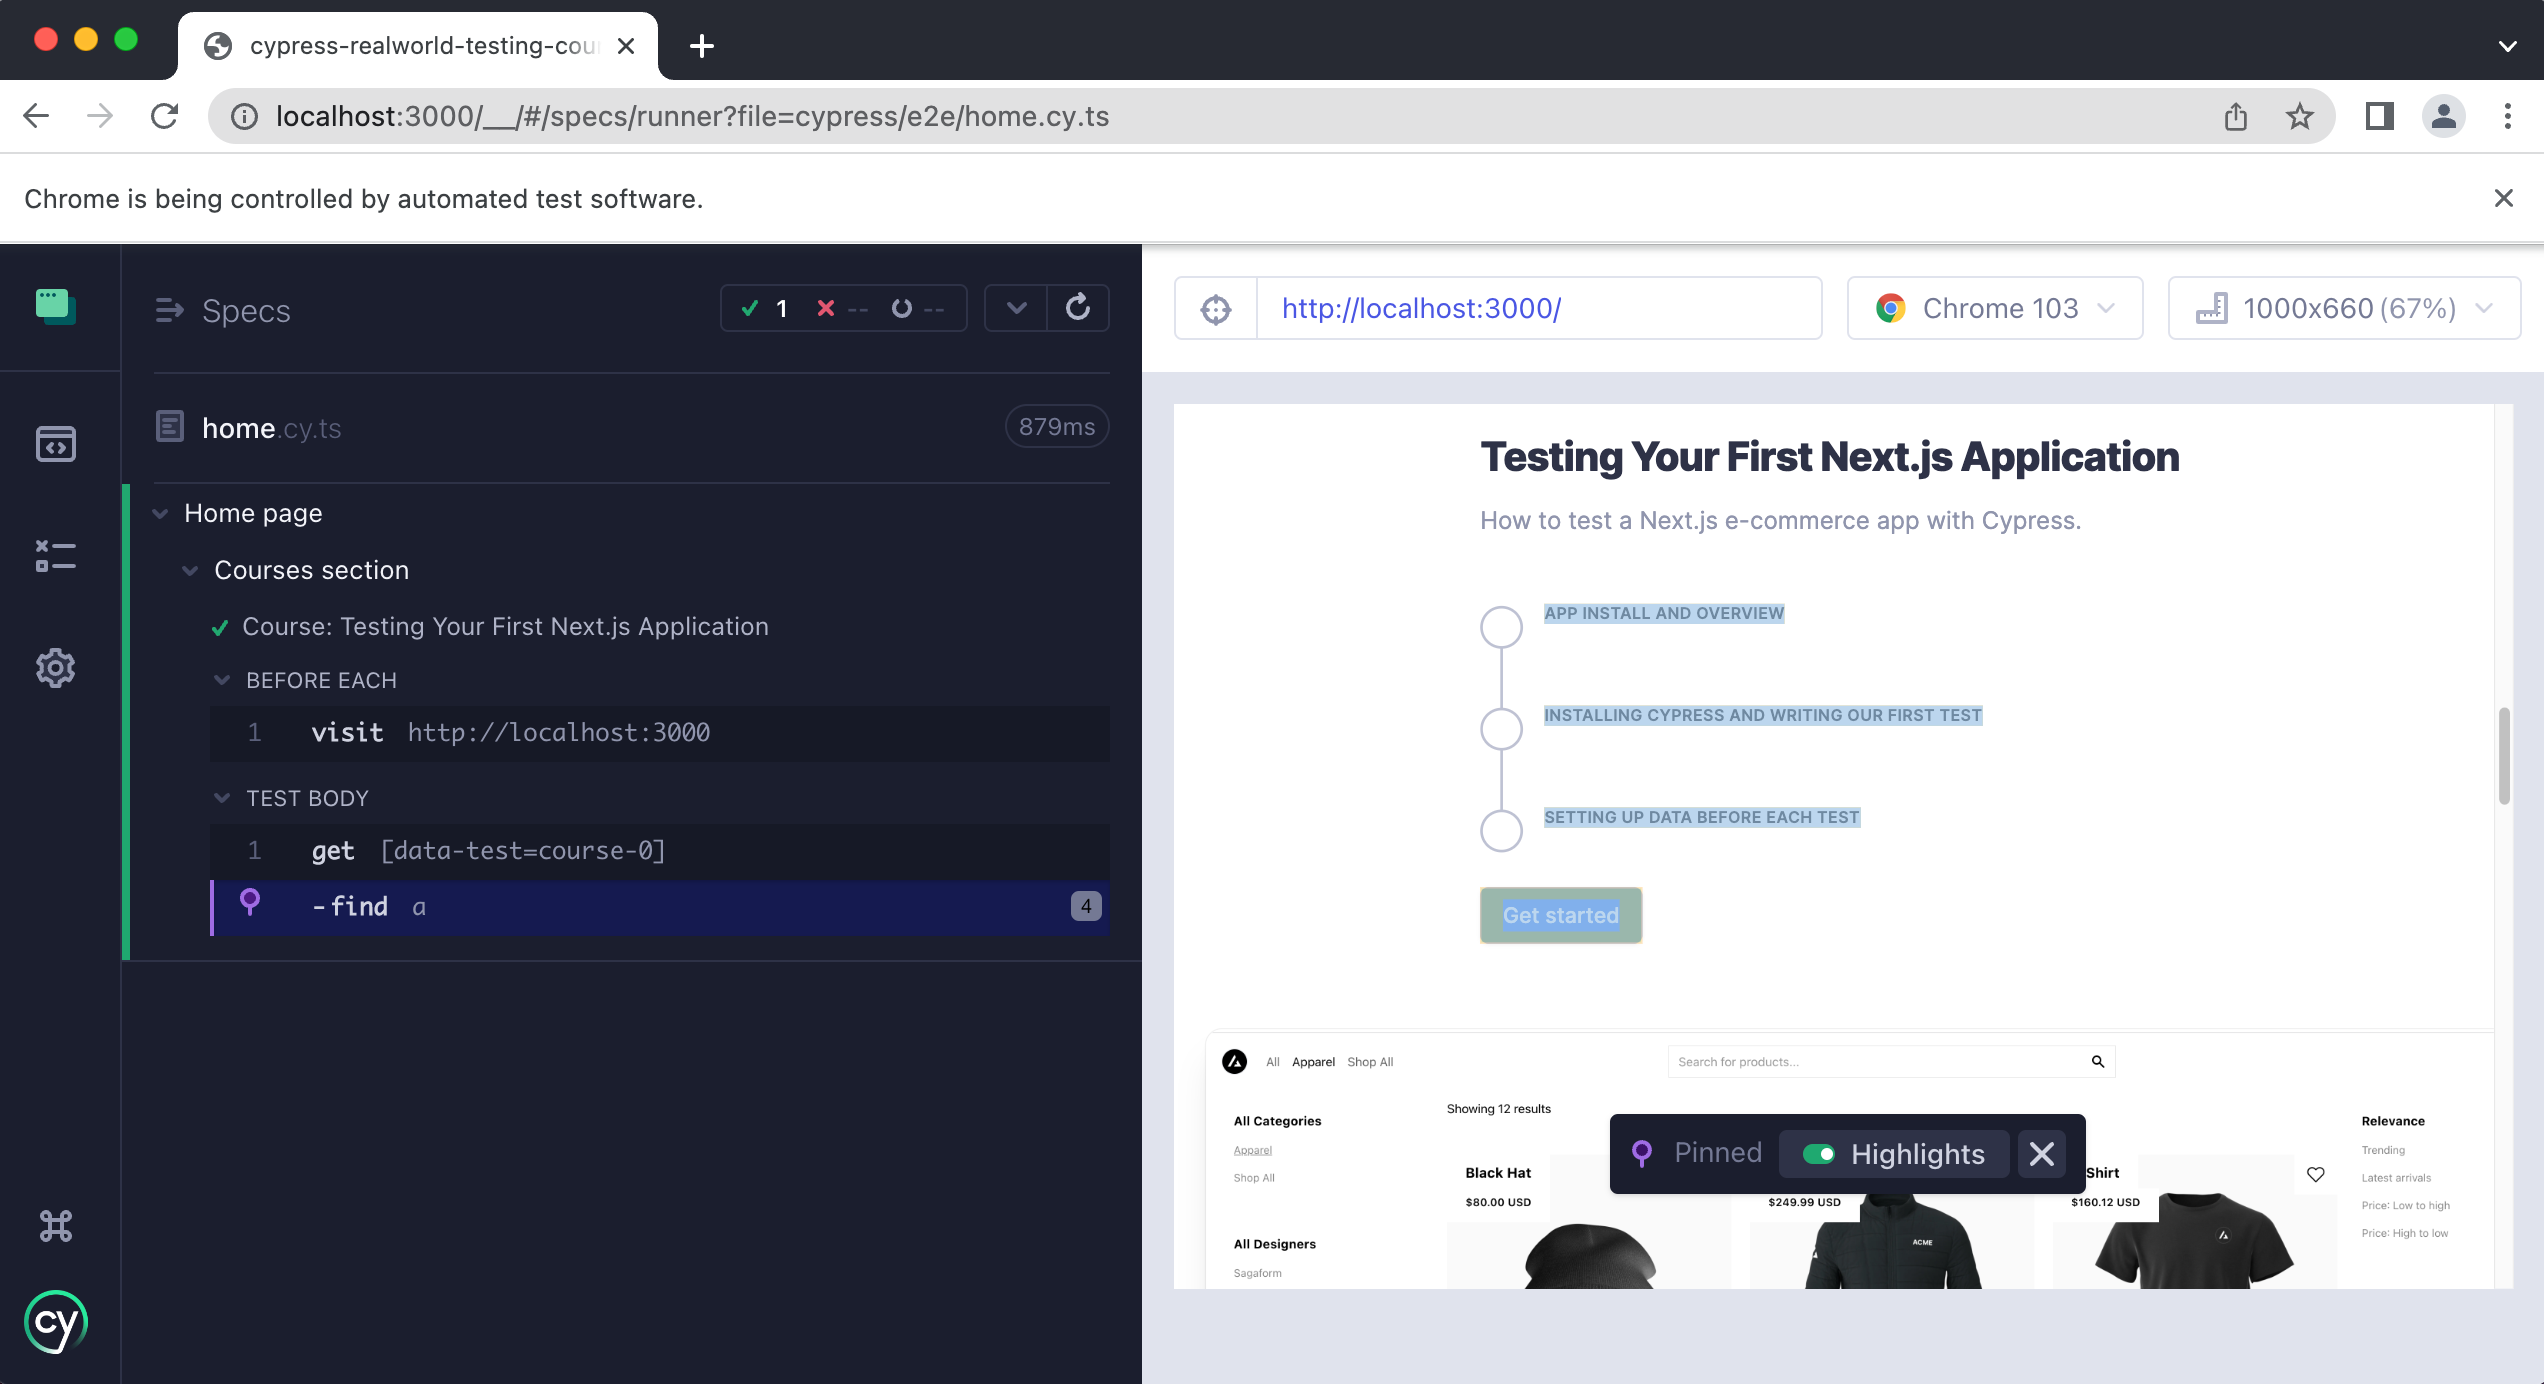
If we run our test, you will see that Cypress has found four <a> tags within the <div data-test="course-0"> element. In a previous test, we used eq to select a specific element from the returned array. However, using the eq method here would lead to a brittle test if a lesson is added or removed from the course.
Instead, we can use the contains method that we also used previously. We can look for the text 'Get started', which will select the <a> tag we want:
context("Courses section", () => {
  it.only("Course: Testing Your First Next.js Application", () => {
    cy.getByData("course-0").find("a").contains("Get started")
  })
})
Now that we have our button, all that is left to do is to click on it.
context("Courses section", () => {
  it.only("Course: Testing Your First Next.js Application", () => {
    cy.getByData("course-0").find("a").contains("Get started").click()
  })
})
tip
Remember to follow the best practices for selecting elements when possible. Sometimes it's not possible (like above), so use a method that won't be brittle if the markup or data in the HTML changes.
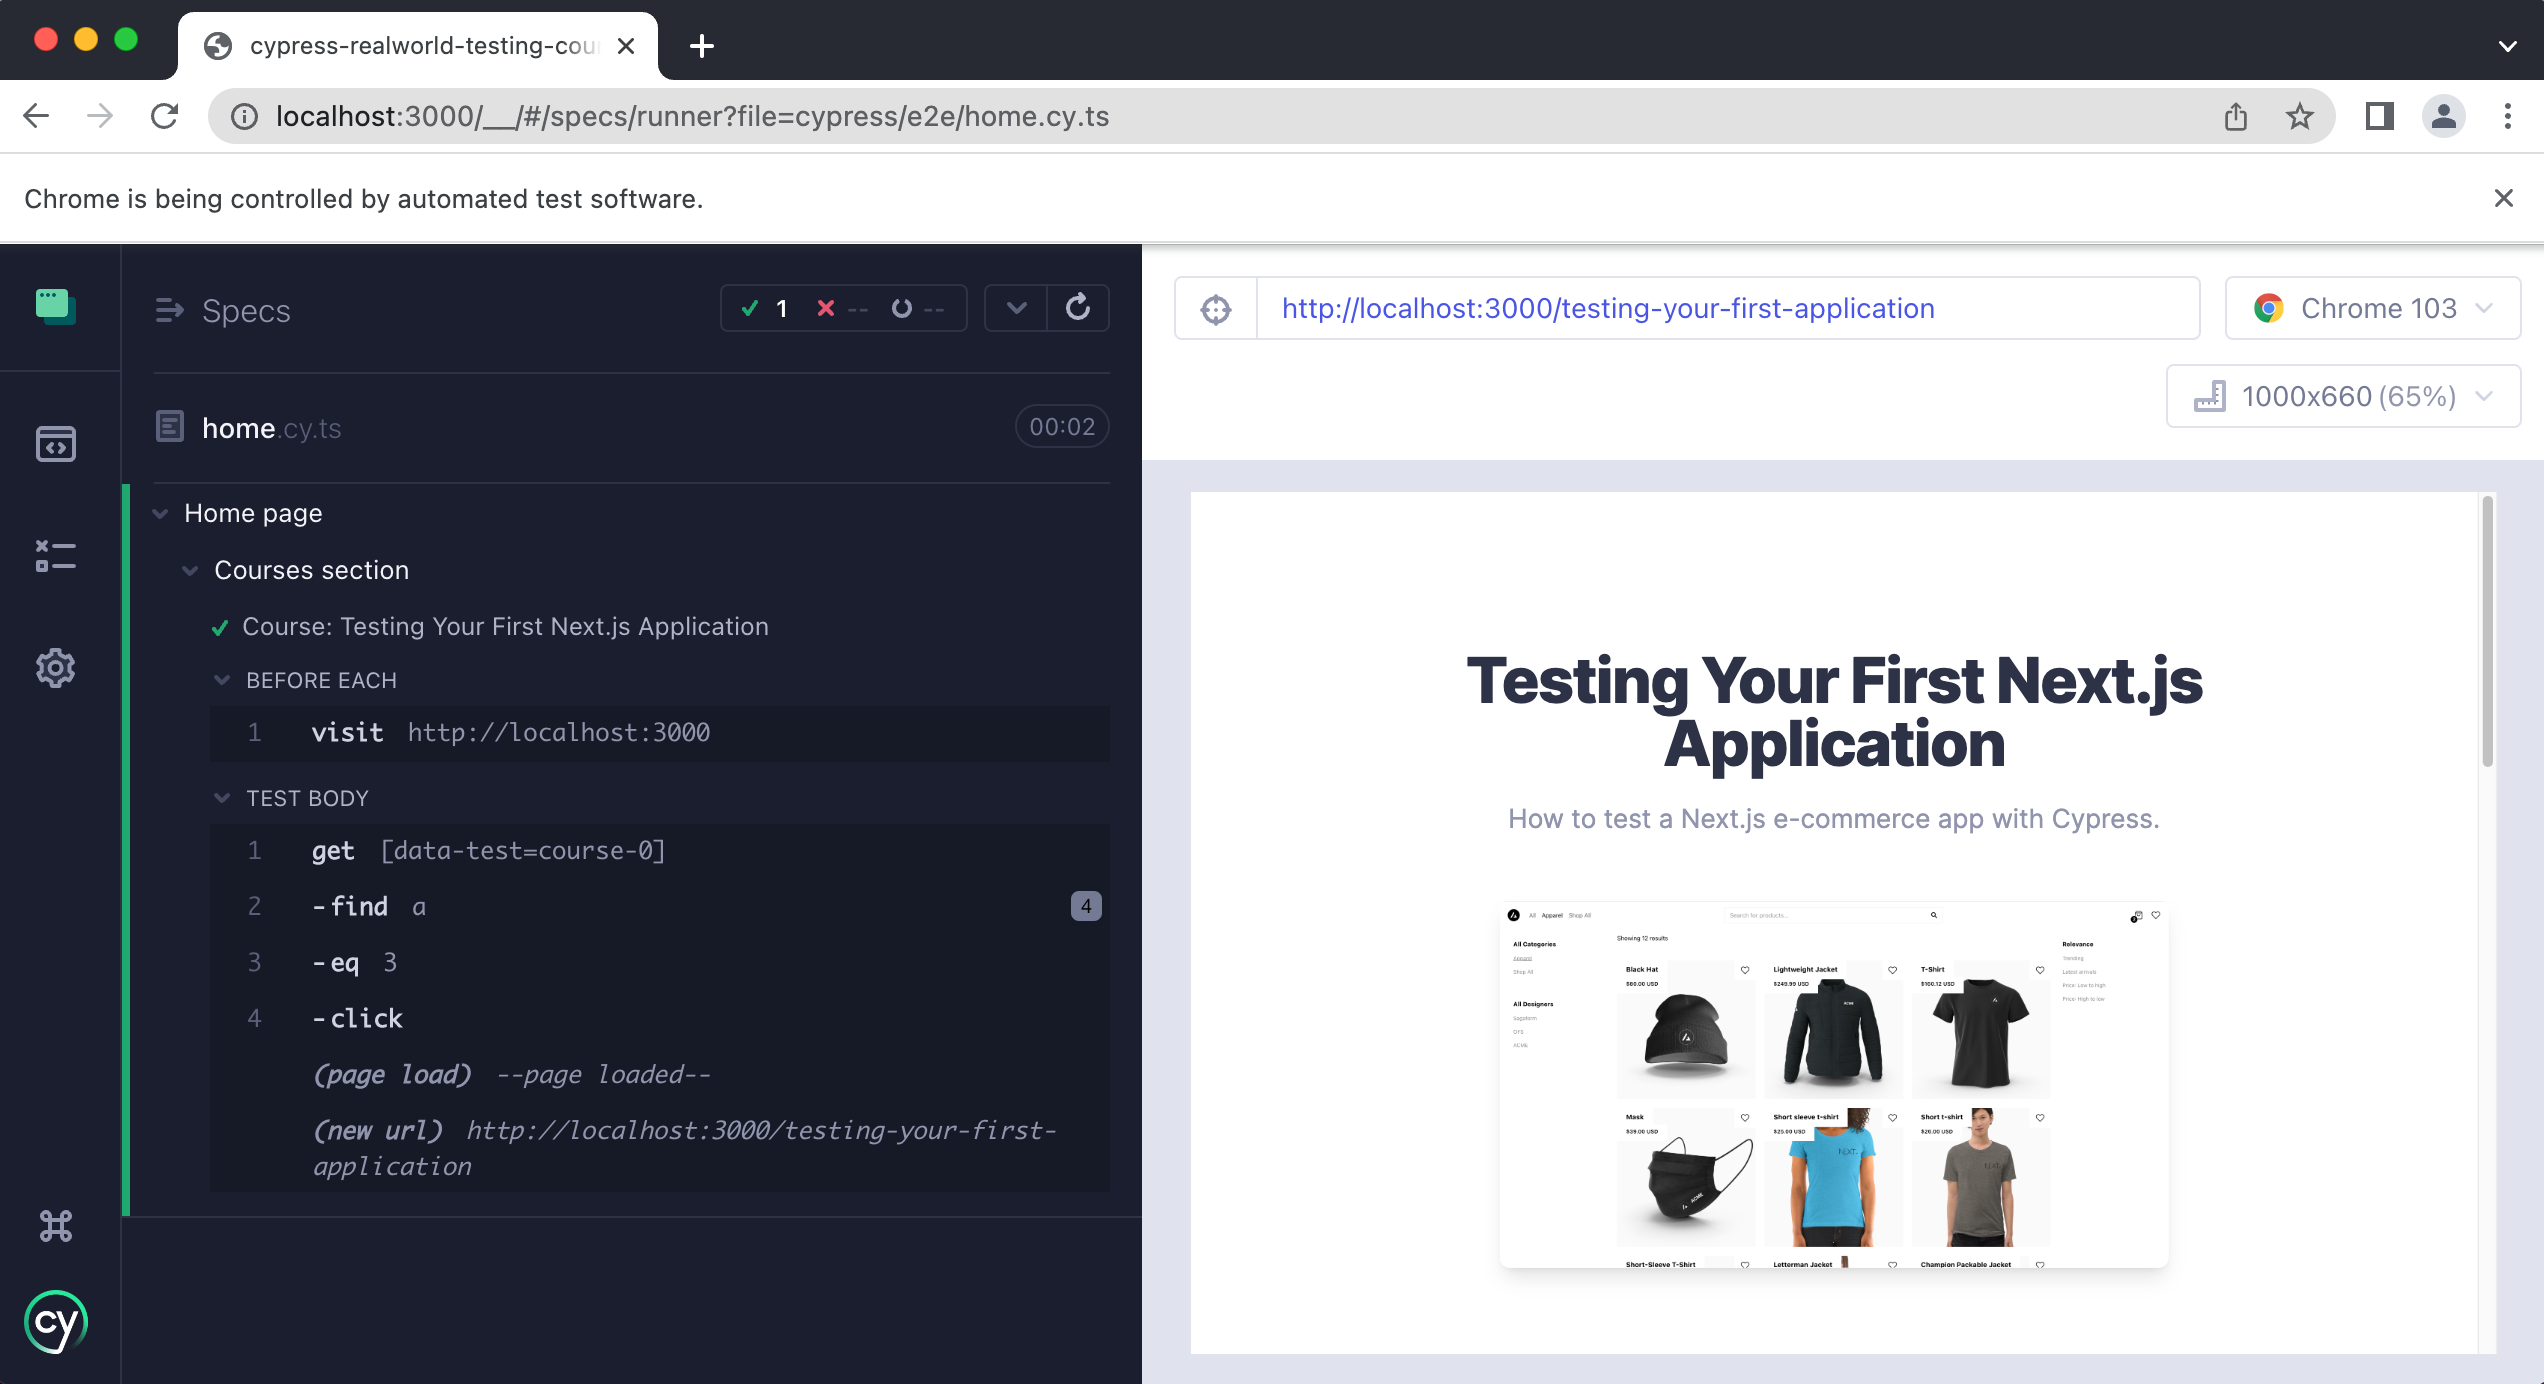
As you can see we have successfully clicked on our button and navigated to the course page.
Testing the correct URL or pathname
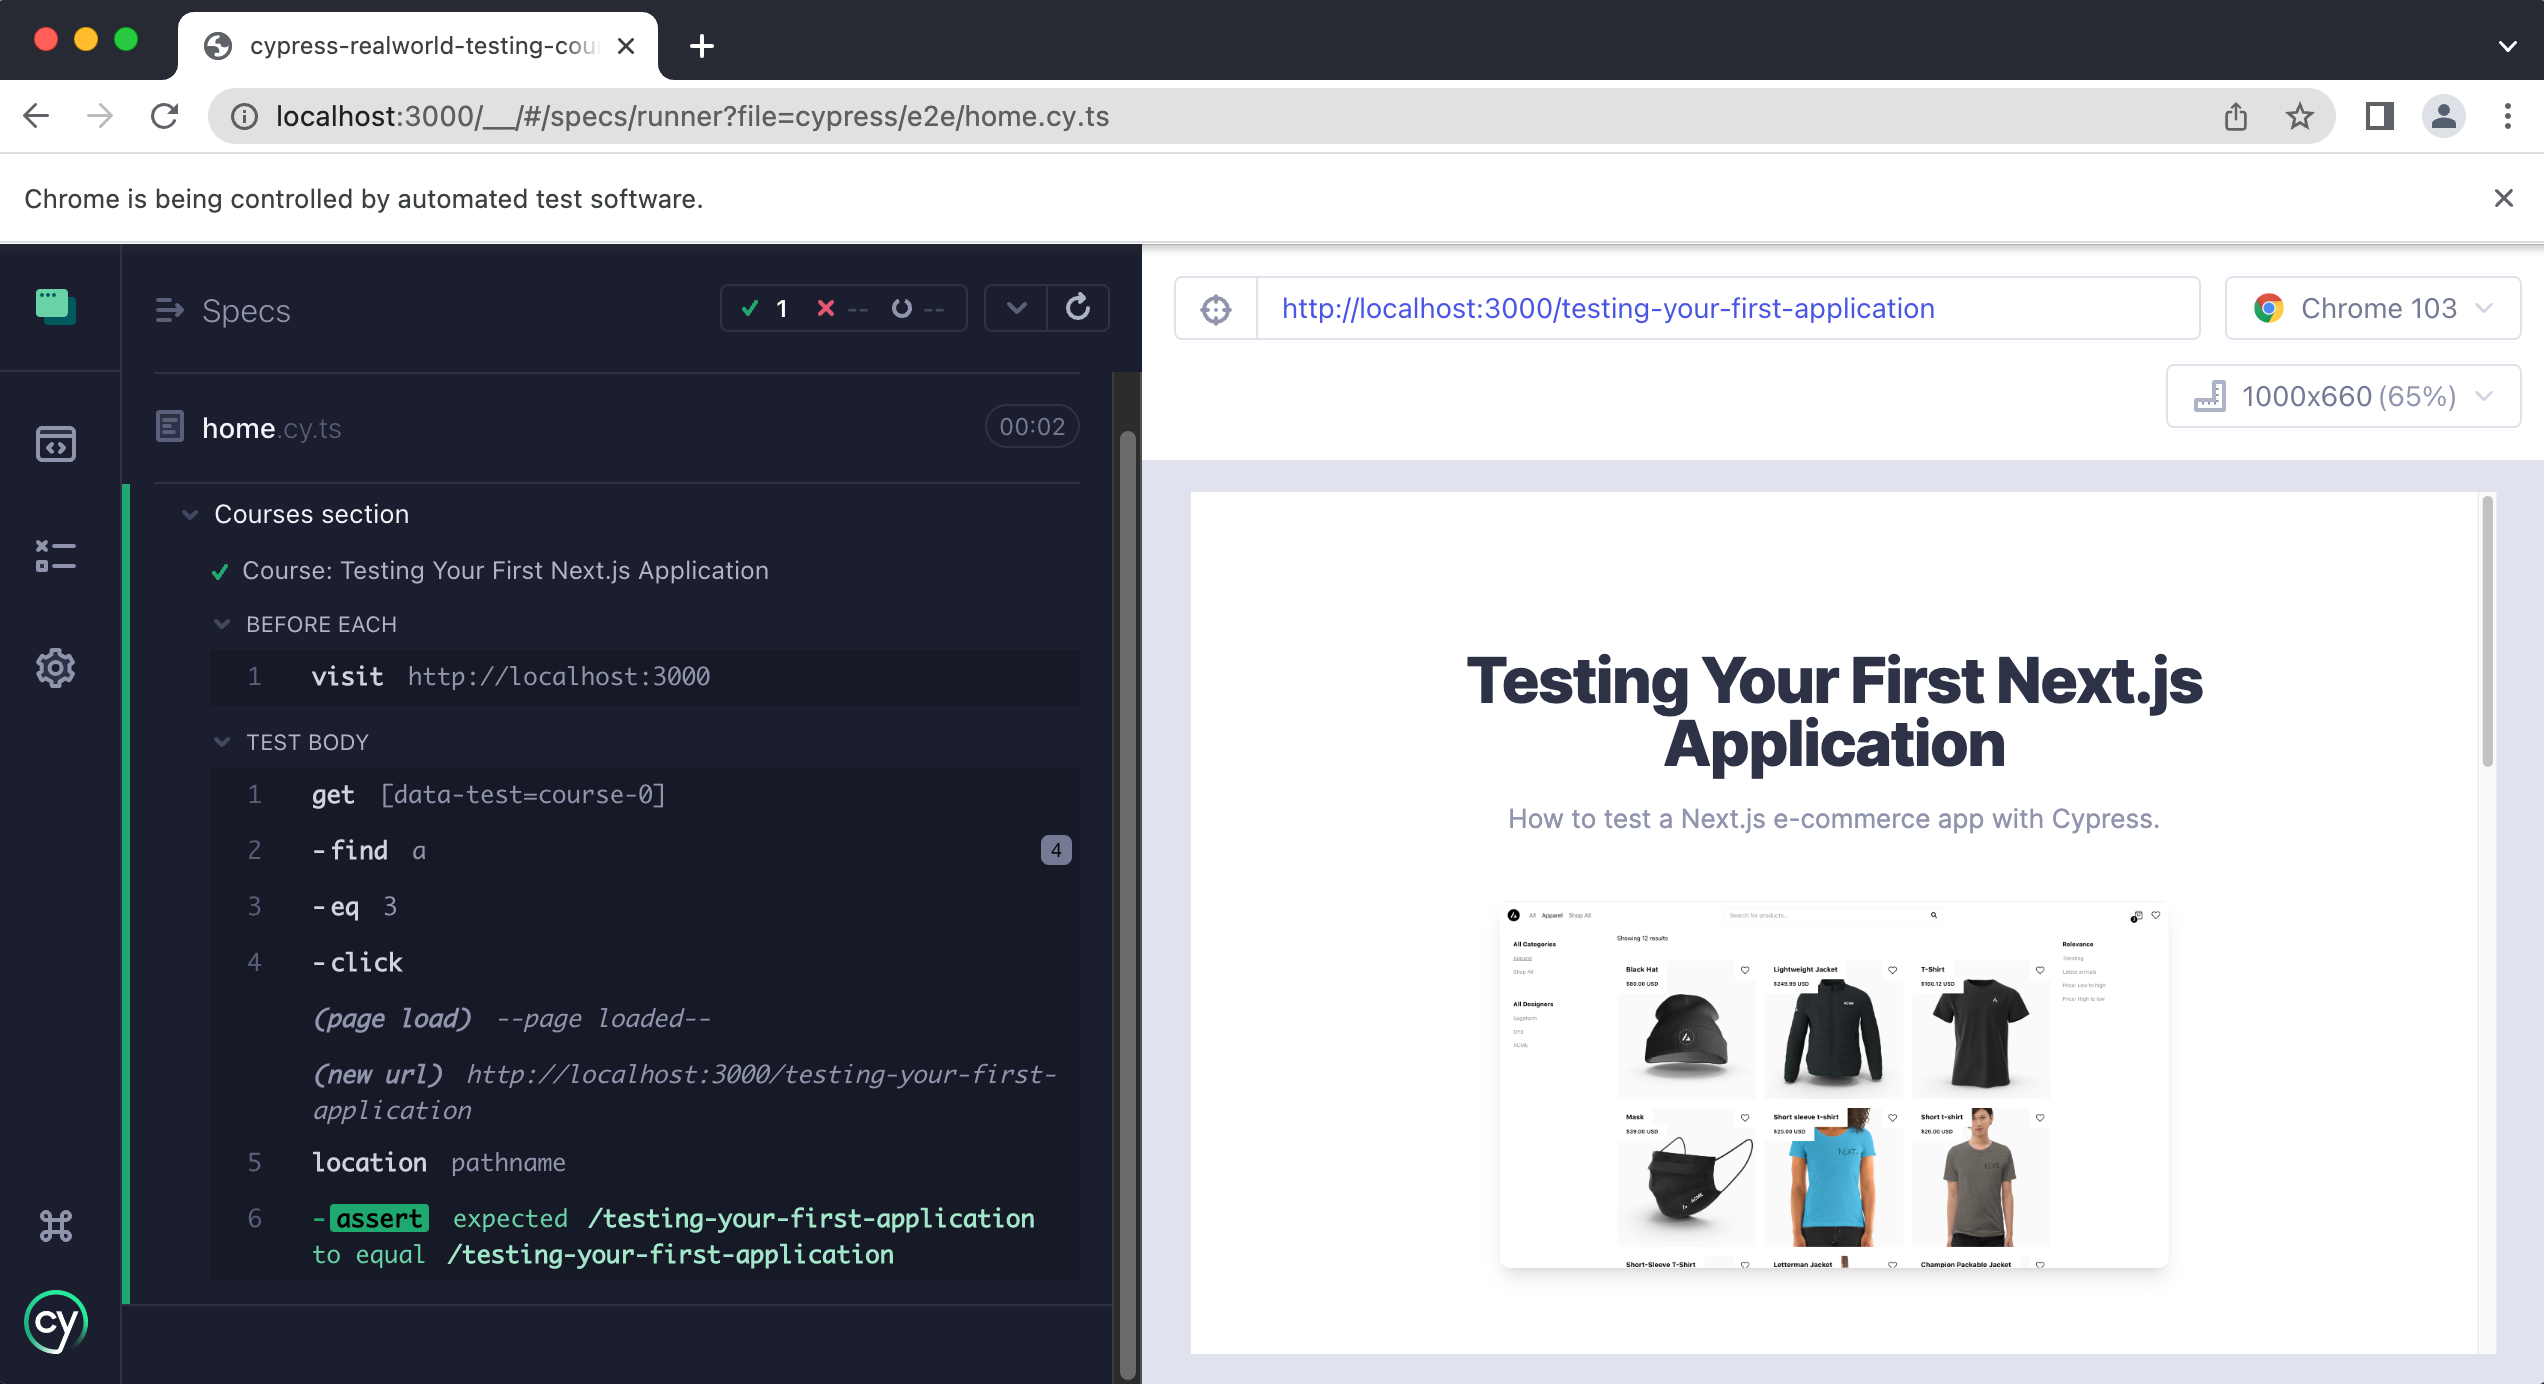
Now that we have successfully clicked on our button and navigated to our course page, let's write an assertion that verifies the button navigates to the correct page. We can do this by writing an assertion that verifies that the URL of our course page is correct like so:
context("Courses section", () => {
  it.only("Course: Testing Your First Next.js Application", () => {
    cy.getByData("course-0").find("a").contains("Get started").click()
    cy.location("pathname").should("equal", "/testing-your-first-application")
  })
})
We are using the location API to get the “pathname” which is the URL of our application. Then we write our assertion to make sure that it equals the correct URL or path.
Congrats! You have now learned how to write tests that span multiple pages.
Practice
Now it is time for you to put what you have just learned into practice. Write two additional tests, one for each course on the home page, and verify that the “Get started” button links to the correct course page.
Hint: You can copy and paste the test we just wrote:
it("Course: Testing Your First Next.js Application", () => {
  cy.getByData("course-0").find("a").contains("Get started").click()
  cy.location("pathname").should("equal", "/testing-your-first-application")
})
and make slight modifications for each course and course page.
If you get stuck the answers are provided below.
Practice Answers
Final Spec file
Wrap Up
In this lesson, you learned how to write tests for multiple pages. You learned how to narrow down the scope in which Cypress looks for elements using the find command. You also learned how to write assertions against URLs using the location command.