Creating a Shopify Partners Store
The first thing you will need is a Shopify Partners Account. It is completely free to sign up. The Shopify Partners account will allow us to create as many development stores as we need for free, which is exactly what we want.
info
You do not want to sign up for the Shopify Trial found on their home page.
Once you have created your account, you should land on the Shopify Partners dashboard.
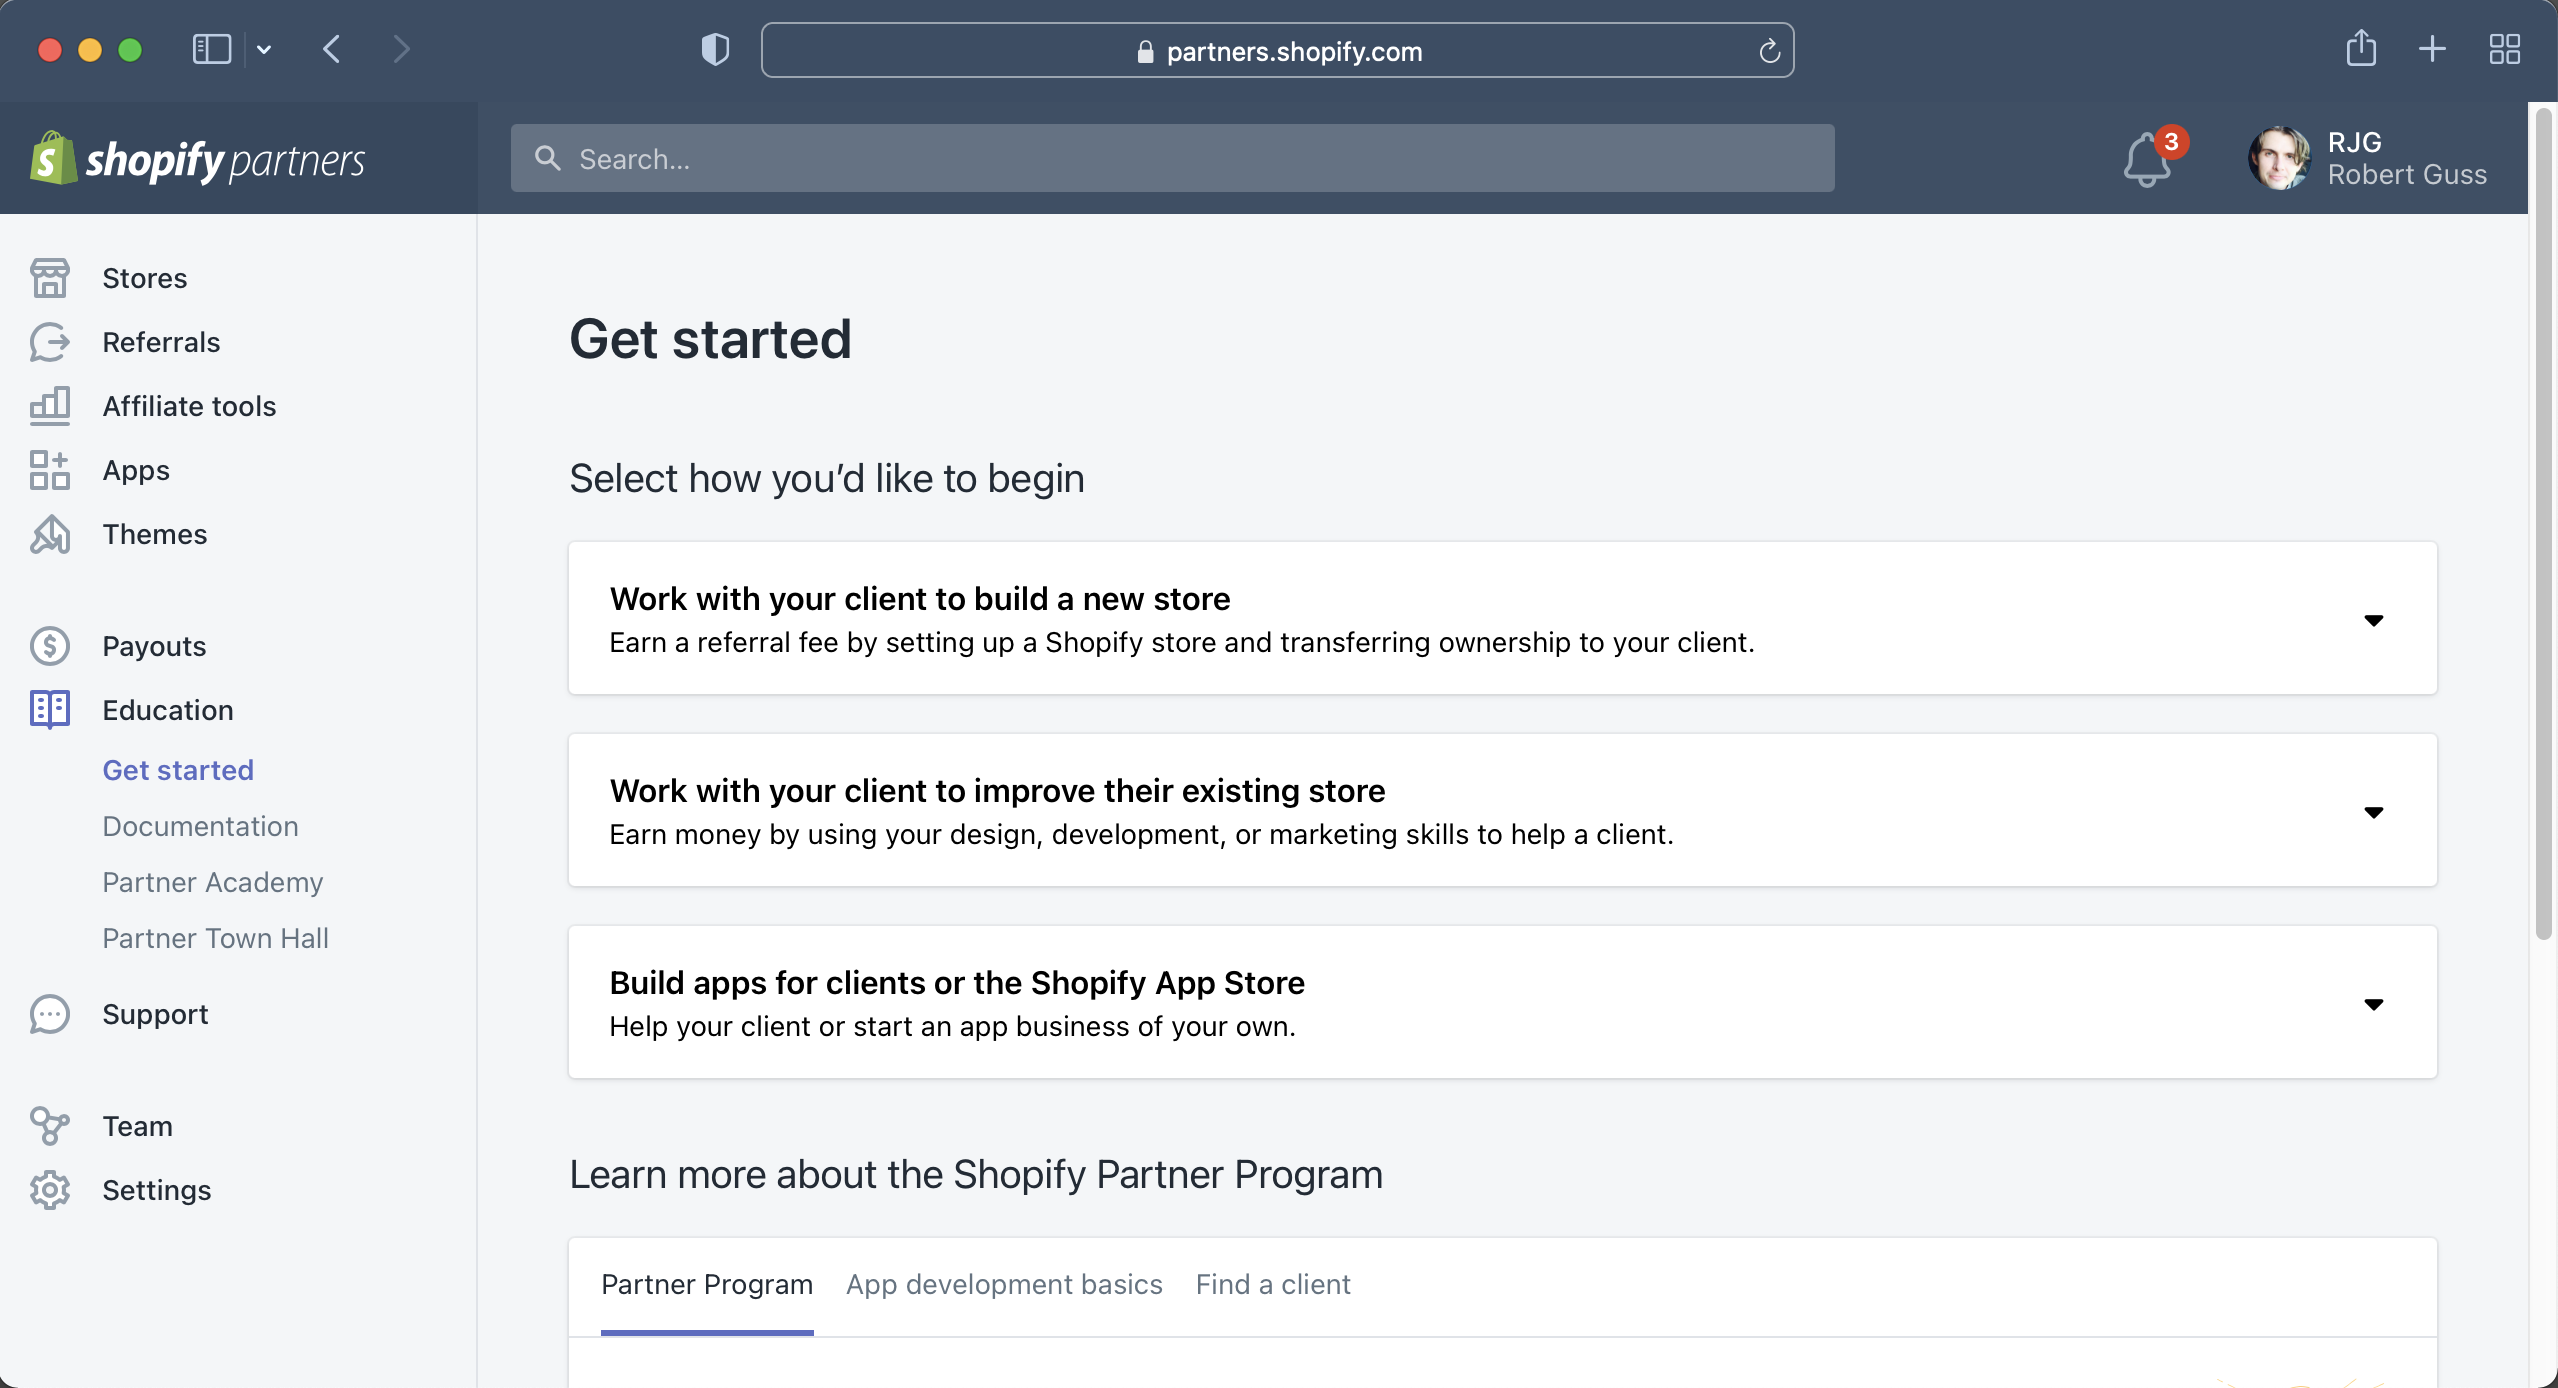
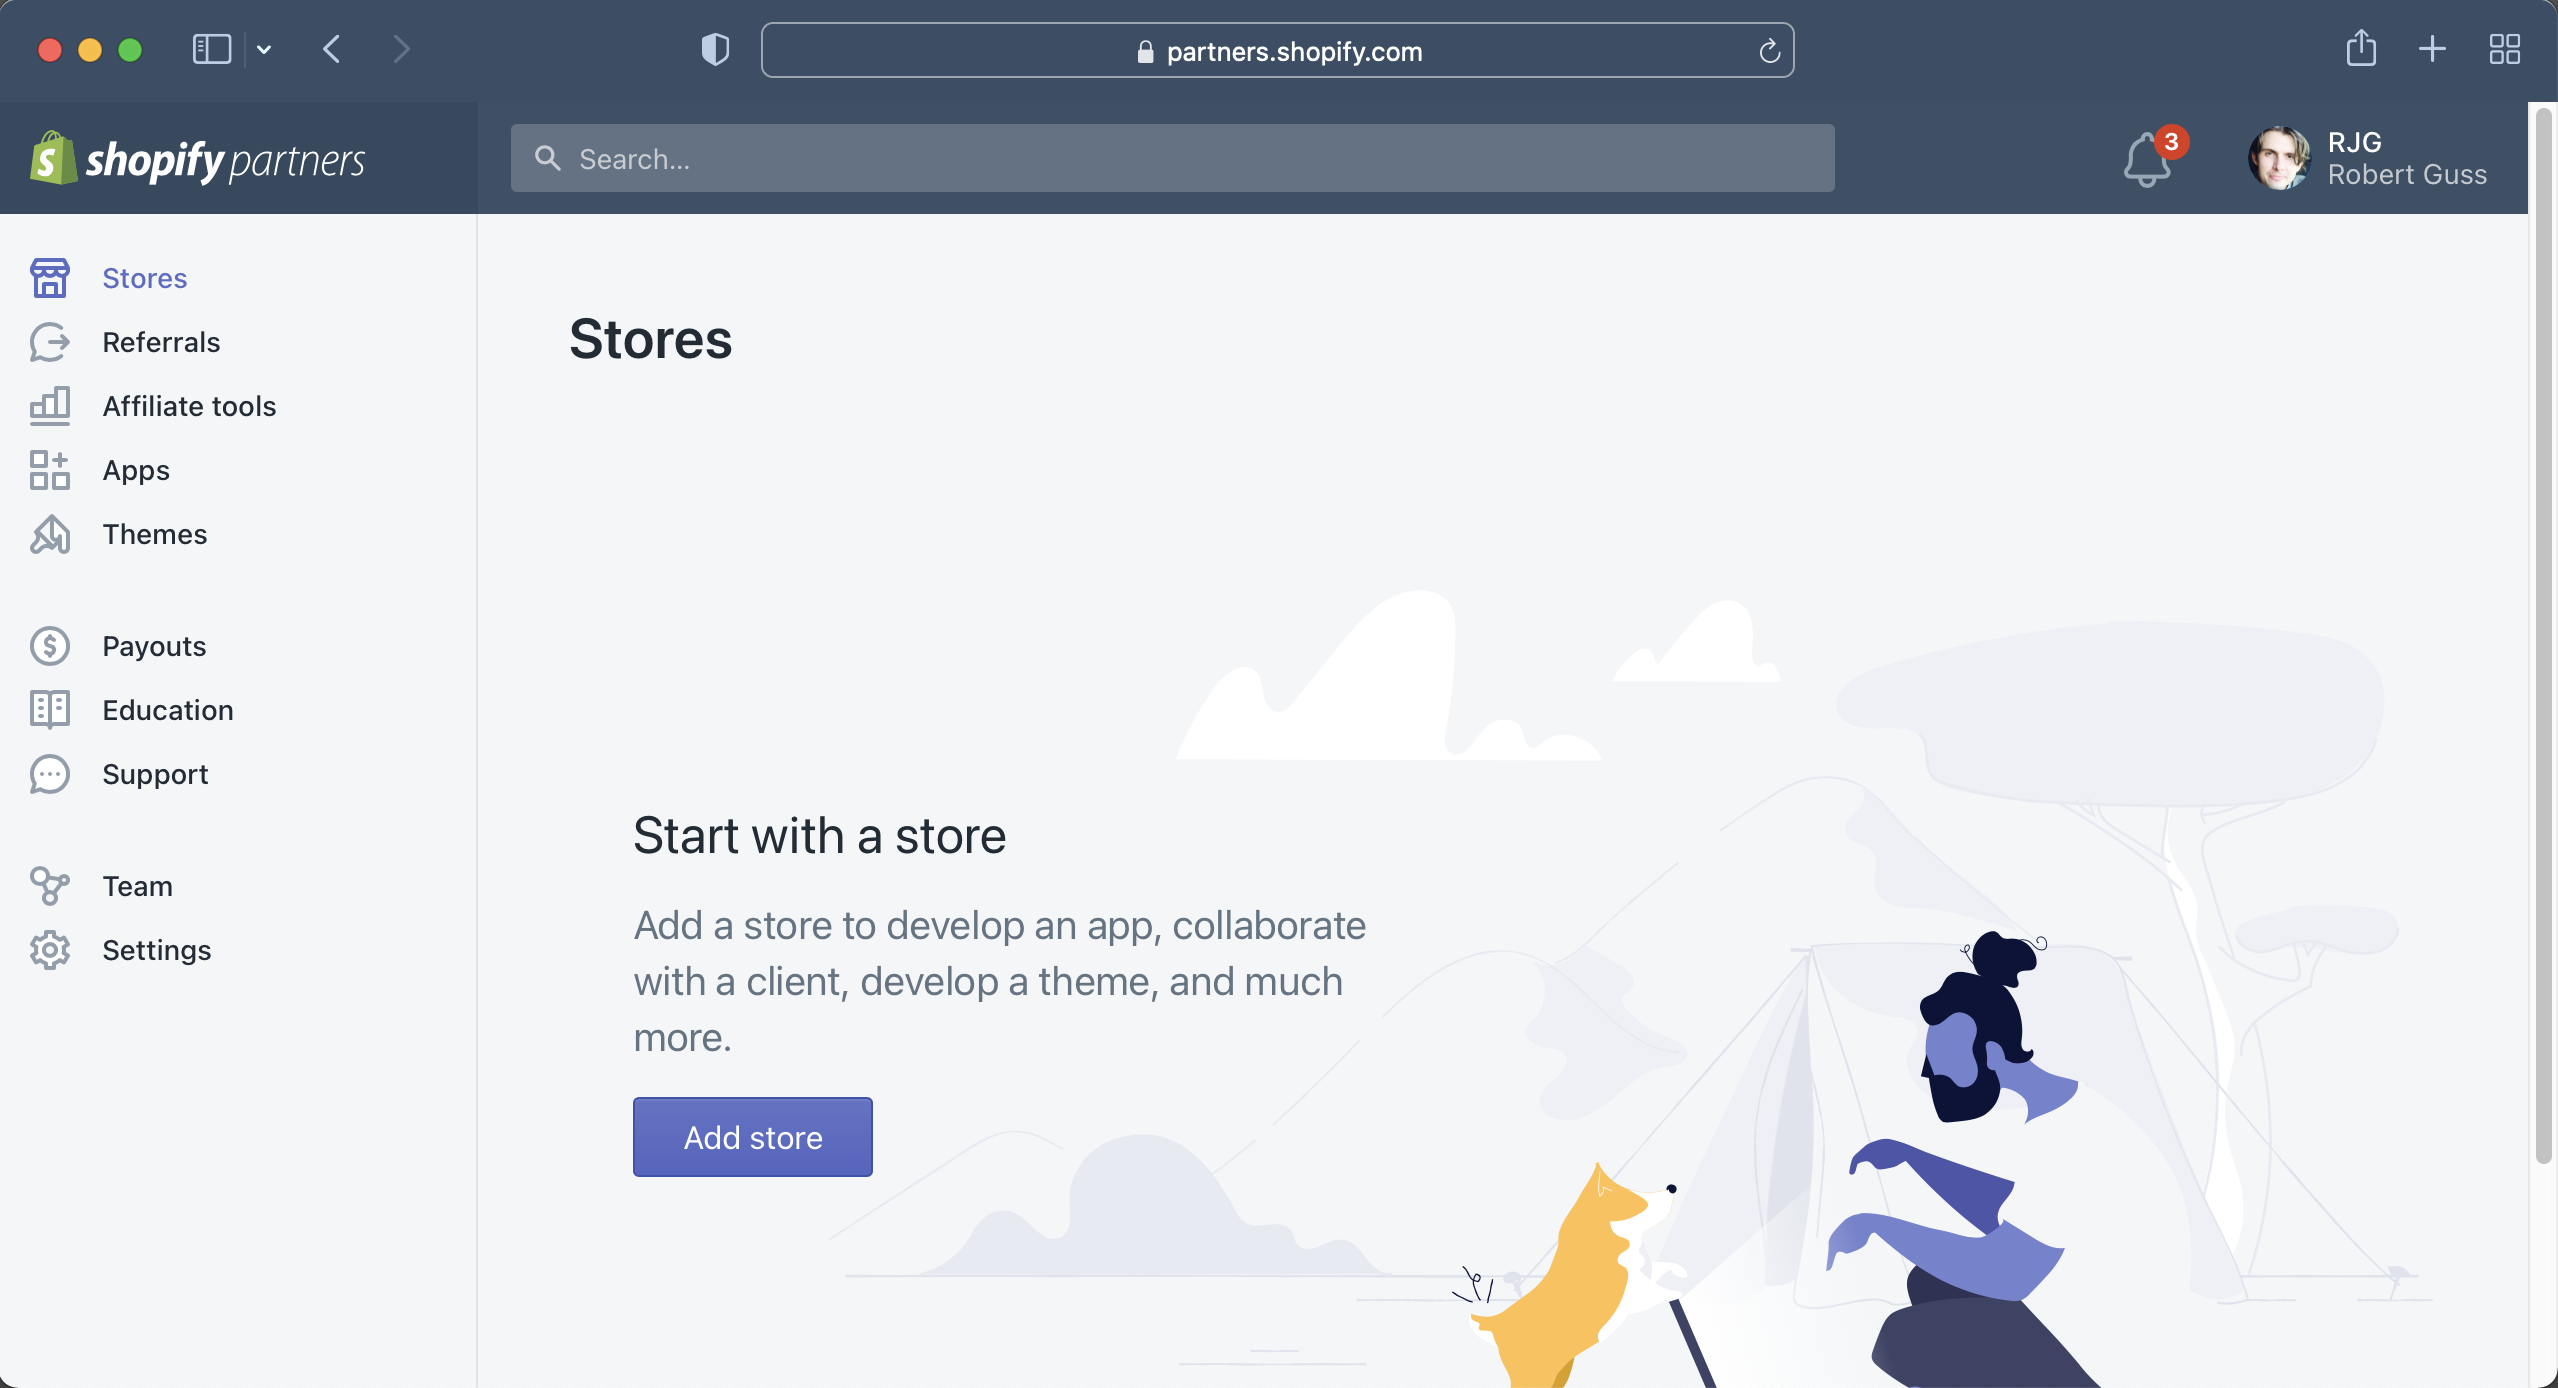
Click on the Stores link in the left sidebar and then click on the "Add store" button.
info
You will need to confirm your email address before you are able to create a store so make sure you do that first
Click on "Development store"
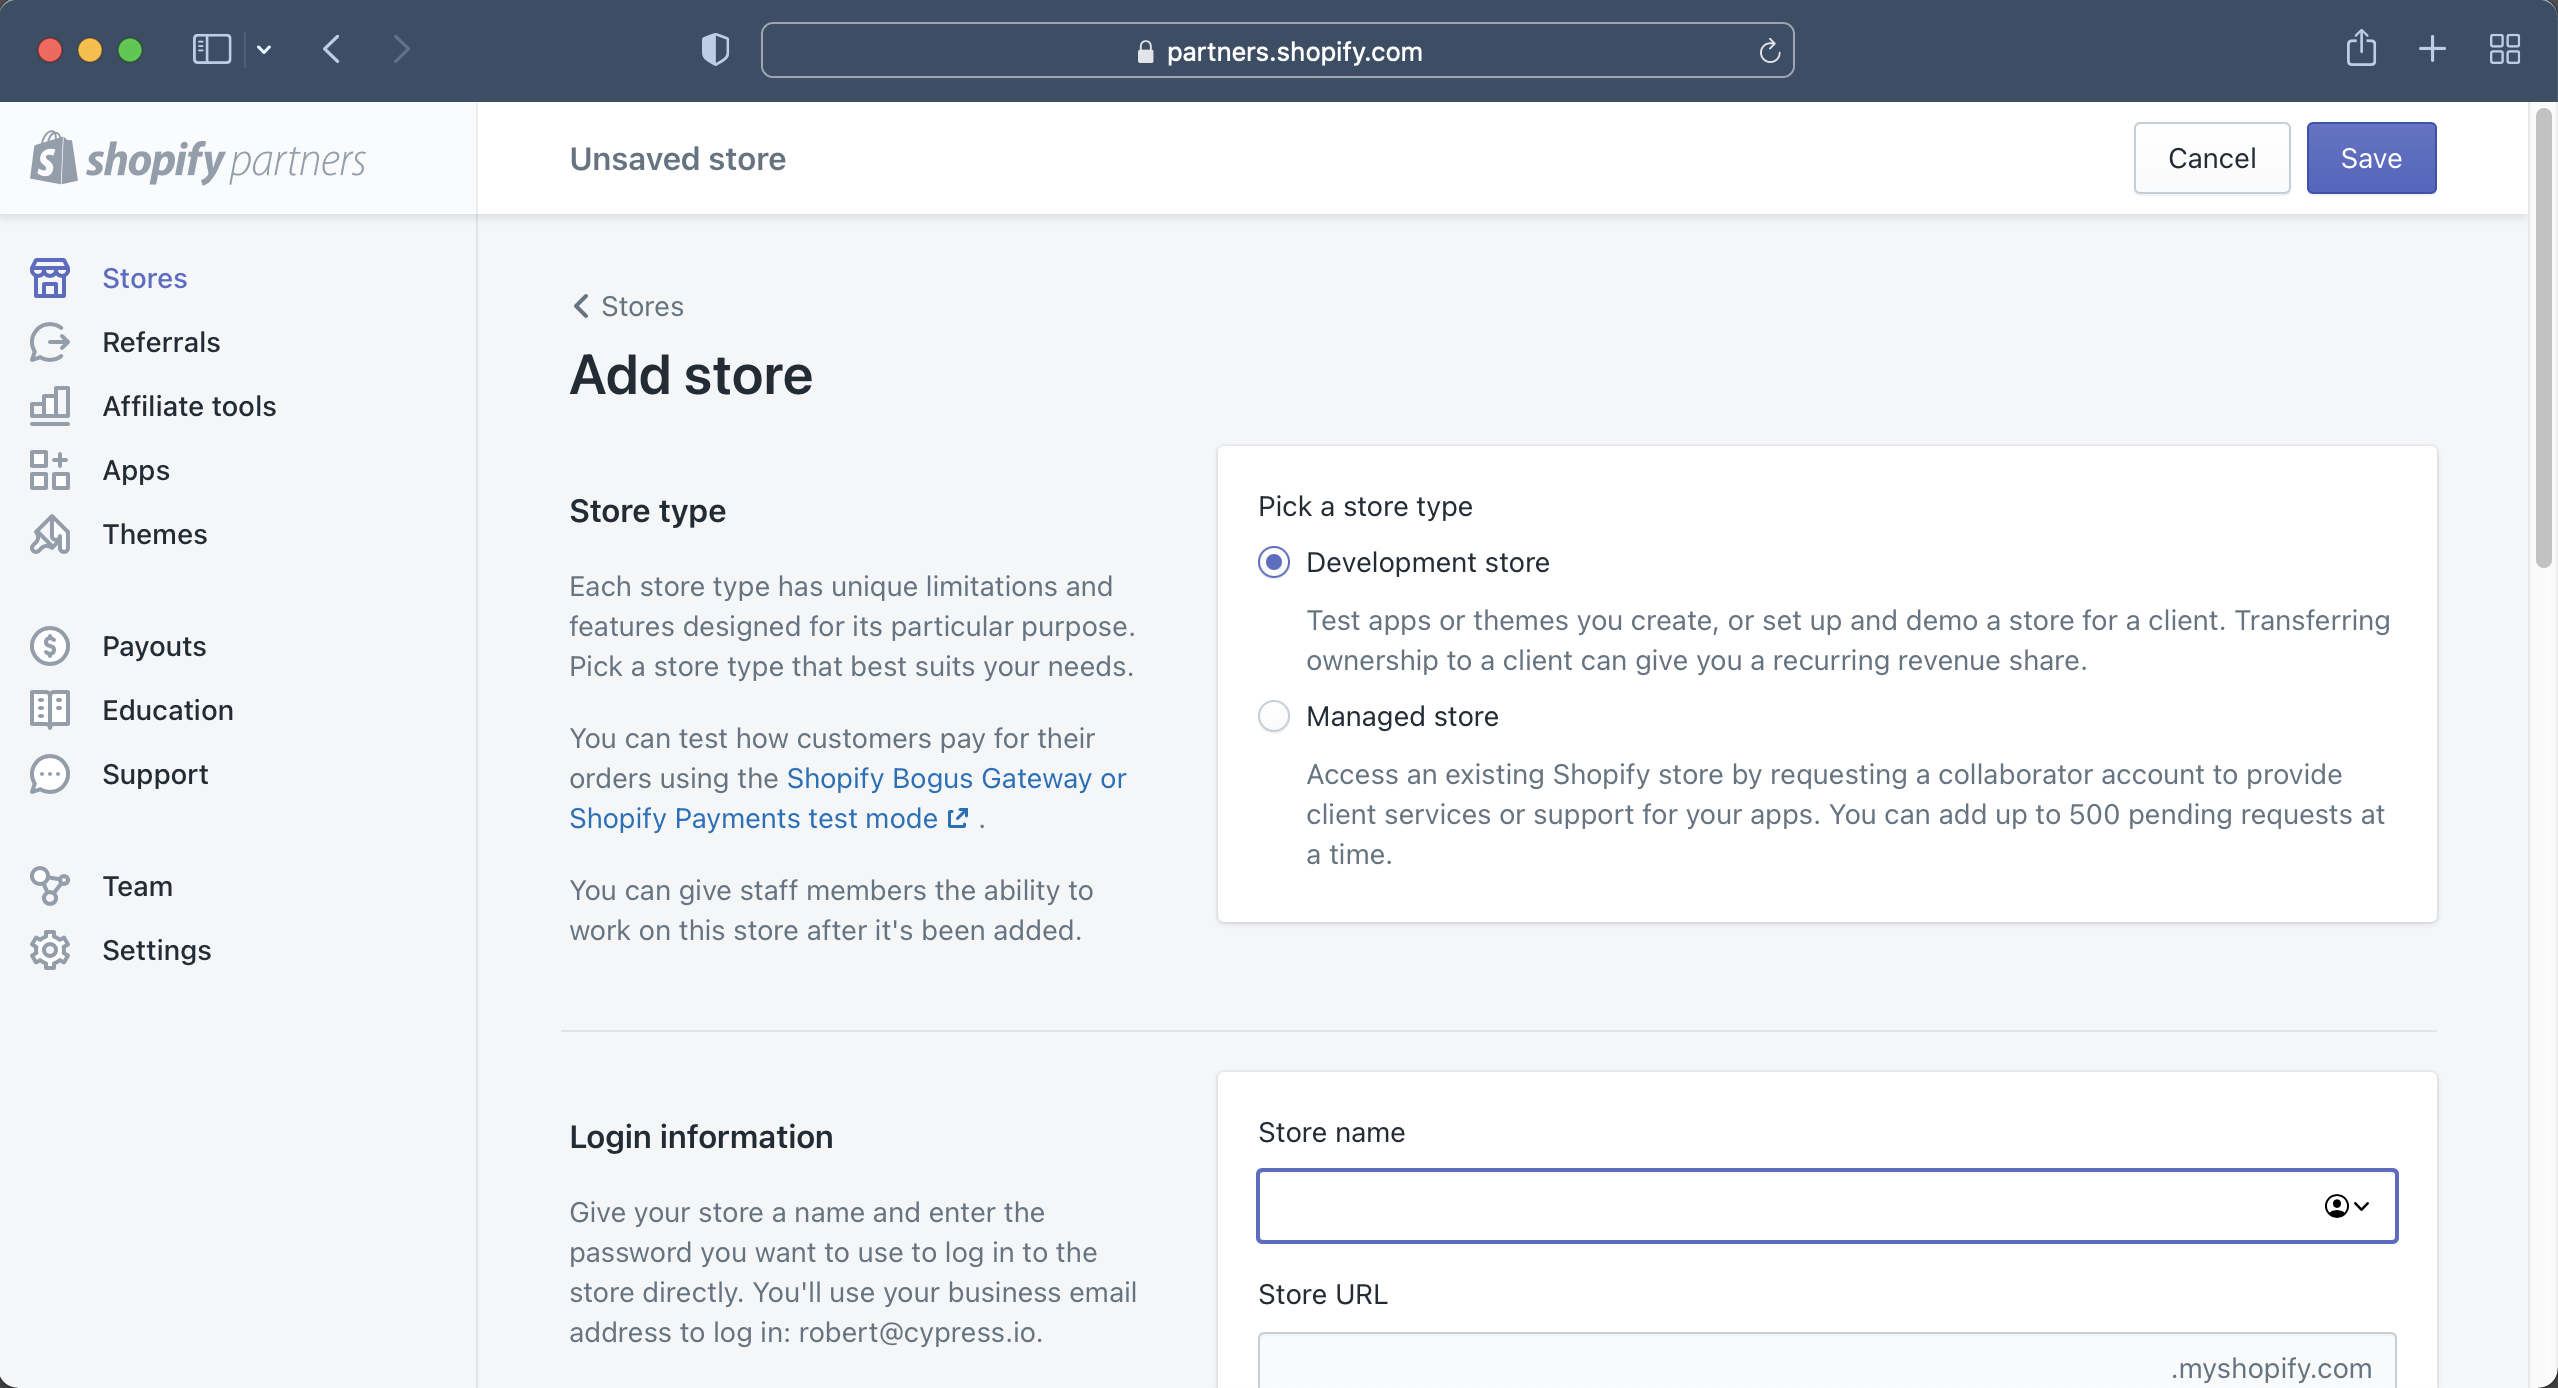
Then proceed to fill out the "Login information" section.
- Your store will need to have a unique url
- We won't need the password for this tutorial, but you have to add one to create your store. It doesn't have to be anything fancy or complex as this is just a demo store.

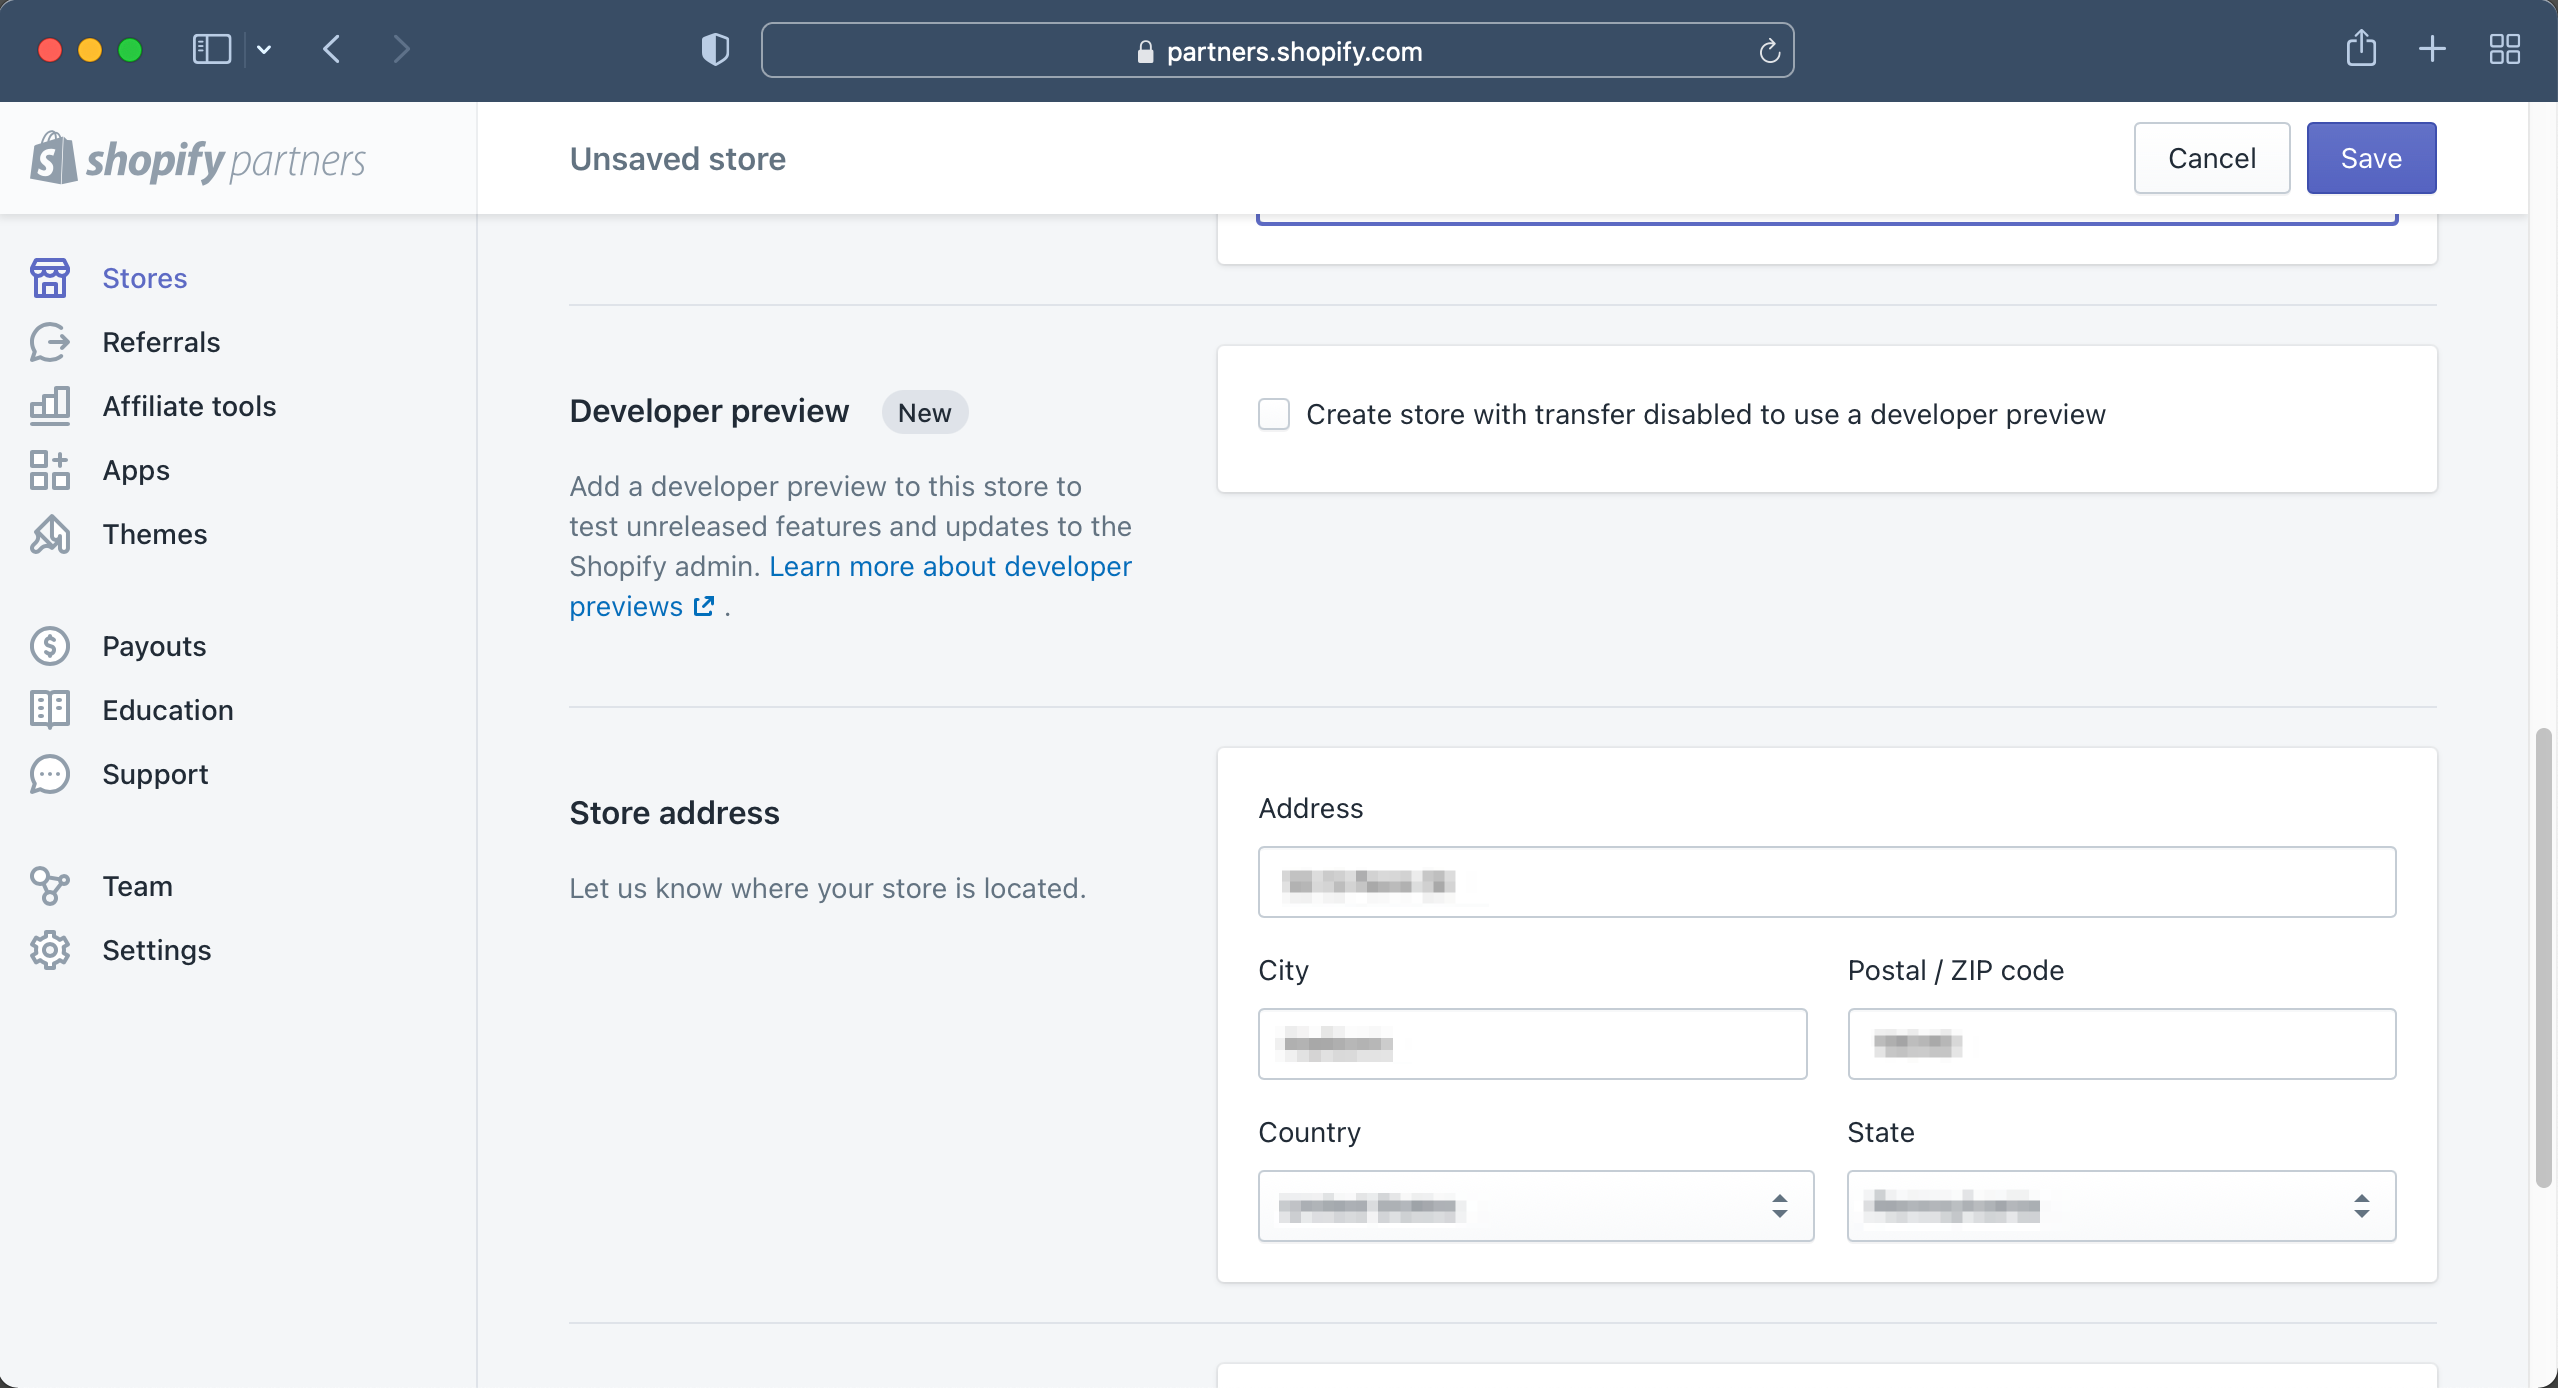
Leave "Developer preview" unchecked as we do not need any unreleased features for this tutorial. Also make sure to fill out a real address for your store. I simply used my home address.
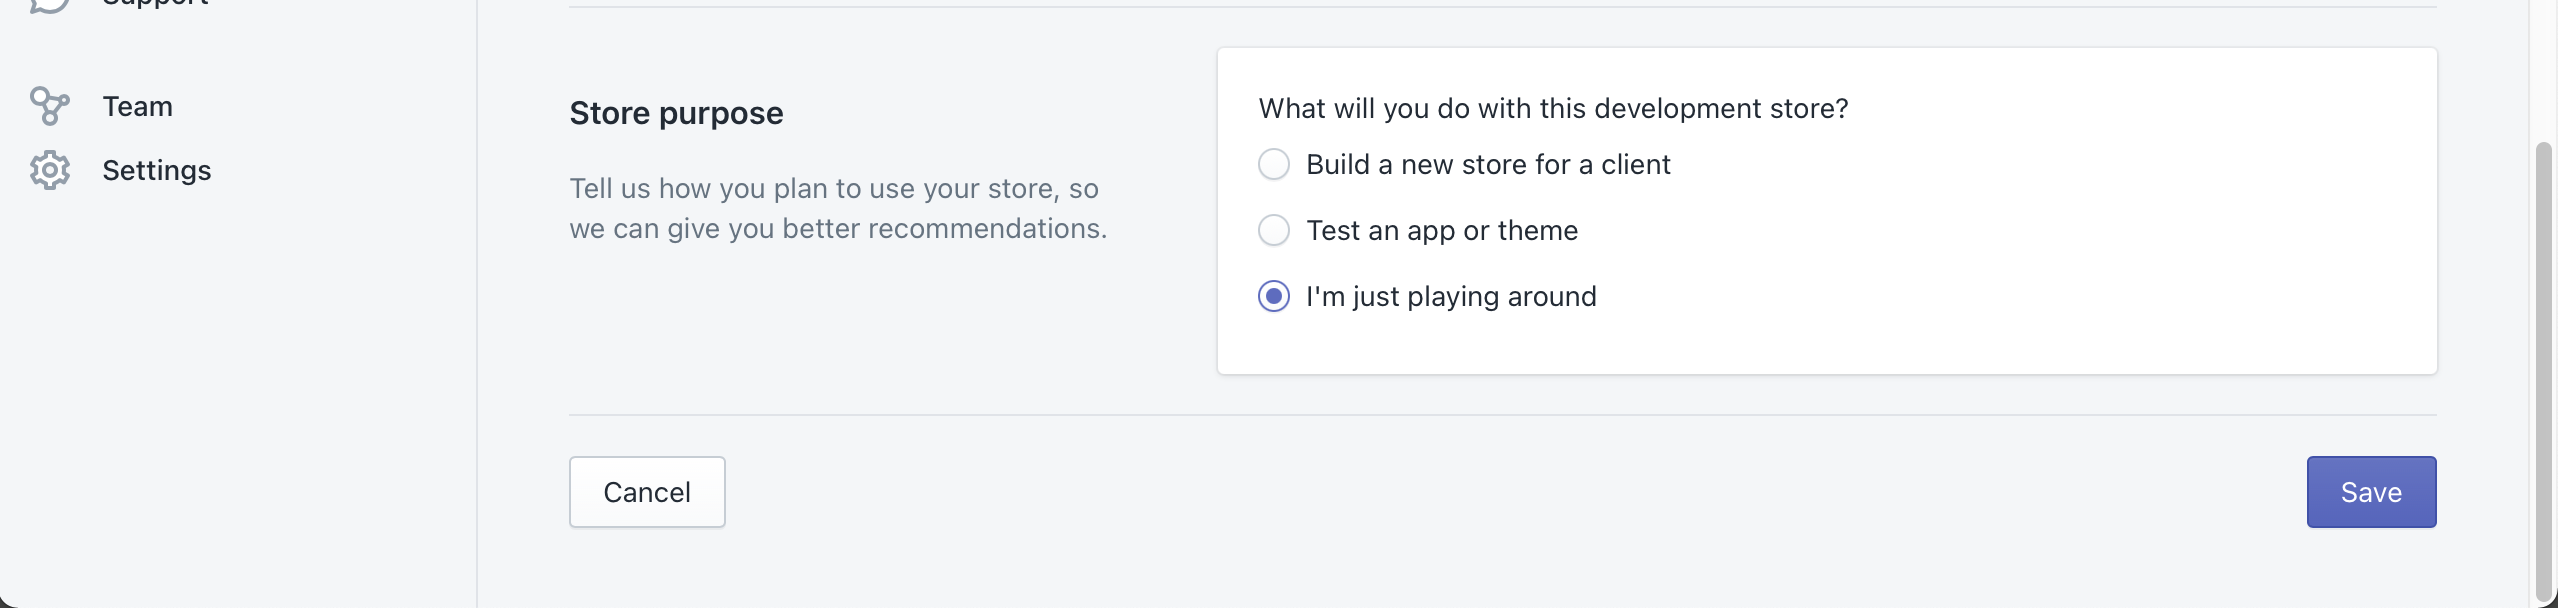
For the "Store purpose," check "I'm just playing around" and then click on the purple save button.
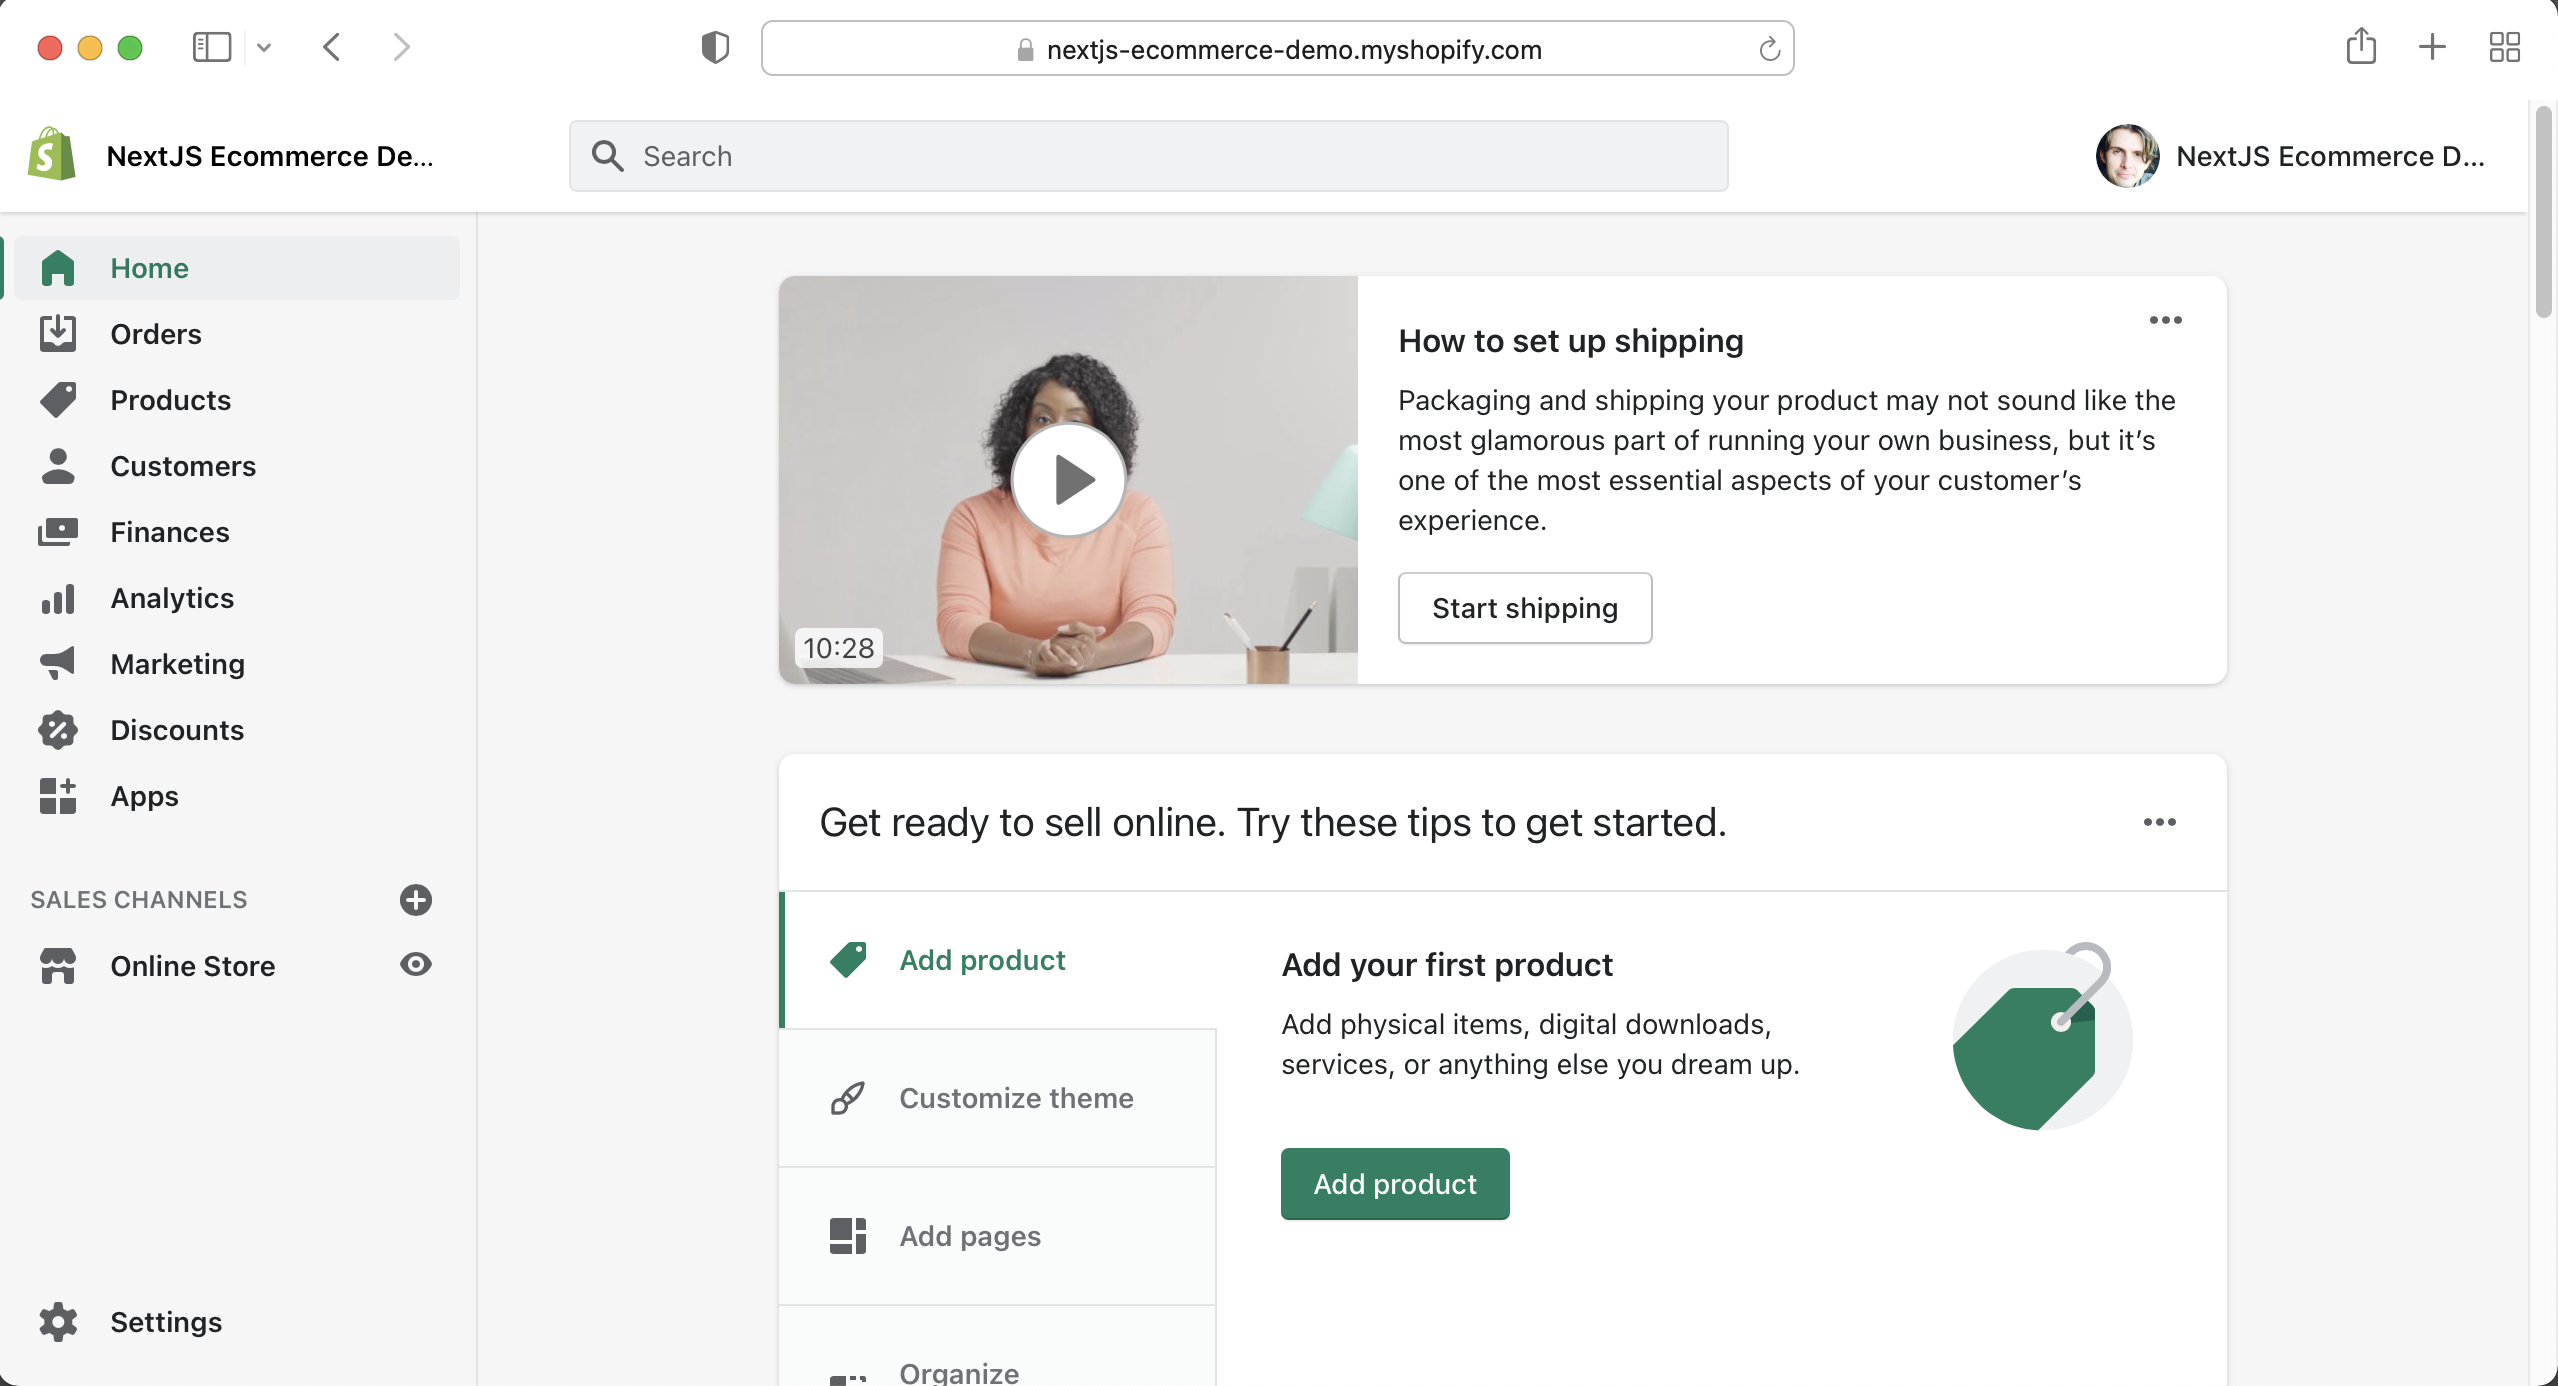
Shopify will then create you store and take you to your store's dashboard.
Adding Products
Since we are creating a developer swag store, we are going to need some swag for our store. I will be using some images I found from Redbubble.com but feel free to use whatever you would like. I will only be adding three products, but you can certainly add more if you would like.
Once you have the images of your products, click on the "Add product" button on your store's dashboard.
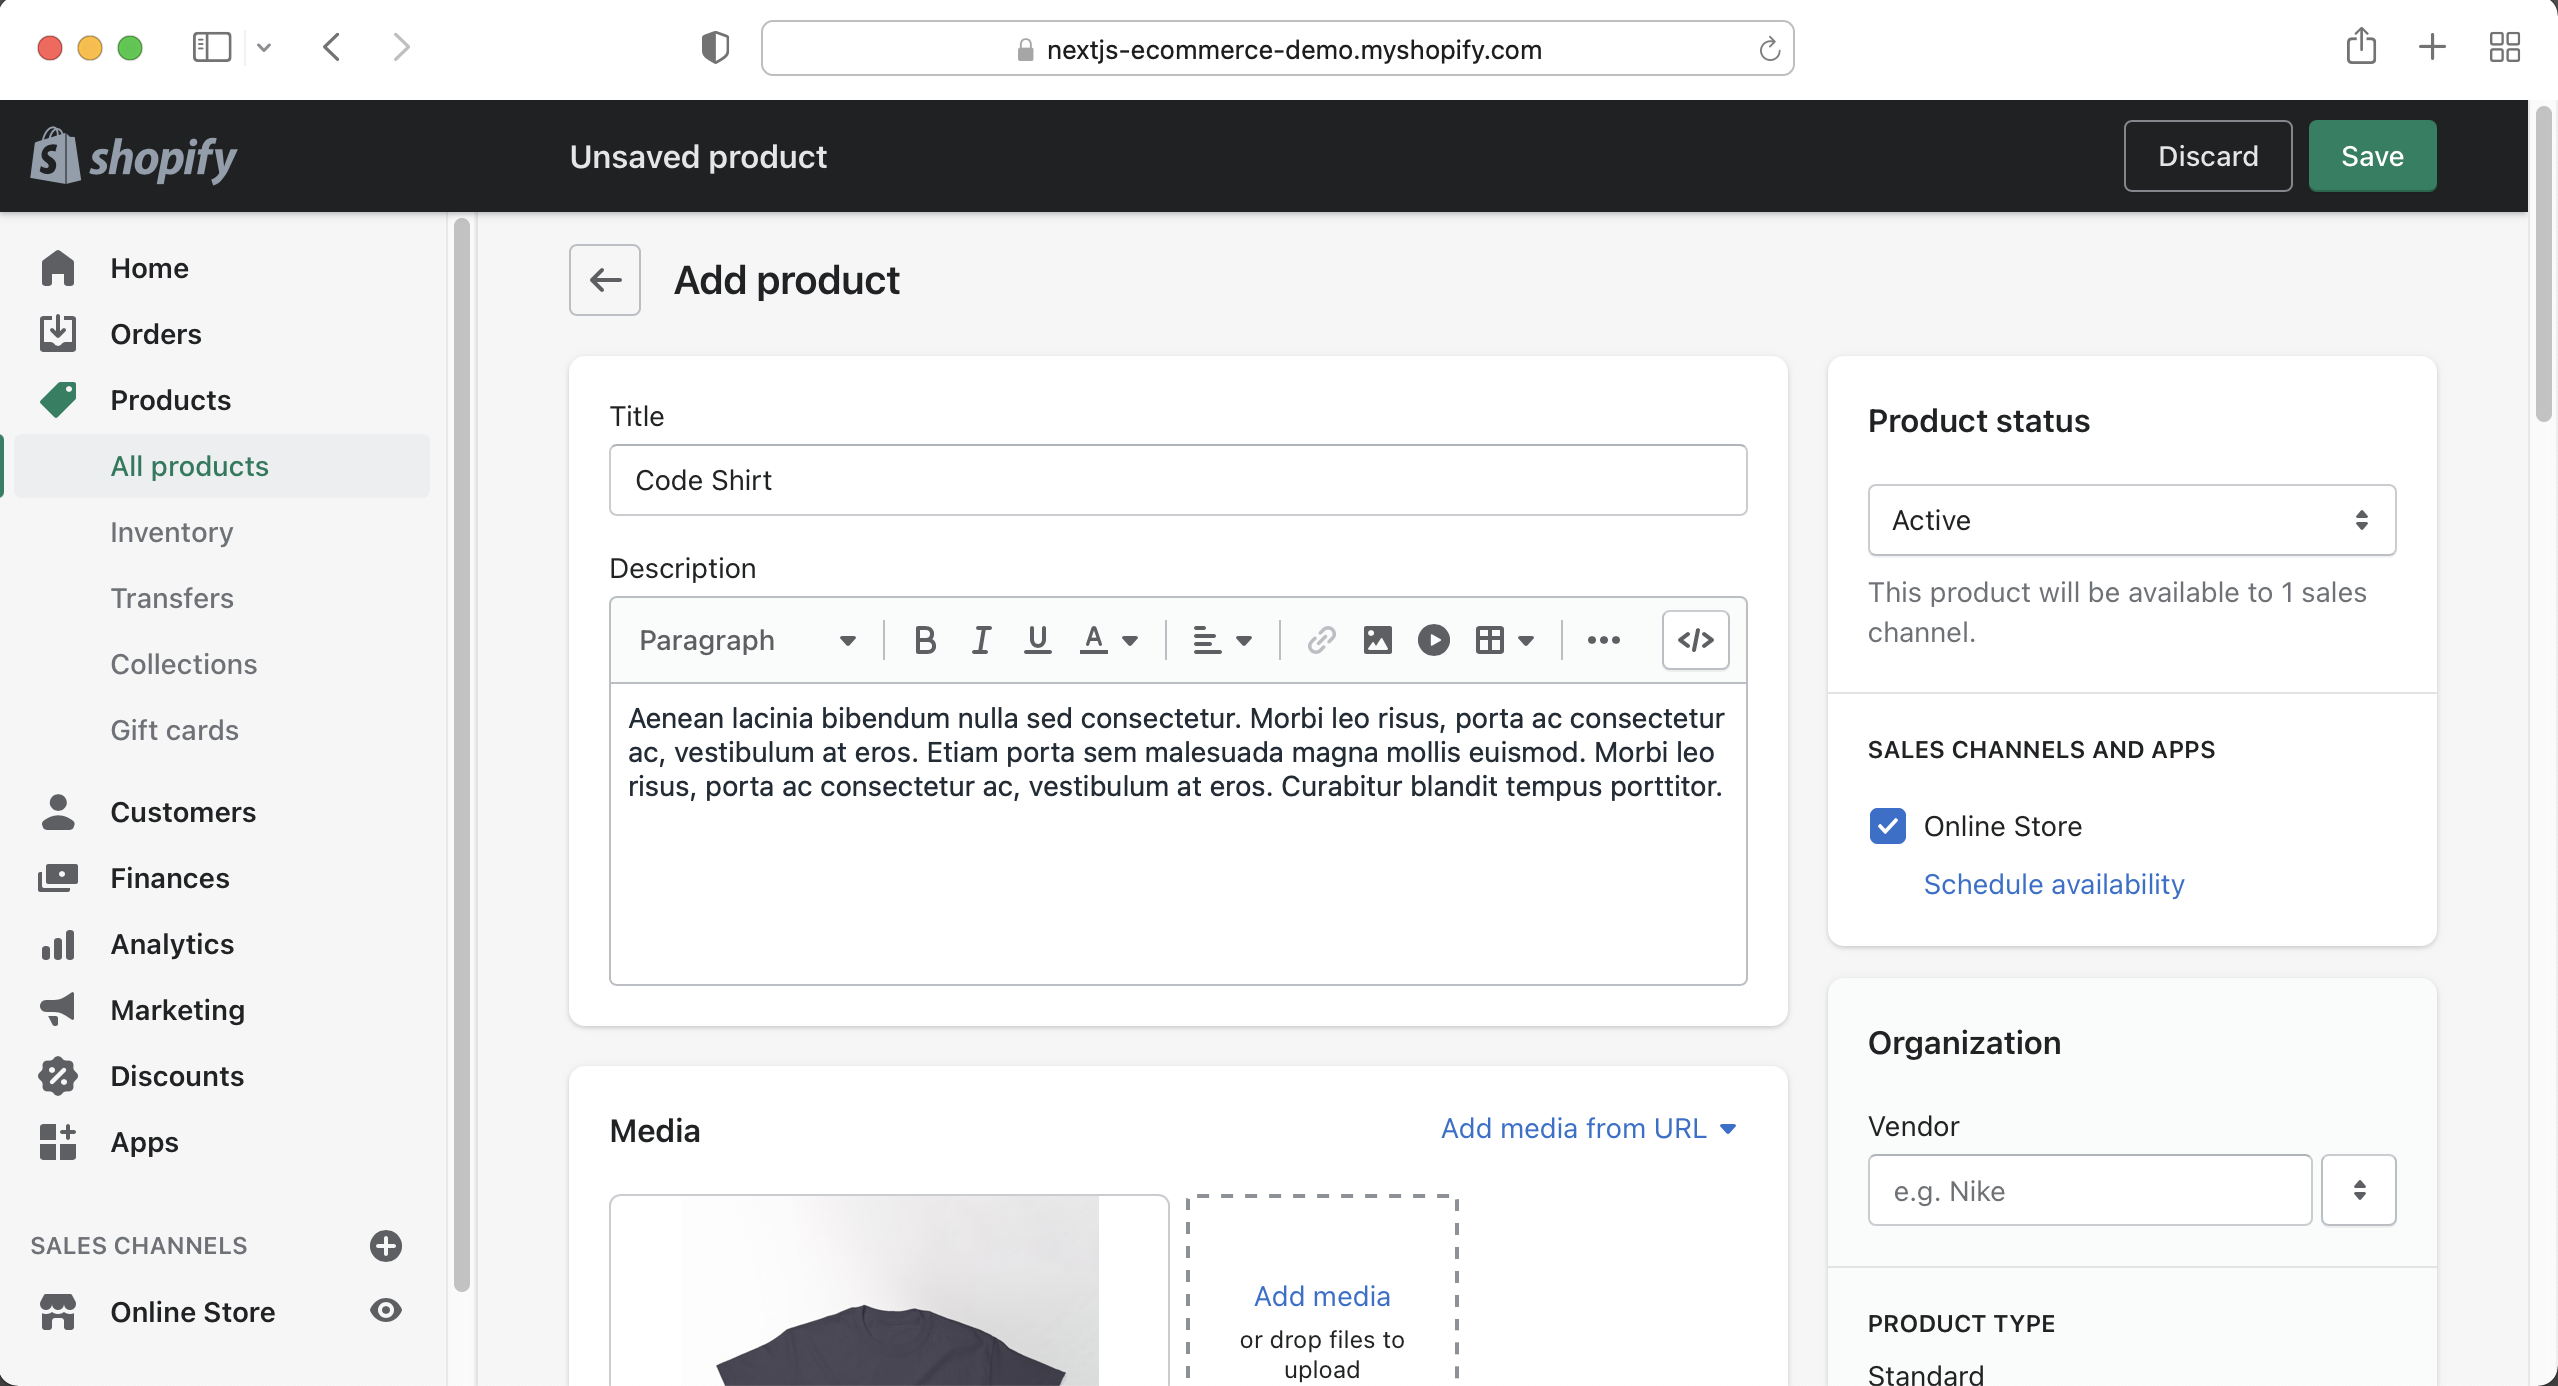
Make sure to mark the "Product status" as active.
Here is a screenshot of the entire "Add product" screen with all of the information filled out. If you don't know what all of these fields are, just fill them out as I have in this screenshot.
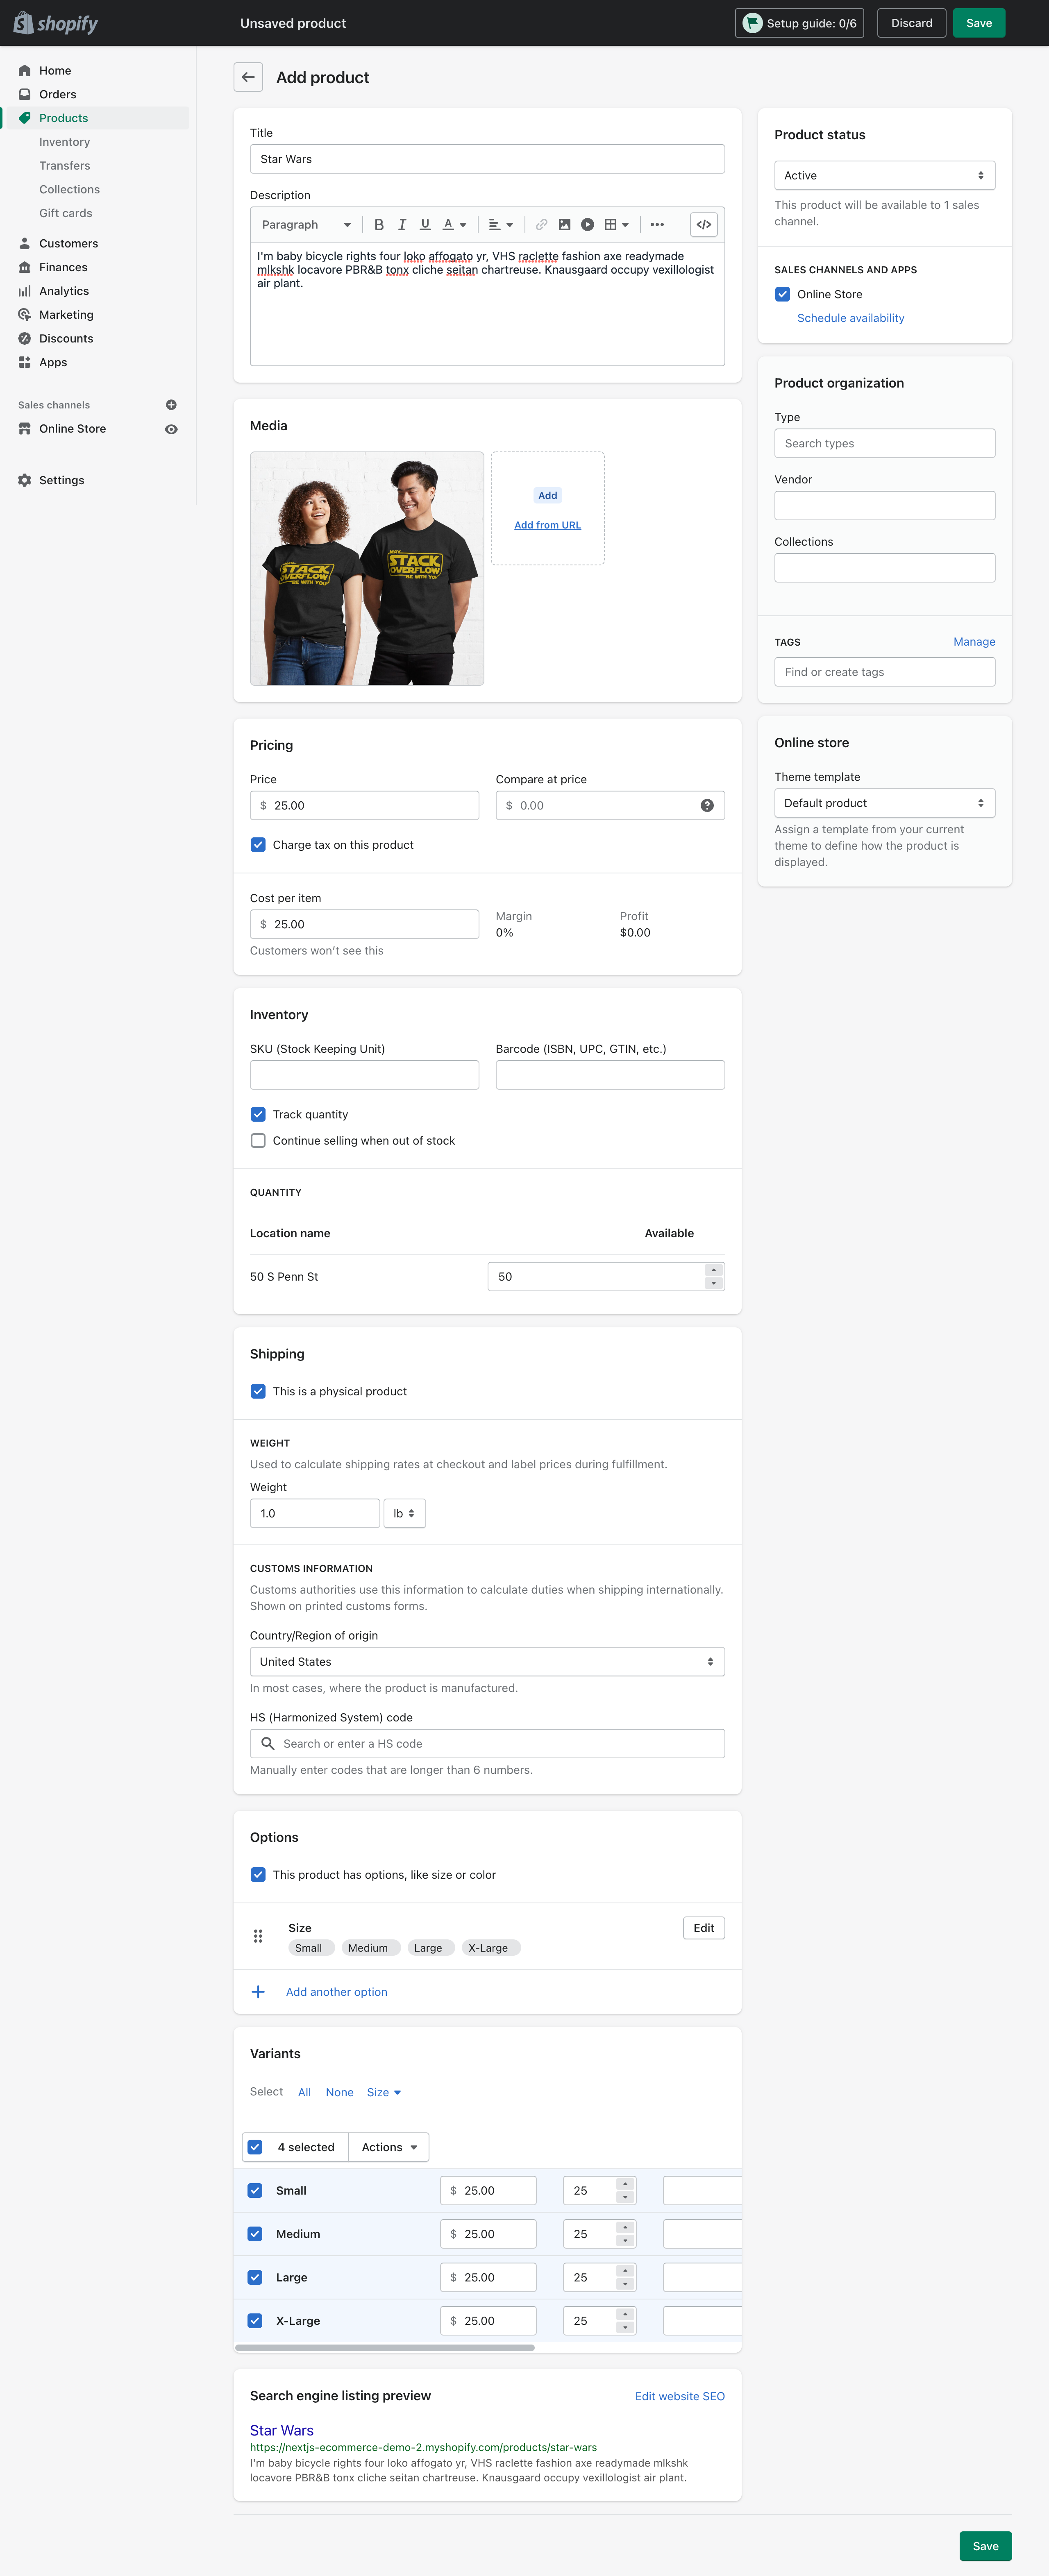
When all of the fields are filled, click Save.
Repeat this for all of your products.
Once all of your products have been added, you should see something like this on the product screen. You can find the products page by clicking on the "Products" link in the left sidebar.
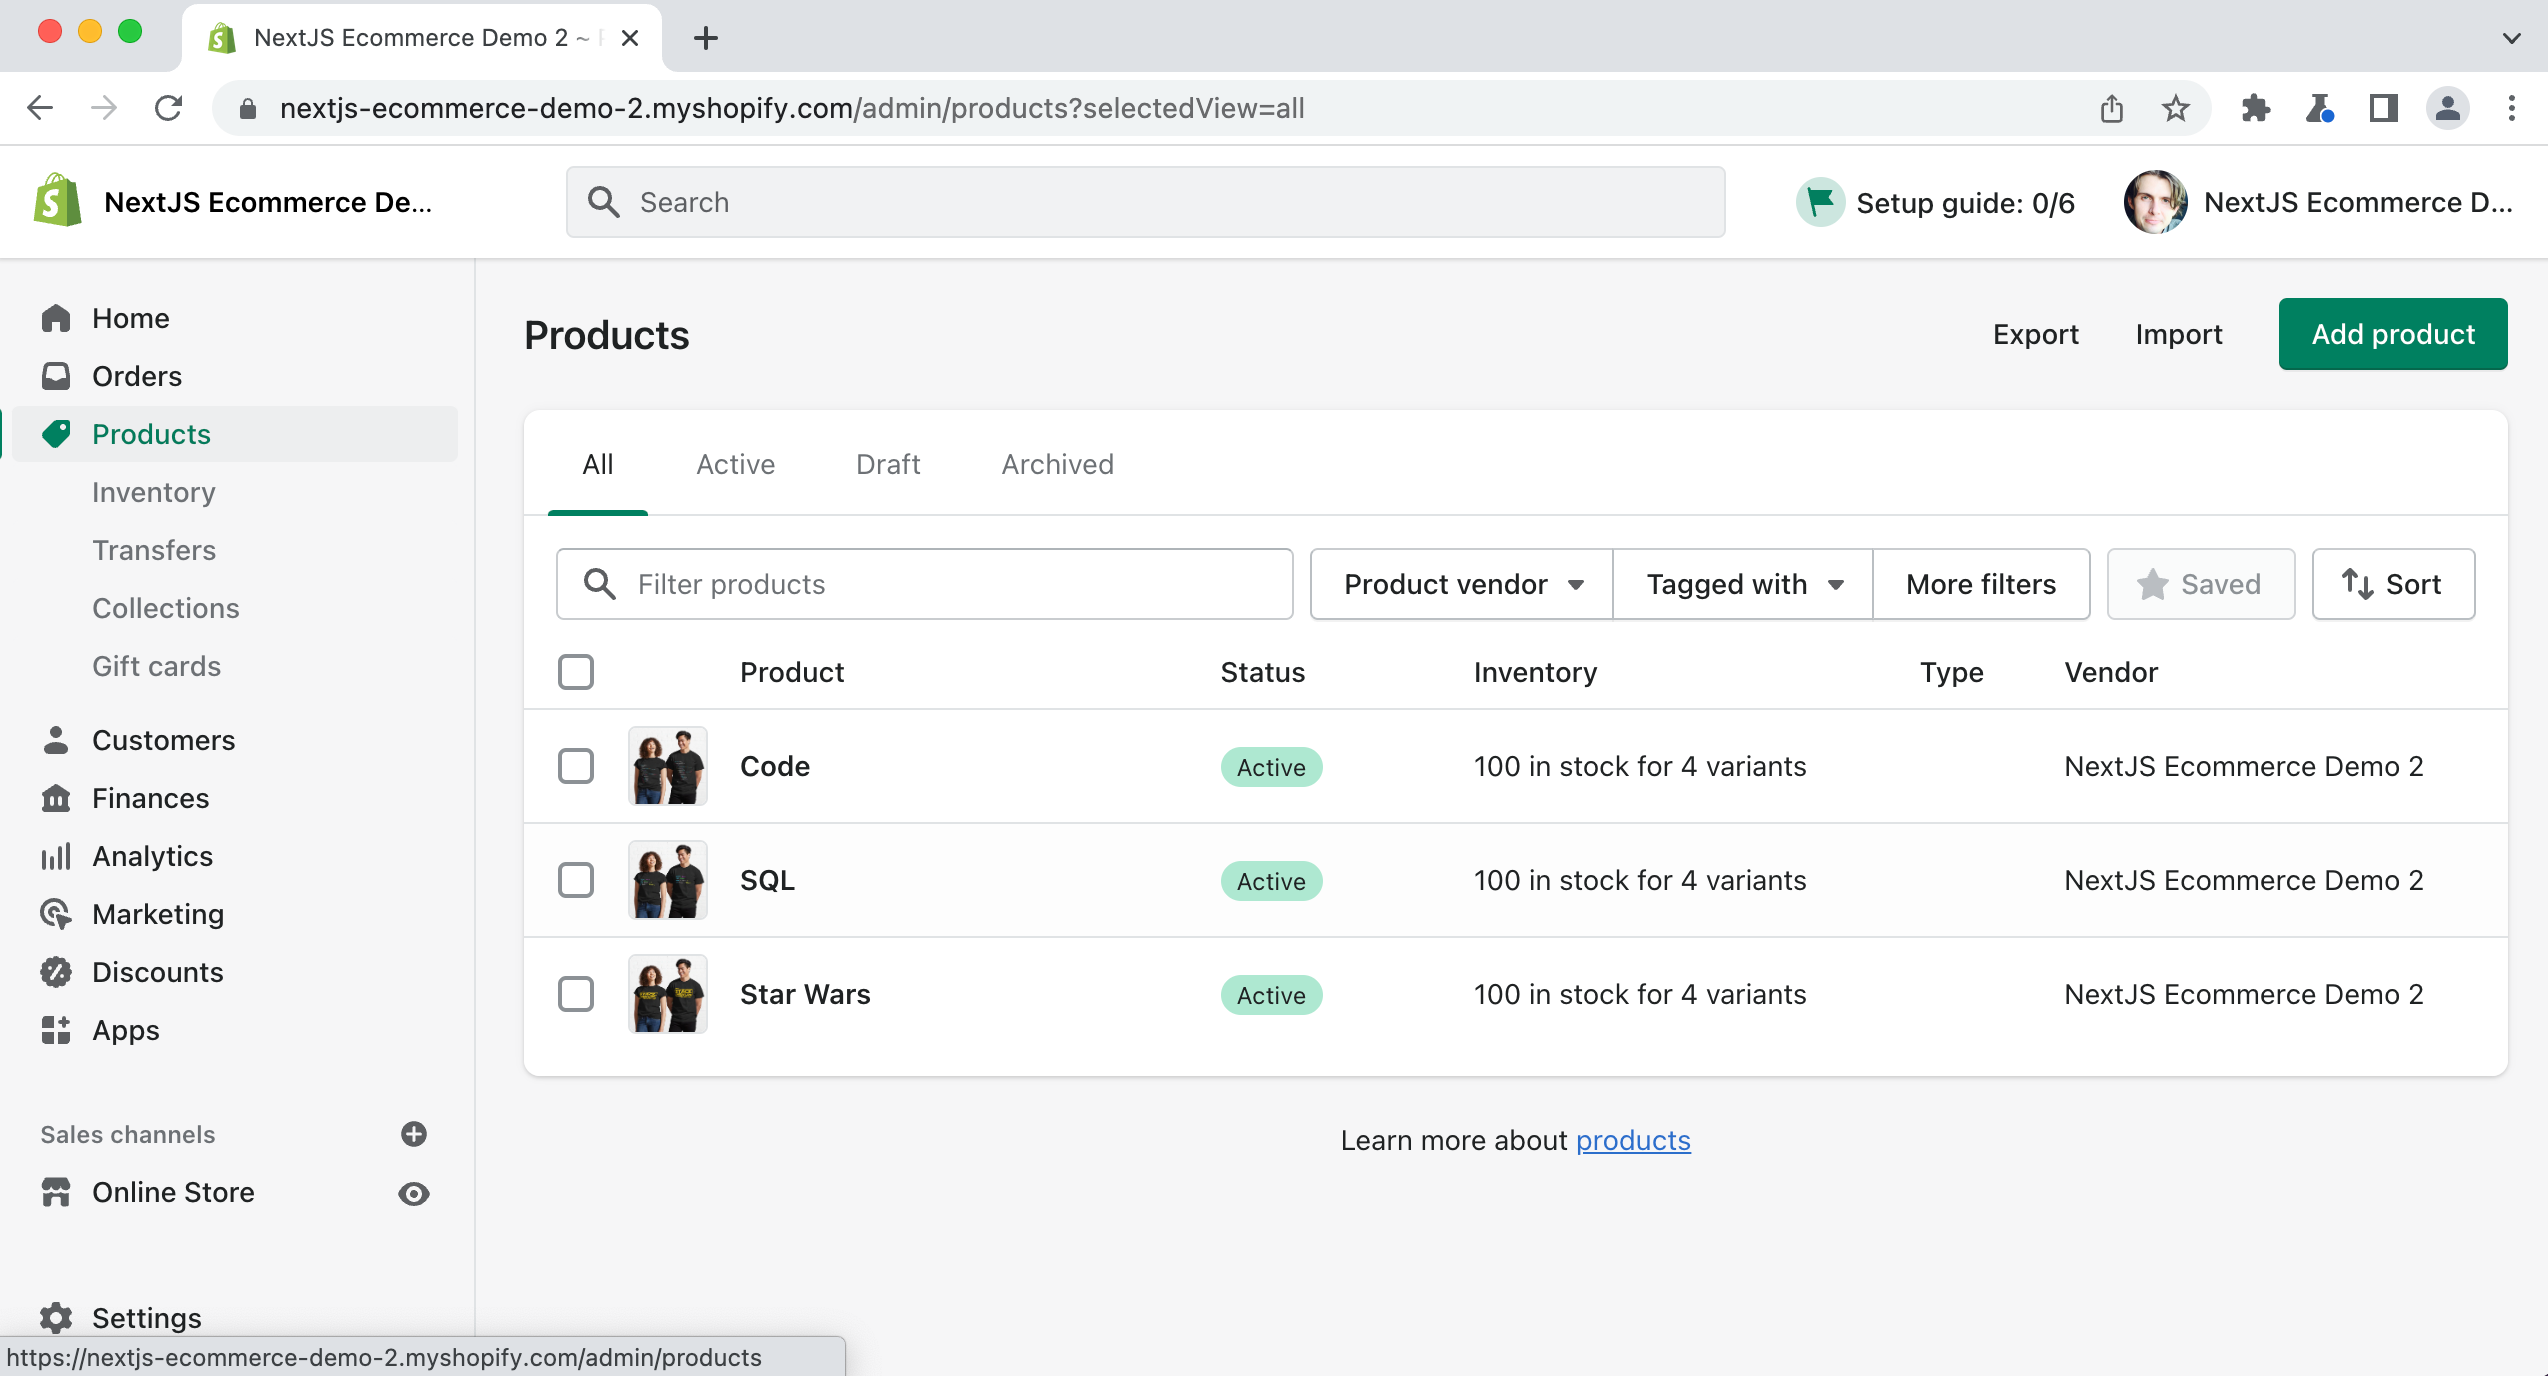
Make sure that all of your products have a Status of "Active."
Storefront API
Since we will be using a custom Next.js frontend for our shop, we need to install the Storefront API from Shopify within our store.
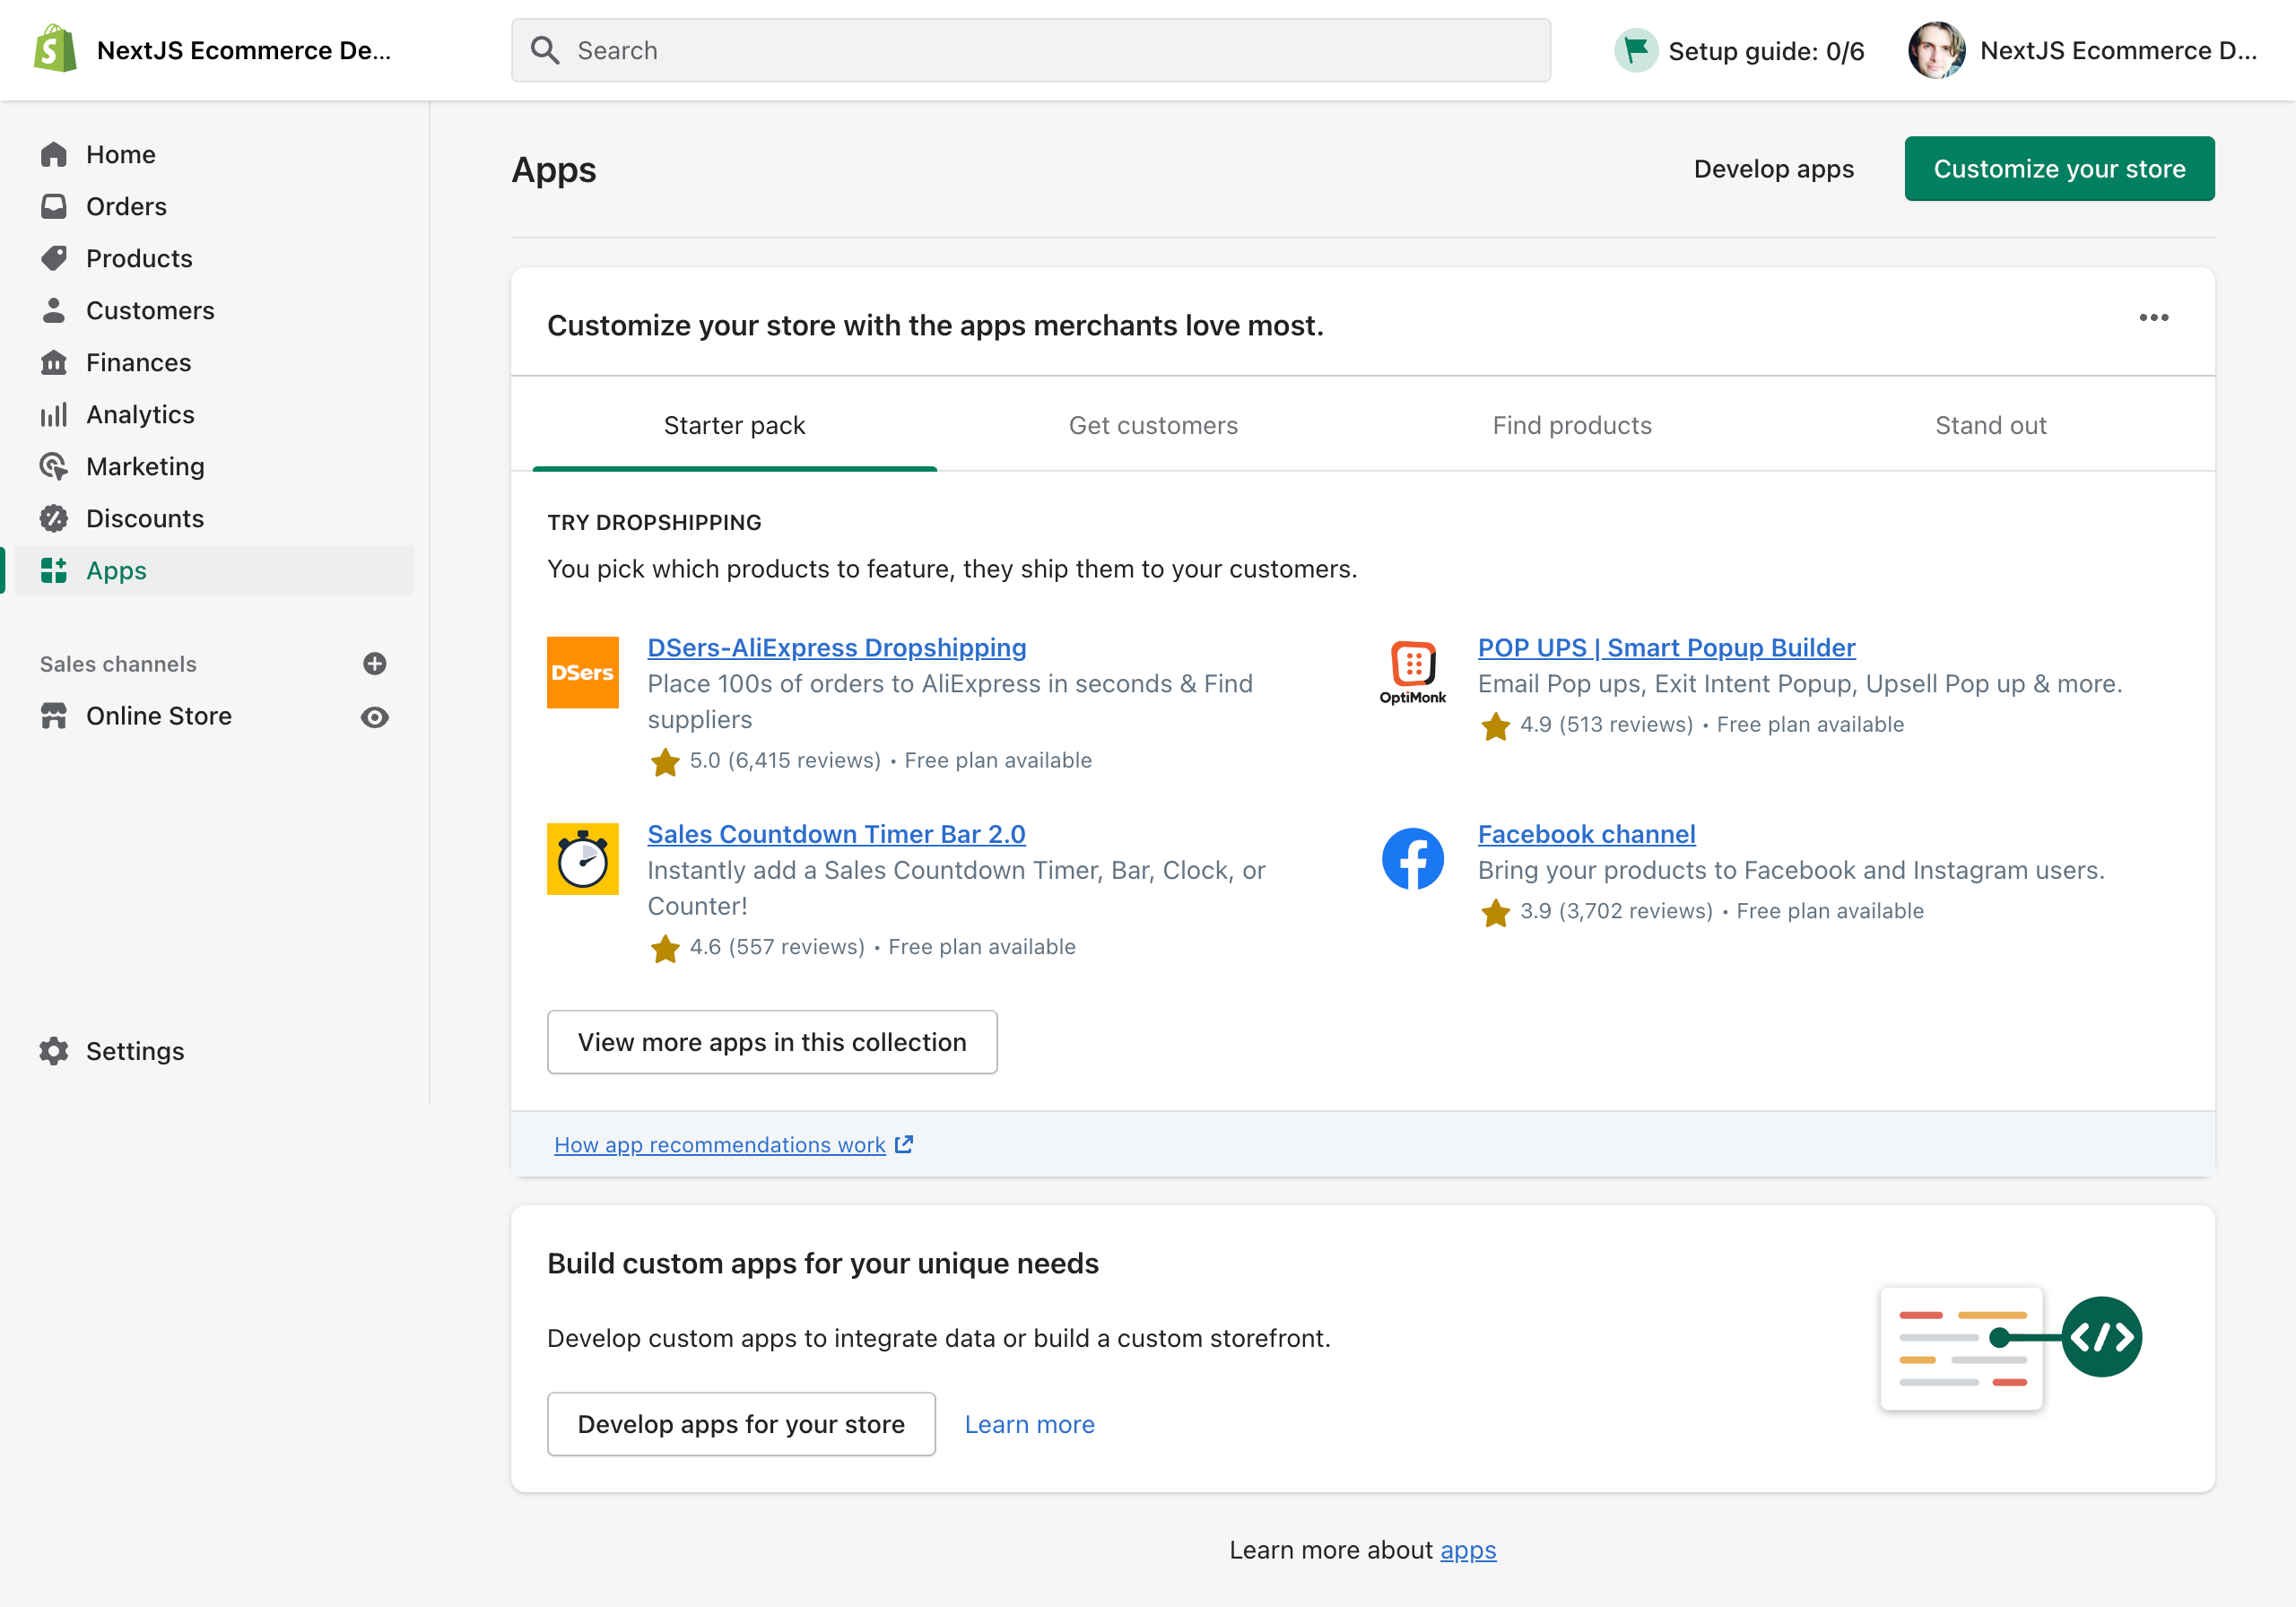
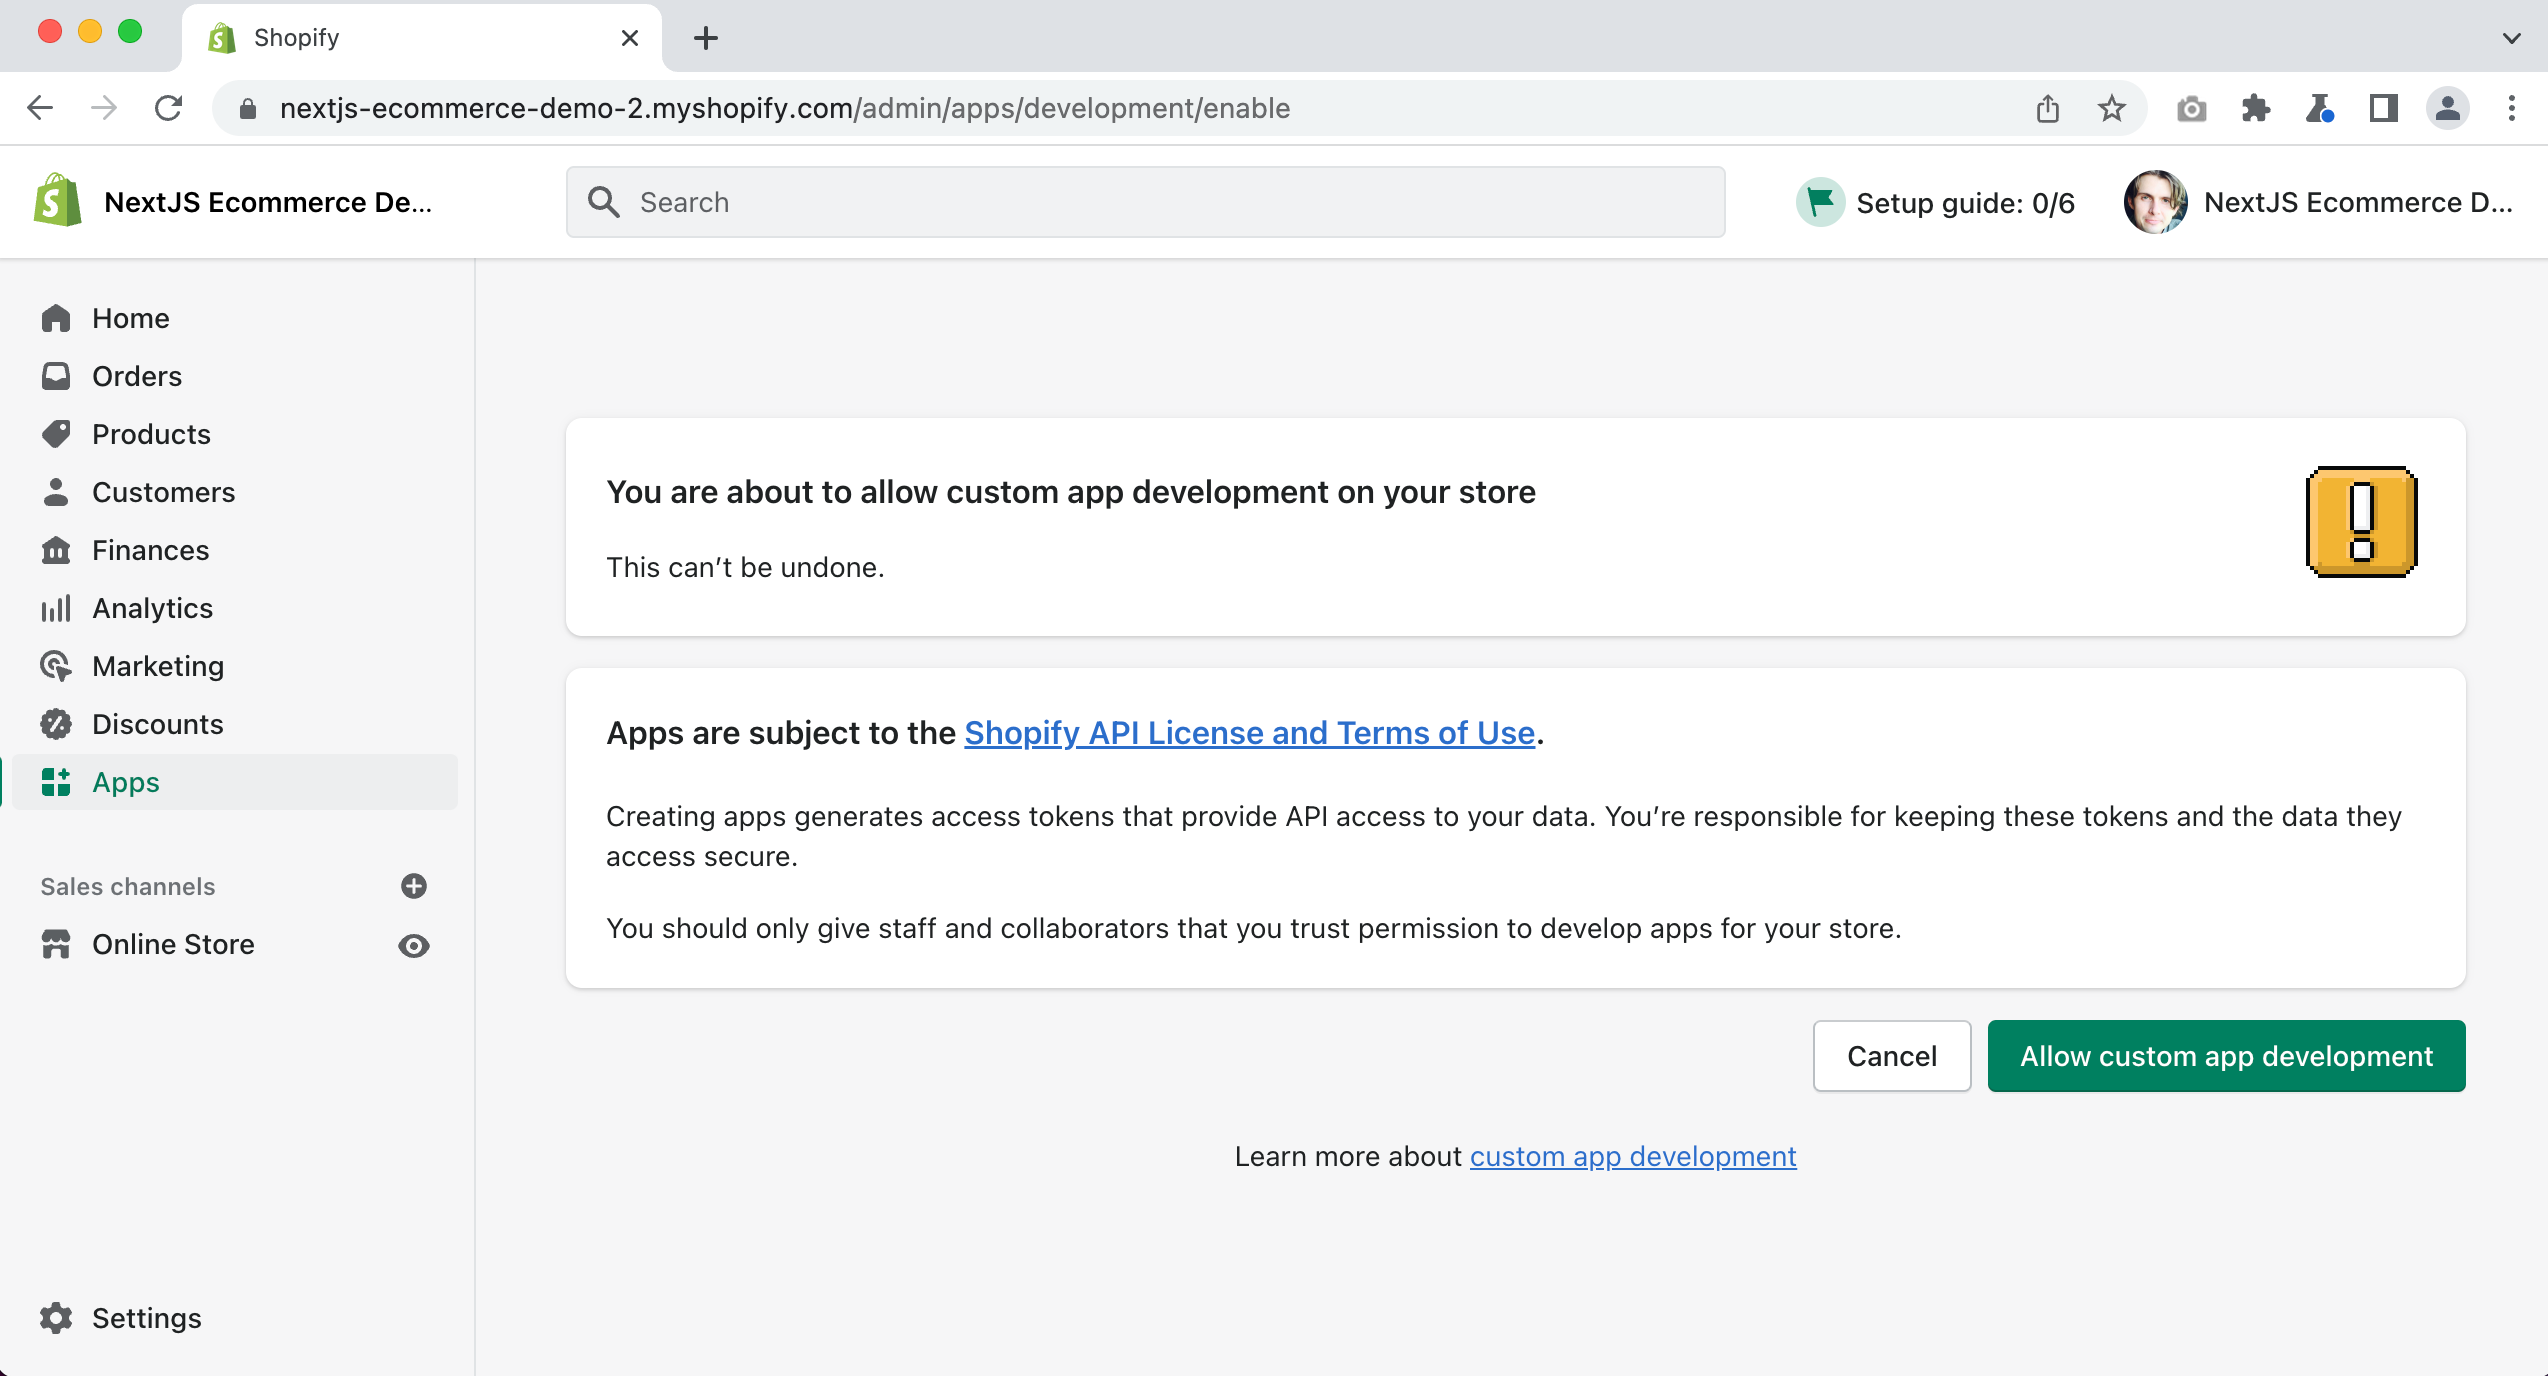
Click on "Apps" in the left side bar.
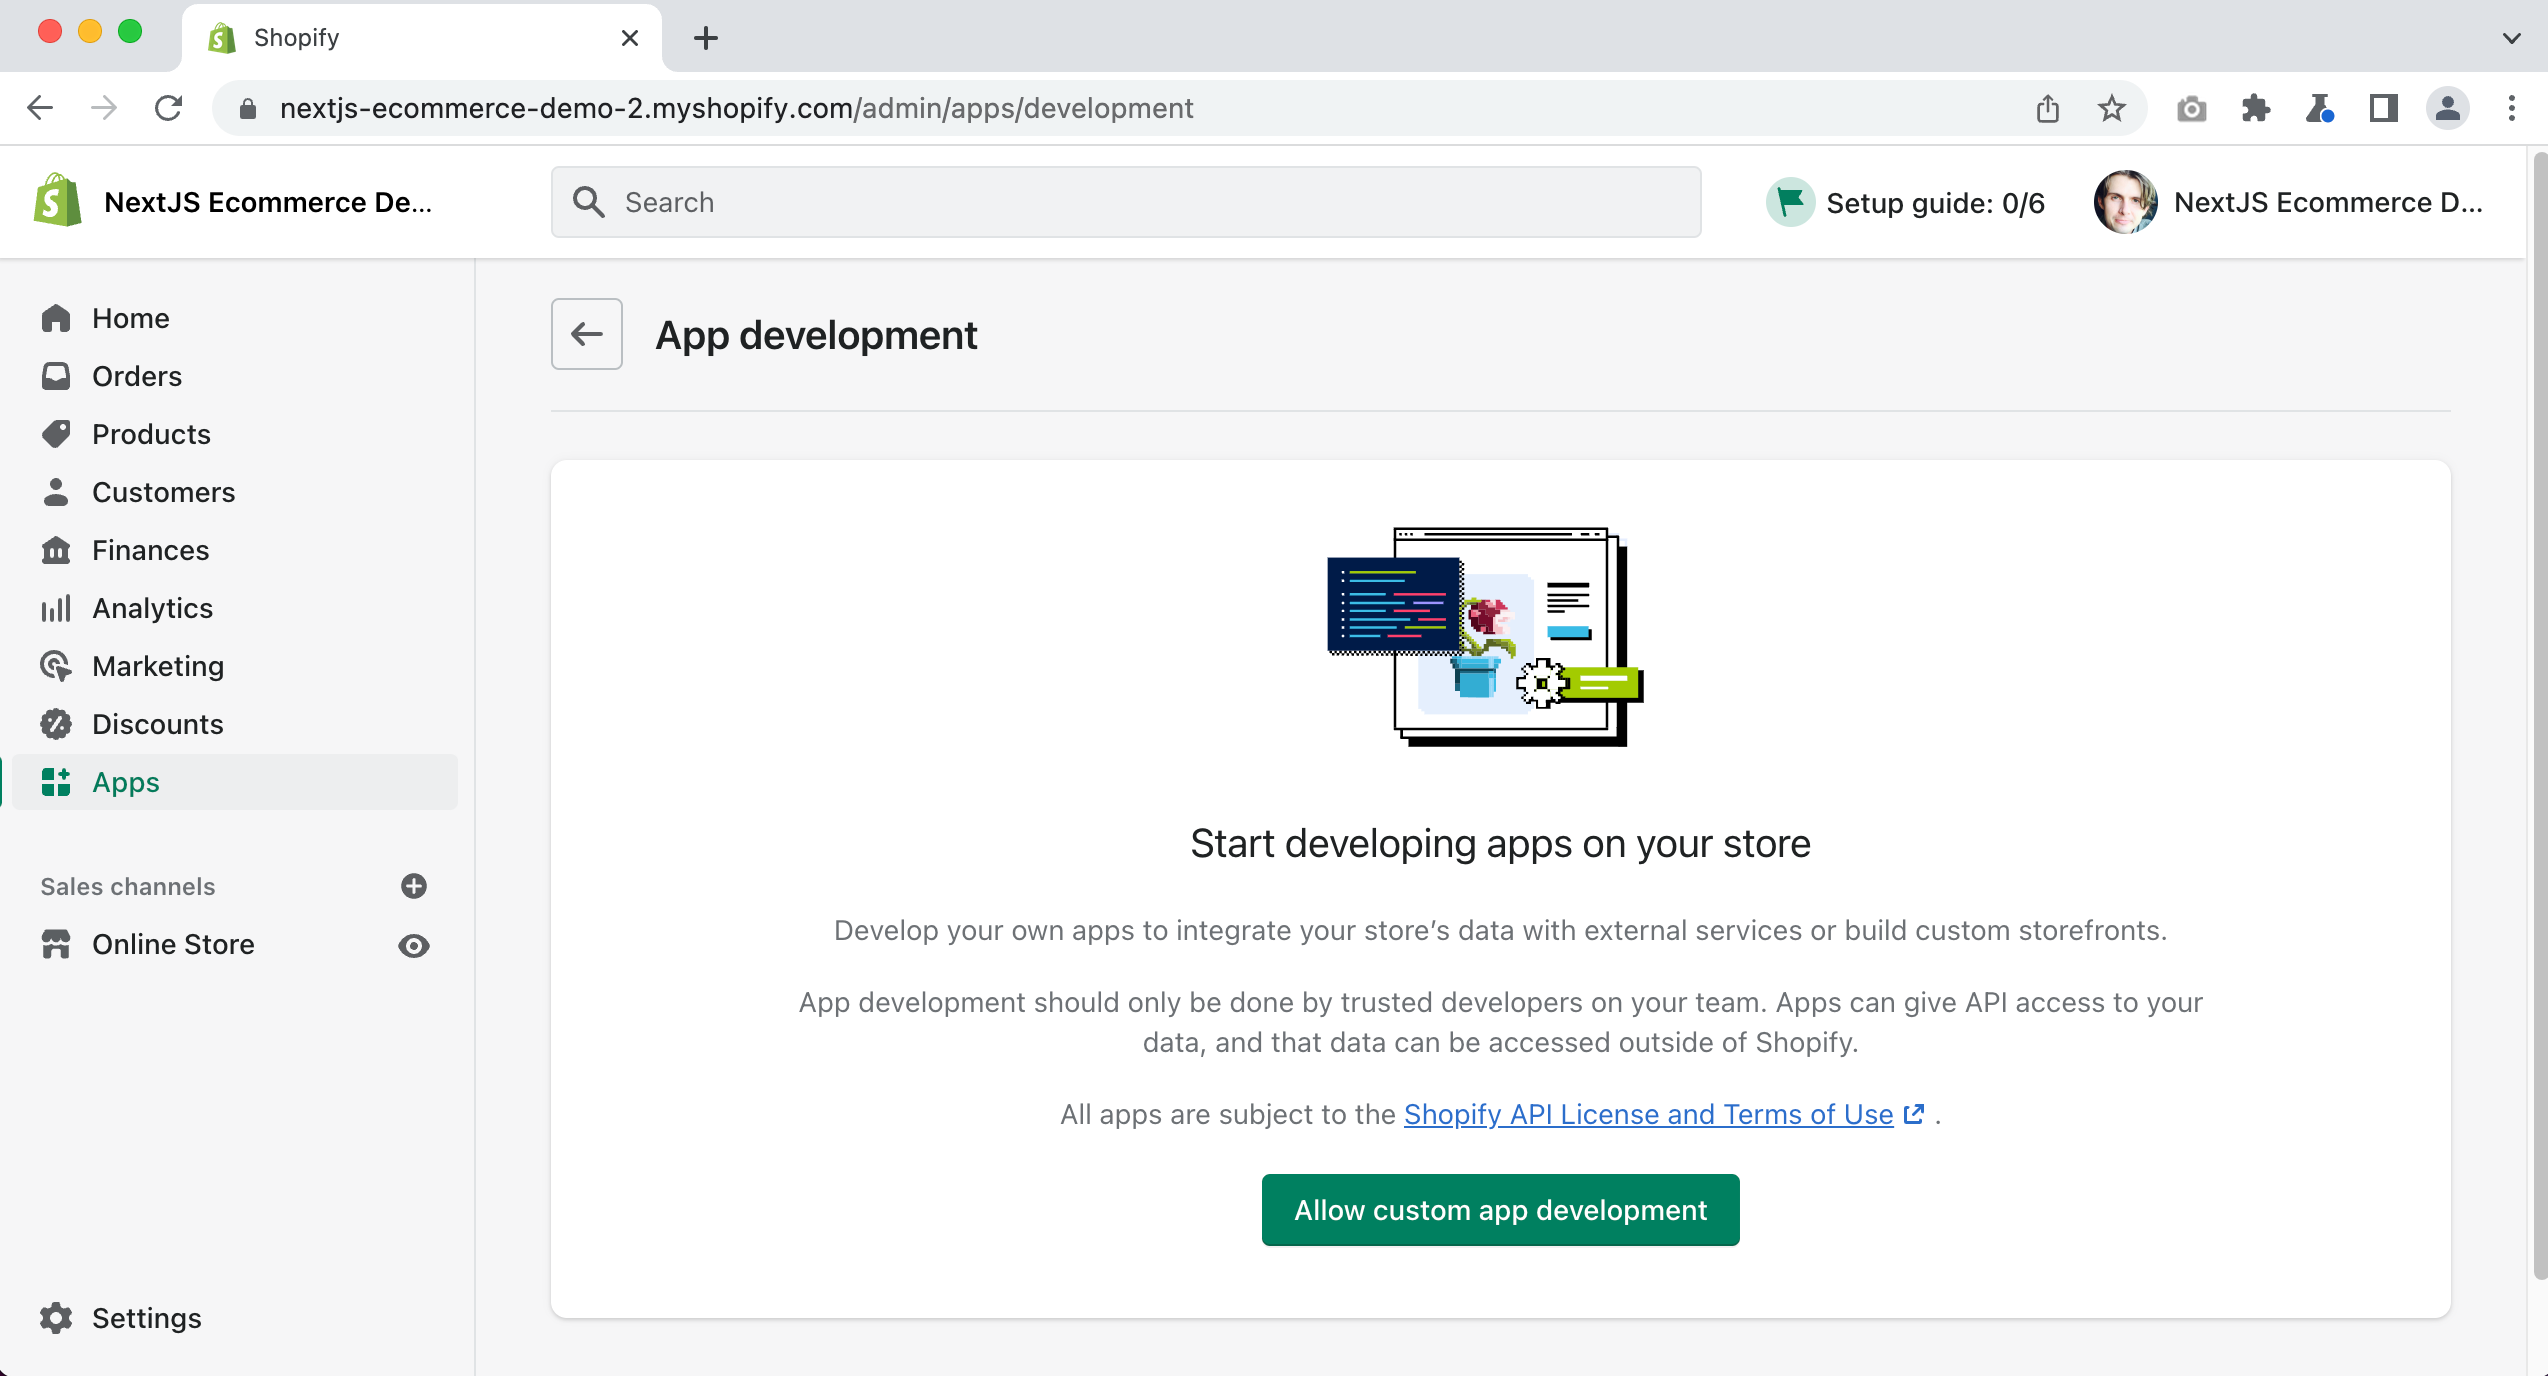
Click on the "Develop apps for your store" button.
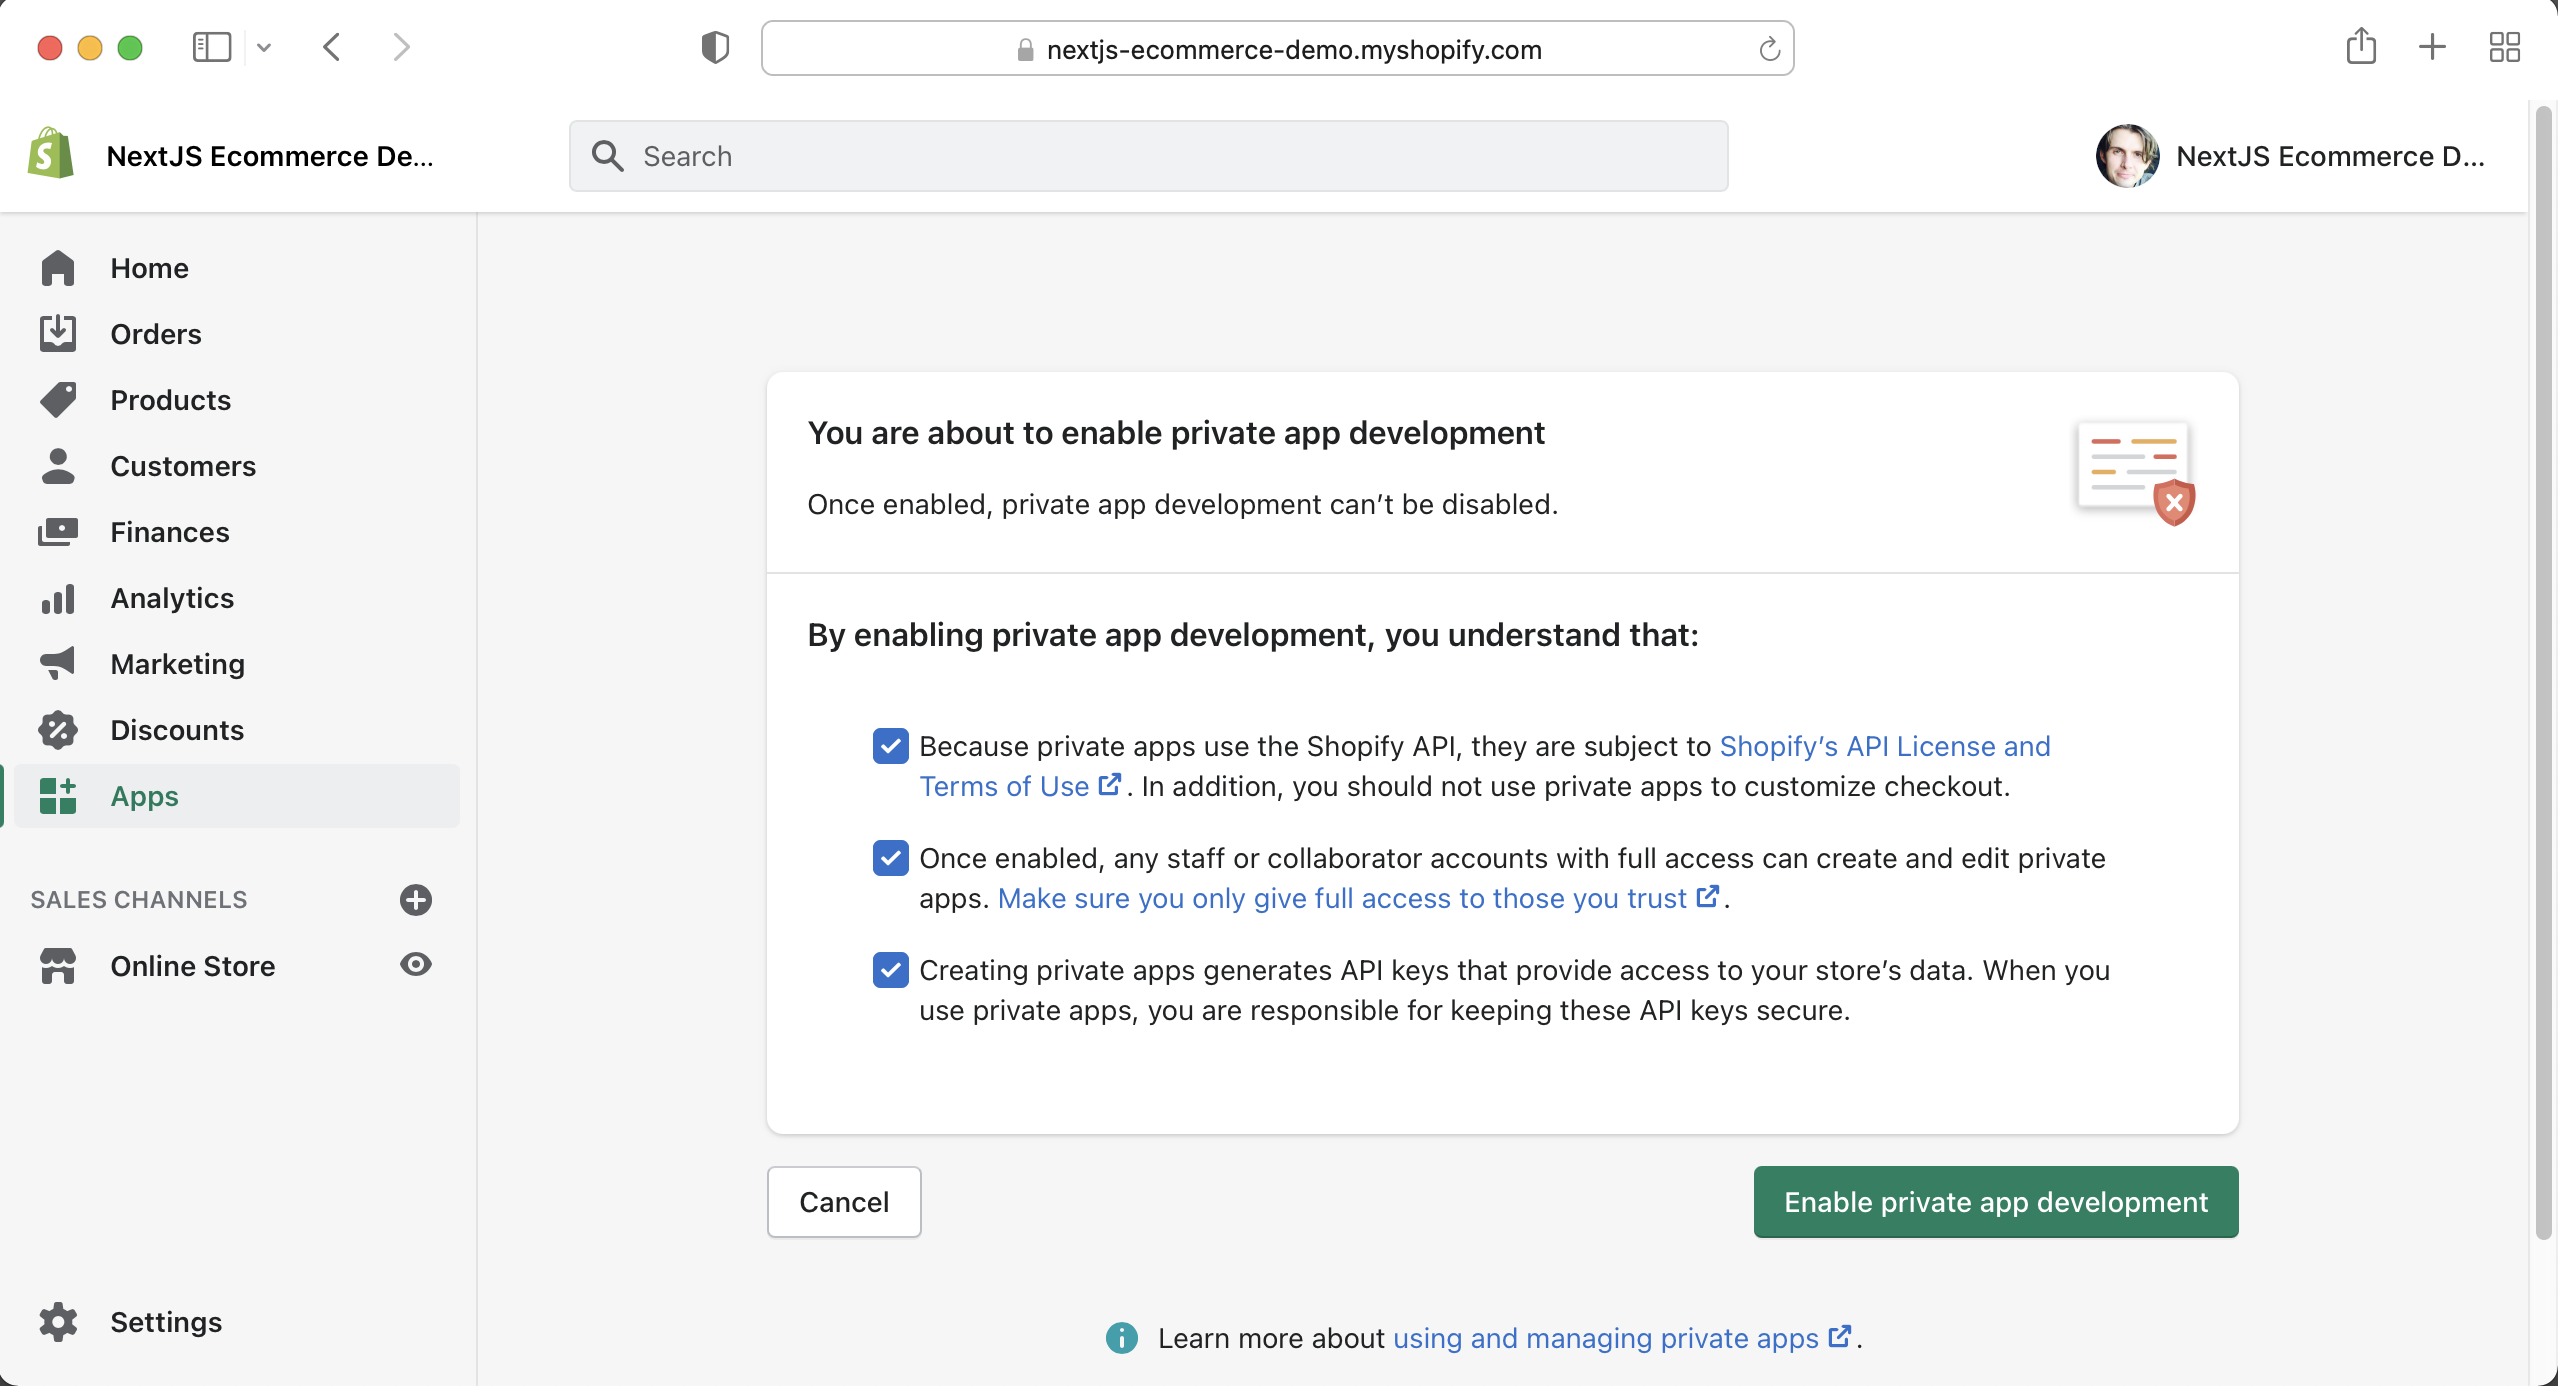
Then click the "Allow custom app development" button.
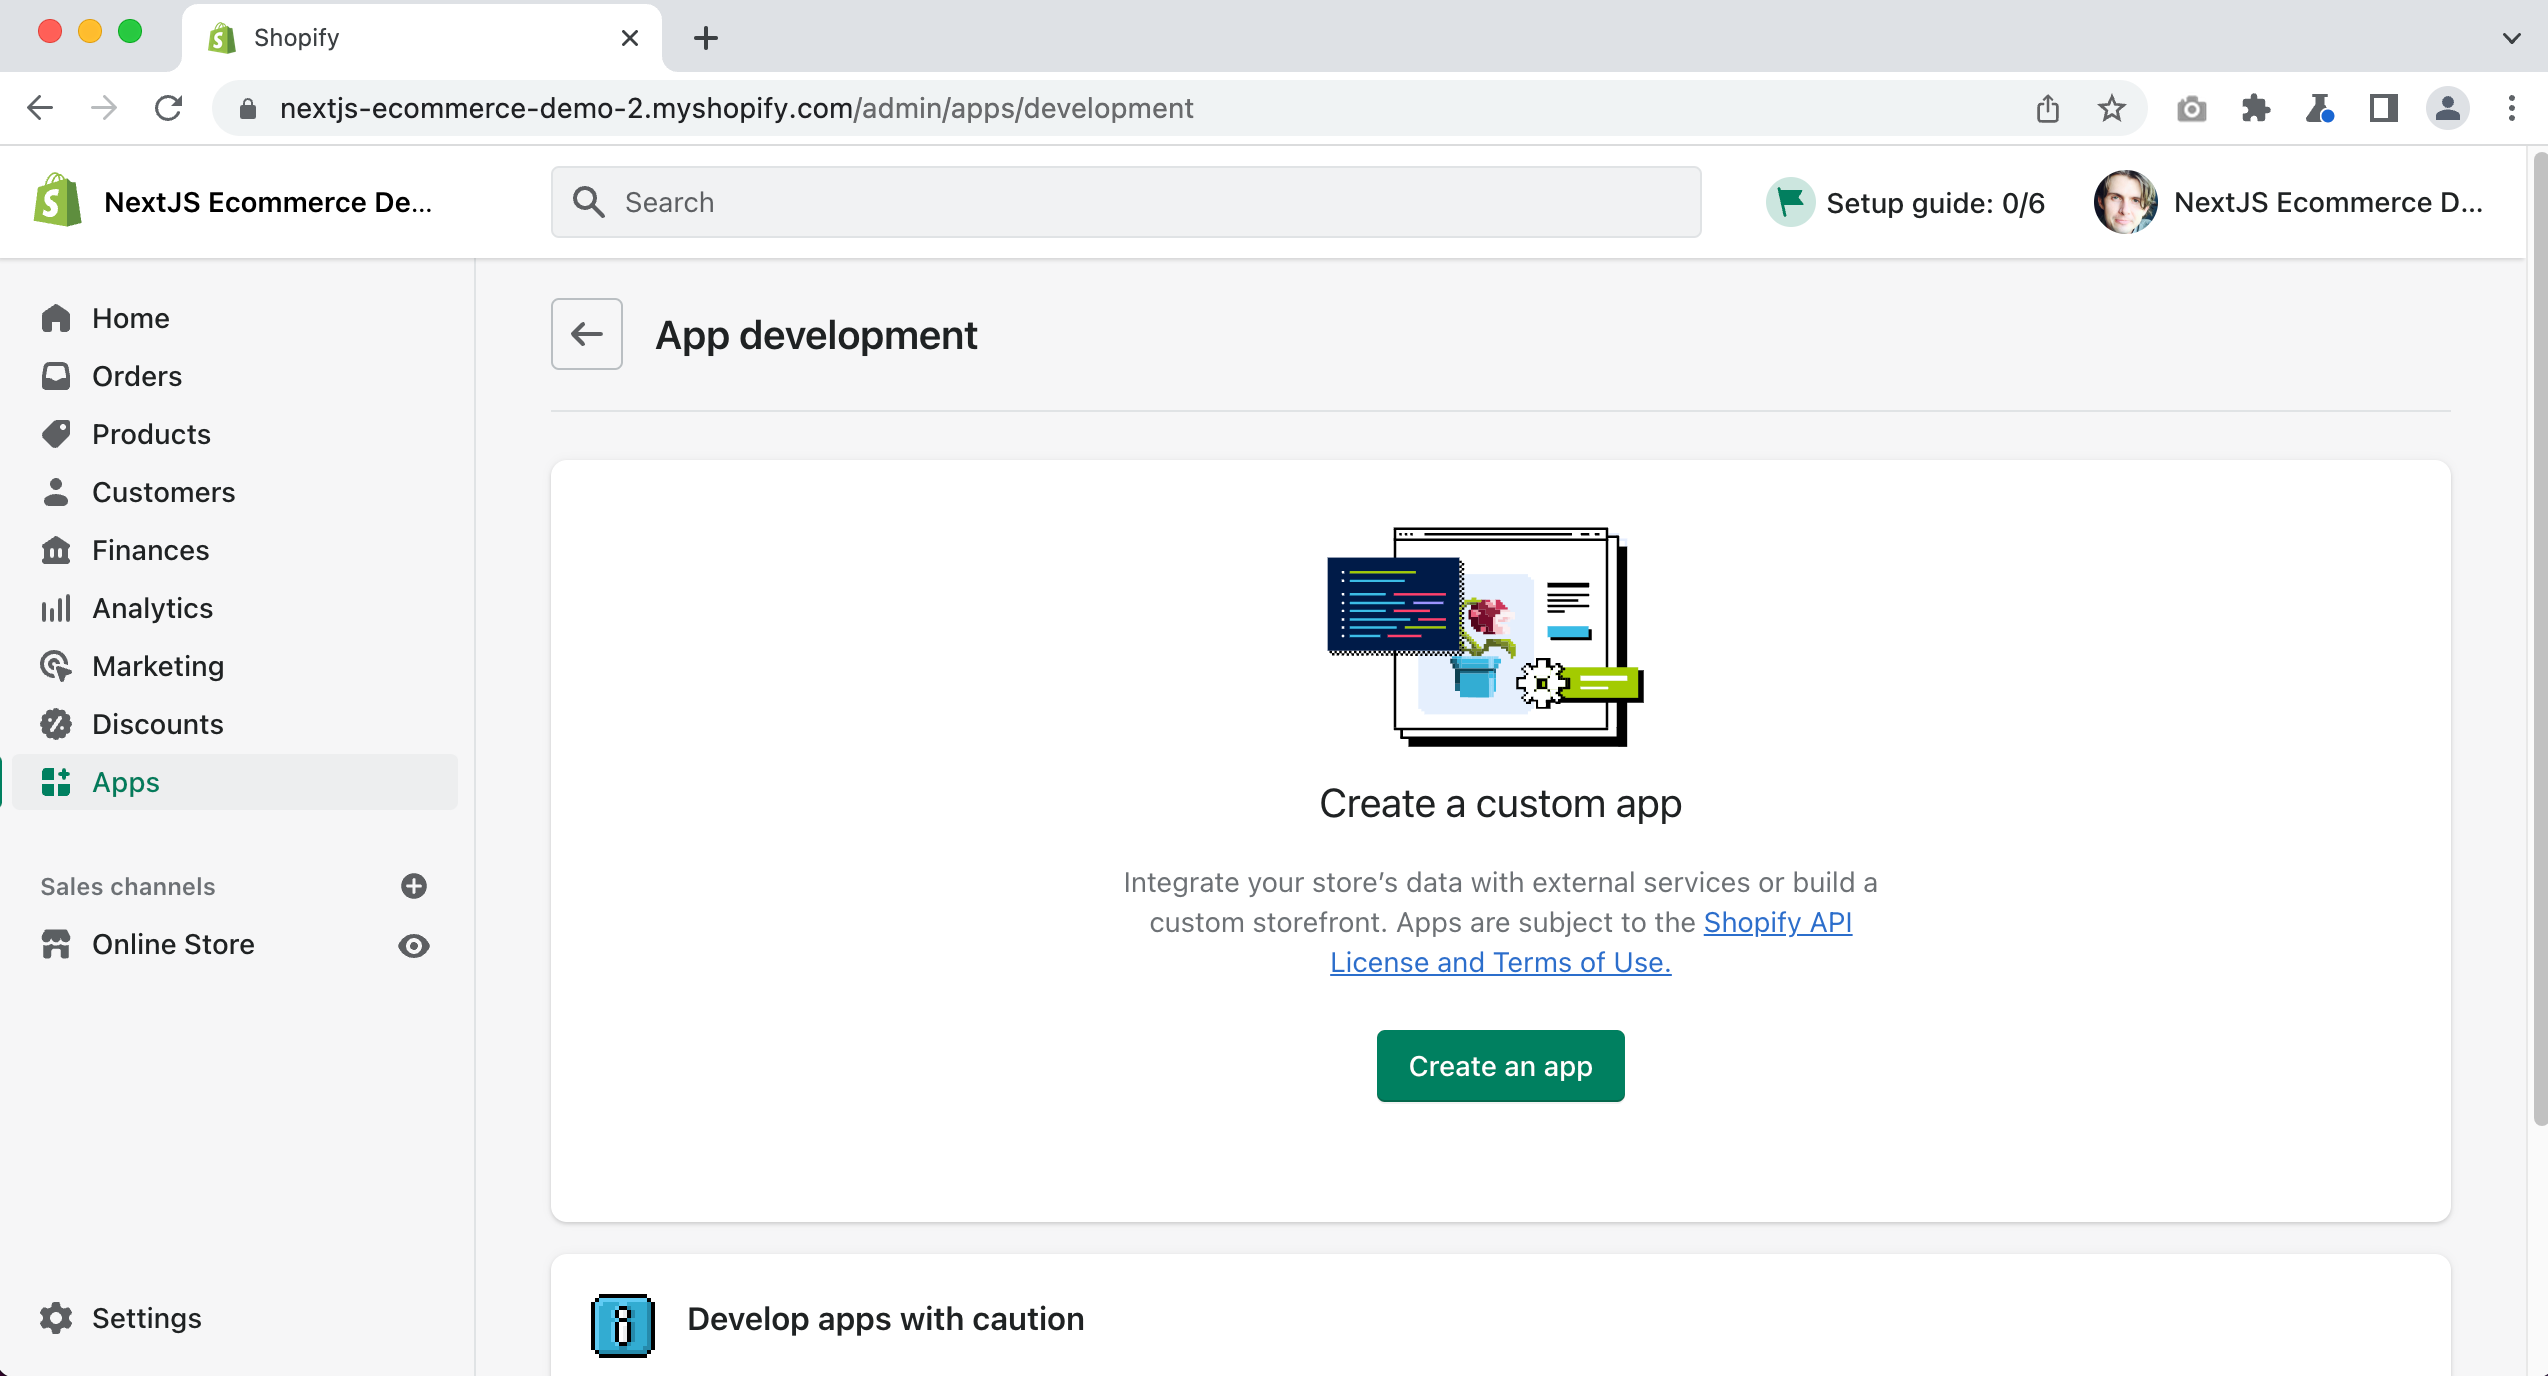
Then click on the "Create an app" button.
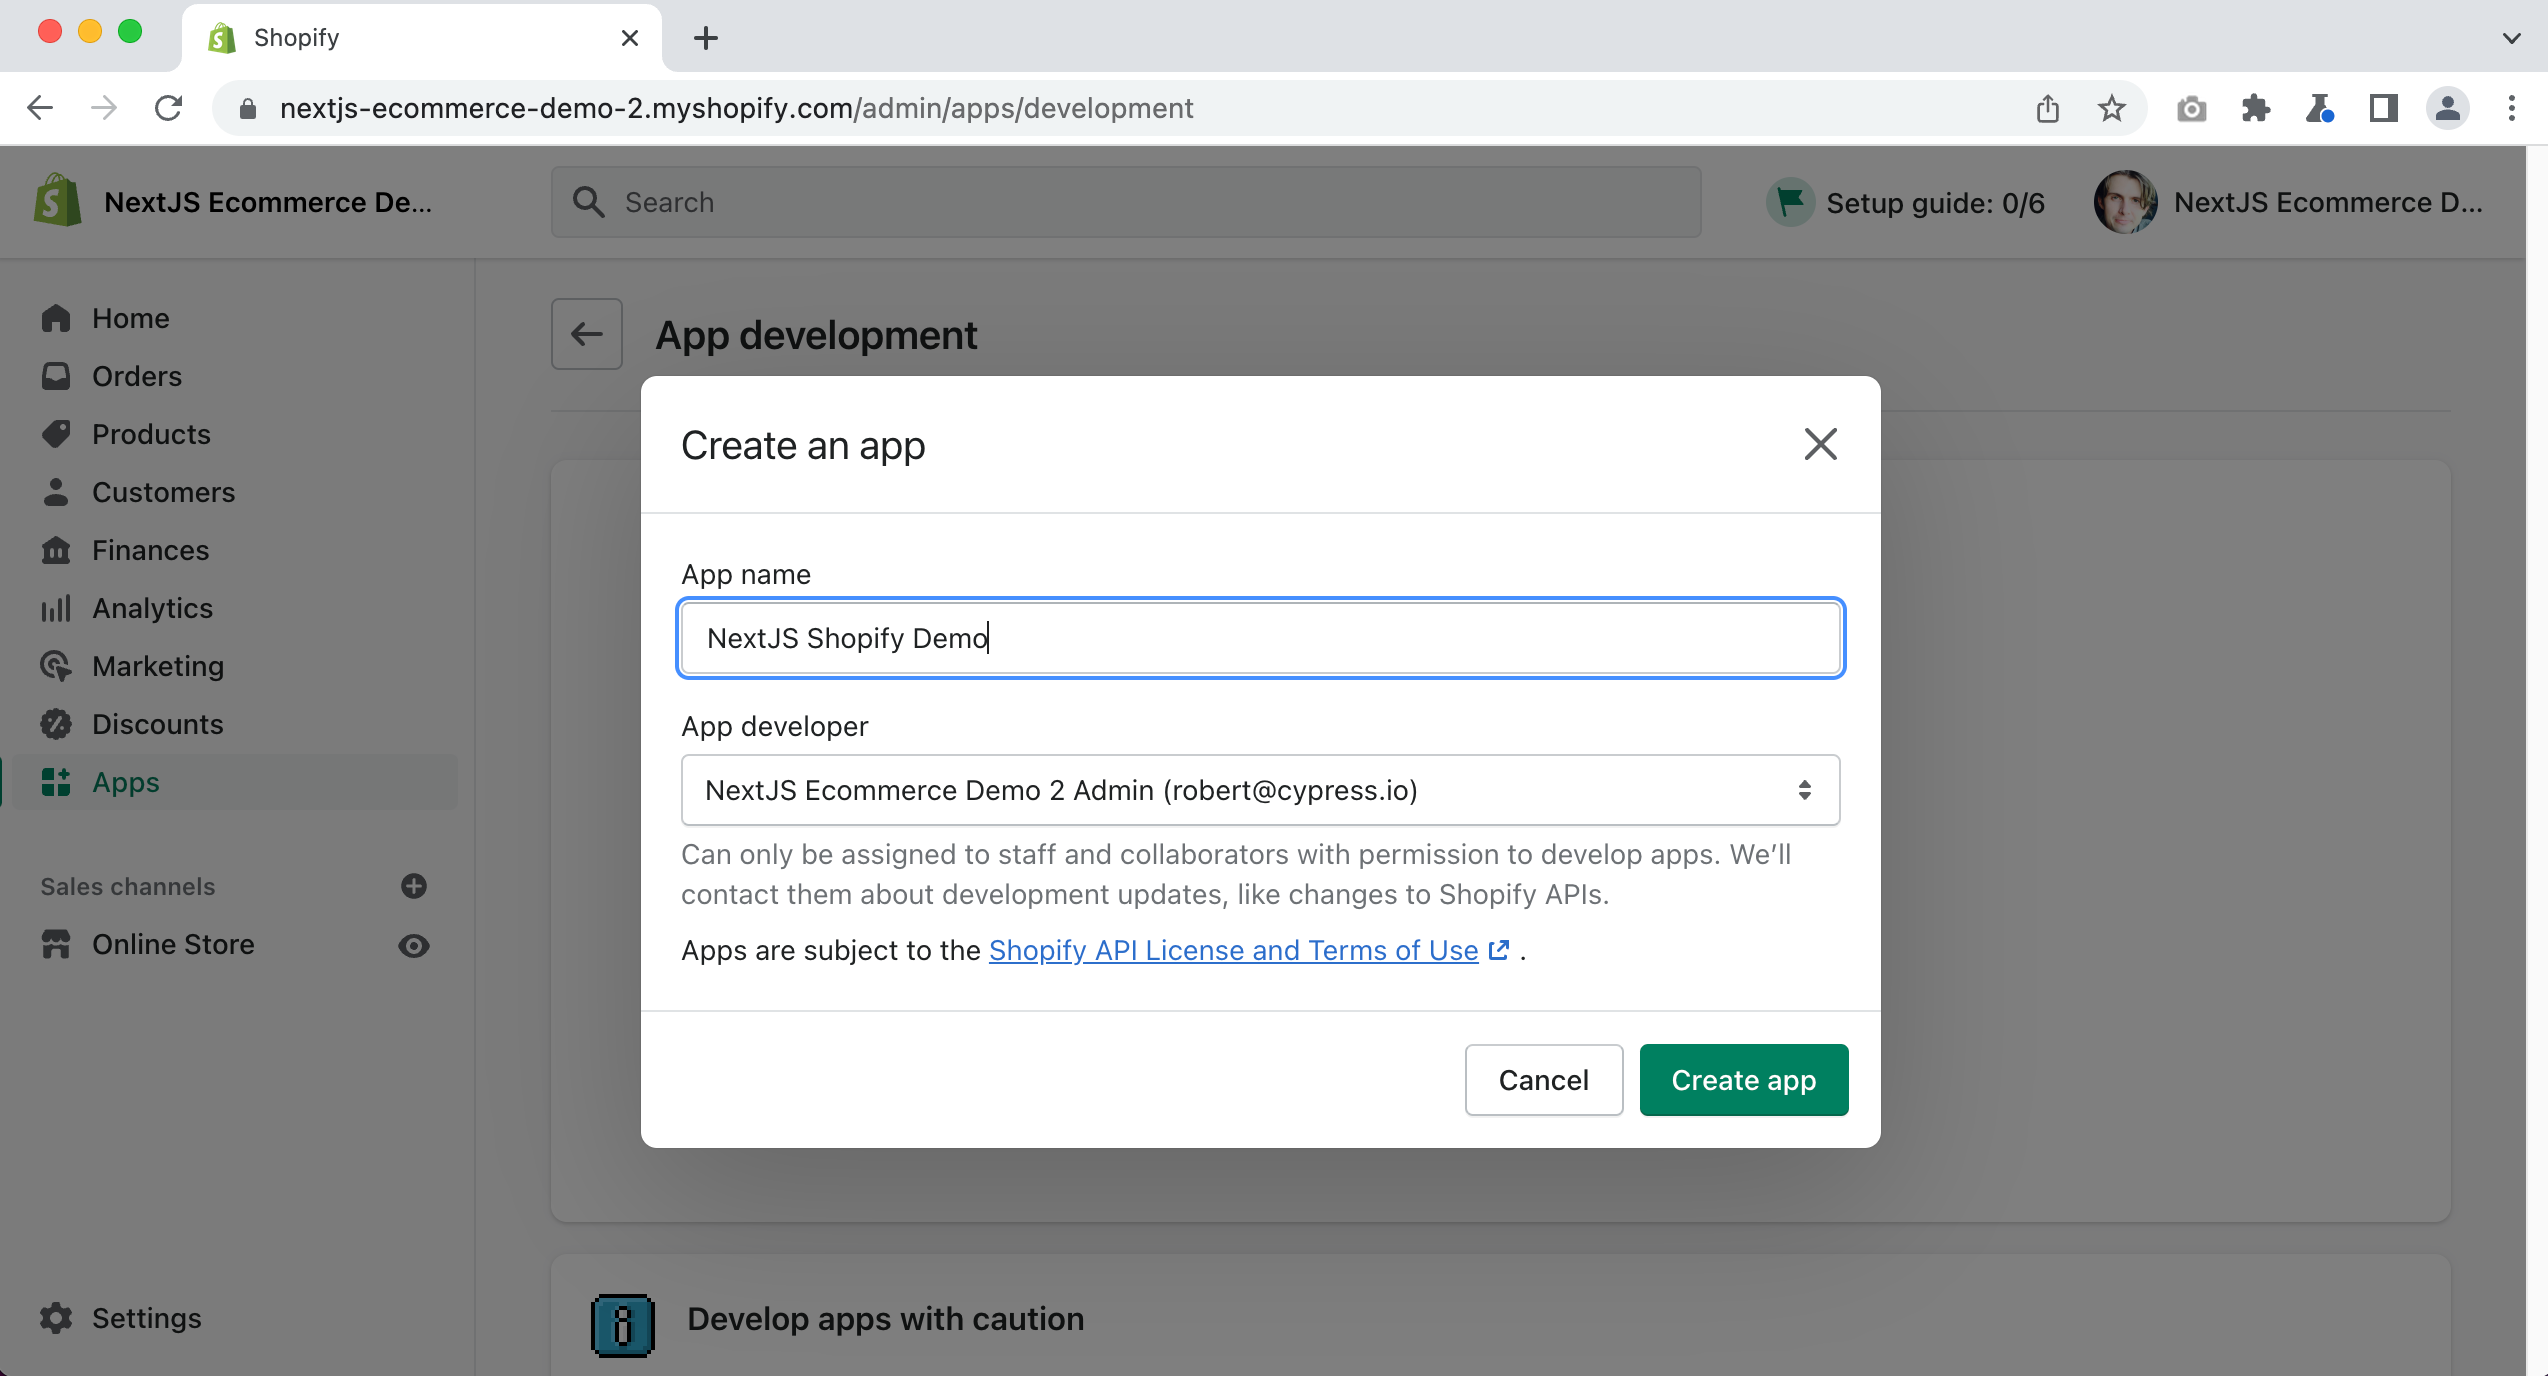
Give your app a name and click “Create app”
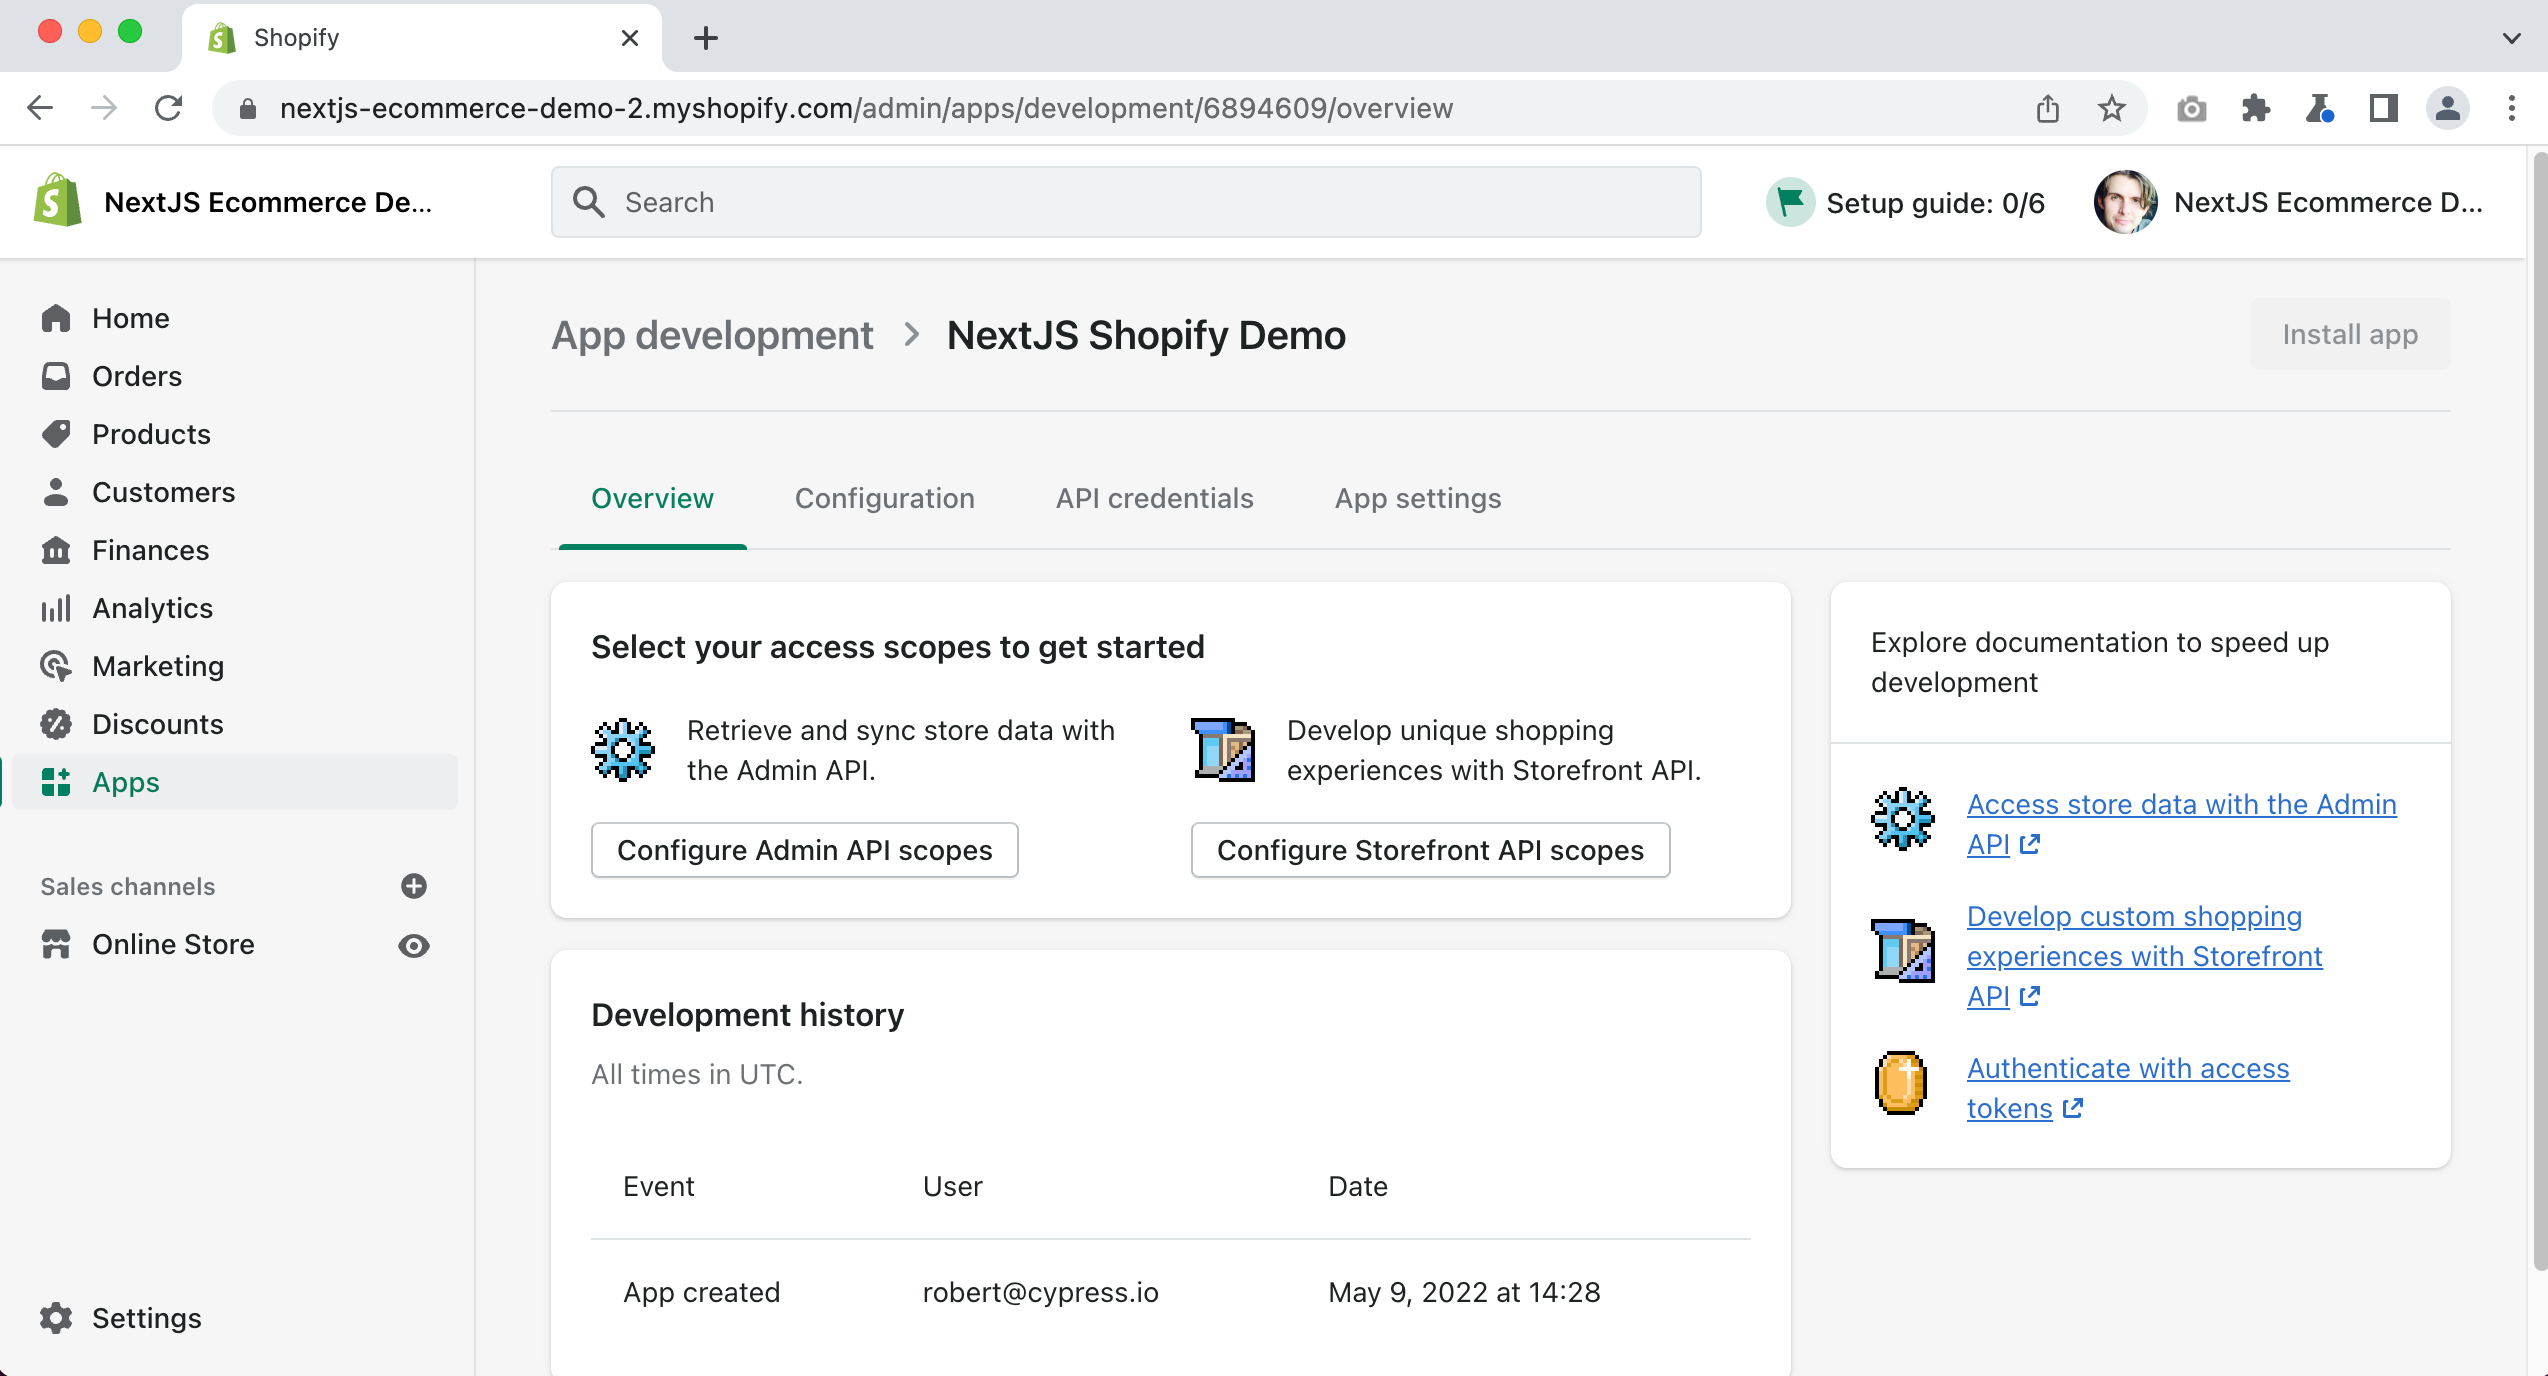
Next, click on the “Configure Storefront API scopes” button.
For our demo I am going to give our full access, so make sure to check all of the checkboxes. I ignored the “iOS & Android Buy SDK” options.

Then click on Save
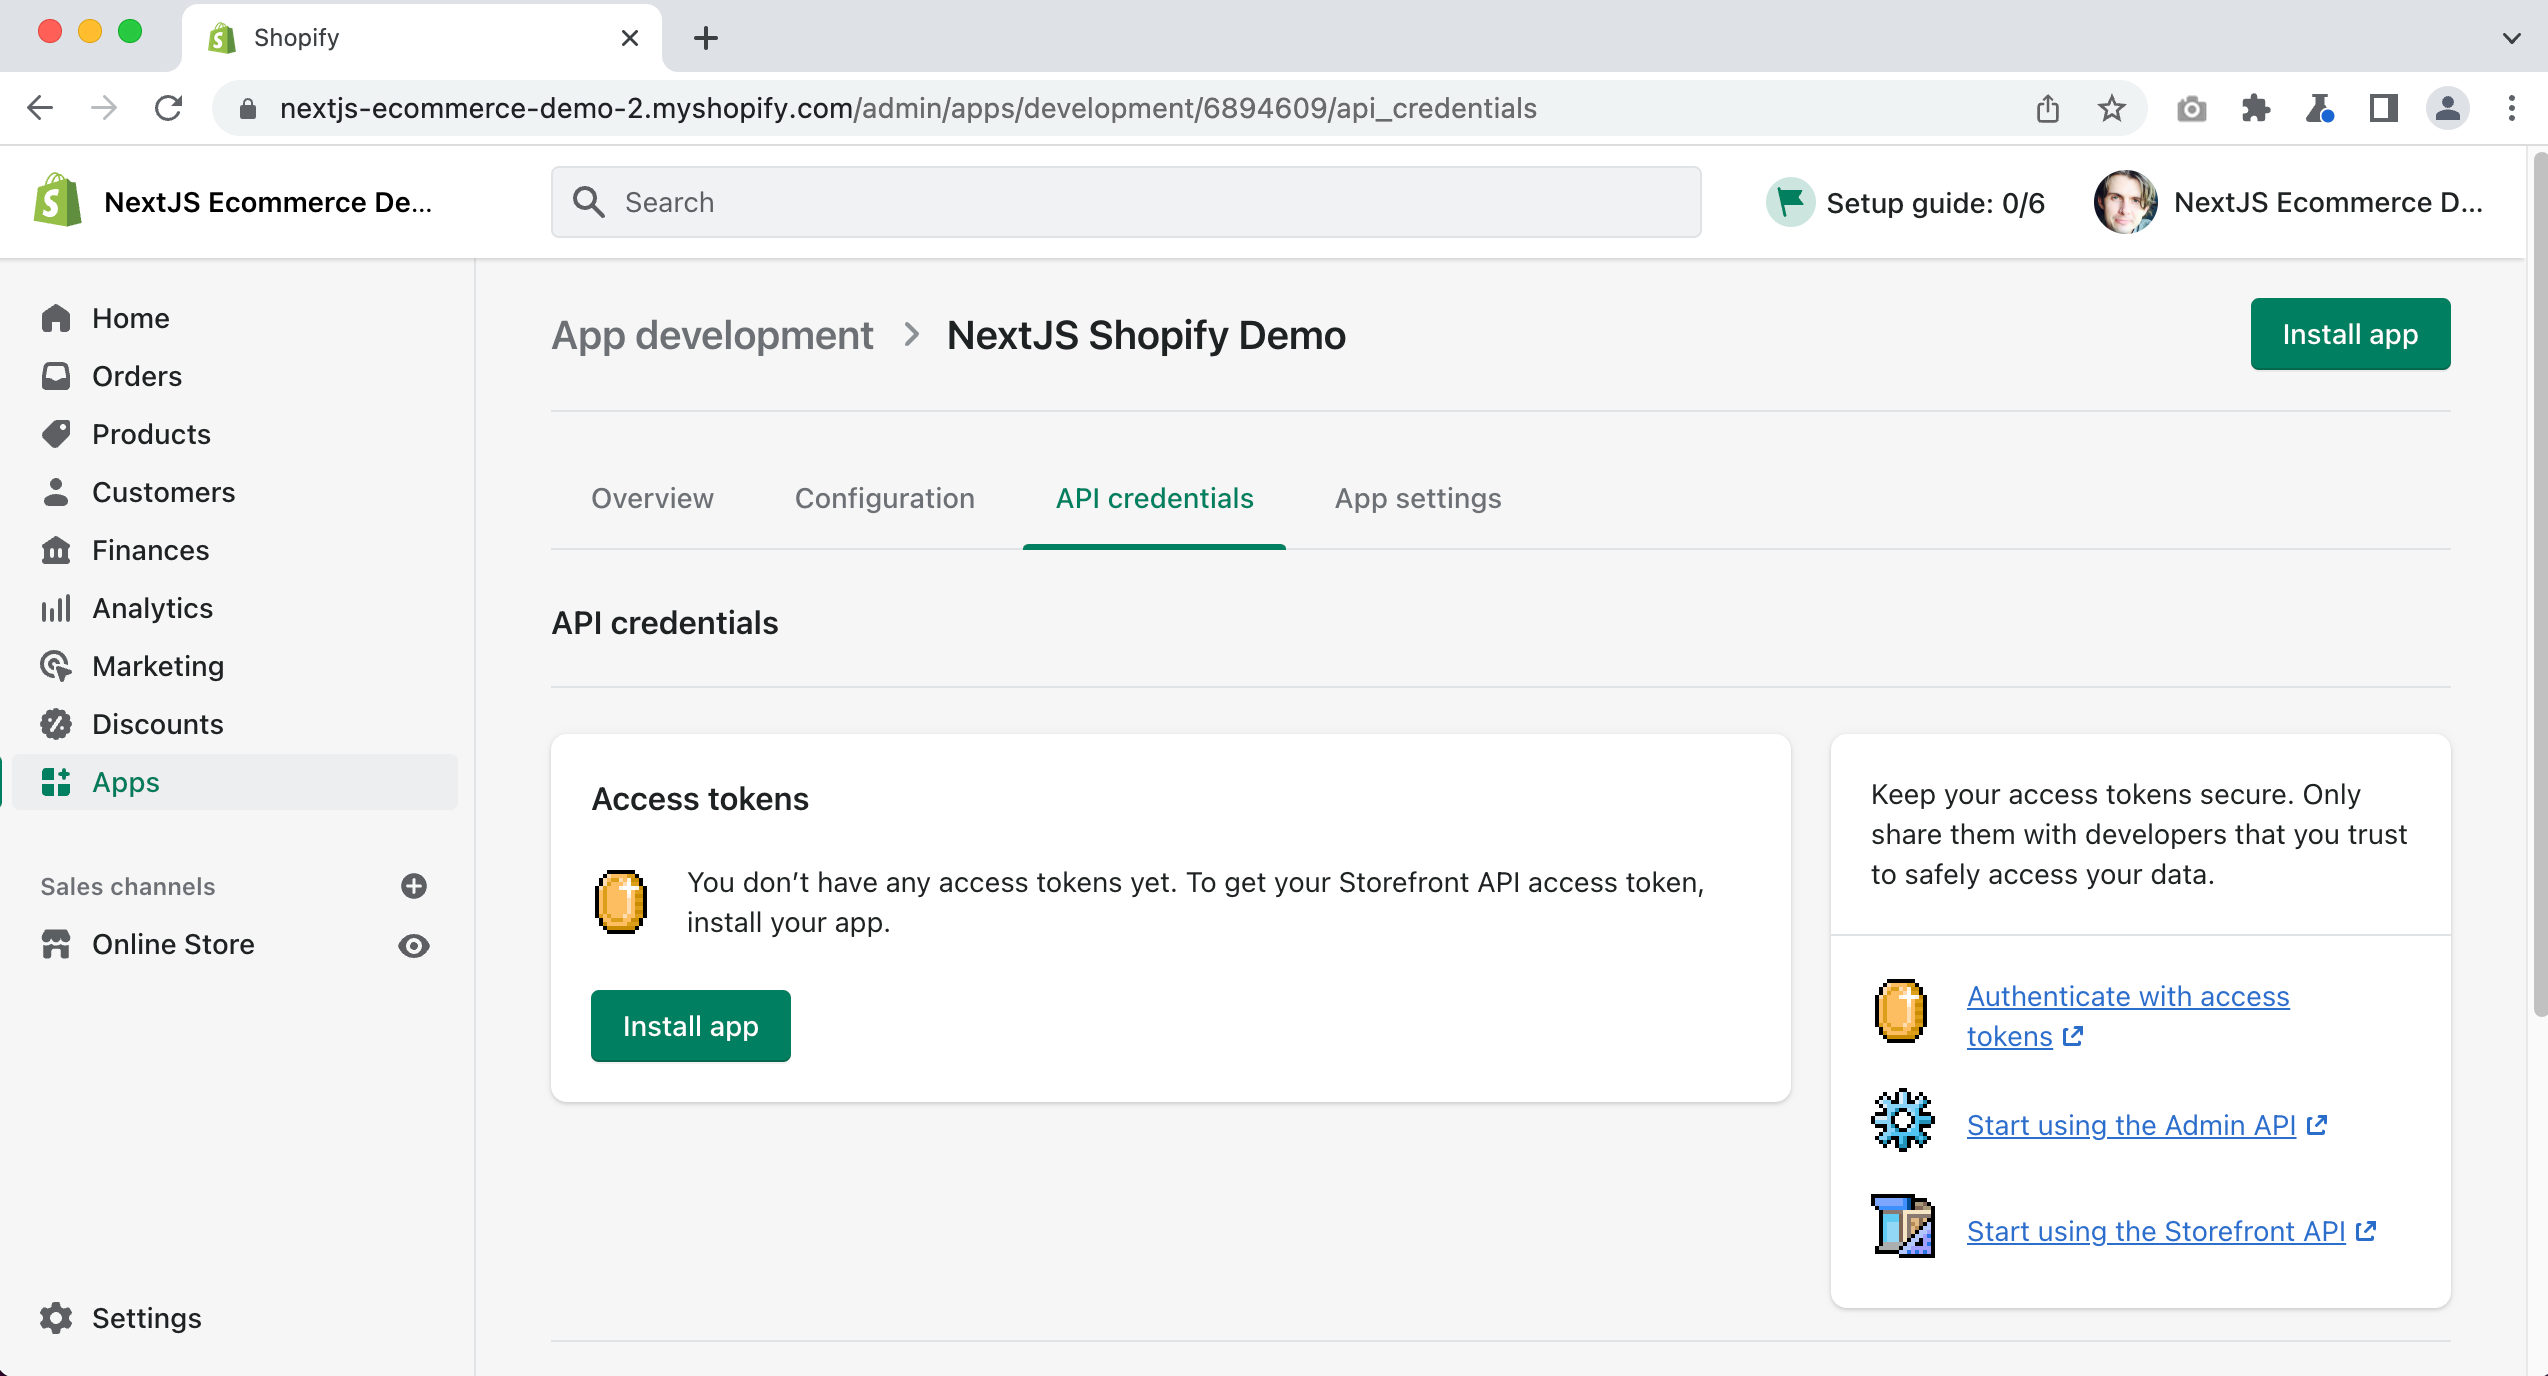
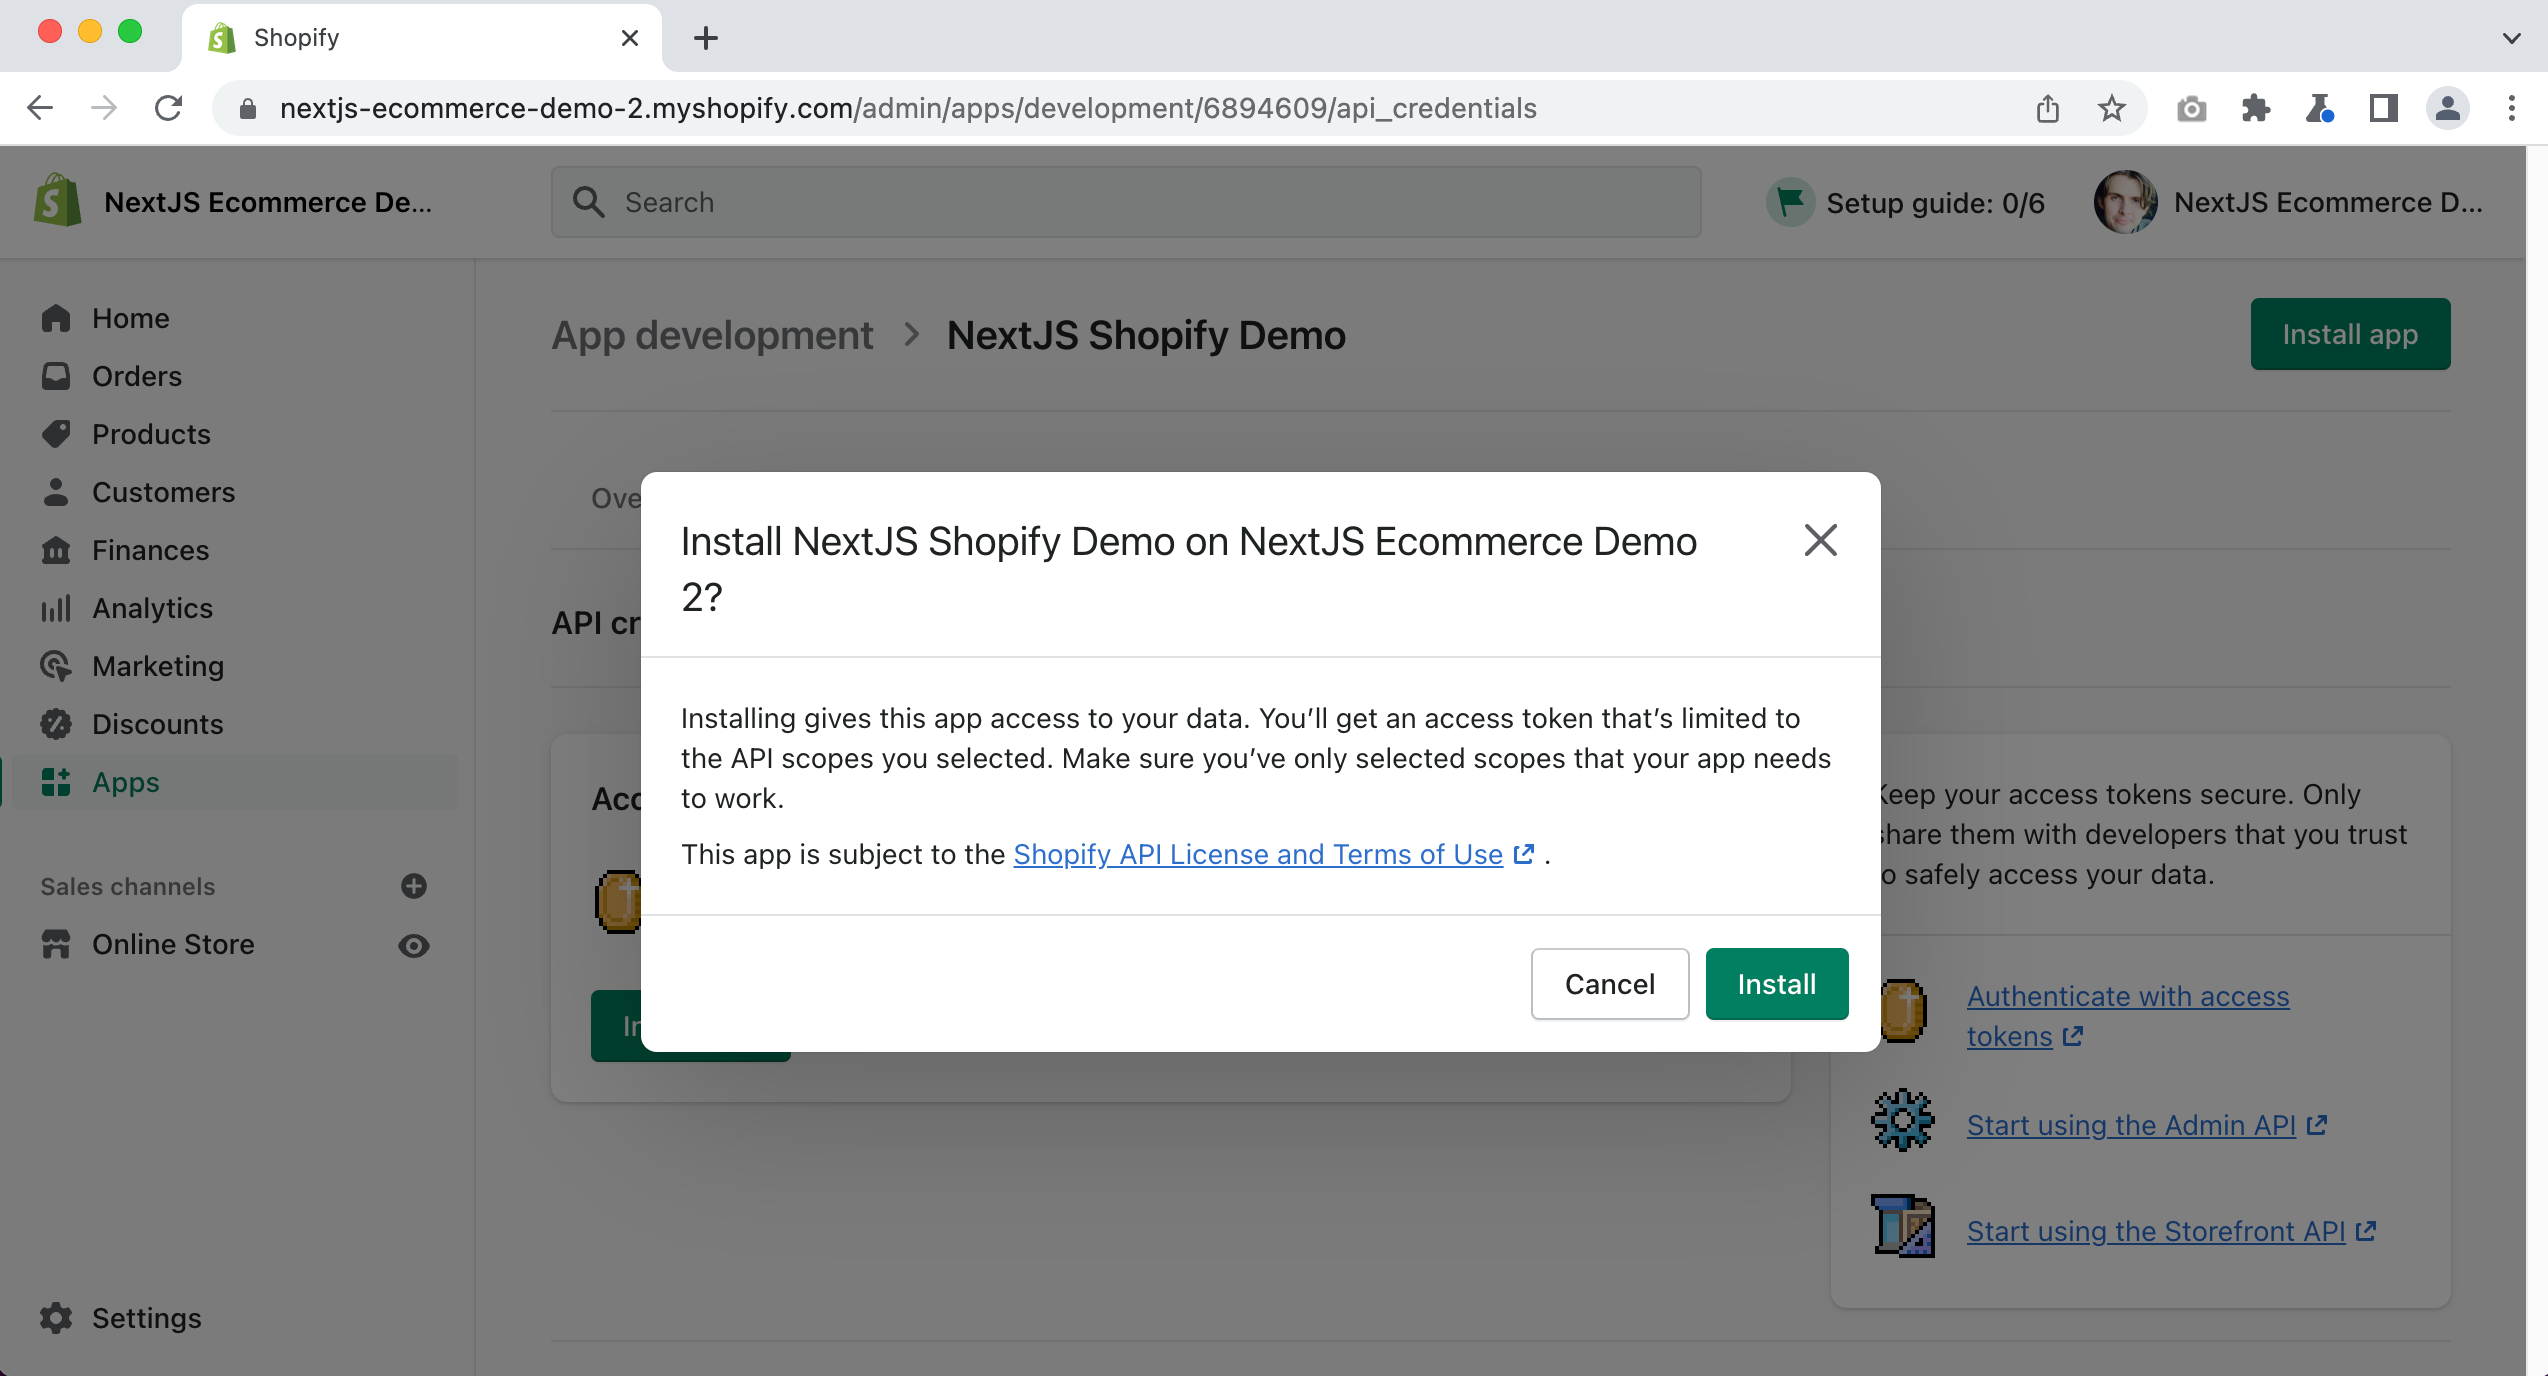
Next, you need to click on the “API credentials” tab. Then click “Install app.”
You will be given your Storefront API access token.

We will need to use this API token in order to have our Next.js application retrieve our products from Shopify.