Creating the Next.js App
Now that our Shopify store is all setup and configured we will need to create the Next.js front-end for it. Fortunately, the amazing team at Vercel has already provided us with a project which we can use for our store.
We will be using the Next.js Commerce application, which you can find more about here.
Cloning & Installing the App
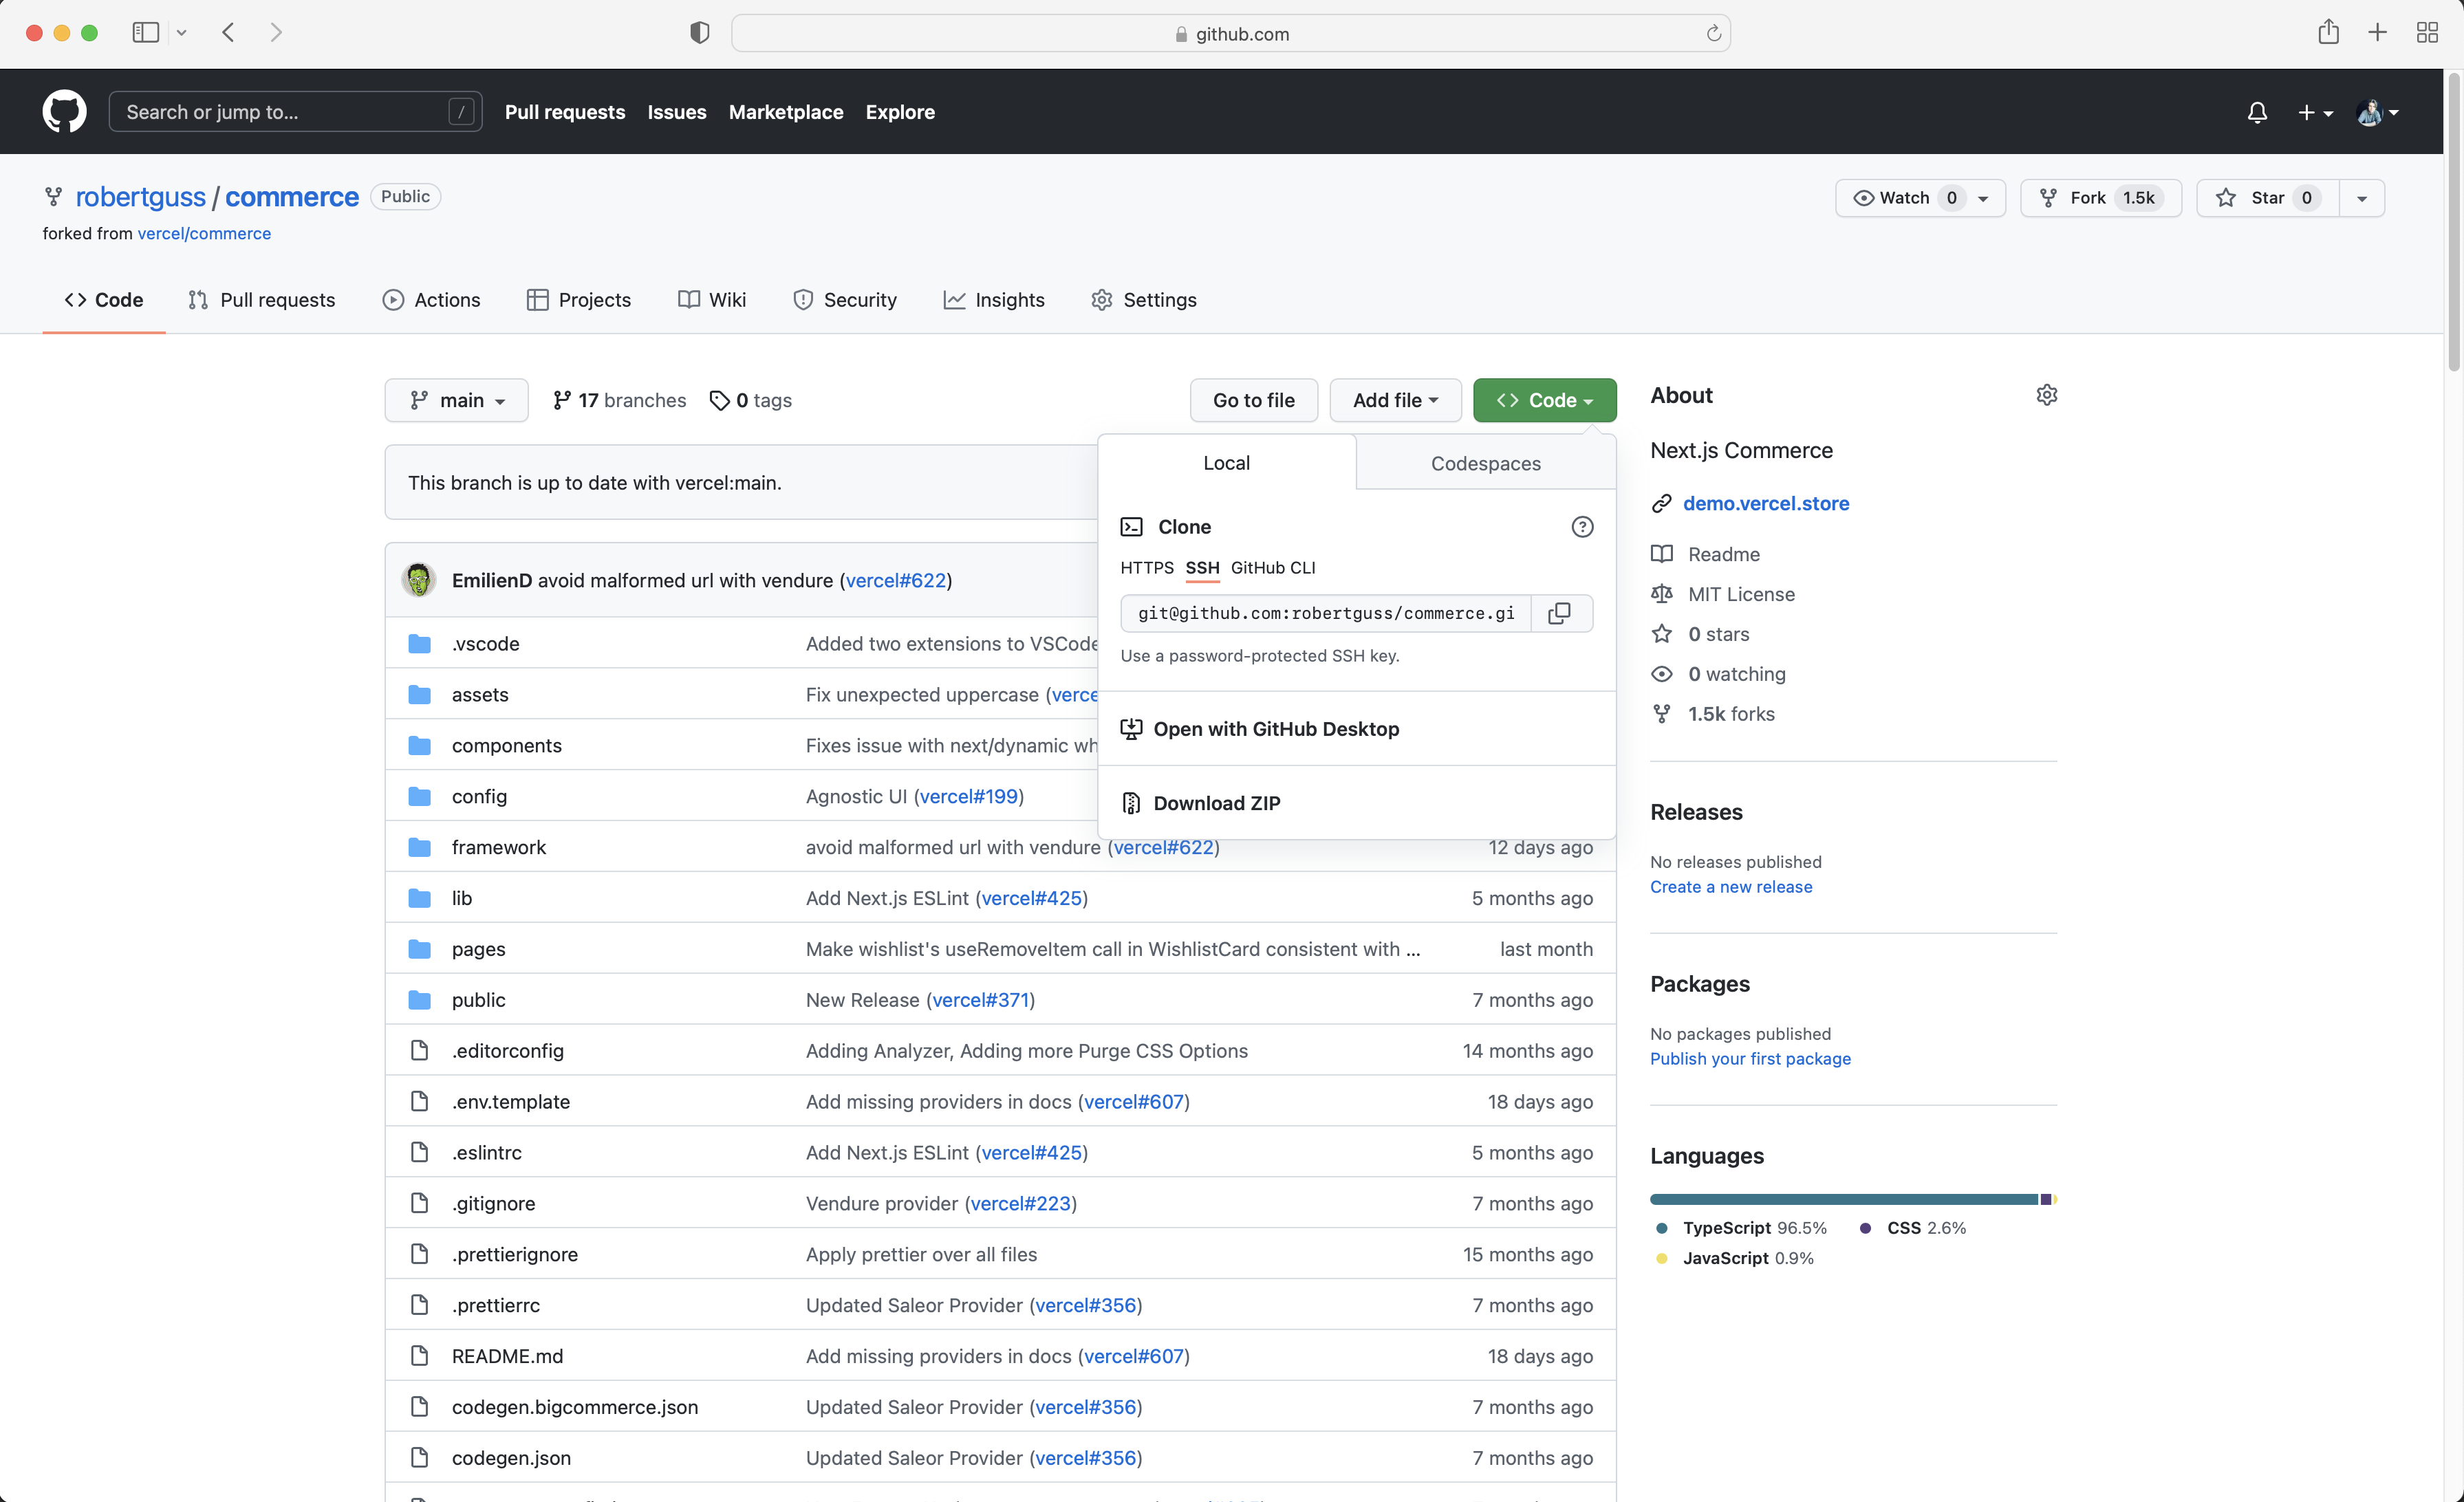
First, you will need to fork the Next.js Commerce Repo.
Once you have forked their repo, you will need to clone it down locally to your machine.
git clone git@github.com:<YOUR GITHUB USERNAME>/commerce.git
Then cd into the repo and install all of the NPM dependencies with yarn.
cd commerce
yarn install
Next, we will need to change providers in the app to Shopify. We can follow along with the directions in the README of the repo under the “How to change providers” section.
Create a file called .env.local inside of the site/ directory. Open site/.env.local and update it to look like the following.
info
You will need your Shopify Storefront API key and the domain of your store.
# site/.env.local

COMMERCE_PROVIDER=@vercel/commerce-shopify
NEXT_PUBLIC_SHOPIFY_STOREFRONT_ACCESS_TOKEN=7313c9dc3c0344ddfcde896e3d03a405
NEXT_PUBLIC_SHOPIFY_STORE_DOMAIN=nextjs-ecommerce-demo-2.myshopify.com/
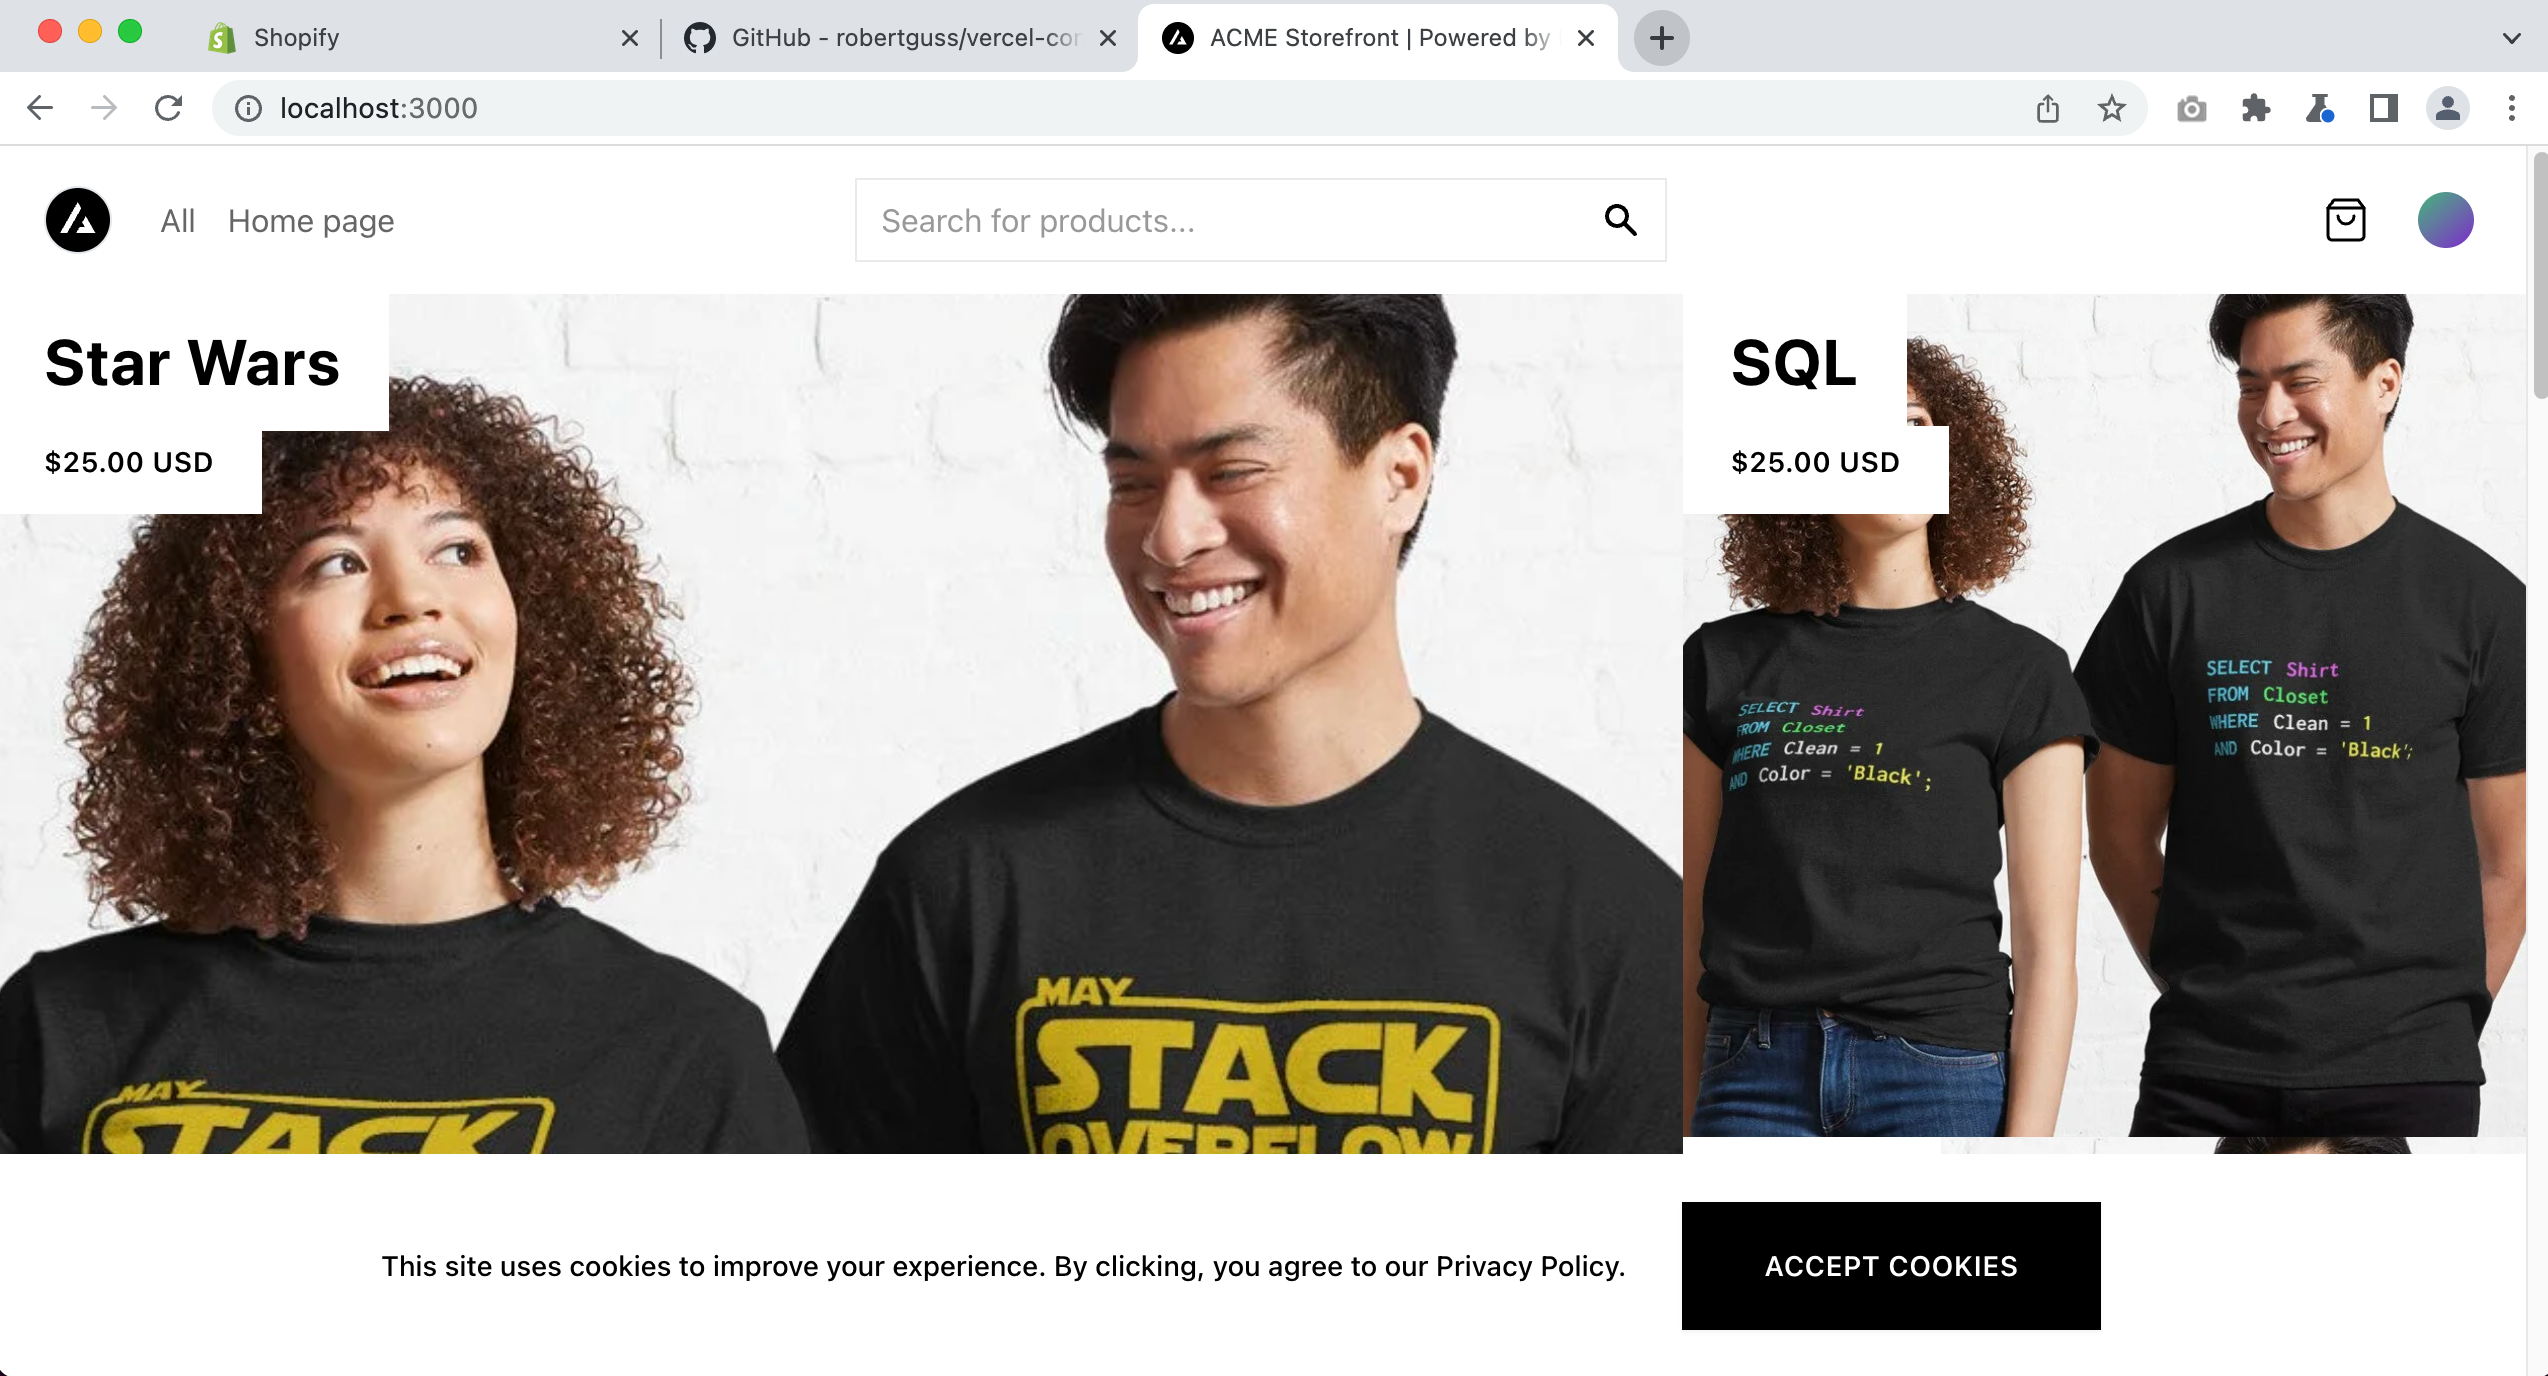
Next, within your terminal start up the development server.
yarn dev
Open your browser to [http://localhost:3000](http://localhost:3000) and you should see your store and your products from Shopify.