Deploying to Vercel
In this final section of our tutorial, we are going to be learning how to deploy our Next.js and Shopify application live to Vercel.
First, if you do not already have a free account with Vercel, you will need to create one at https://vercel.com/signup. We recommend using your GitHub account to do so.
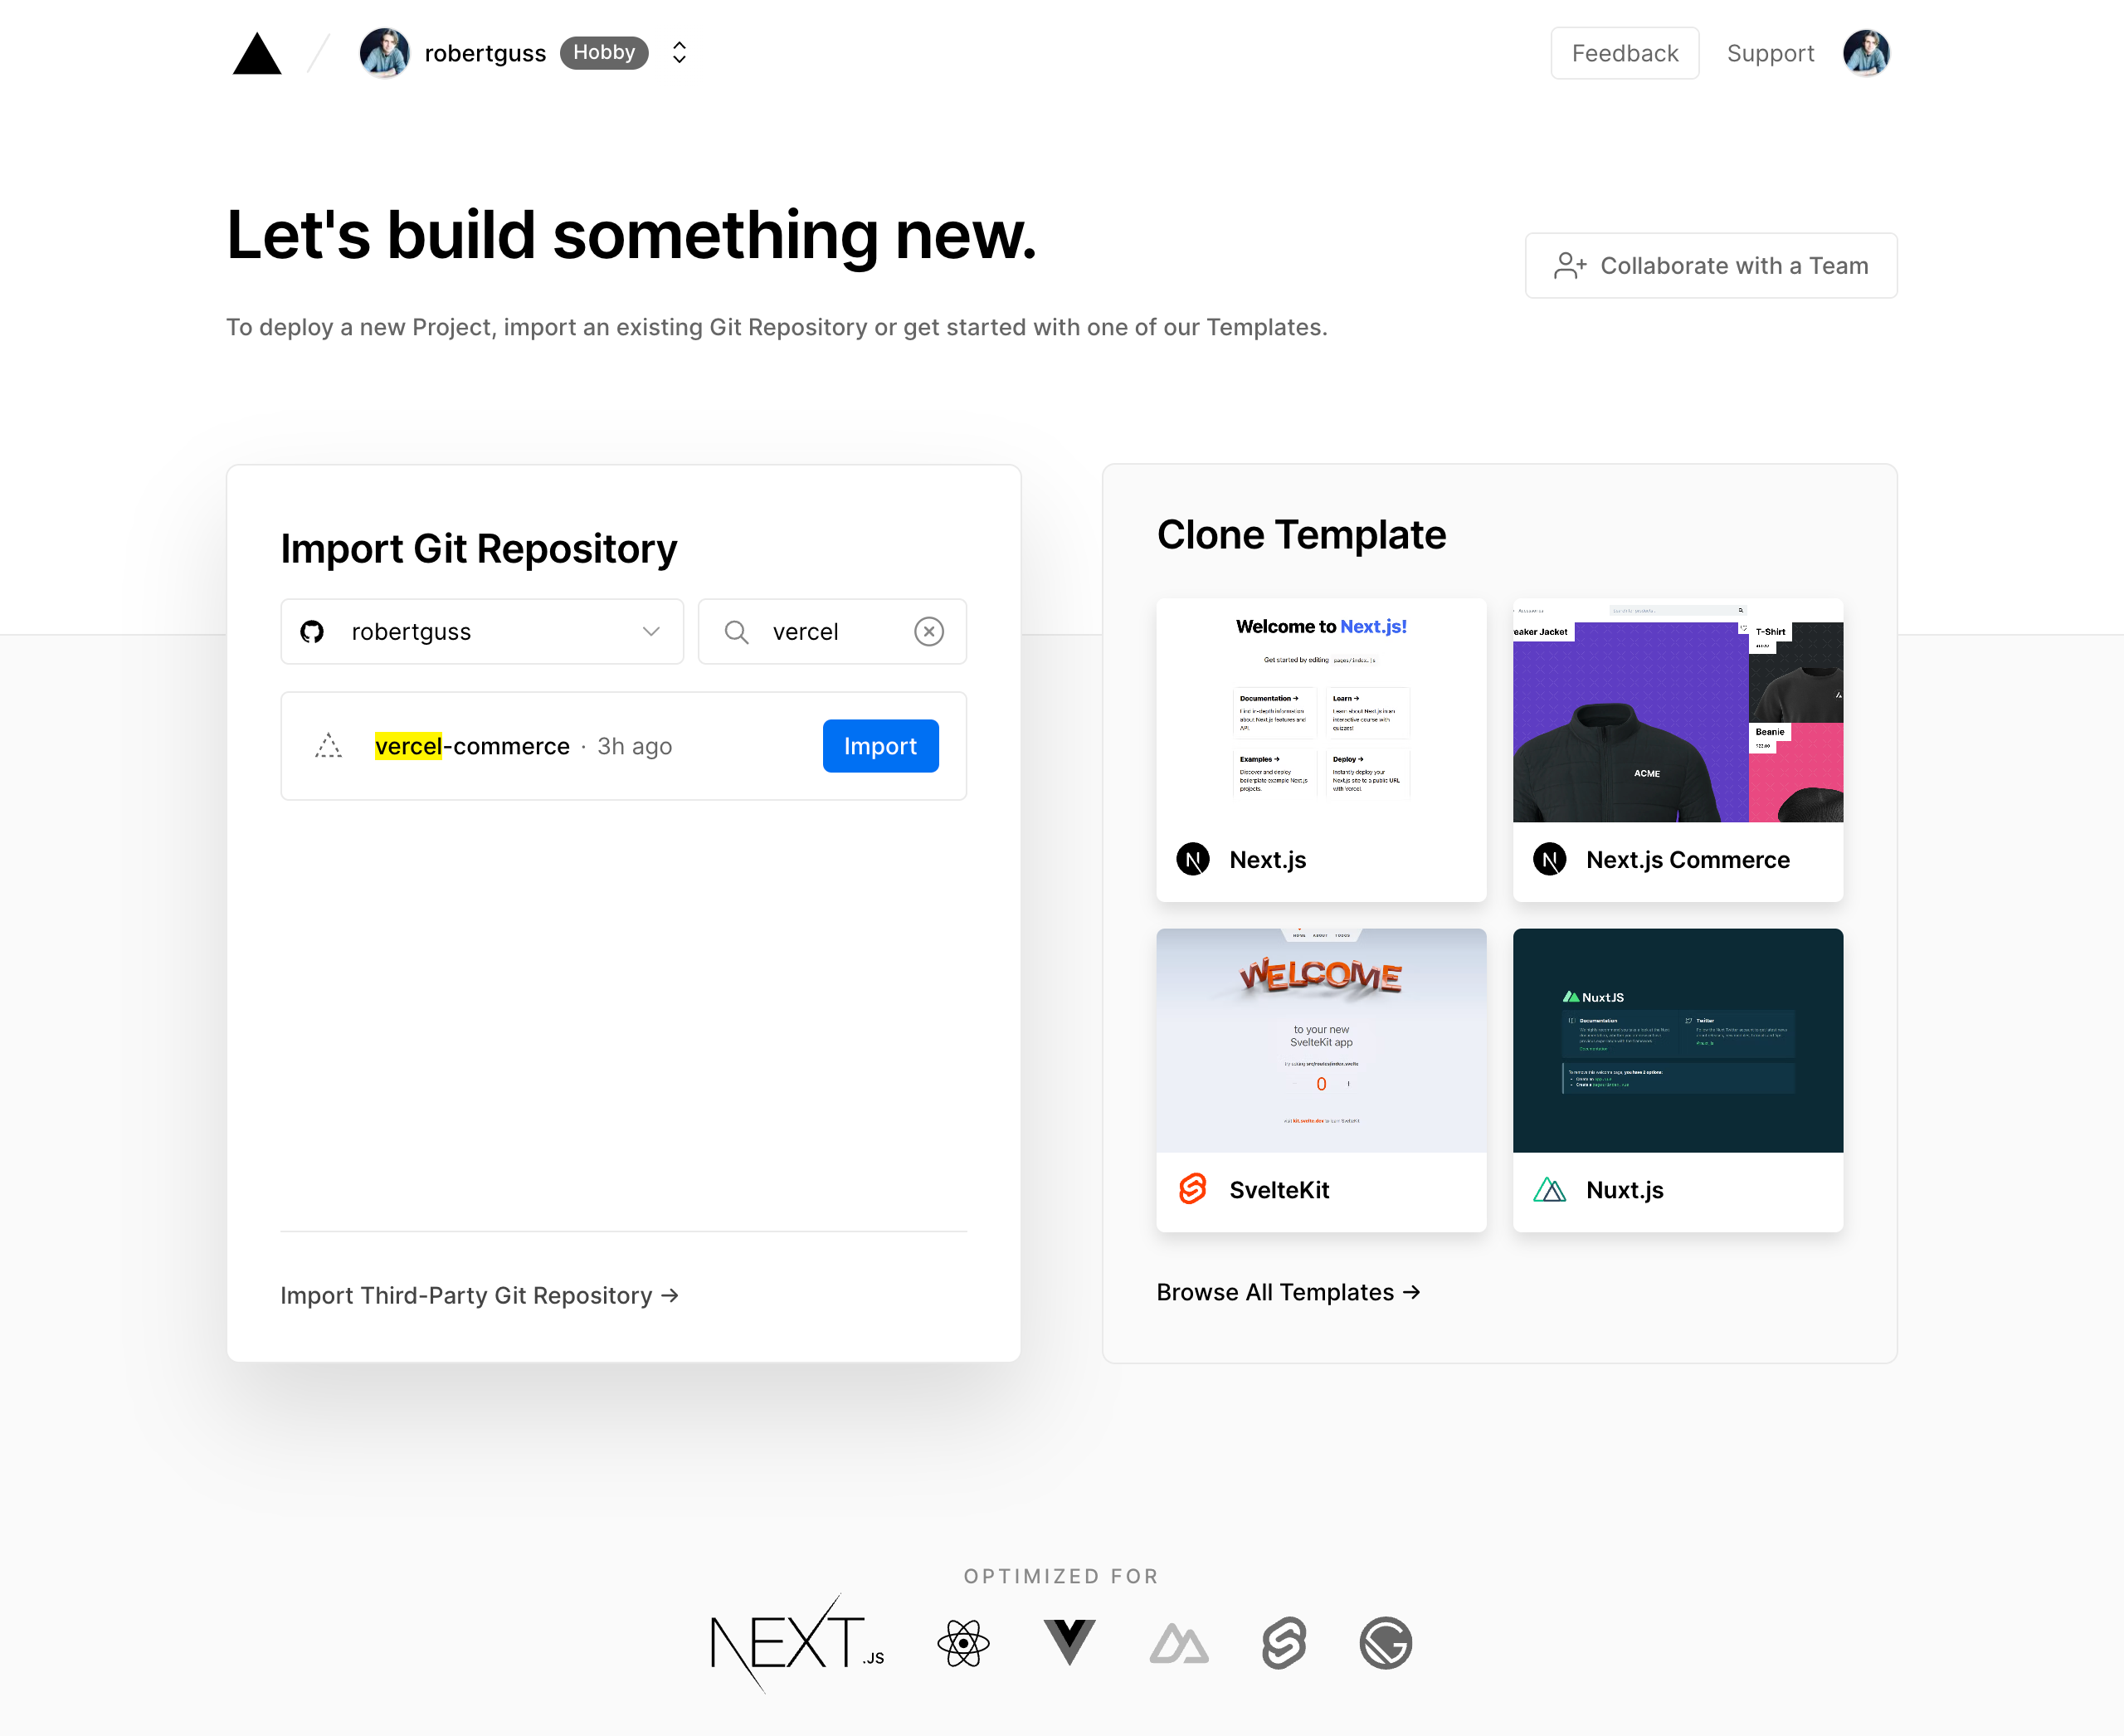
Once you are logged in, click on the “New Project” button. You will then be presented with a screen where you can import your Git Repository.
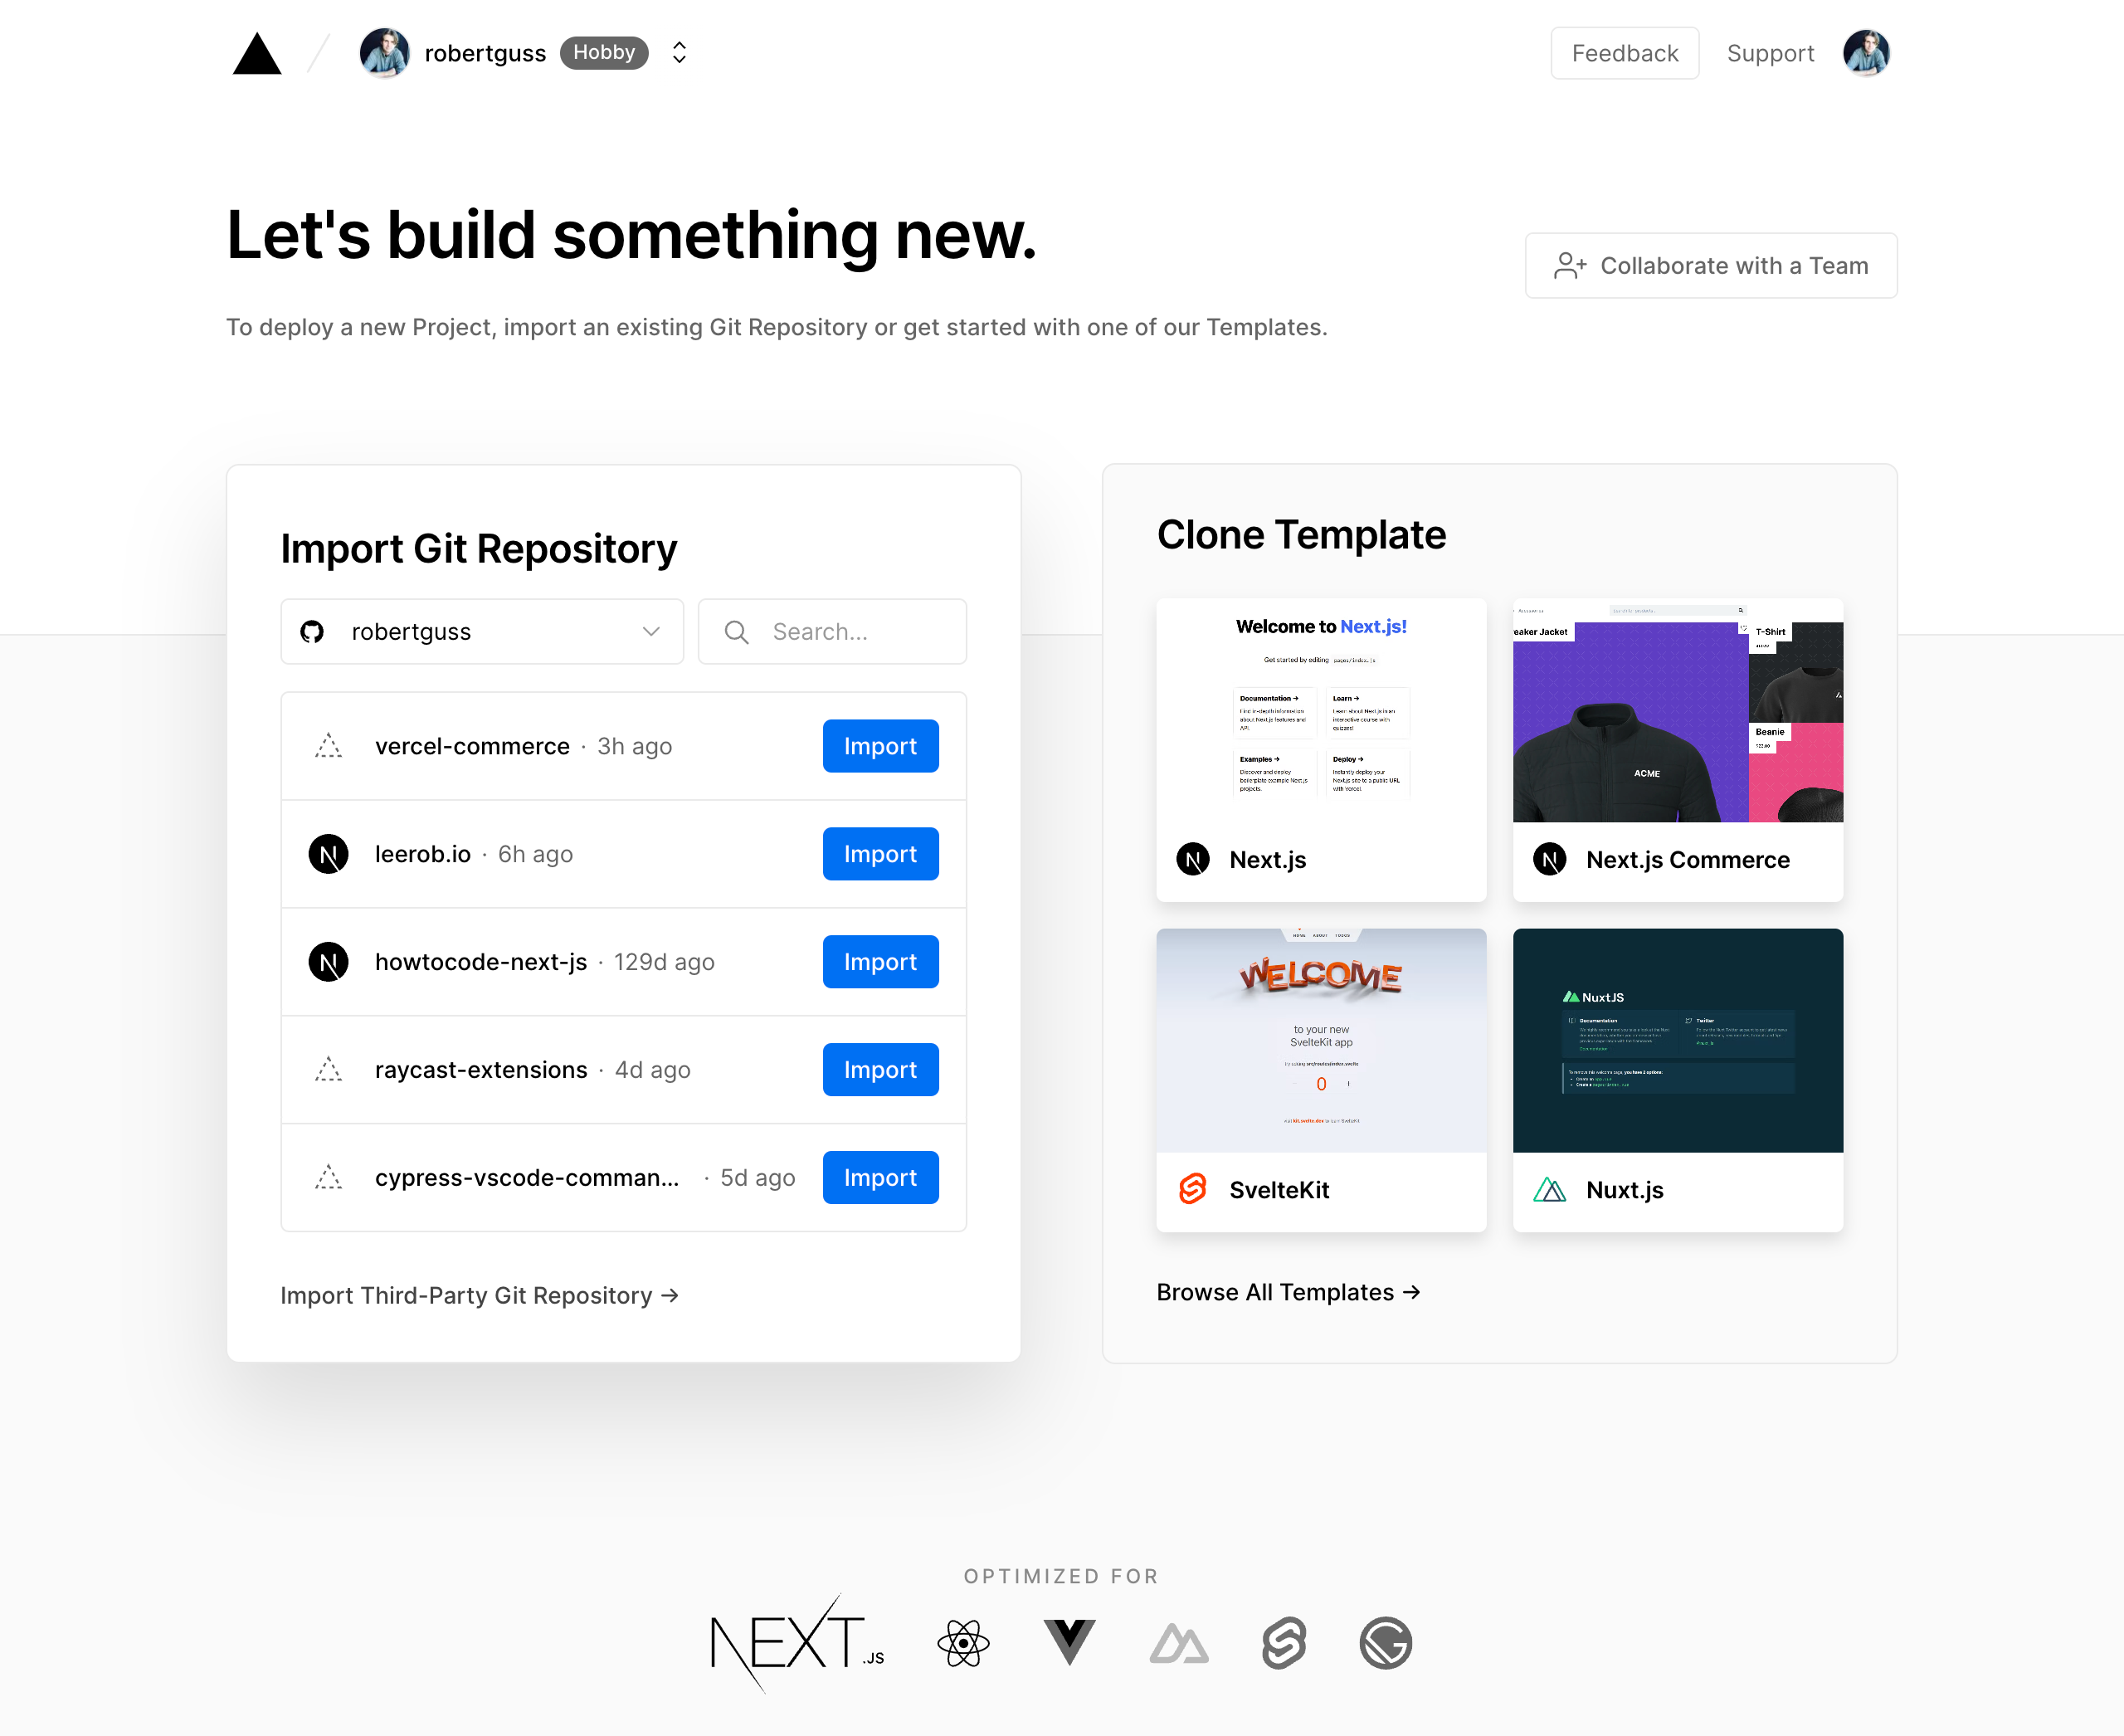
Find your repo and click the blue “Import” button next to it.
For the “Framework Preset” select “Next.js”
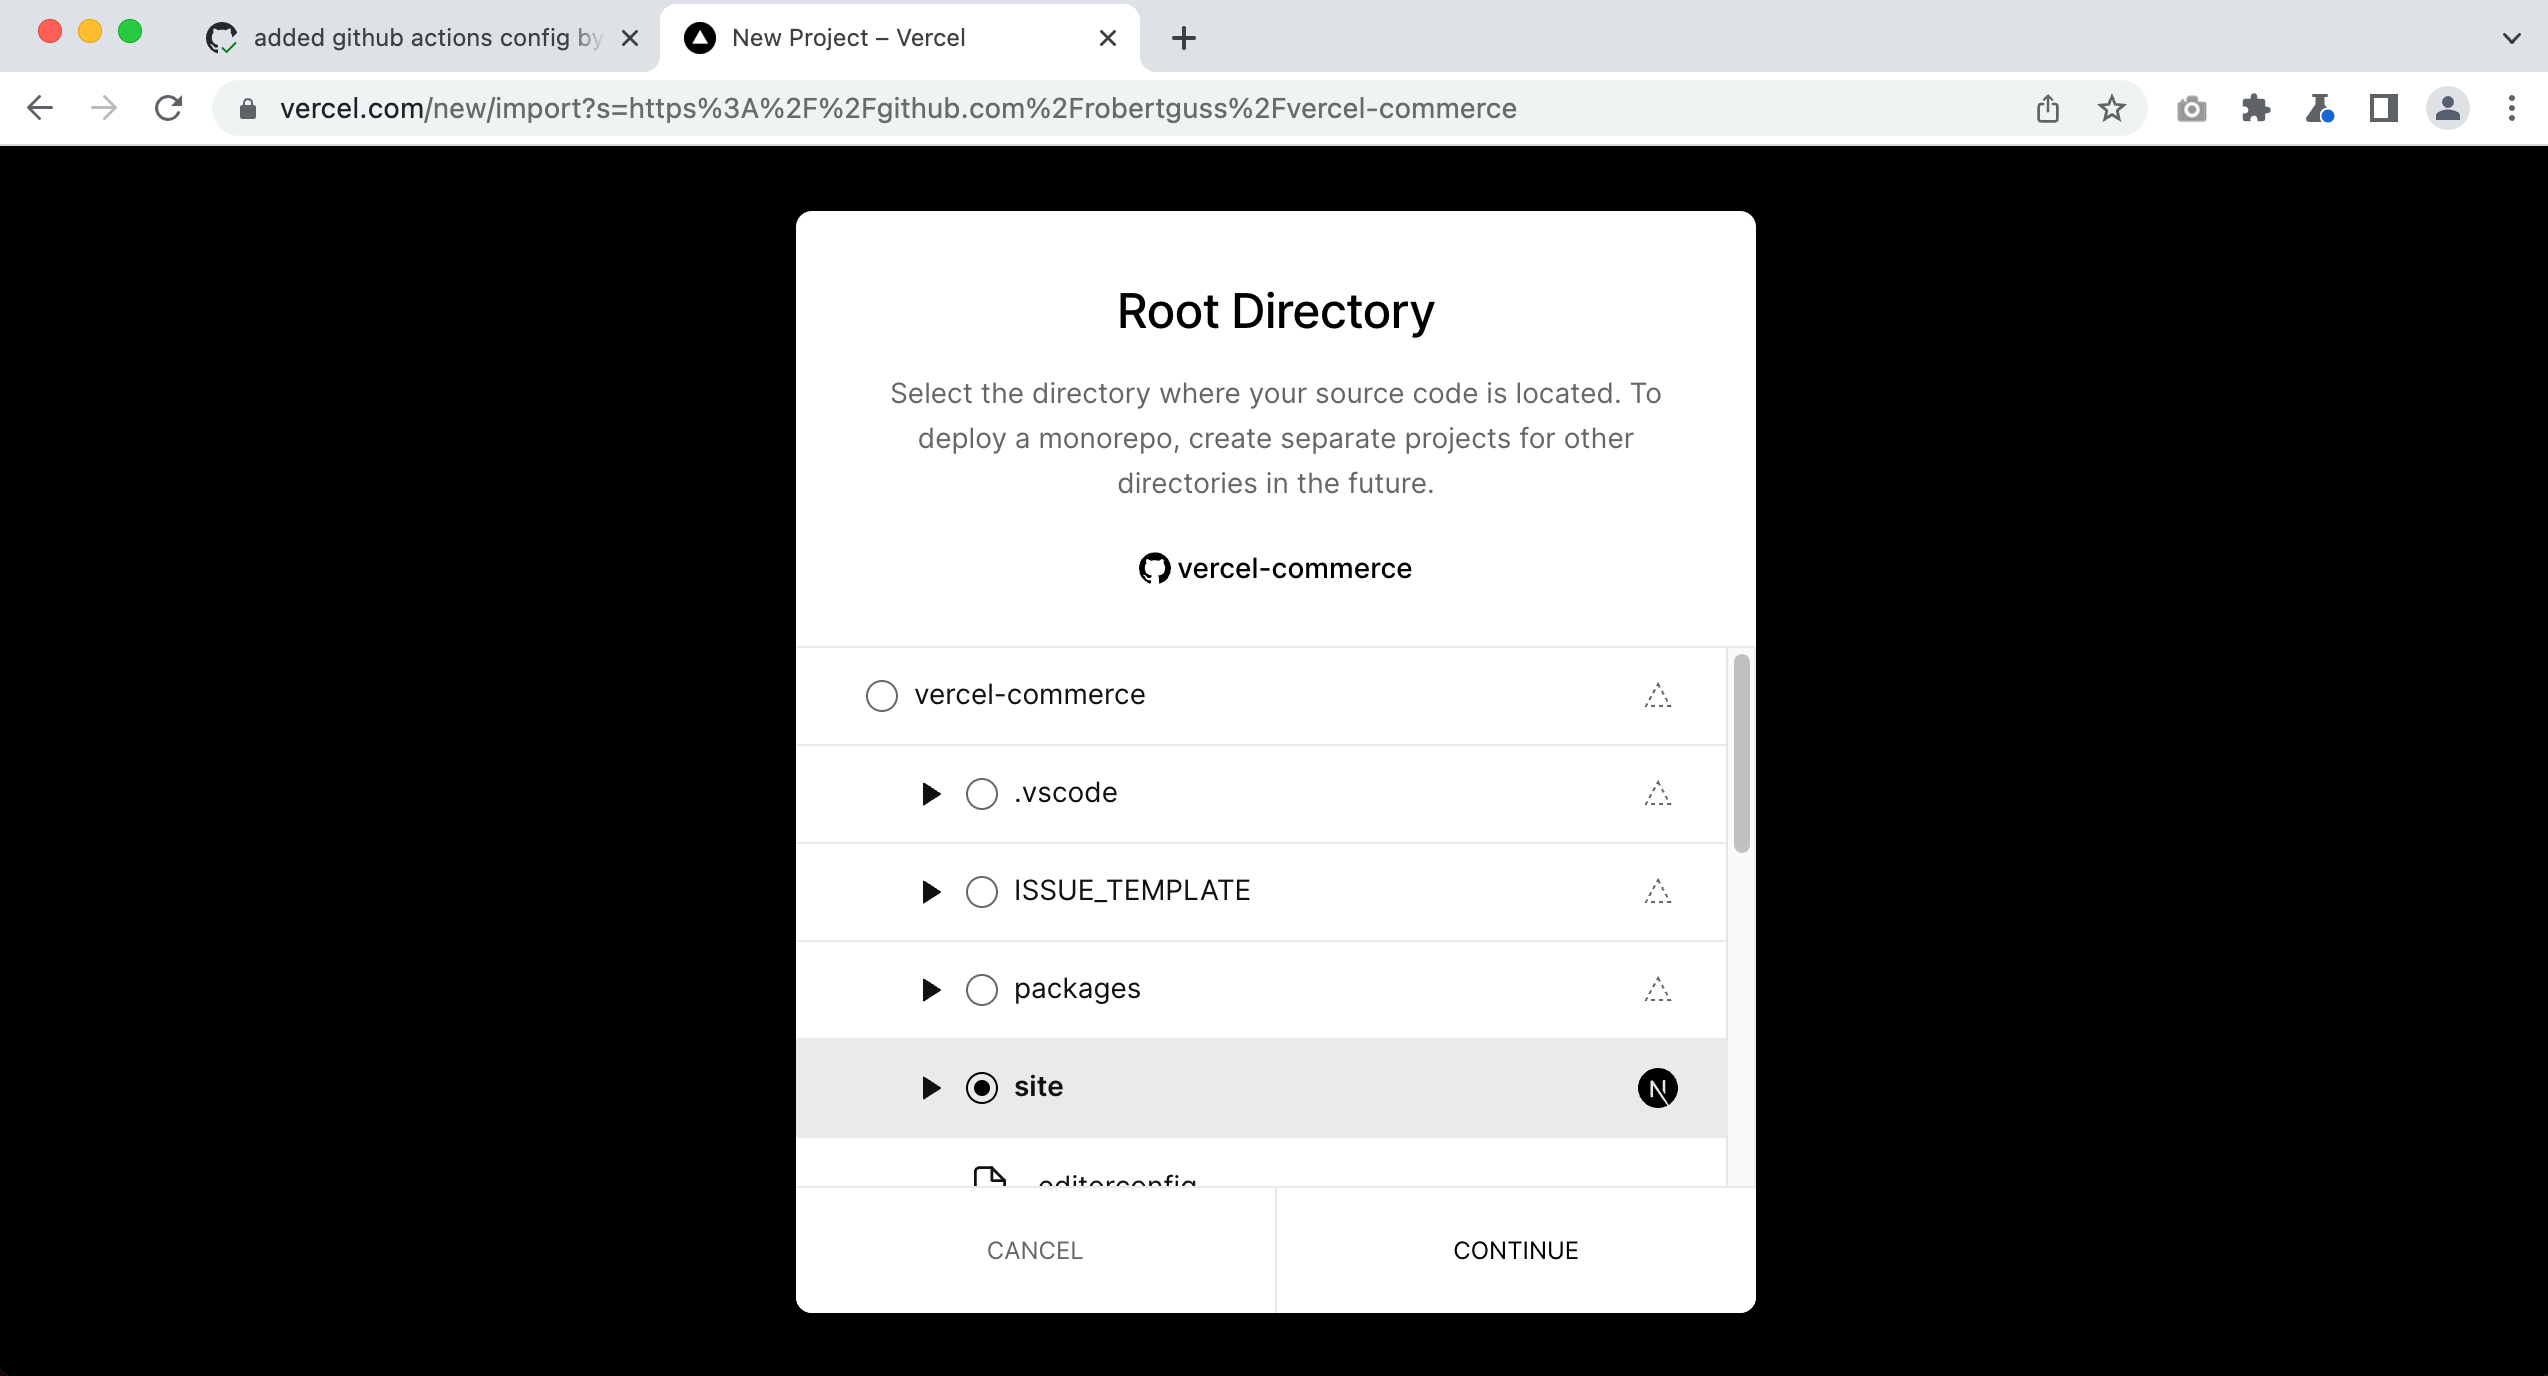
Since this is a “monorepo” we have to tell Vercel which directory we wish to deploy. Click on the “EDIT” button next to the “Root Directory.” Then select the “site” directory.
Since we are in a monorepo, we have to override the build command with the following:
cd .. && yarn build
Finally, we need to add all of the environment variables from our site/.env.local file.
Here is what all of my settings look like.
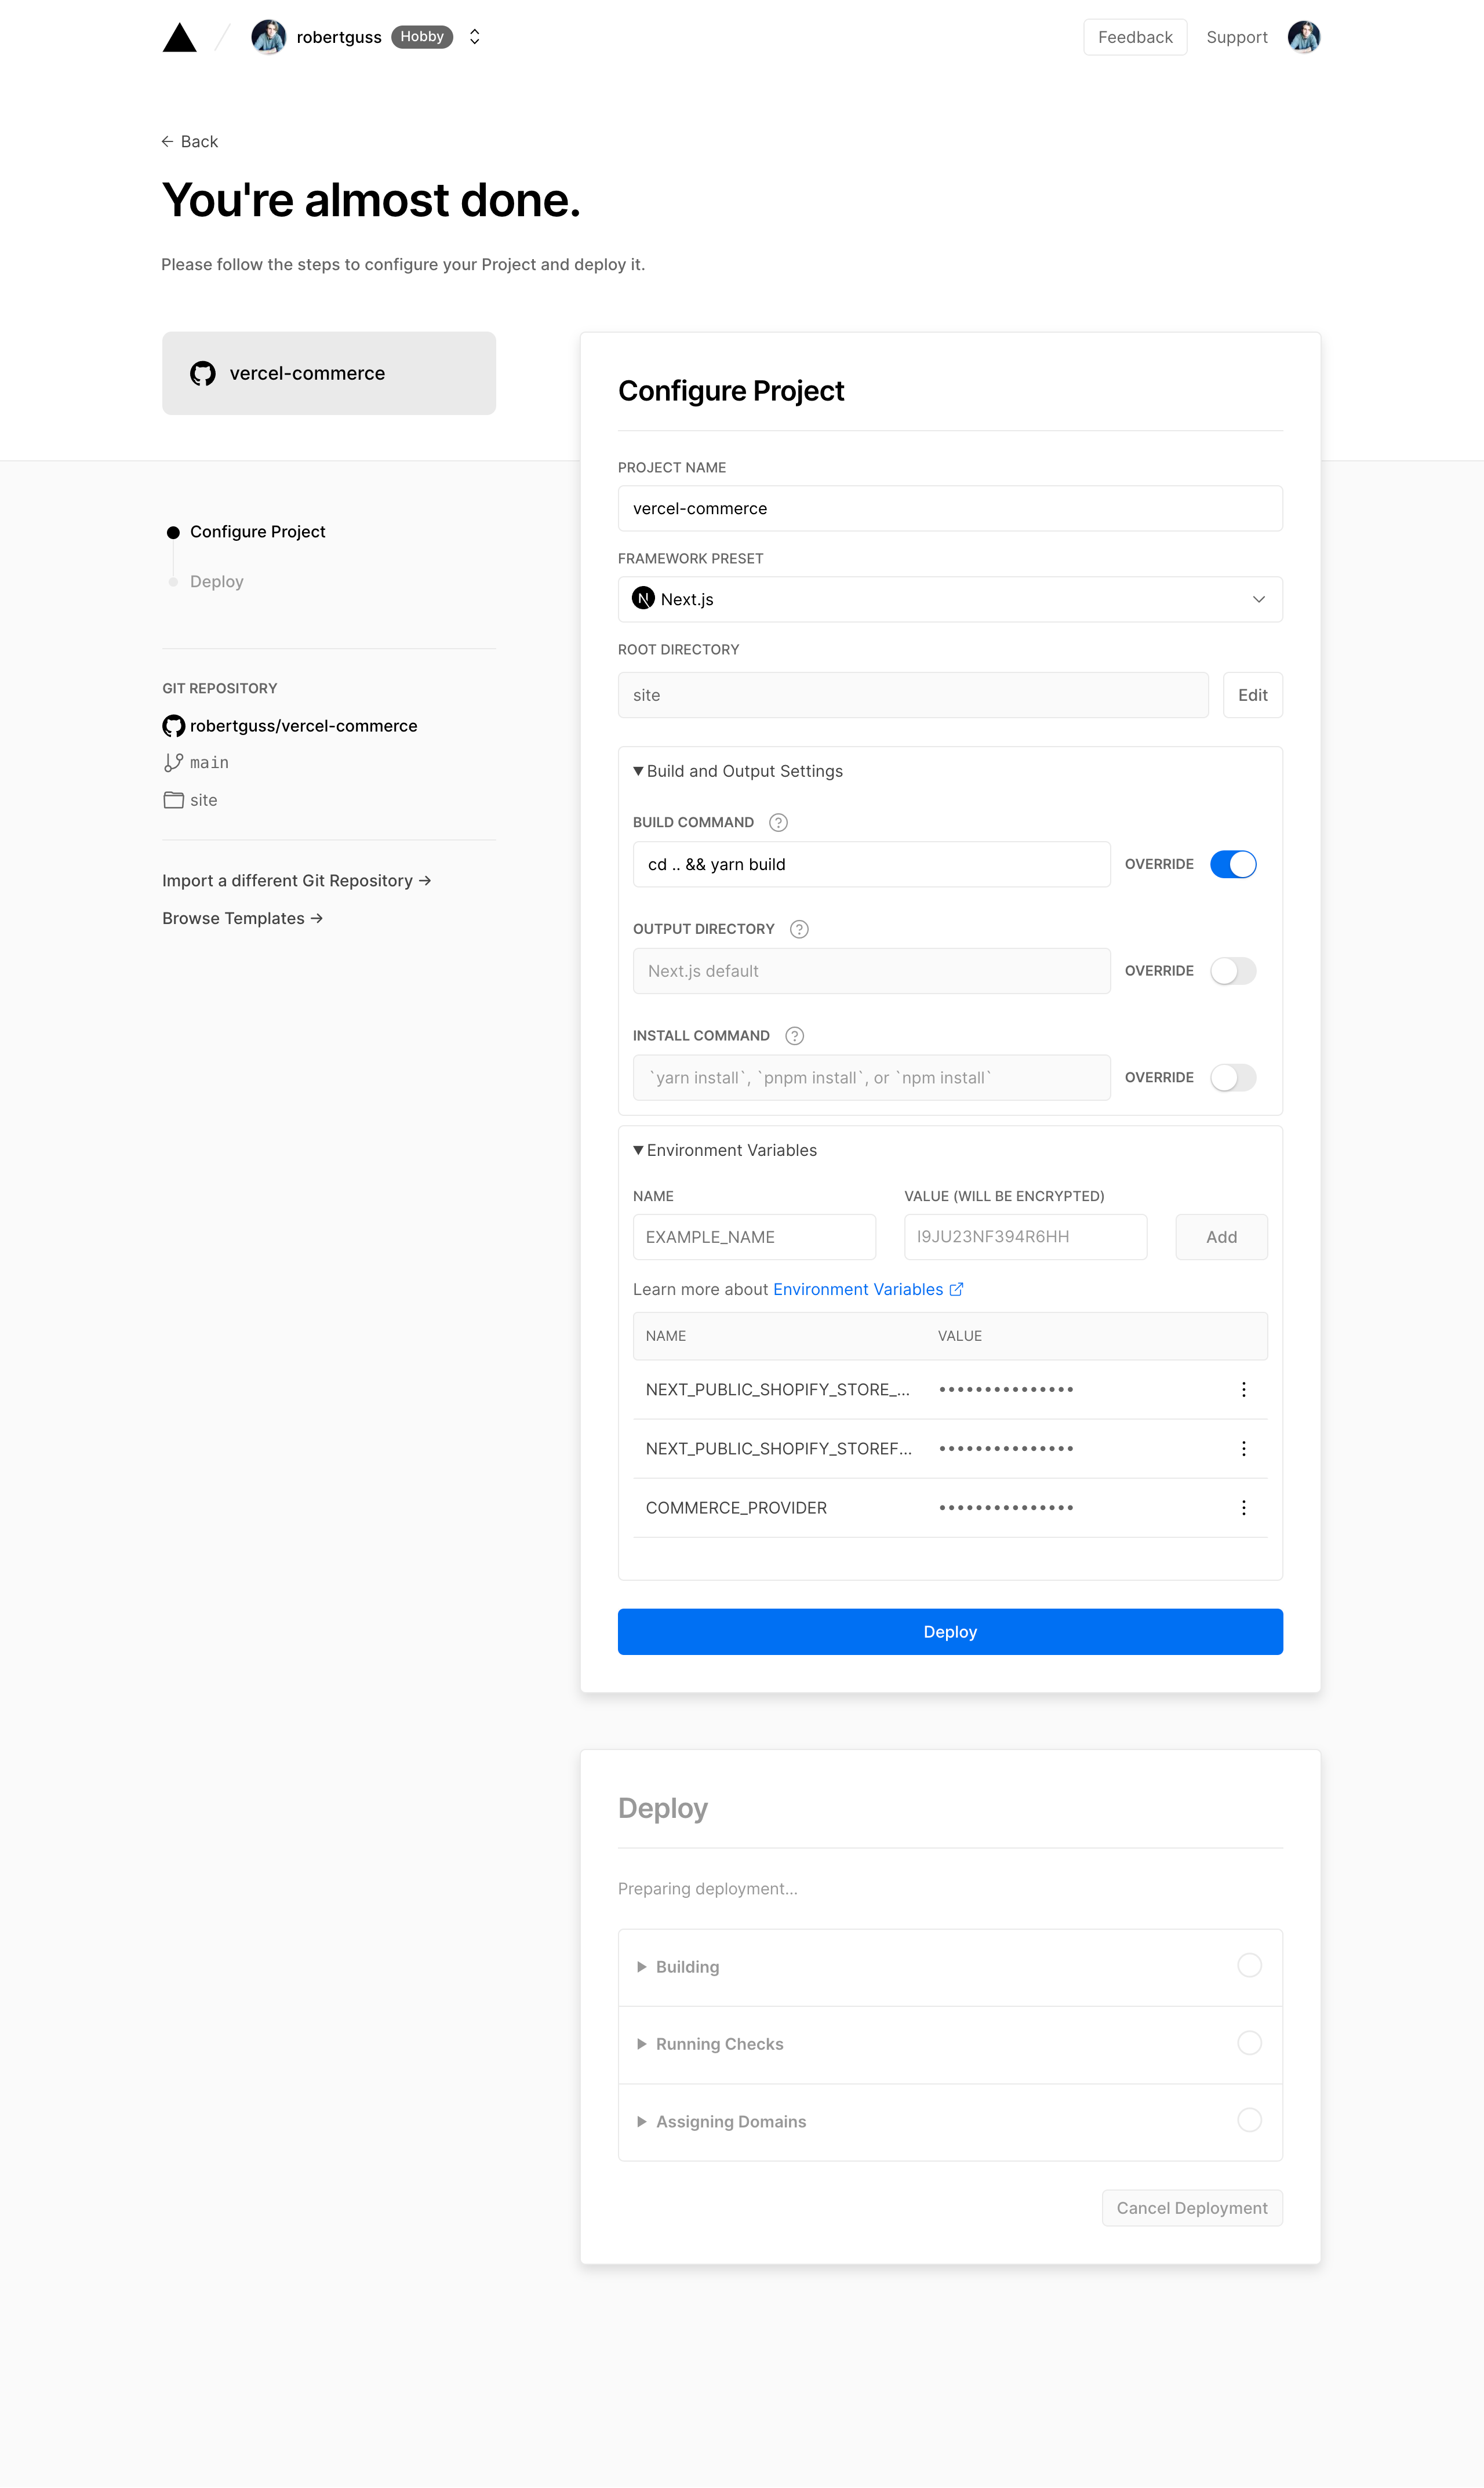
Click on the “Deploy” button.
If you have done everything correctly, you should be presented with a Congratulations screen.
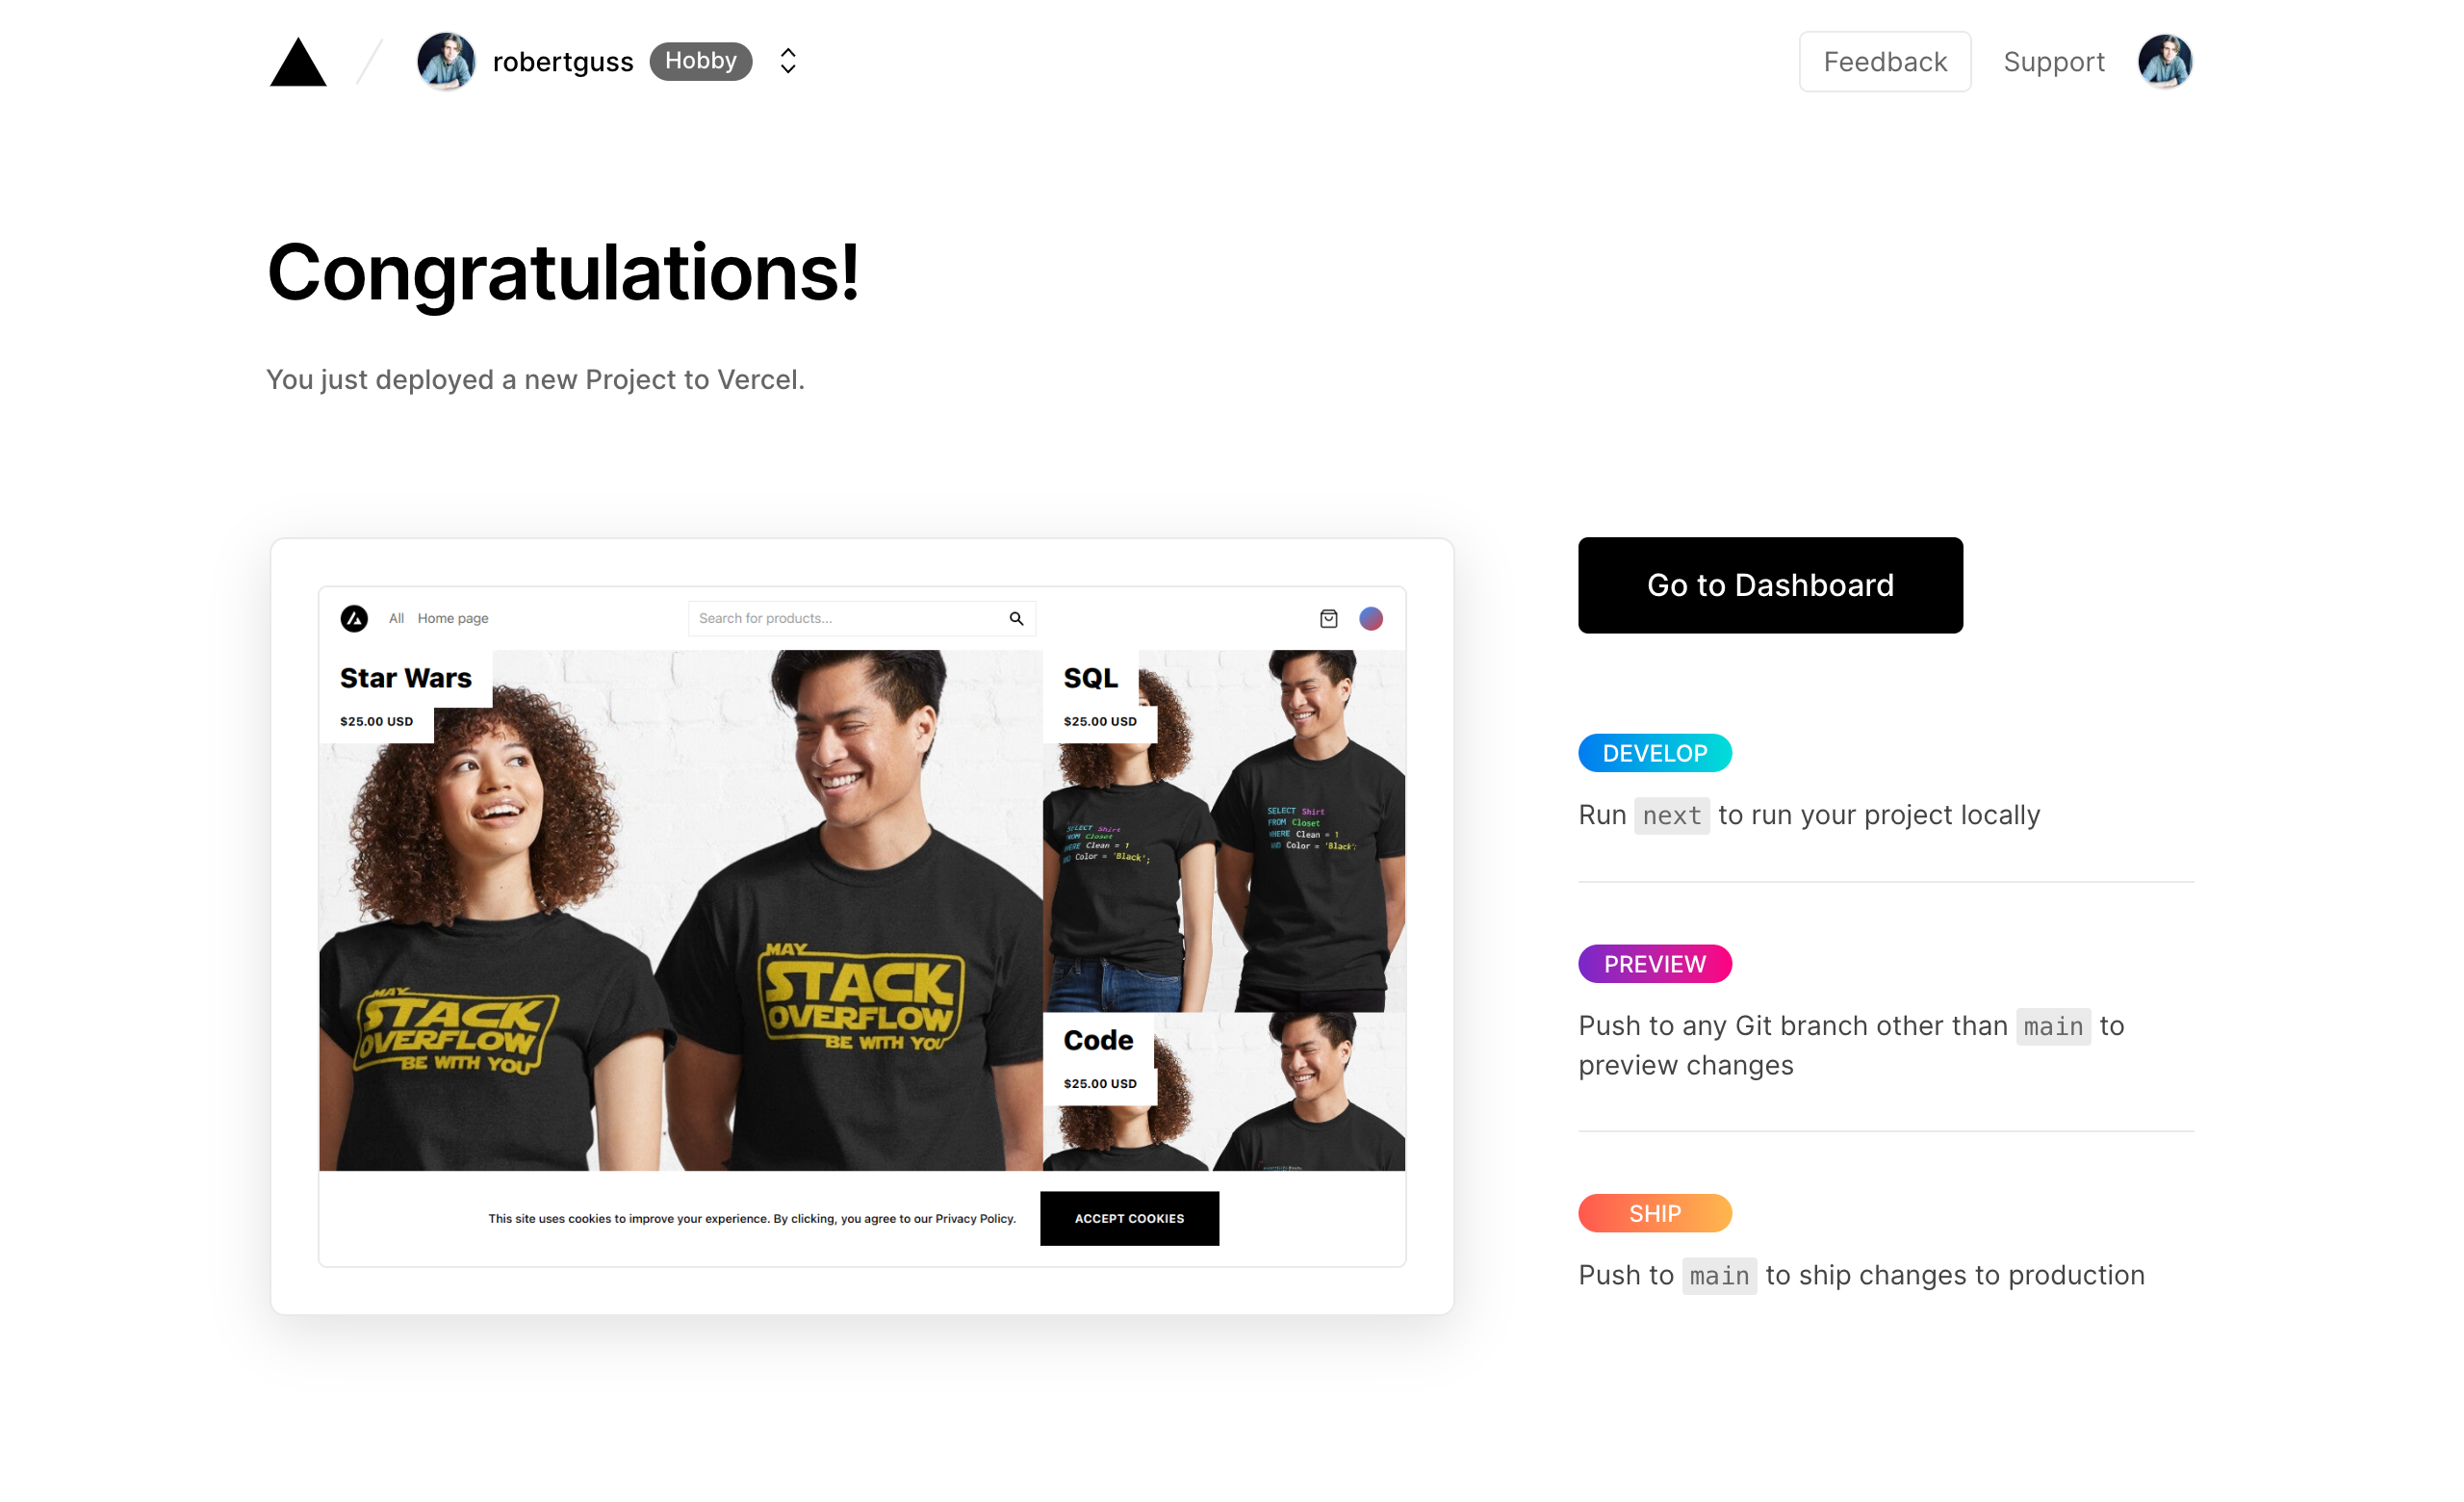
After clicking on the “Go to Dashboard” button you will be taken to the dashboard of your application.
You can then click on the “Visit” button to see your live application.
Wrap Up
In this tutorial, we learned how to create a custom Next.js front-end using Shopify as our back-end. We also learned how to test our app with Cypress. We then learned how to run our tests against each Pull Request with GitHub Actions. We then integrated Cypress Cloud to have all of our tests run in parallel. Finally, we deployed our application live to Vercel.