Writing End-to-End Tests with Cypress
Installing Cypress
Now that our store is up and running, we are going to install Cypress so that we can write end-to-end tests to test our Next.js front-end.
You can find our more about Cypress and how to install it on our docs site.
cd into the site/ directory and then install Cypress.
cd site
yarn add cypress --dev
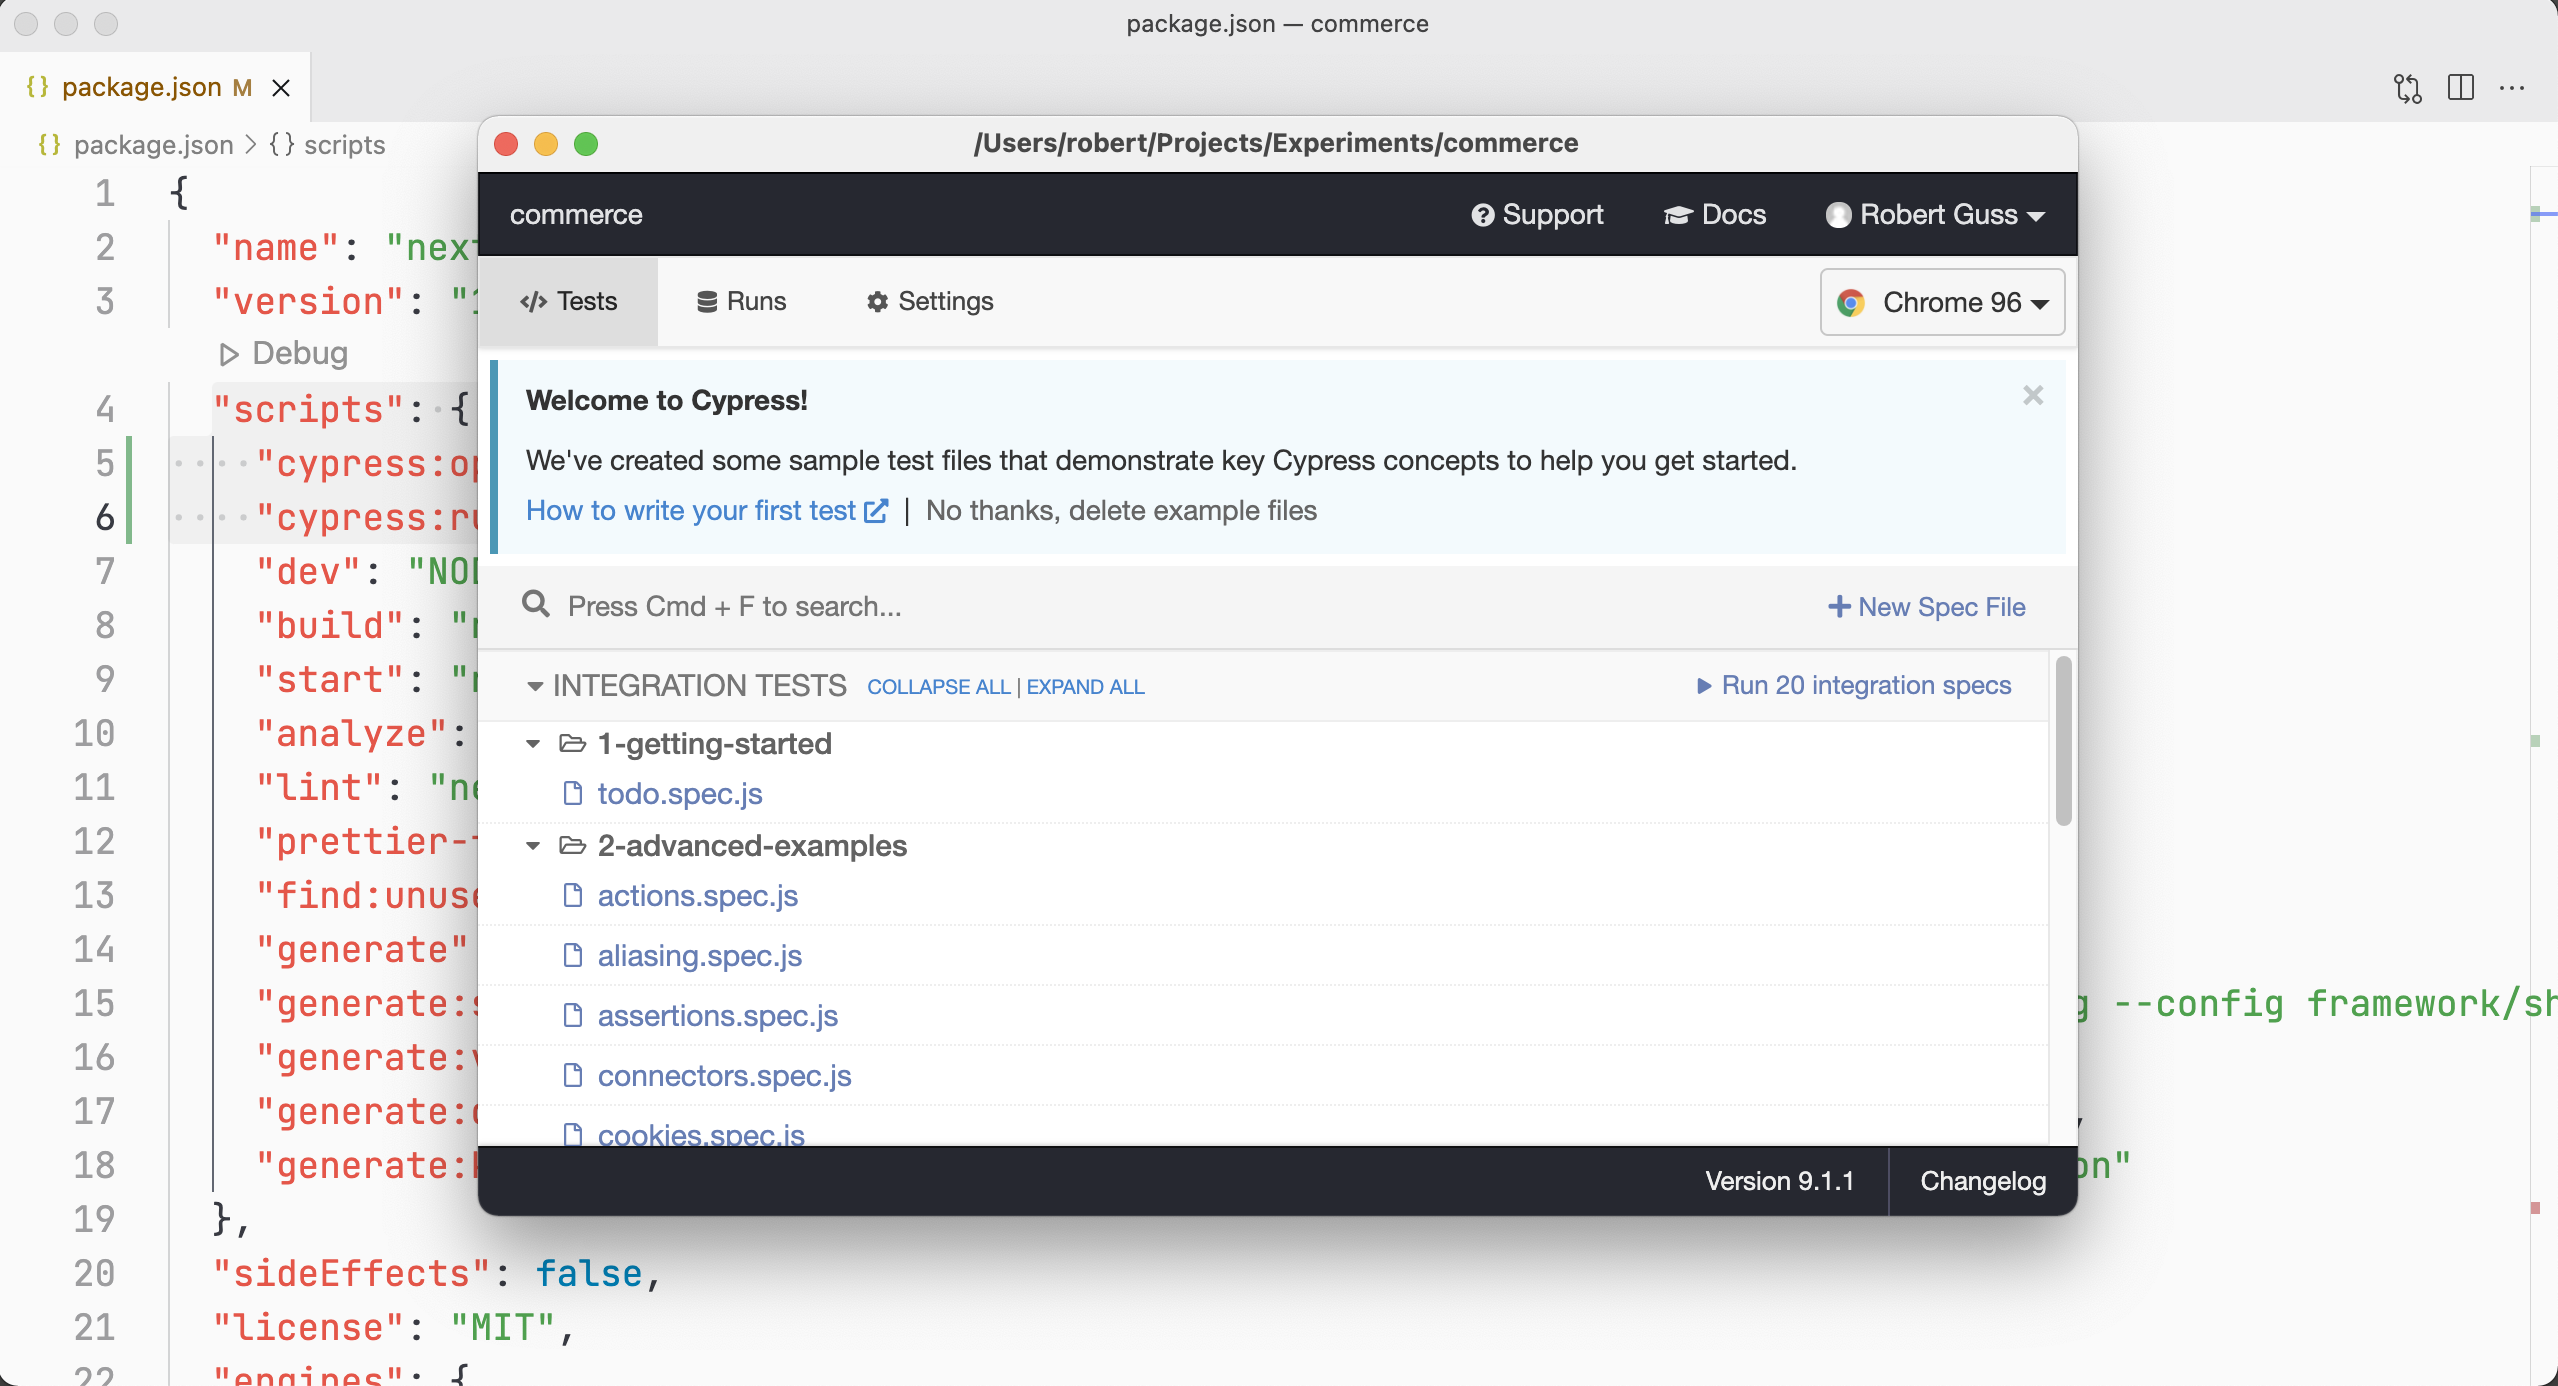
Open up the package.json file and add the following scripts.
"scripts": {
        // ...
    "cypress:open": "cypress open",
    "cypress:run": "cypress run"
}
The entire "scripts" object should look like this:
"scripts": {
    "dev": "next dev",
    "build": "next build",
    "start": "next start",
    "analyze": "BUNDLE_ANALYZE=both next build",
    "lint": "next lint",
    "prettier-fix": "prettier --write .",
    "find:unused": "npx next-unused",
    "cypress:open": "cypress open",
    "cypress:run": "cypress run"
  },
Make sure you have the Next.js development server running in another terminal window or tab.
yarn dev
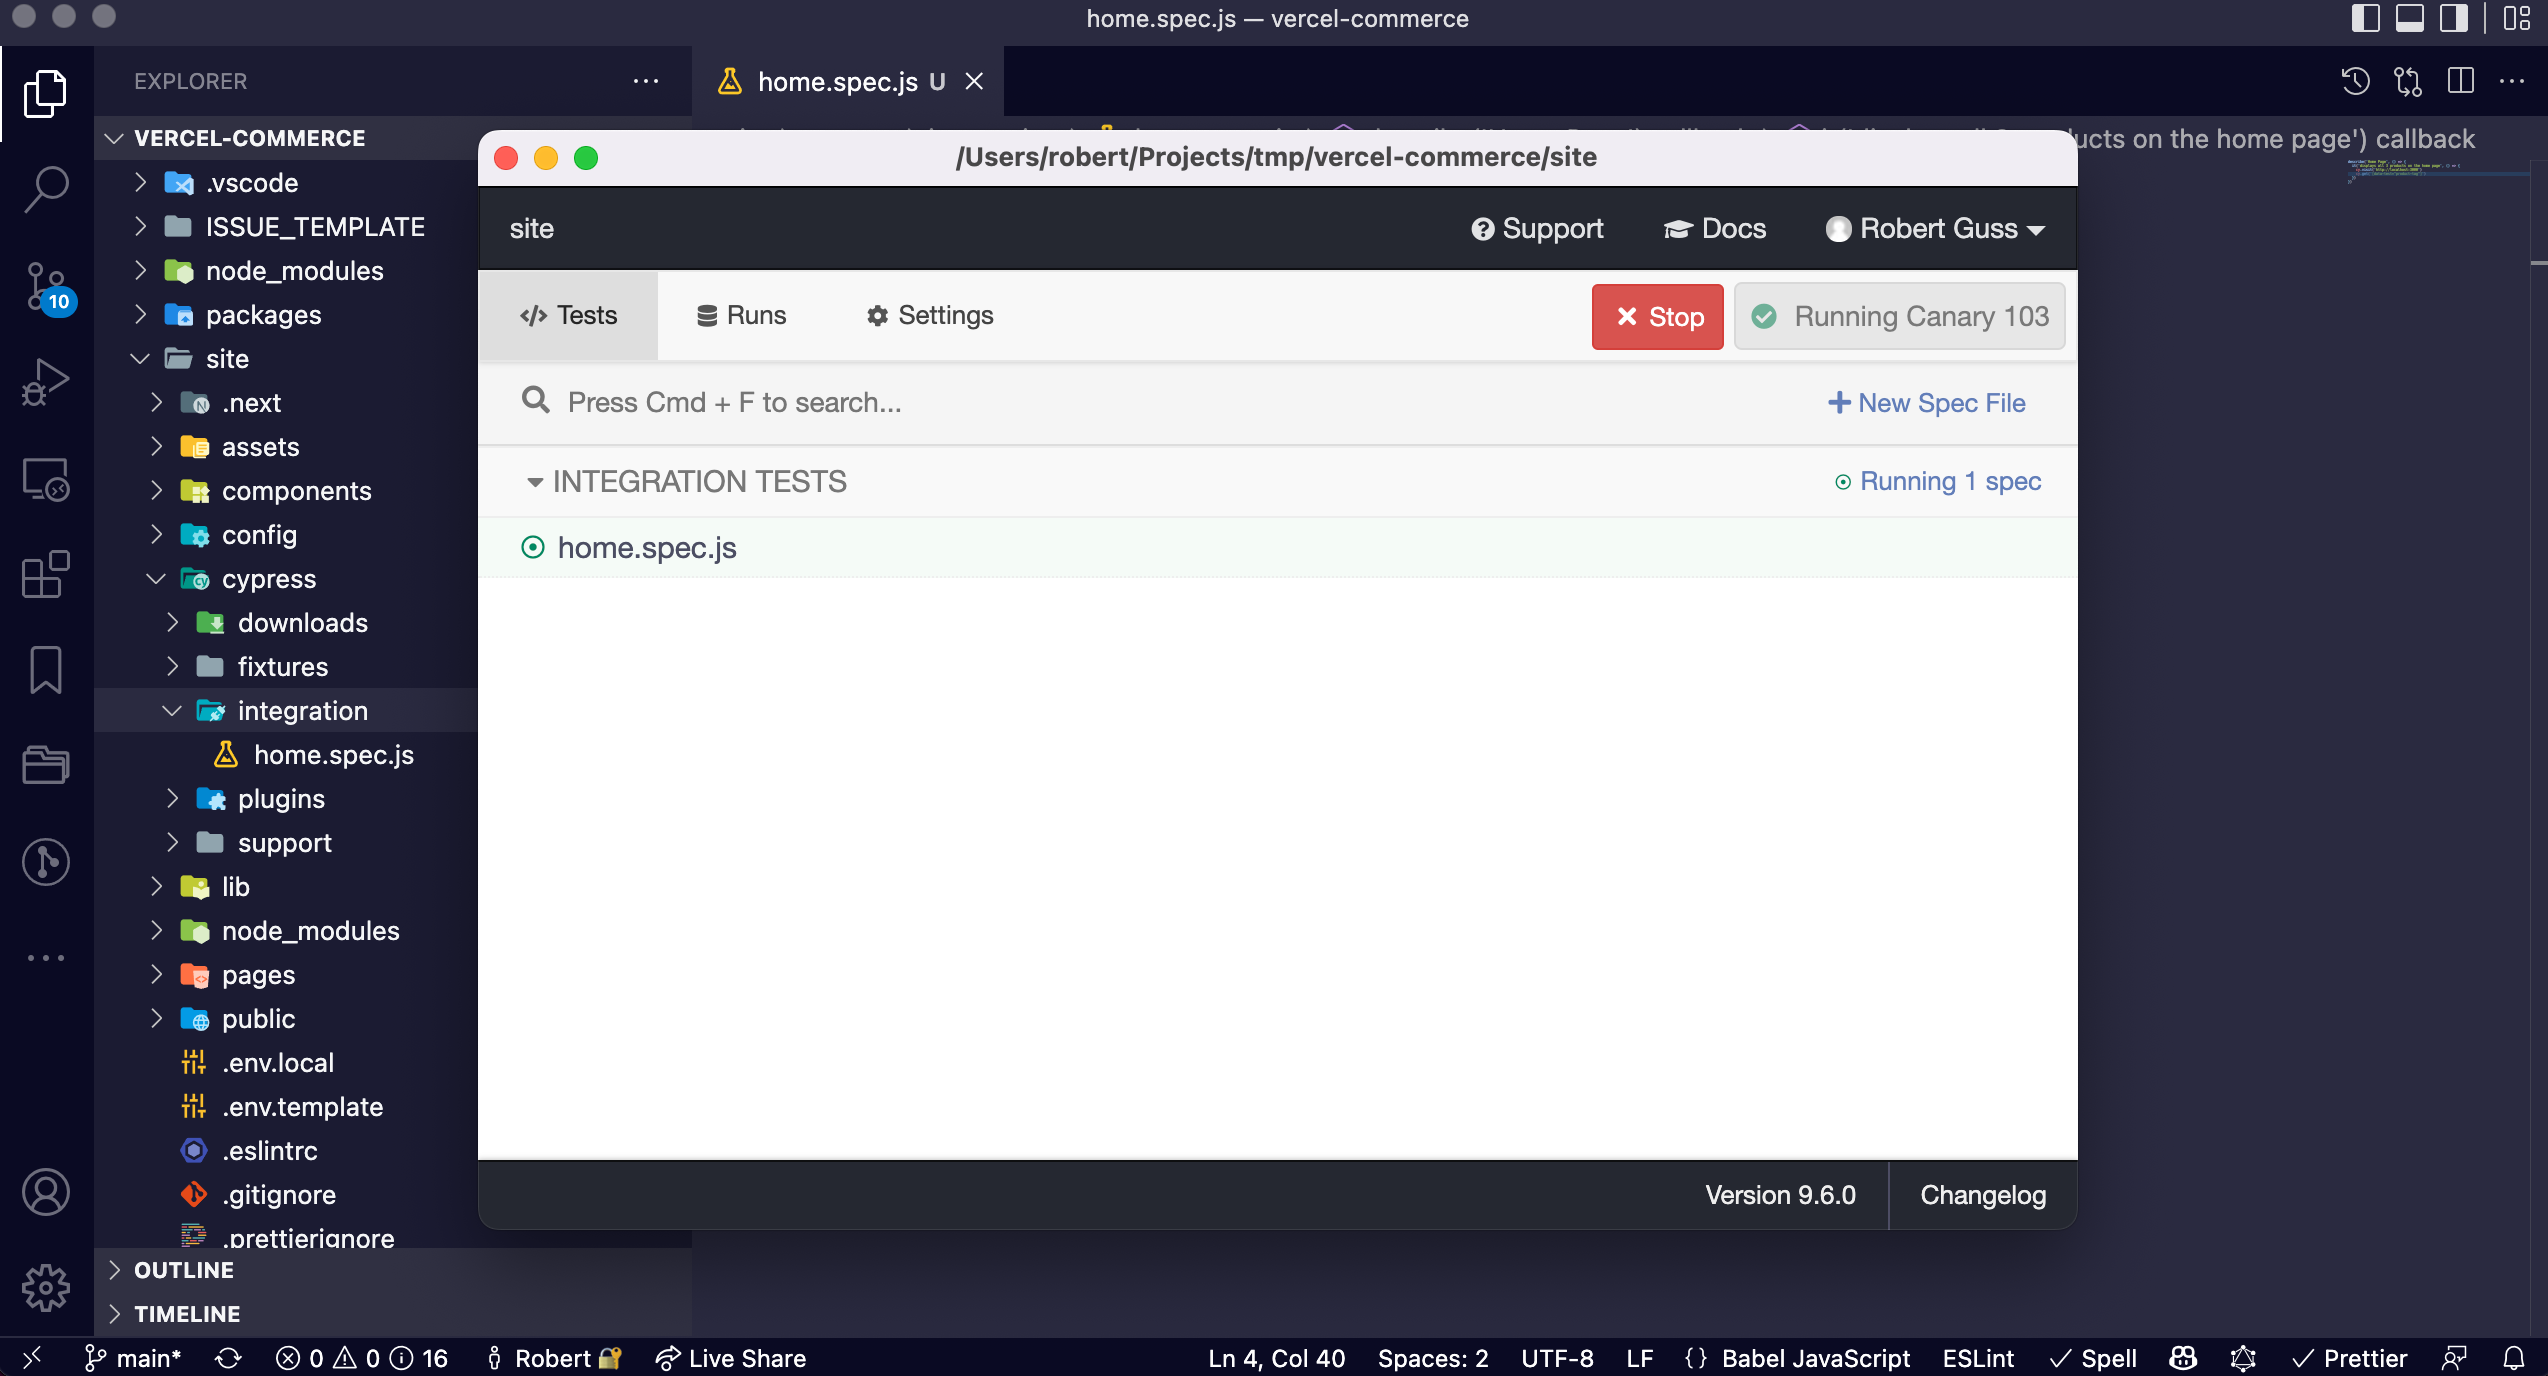
Next, run the cypress:open command to launch Cypress in another terminal window or tab.
yarn cypress:open
Cypress should launch and look like this:
The first time you open Cypress you will see the Launchpad. Choose E2E Testing, and Cypress will scaffold a few configuration files for you. Click Continue, then pick a browser to start testing in.
Writing Our First Test
Create a new spec file within cypress/e2e and called it home.spec.js
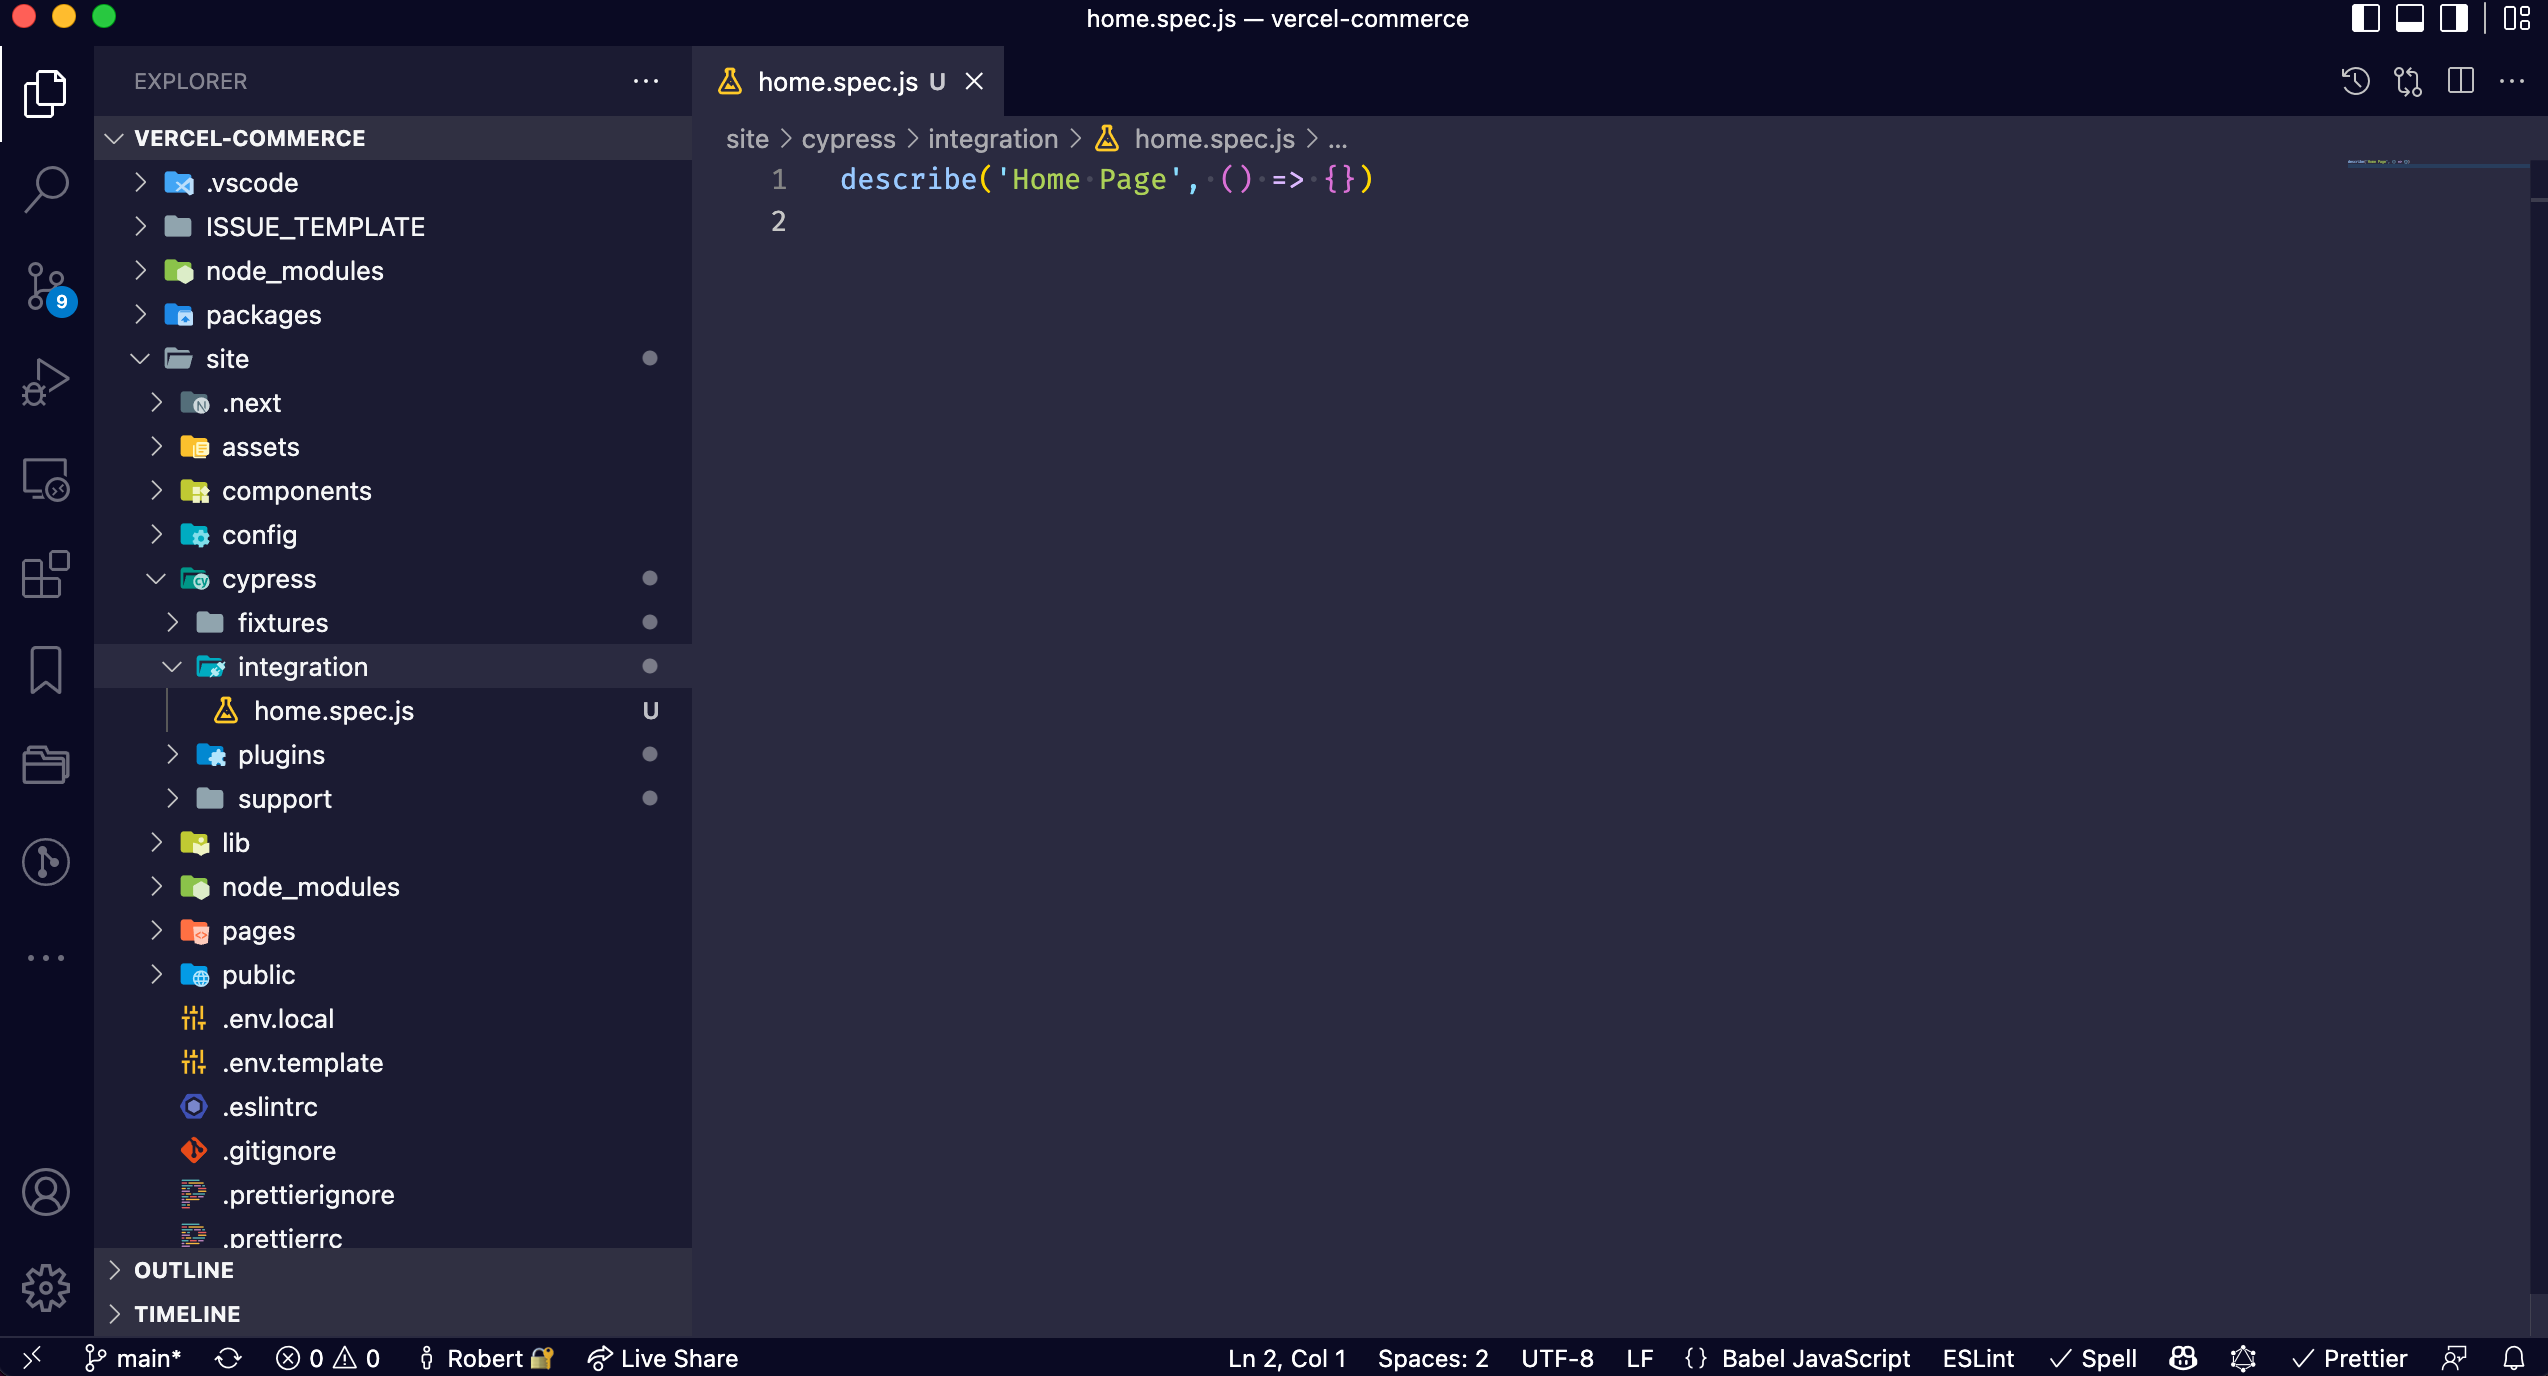
Next we will create a describe() method like so:
describe("Home Page", () => {})
Now that our spec file is setup, we can begin to write our first test.
Before we do that however, let's take a minute to think through what we need to test. We should be asking ourselves some questions like, "What are the most important features of this application?" In the case of our dev swag store, one of the most important features is the ability to purchase swag. Before we can make a purchase, however, our products need to be displayed in our store from Shopify.
Let's write a test that confirms that all of our products are being displayed in our store.
Update home.spec.js with the following:
describe("Home Page", () => {
  it("displays all 3 products on the home page", () => {})
})
The first thing we need to do in our test is tell Cypress to navigate to the homepage of our application.
describe("Home Page", () => {
  it("displays all 3 products on the home page", () => {
    cy.visit("http://localhost:3000")
  })
})
Next, we will need to use cy.get() to get our products. Before we do that however, let's learn a Cypress best practice.
Testing Specific Attributes
Most people will typically use a CSS class or ID to get their elements like so:
cy.get(".btn-large")
cy.get("#hero")
While this is perfectly valid and will work, we do not actually recommend this. Why not? You see by using CSS classes or ID's you are tying your tests to things that are most likely going to change overtime. Classes and ID's are for design and layout, which are prone to change. If someone changes a class name or id your tests are going to break. To help make your tests less brittle and more future-proof we recommend you create special data attributes on your elements specifically for testing purposes.
We will be using the data-test attribute on our elements, like so:
<div data-test="product-tag">
Now that we have that covered, let's update one of the components displayed on our homepage with a data-test attribute. We want to confirm that the title and price being displayed on the homepage is correct. This data is being displayed by the ProductTag.tsx component.
Open that component up in your editor and paste the following.
import cn from 'clsx'
import { inherits } from 'util'
import s from './ProductTag.module.css'

interface ProductTagProps {
  className?: string
  name: string
  price: string
  fontSize?: number
}

const ProductTag: React.FC<ProductTagProps> = ({
  name,
  price,
  className = '',
  fontSize = 32,
}) => {
  return (
    <div className={cn(s.root, className)} data-test="product-tag">
      <h3 className={s.name}>
        <span
          className={cn({ [s.fontsizing]: fontSize < 32 })}
          style={{
            fontSize: `${fontSize}px`,
            lineHeight: `${fontSize}px`,
          }}
          data-test="product-name"
        >
          {name}
        </span>
      </h3>
      <div className={s.price} data-test="product-price">
        {price}
      </div>
    </div>
  )
}

export default ProductTag
Notice how we have added three of these data-test attributes:
<div className={cn(s.root, className)} data-test="product-tag">
<span
  className={cn({ [s.fontsizing]: fontSize < 32 })}
  style={{
    fontSize: `${fontSize}px`,
    lineHeight: `${fontSize}px`,
  }}
  data-test="product-name"
>
  {name}
</span>
<div className={s.price} data-test="product-price">
  {price}
</div>
Now that we have these in place, let's continue writing our test.
Testing Our Products
Update the home.spec.js file with the following:
describe("Home Page", () => {
  it("displays all 3 products on the home page", () => {
    cy.visit("http://localhost:3000")
    cy.get('[data-test="product-tag"]')
  })
})
Now let's run Cypress to make sure everything is working so far.
Click on the home.spec.js file to launch Cypress and run our test.
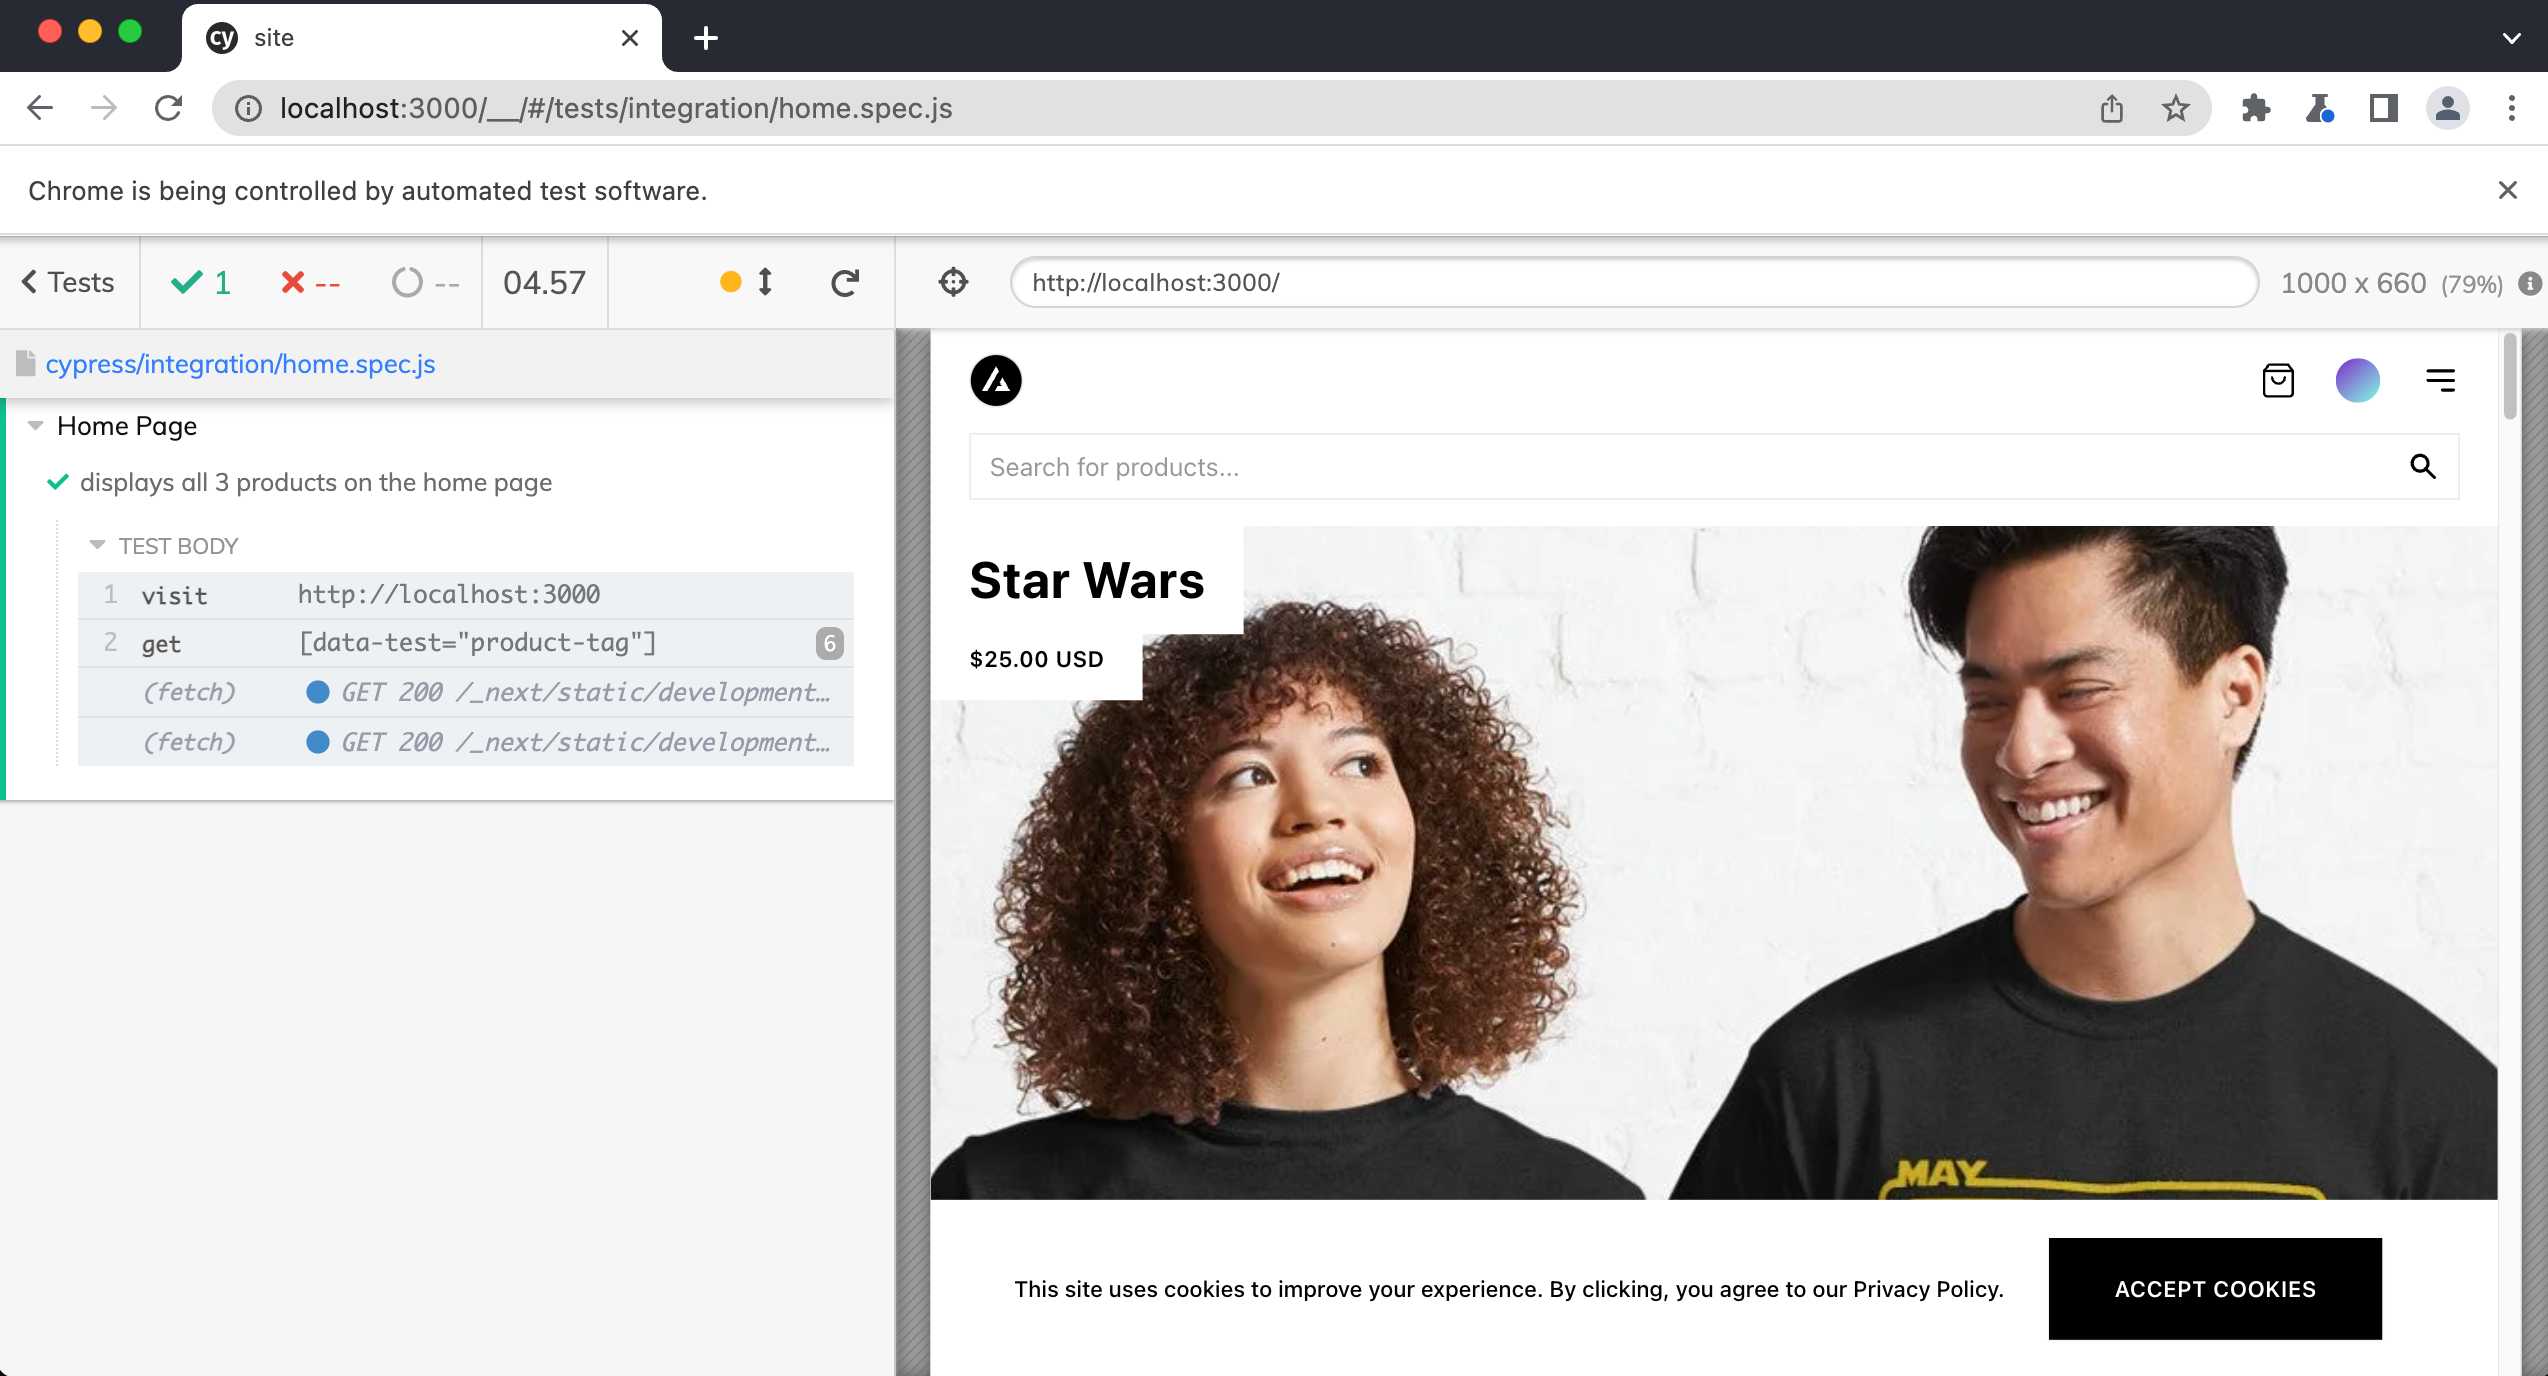
So far so good.
We currently have three products and so when we use cy.get('[data-test="product-tag"]') Cypress will return all of our products. We only want the first one, so we can use the cy.eq() to grab it.
cy.get('[data-test="product-tag"]').eq(0)
Then, we will want to get the product name and product price to confirm they are displaying correctly within this element, like so:
describe("Home Page", () => {
  it("displays all 3 products on the home page", () => {
    cy.visit("http://localhost:3000")
    cy.get('[data-test="product-tag"]')
      .eq(0)
      .within(() => {
        cy.get('[data-test="product-name"]').should("contain", "Star Wars")
        cy.get('[data-test="product-price"]').should("contain", "$25.00 USD")
      })
  })
})
By using .within() we are limiting the scope of the subsequent cy.get() commands. Otherwise, cy.get() will search through the entire document. Since we know that the product name and price are children of the "product tag" we can limit the scope in which Cypress looks to find these elements.

Now that we know our first product is displayed properly, let's confirm the other two. We can simply copy and past the first part of our test for the first product and modify the product name and title for the other products.
describe("Home Page", () => {
  it("displays all 3 products on the home page", () => {
    cy.visit("http://localhost:3000")
    cy.get('[data-test="product-tag"]')
      .eq(0)
      .within(() => {
        cy.get('[data-test="product-name"]').should("contain", "Star Wars")
        cy.get('[data-test="product-price"]').should("contain", "$25.00 USD")
      })

    cy.get('[data-test="product-tag"]')
      .eq(1)
      .within(() => {
        cy.get('[data-test="product-name"]').should("contain", "SQL")
        cy.get('[data-test="product-price"]').should("contain", "$25.00 USD")
      })

    cy.get('[data-test="product-tag"]')
      .eq(2)
      .within(() => {
        cy.get('[data-test="product-name"]').should("contain", "Code")
        cy.get('[data-test="product-price"]').should("contain", "$25.00 USD")
      })
  })
})
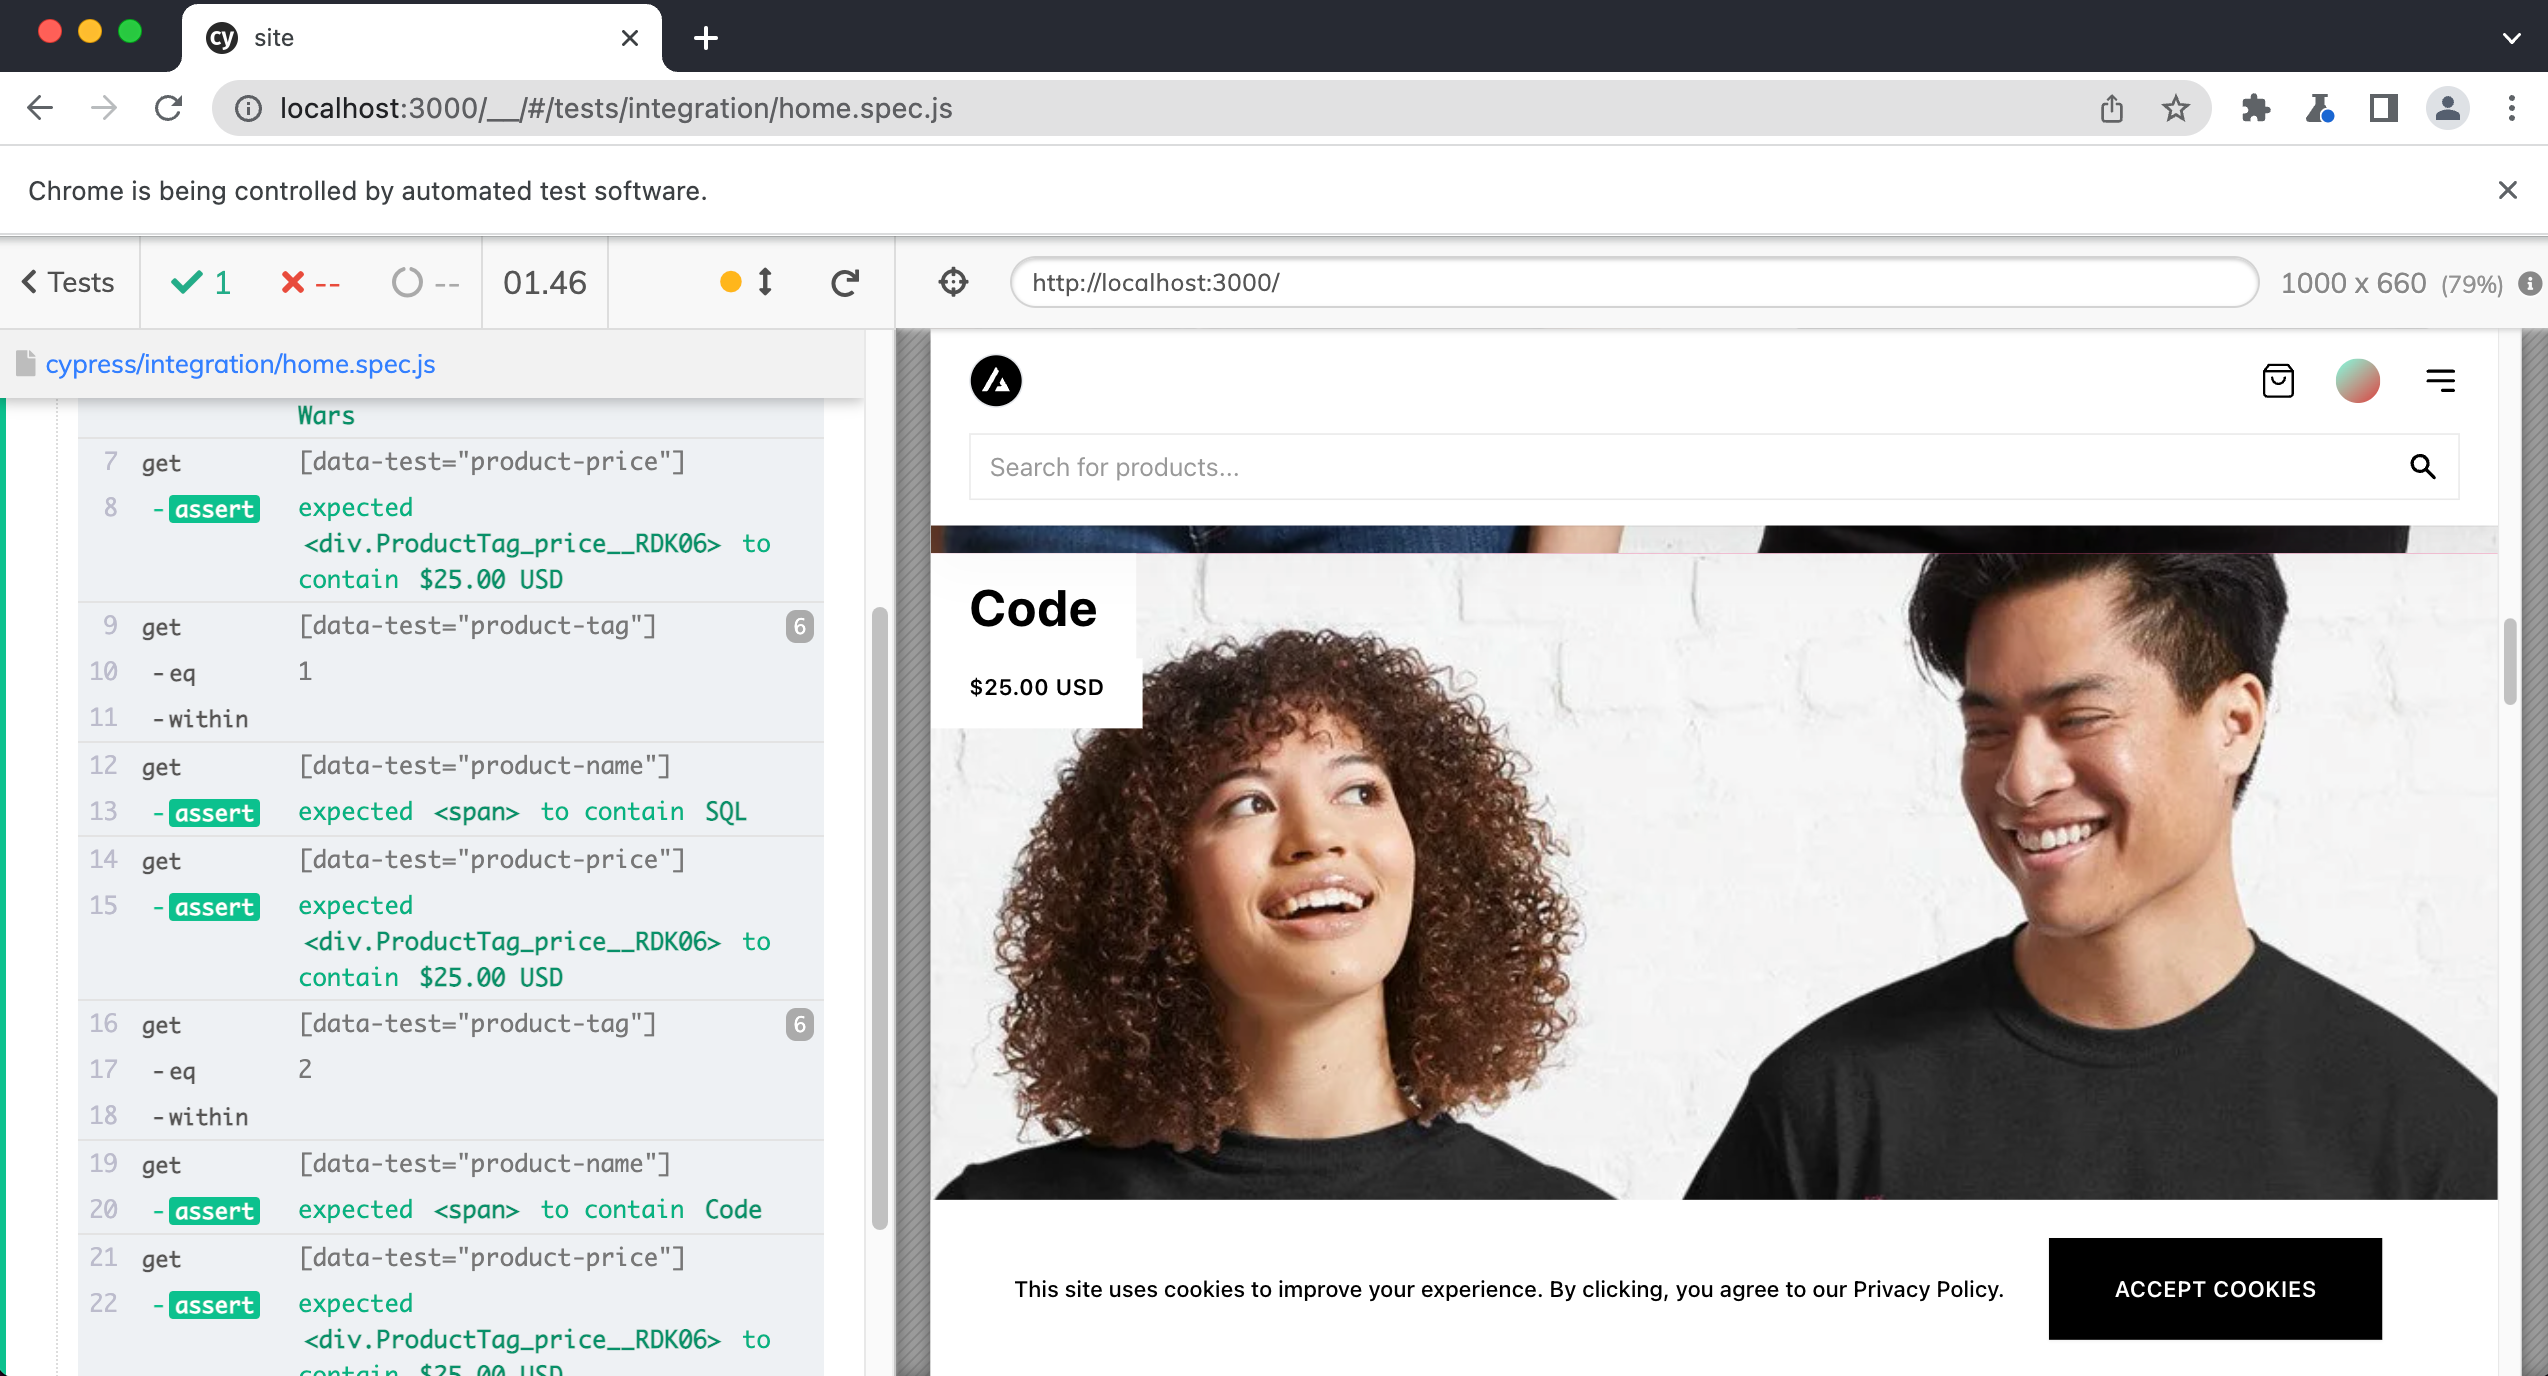
Great all of our products are displaying the correct name and price!
Testing the Header
Let's now write some tests for the header of our application. We will write some tests to make sure that the links go to the correct pages and the search bar returns the correct results.
First, create a new spec file in cypress/e2e called header.spec.js and add the following.
describe("Header", () => {})
First, let's write a test to make sure that the links in the header go to the correct pages.
describe("Header", () => {
  it("links to the correct pages", () => {})
})
We can add our data-test attributes to these links within the components/common/Navbar/Navbar.tsx component.
import { FC } from 'react'
import Link from 'next/link'
import s from './Navbar.module.css'
import NavbarRoot from './NavbarRoot'
import { Logo, Container } from '@components/ui'
import { Searchbar, UserNav } from '@components/common'

interface Link {
  href: string
  label: string
}

interface NavbarProps {
  links?: Link[]
}

const Navbar: FC<NavbarProps> = ({ links }) => (
  <NavbarRoot>
    <Container clean className="mx-auto max-w-8xl px-6">
      <div className={s.nav}>
        <div className="flex items-center flex-1">
          <Link href="/">
            <a className={s.logo} aria-label="Logo" data-test="logo">
              <Logo />
            </a>
          </Link>
          <nav
            role="navigation"
            aria-label="Main Navigation"
            className={s.navMenu}>
            <Link href="/search">
              <a className={s.link} data-test="nav-link-search">
                All
              </a>
            </Link>
            {links?.map((l) => (
              <Link href={l.href} key={l.href}>
                <a className={s.link} data-test="nav-link-home-page">
                  {l.label}
                </a>
              </Link>
            ))}
          </nav>
        </div>
        {process.env.COMMERCE_SEARCH_ENABLED && (
          <div className="justify-center flex-1 hidden lg:flex">
            <Searchbar />
          </div>
        )}
        <div className="flex items-center justify-end flex-1 space-x-8">
          <UserNav />
        </div>
      </div>
      {process.env.COMMERCE_SEARCH_ENABLED && (
        <div className="flex pb-4 lg:px-6 lg:hidden">
          <Searchbar id="mobile-search" />
        </div>
      )}
    </Container>
  </NavbarRoot>
)

export default Navbar
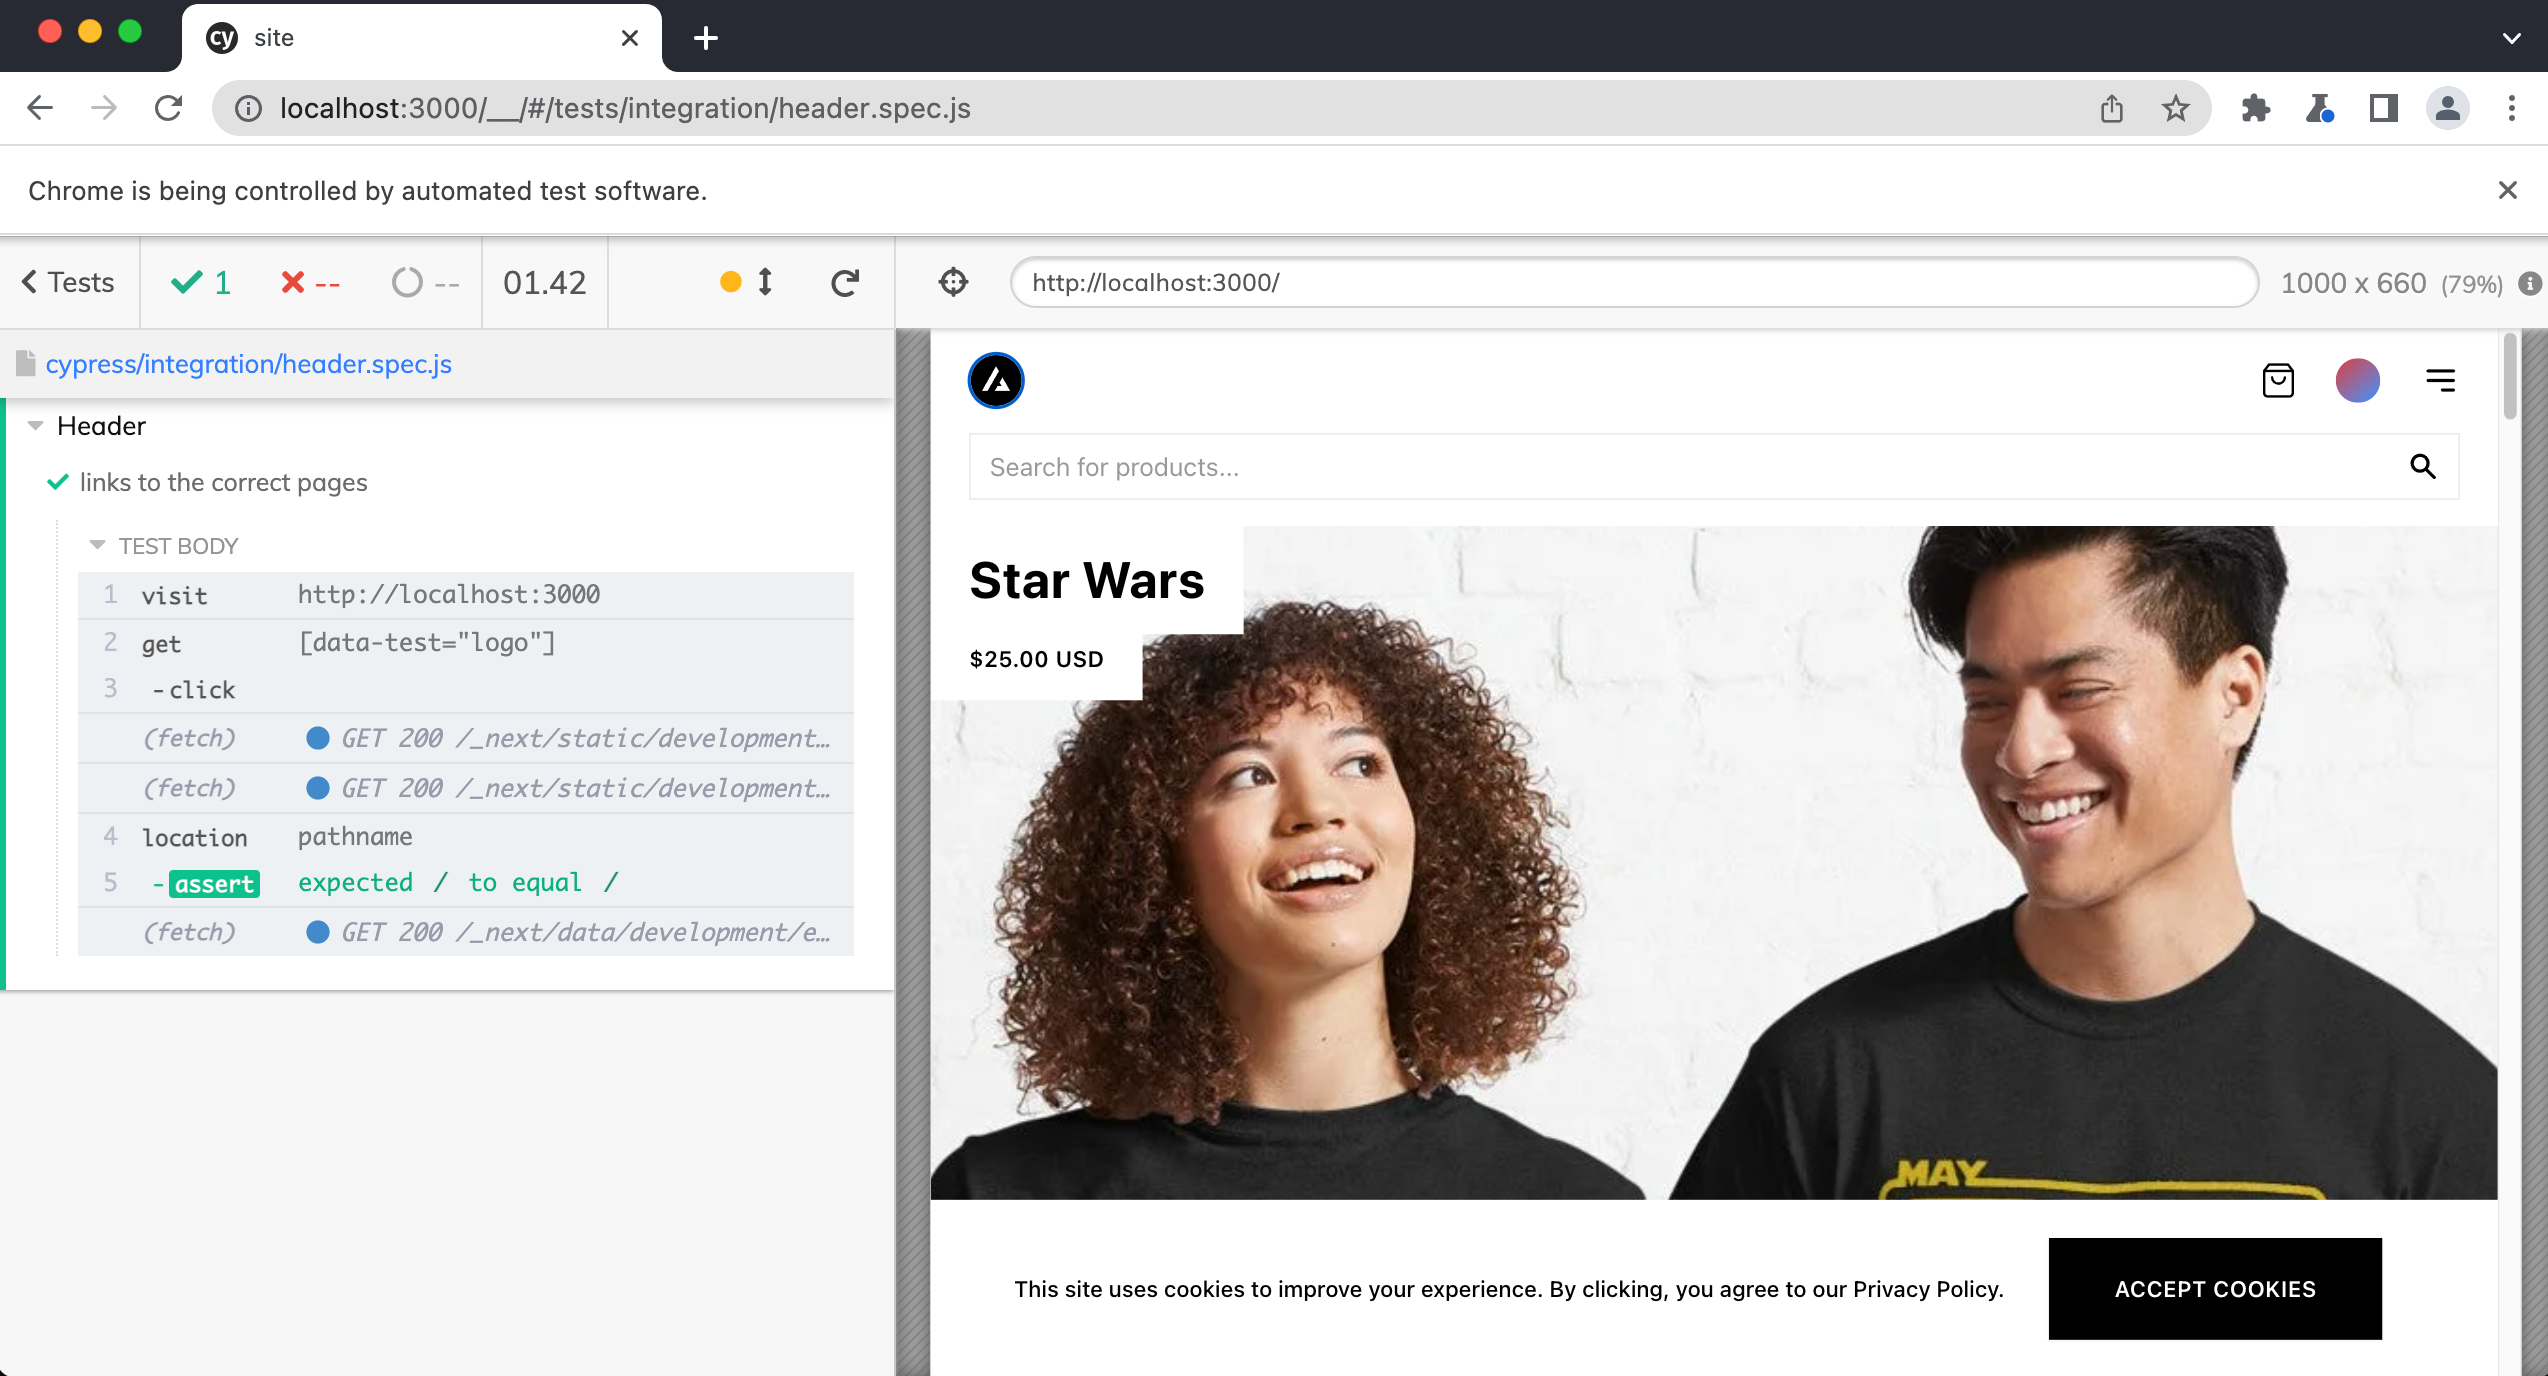
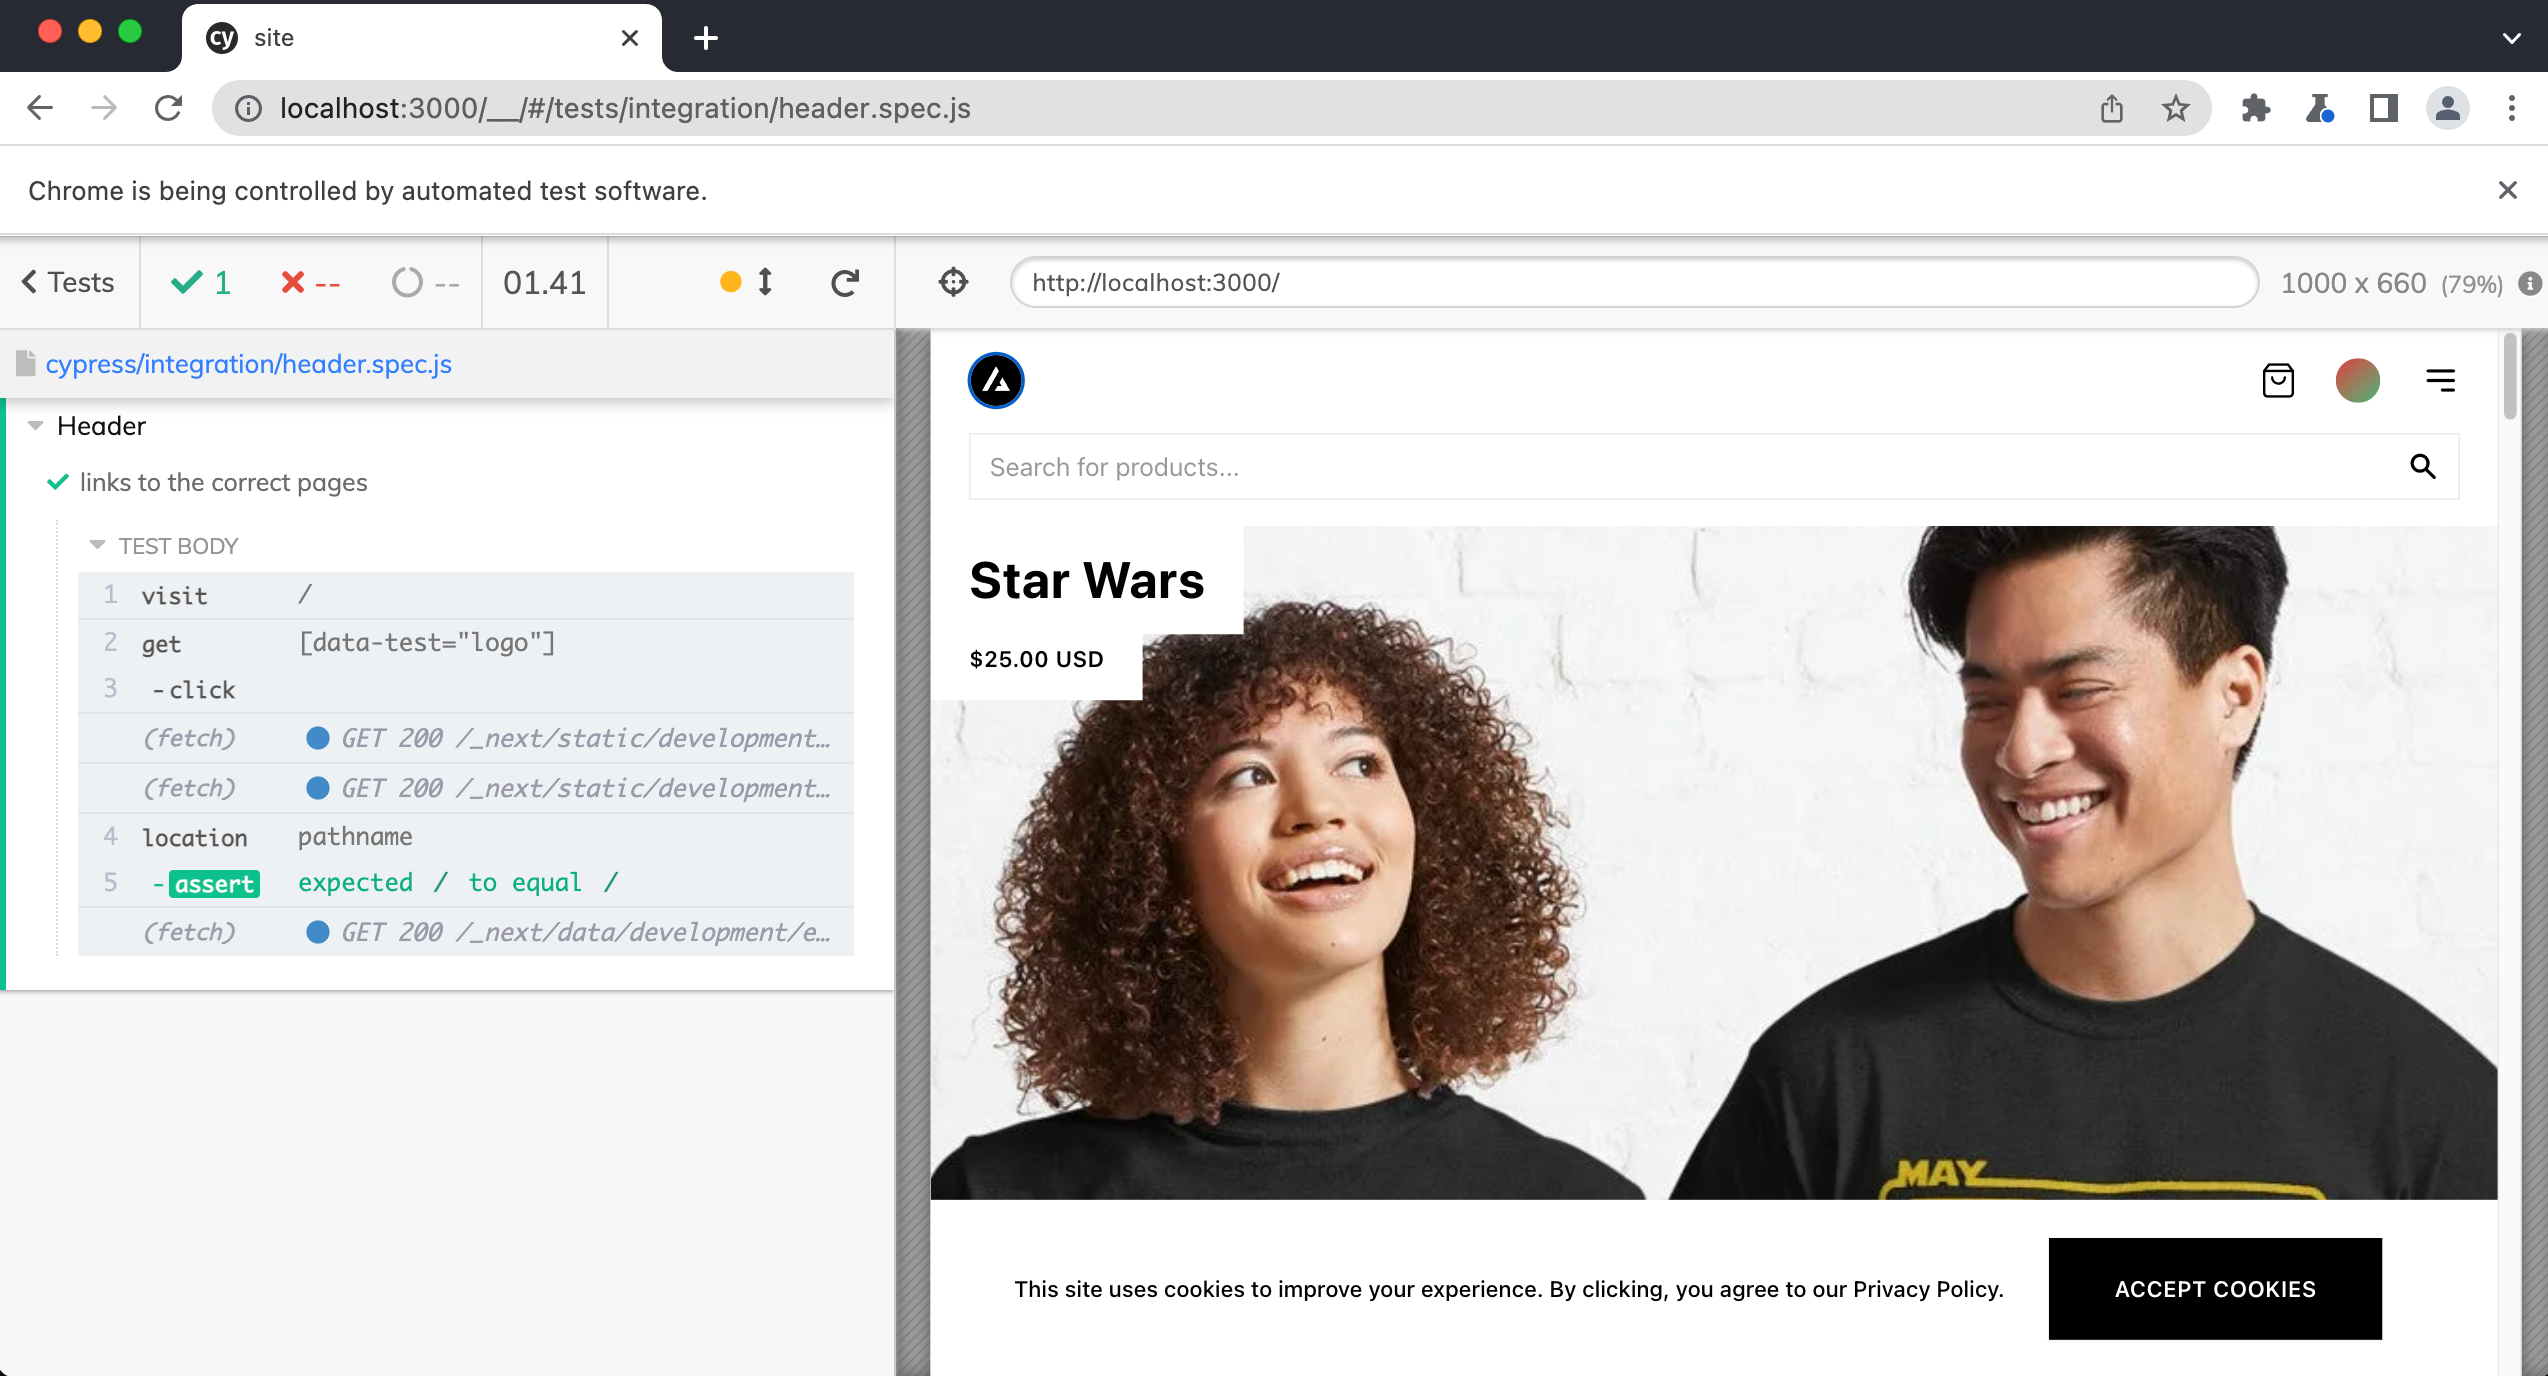
First, let's confirm that clicking on the store logo will go to the home page.
describe("Header", () => {
  it("links to the correct pages", () => {
    cy.visit("http://localhost:3000")
    cy.get('[data-test="logo"]').click()
    cy.location("pathname").should("eq", "/")
  })
})
baseUrl and Cypress Custom Commands
Instead of having to write cy.visit('http://localhost:3000') to tell Cypress to go to the home page, we can tell Cypress our applications baseUrl and then simply use cy.visit('/') instead.
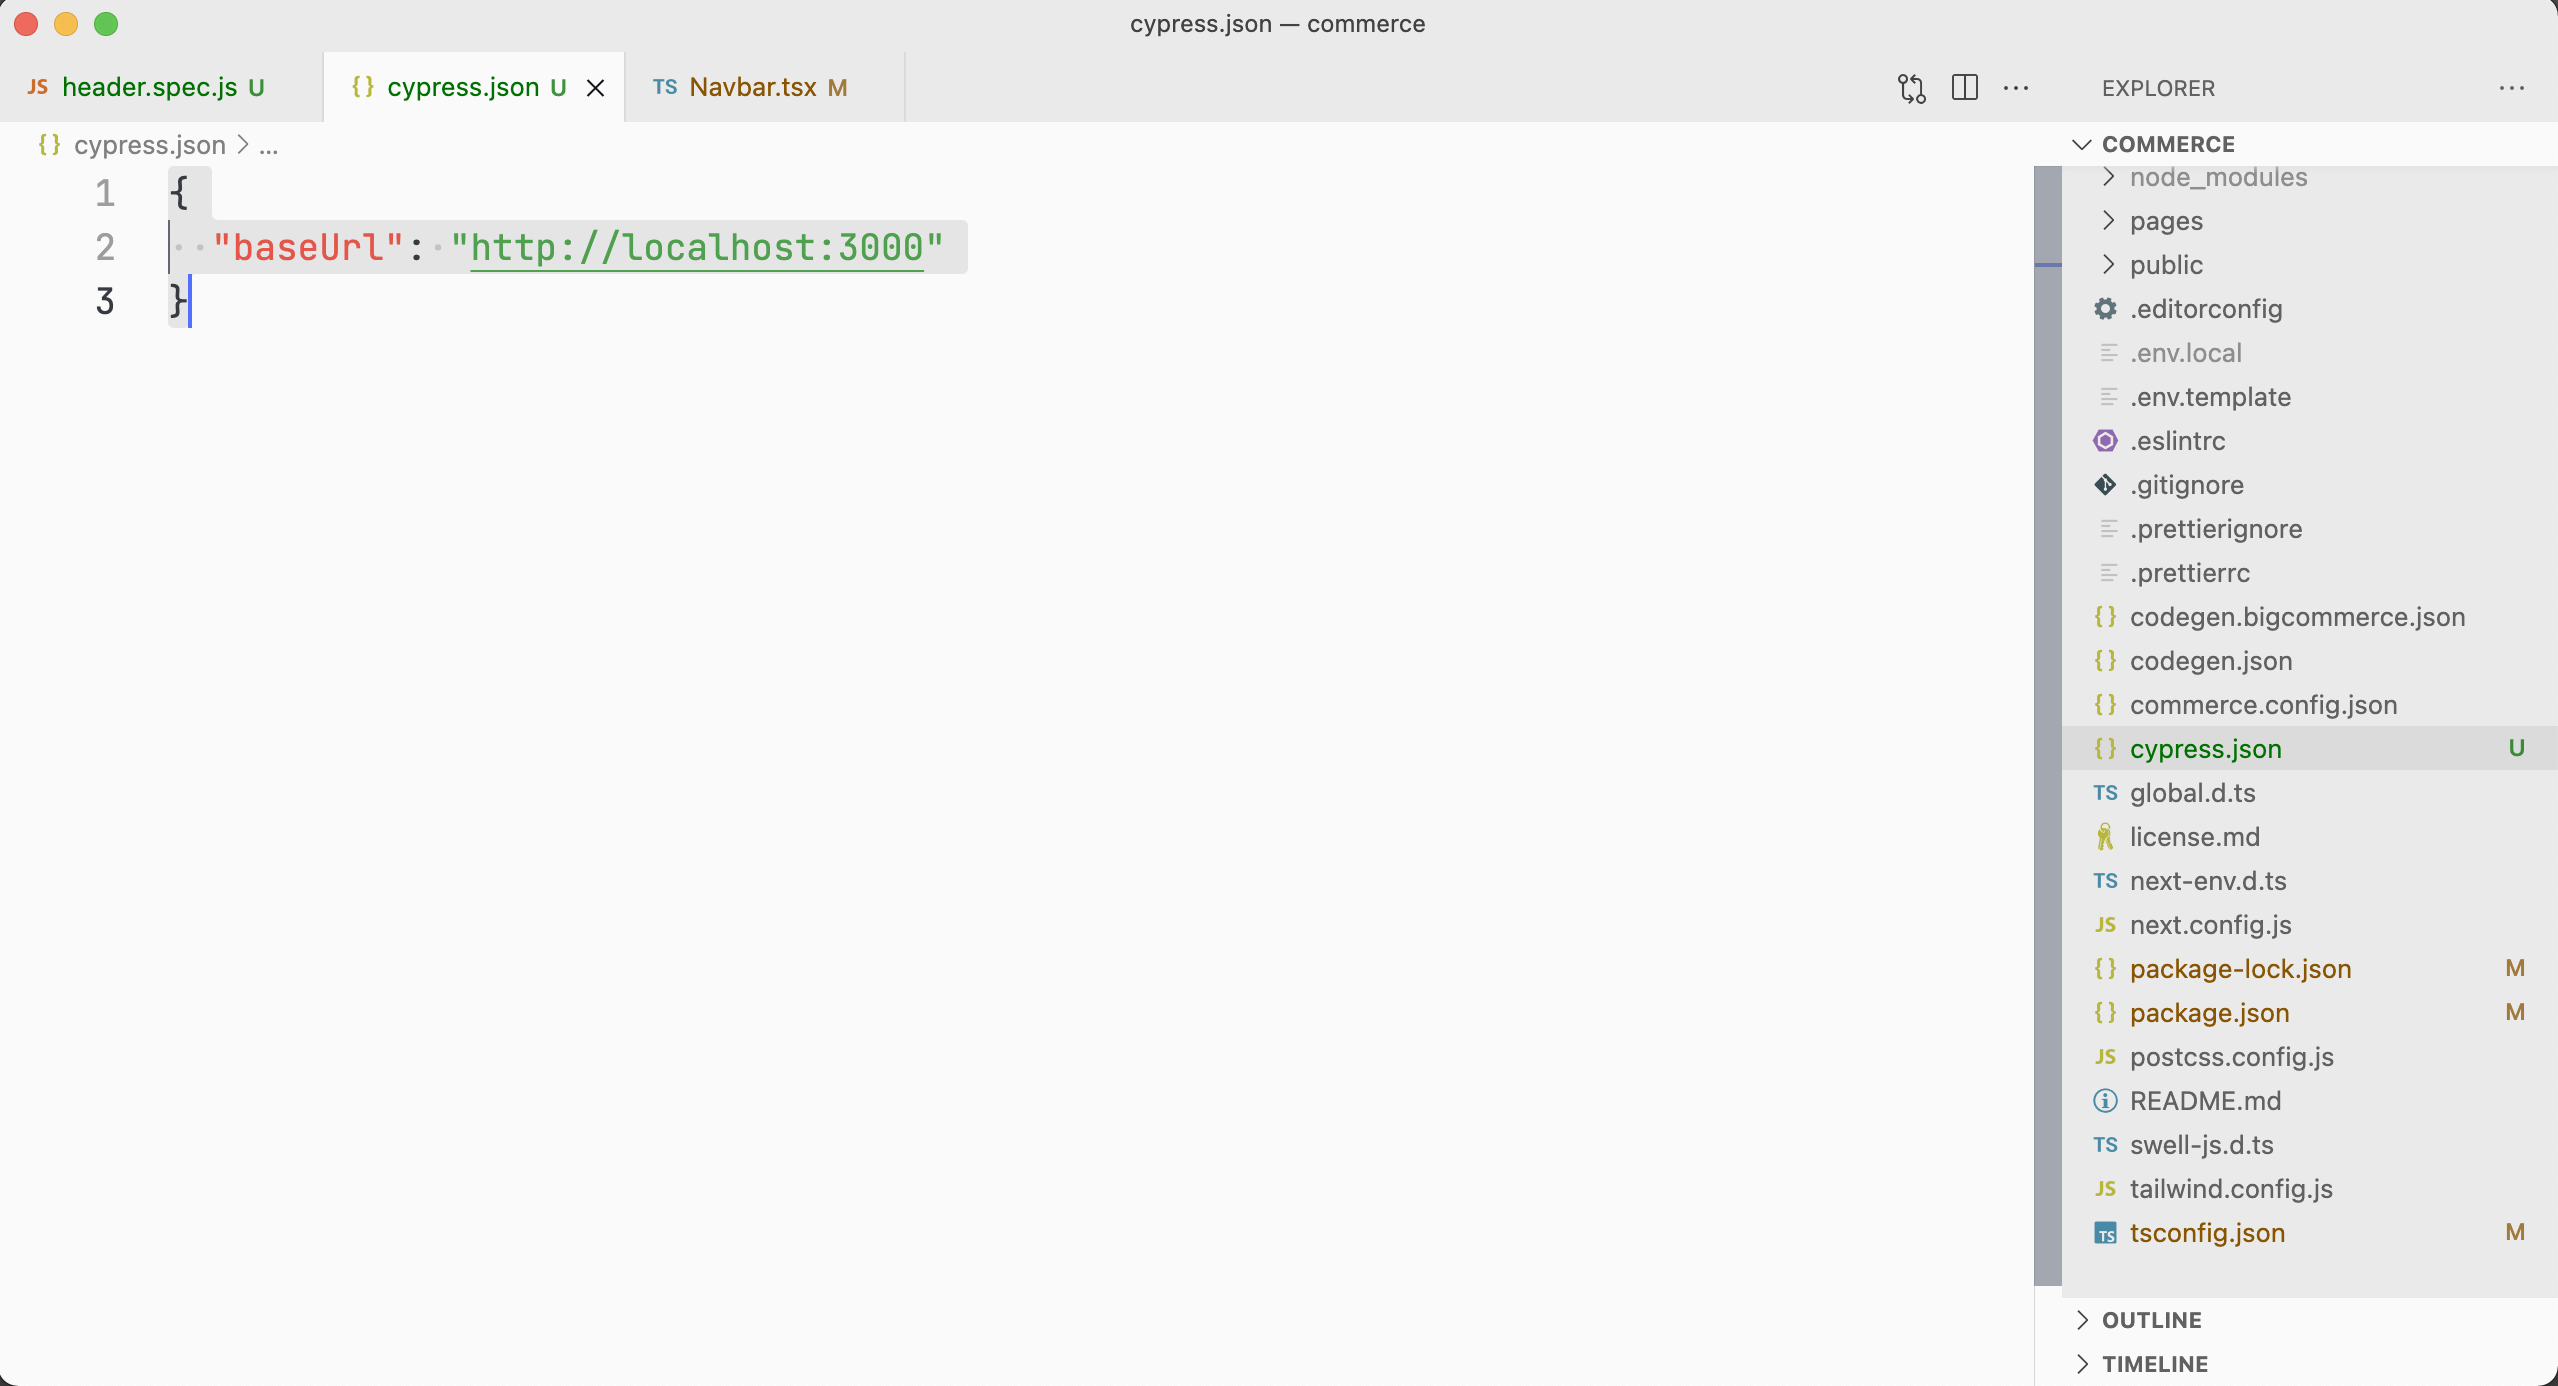
Within the cypress.config.ts file in the root of the repo, add the following:
import { defineConfig } from "cypress"

export default defineConfig({
  e2e: {
    baseUrl: "http://localhost:3000",
  },
})
Now you can update our test like so:
describe("Header", () => {
  it("links to the correct pages", () => {
    cy.visit("/")
    cy.get('[data-test="logo"]').click()
    cy.location("pathname").should("eq", "/")
  })
})
Our test is still passing
Next, instead of having to write cy.get('[data-test="logo"]') we can simplify this as well with a custom Cypress command.
Add the following to the cypress/support/commands.js file.
Cypress.Commands.add("getBySel", (selector, ...args) => {
  return cy.get(`[data-test=${selector}]`, ...args)
})
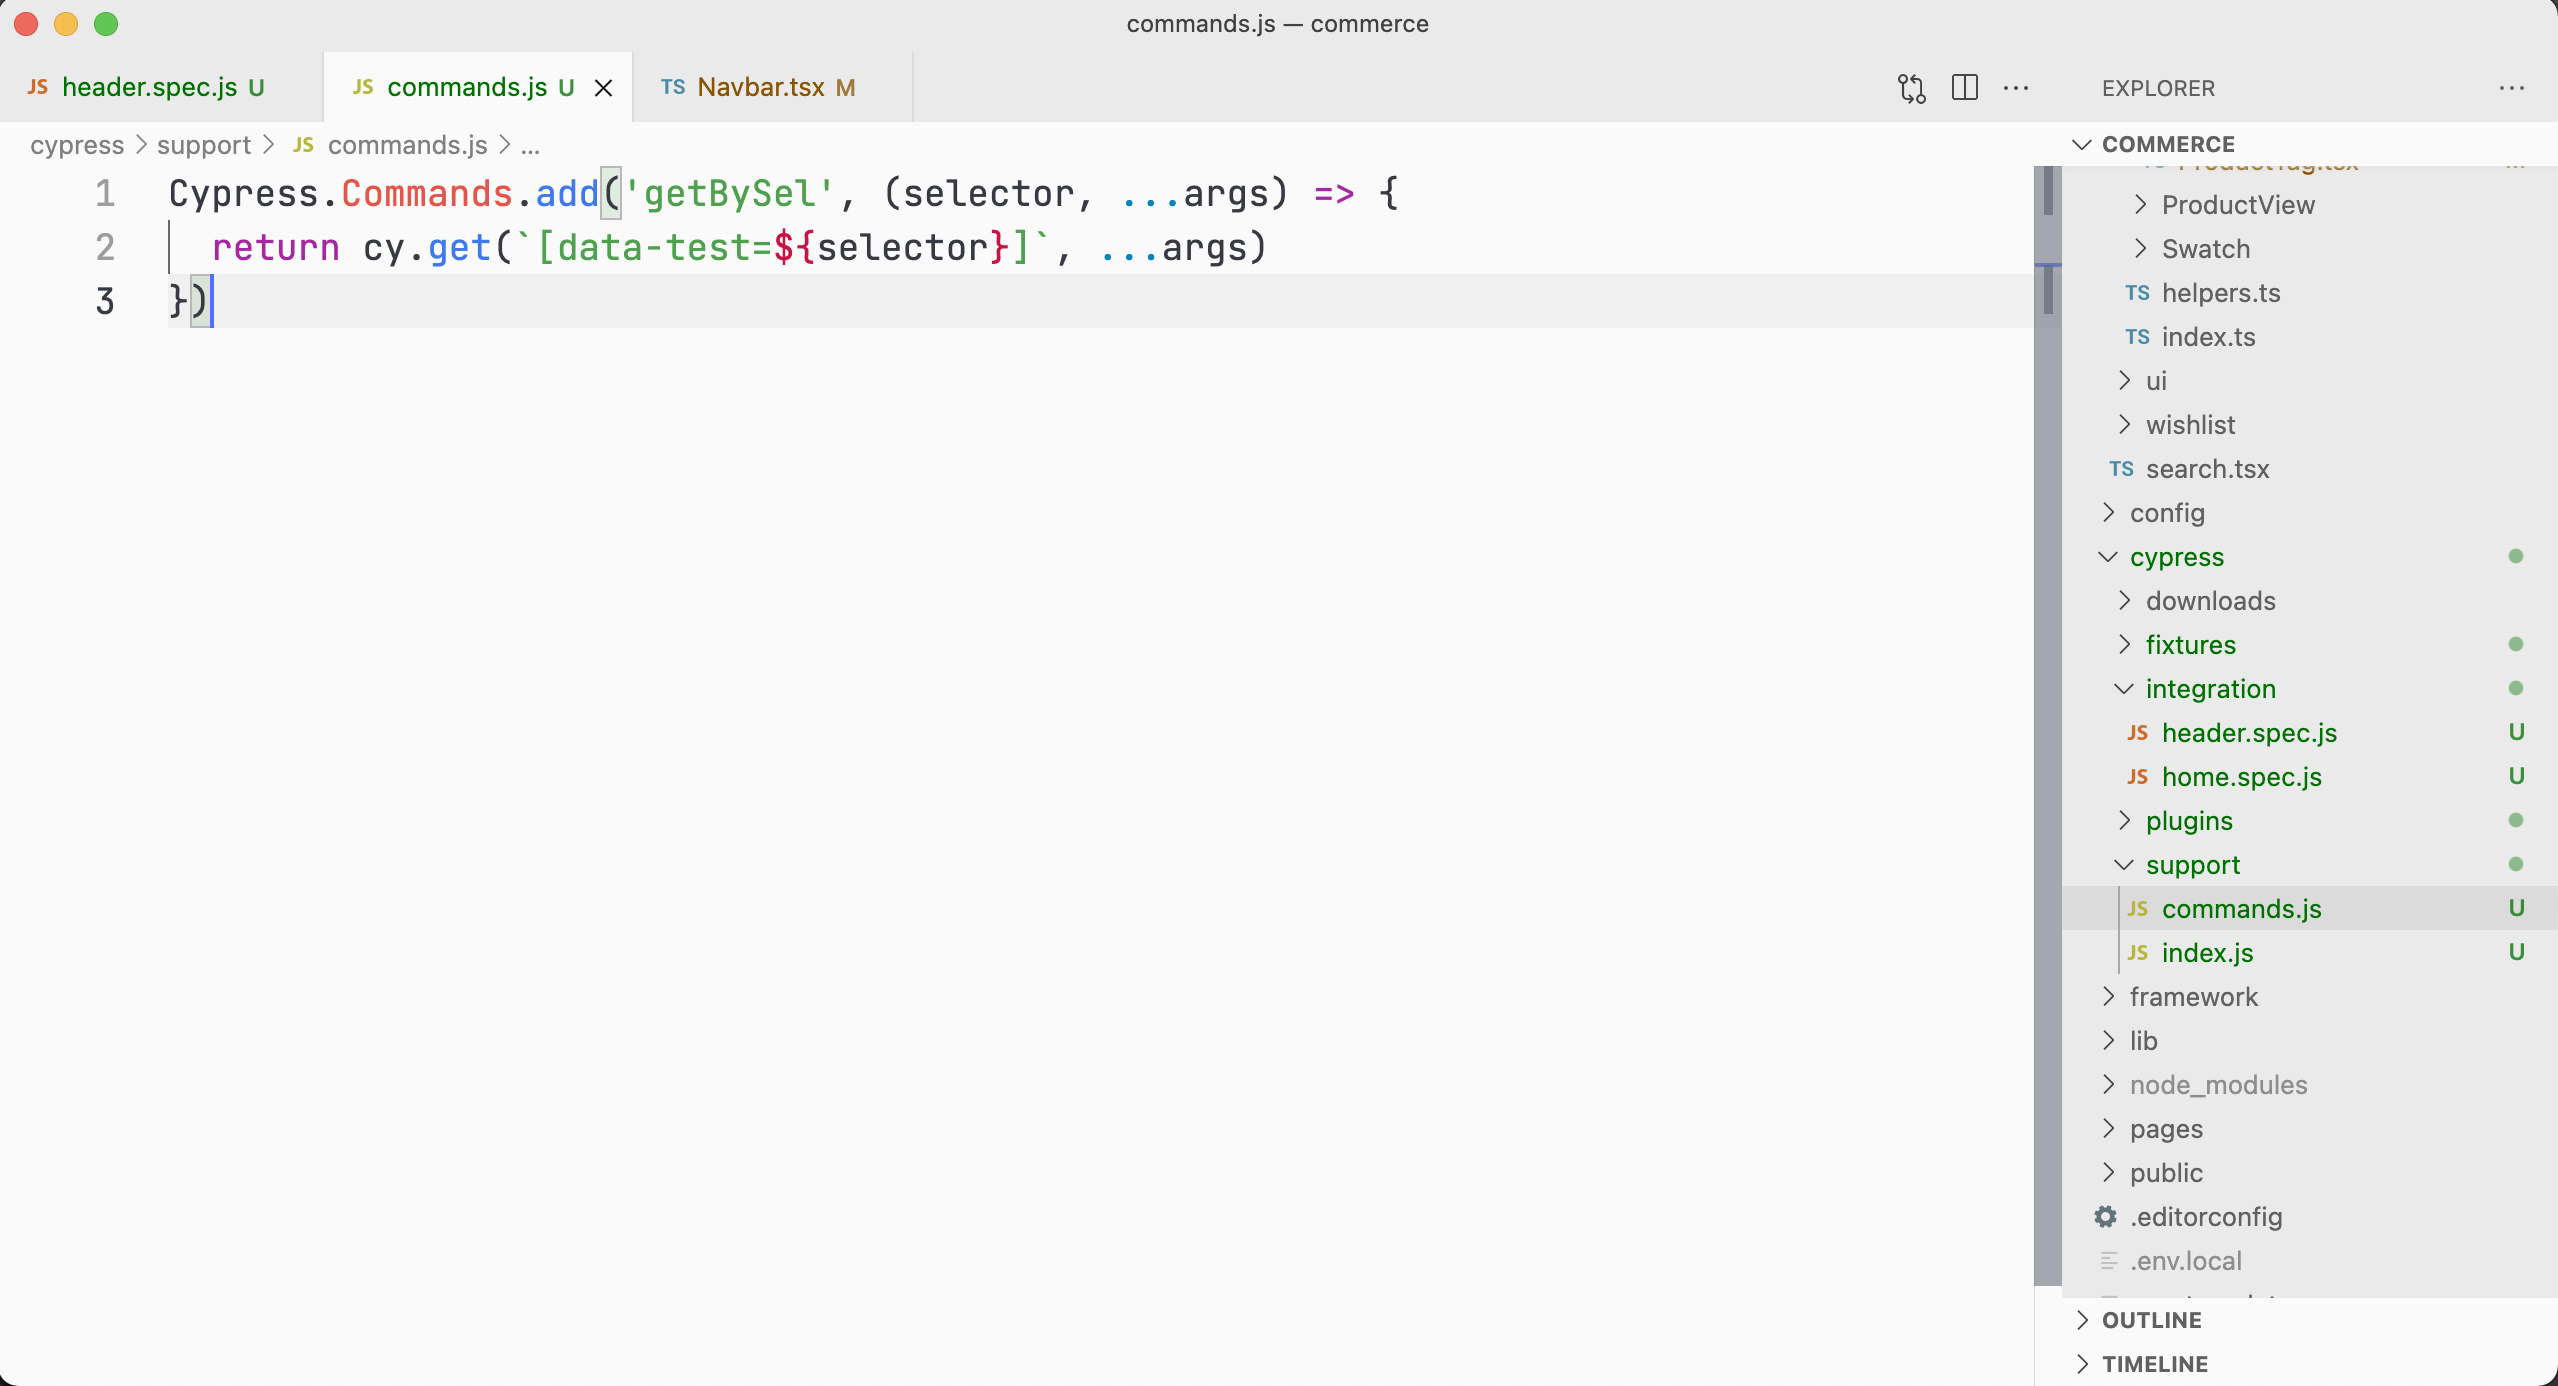
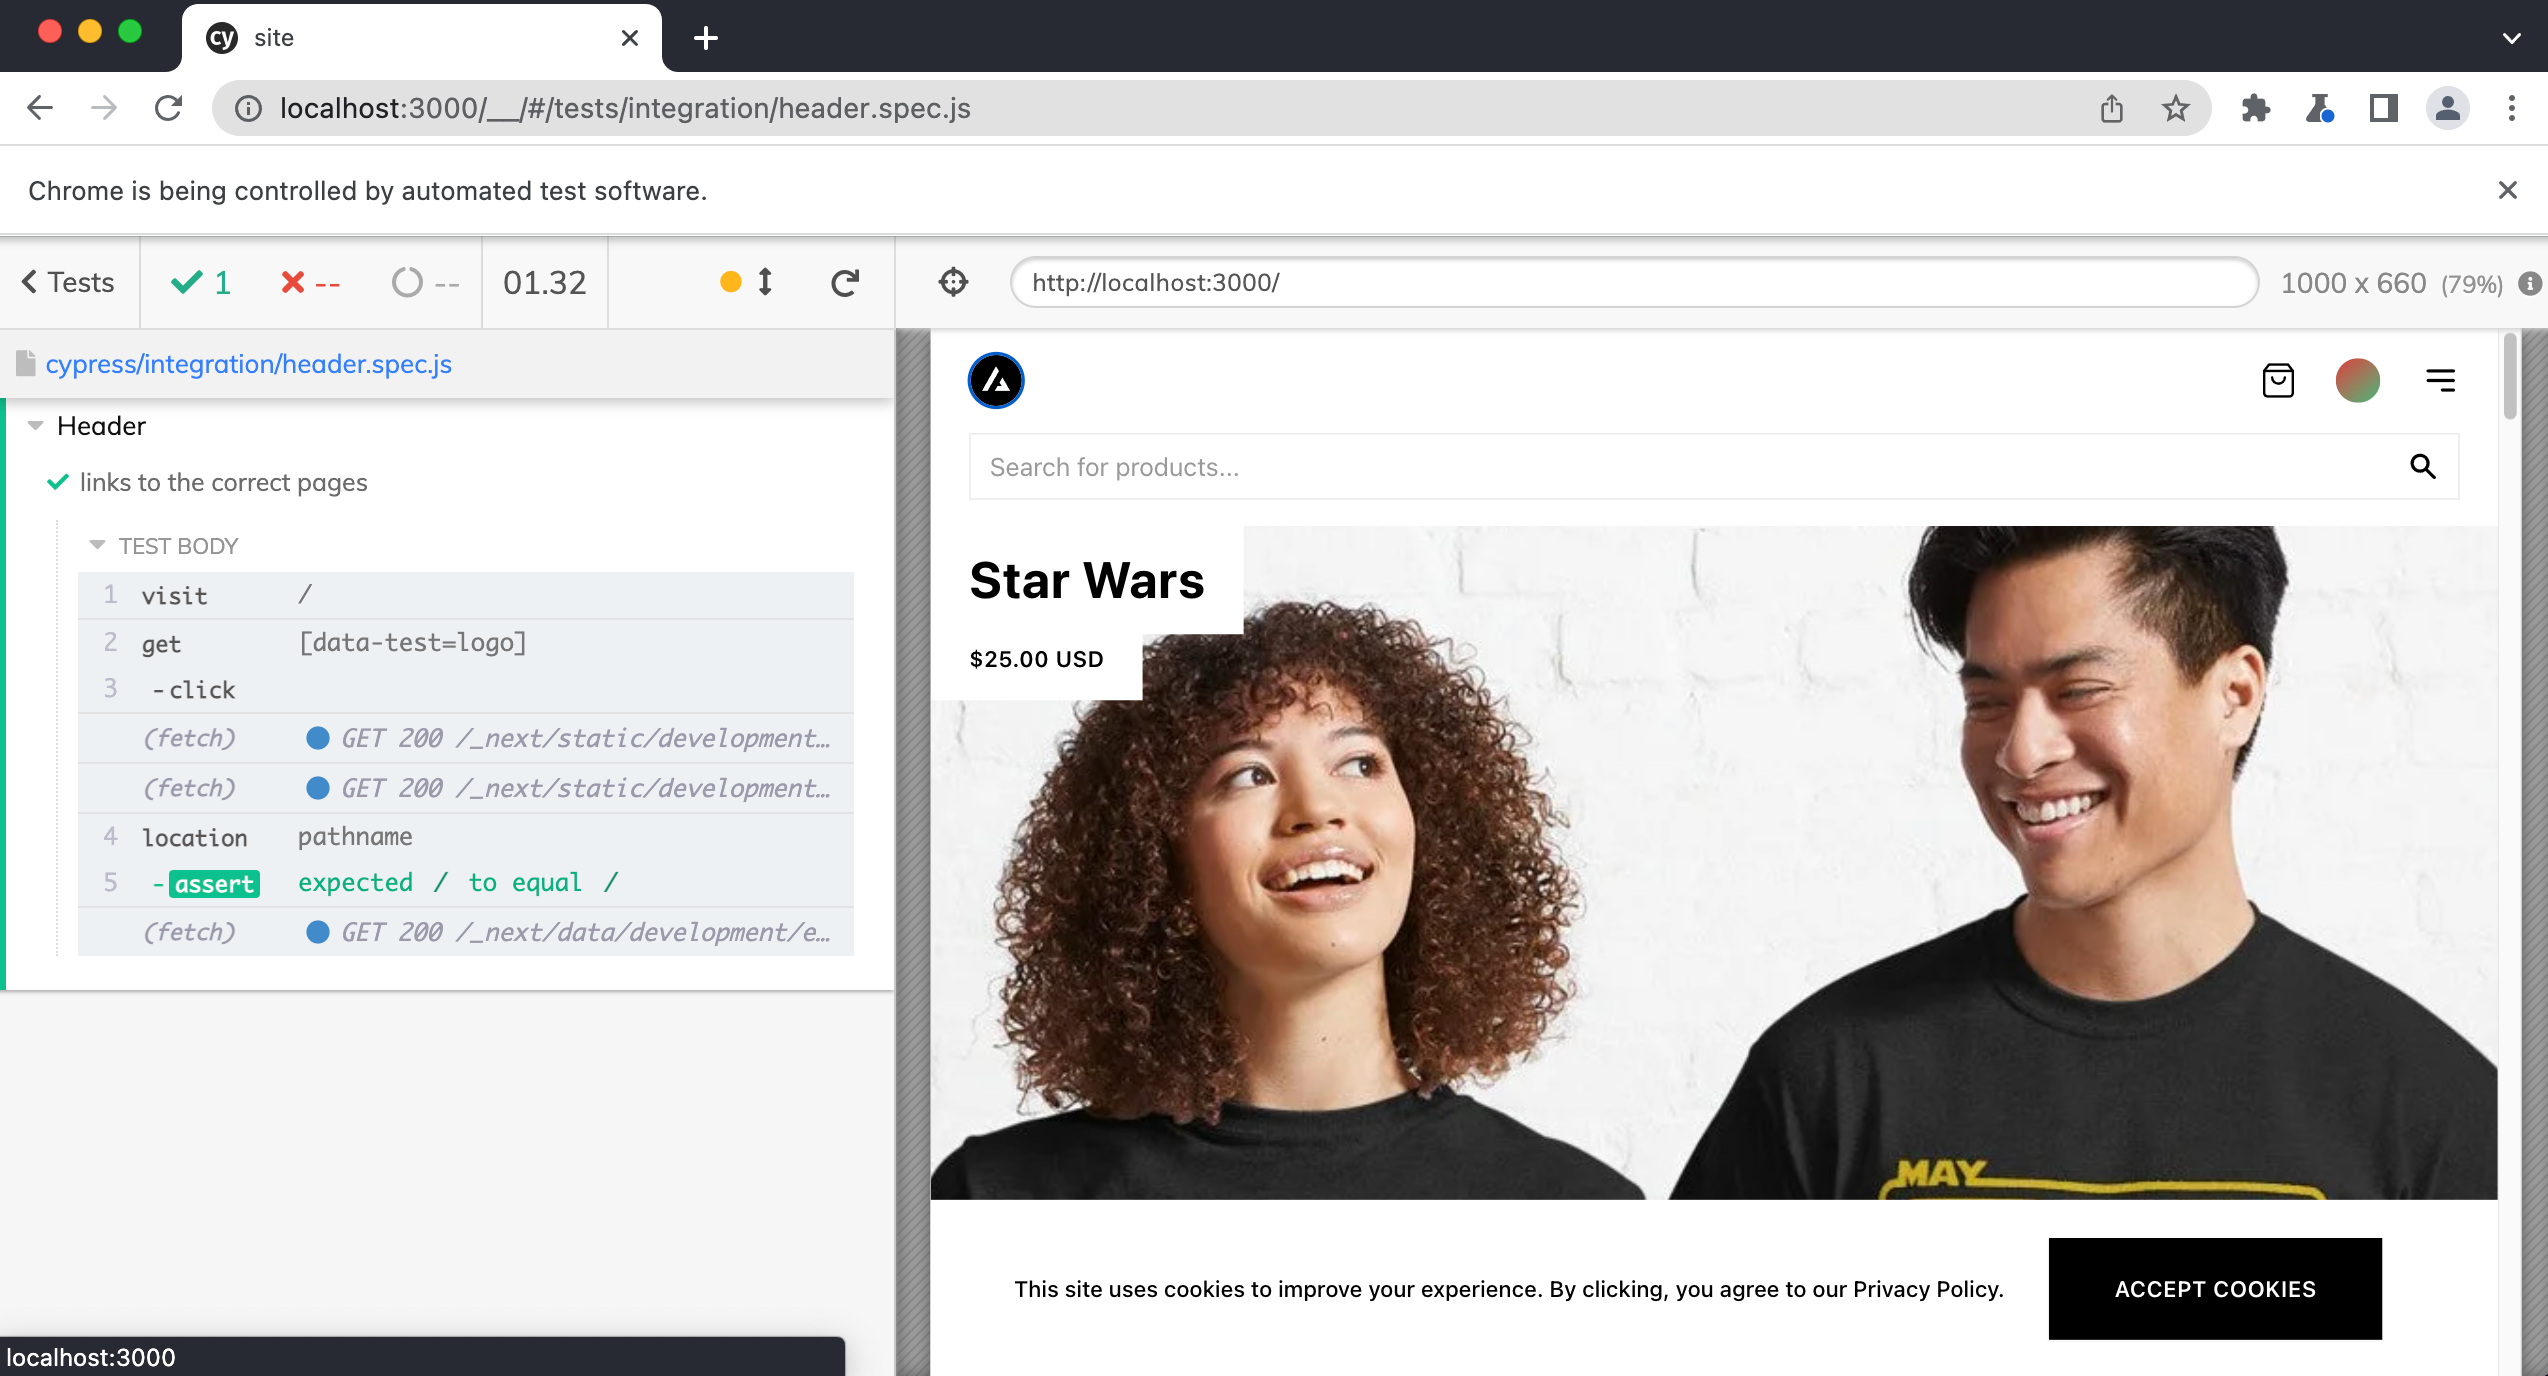
Now we can update our test like so:
describe("Header", () => {
  it("links to the correct pages", () => {
    cy.visit("/")
    cy.getBySel("logo").click()
    cy.location("pathname").should("eq", "/")
  })
})
And our test is still passing.
Now let's do the same for the other links in the header.
describe("Header", () => {
it("links to the correct pages", () => {
cy.visit("/")
cy.getBySel("logo").click()
cy.location("pathname").should("eq", "/")
cy.getBySel("nav-link-search").click()
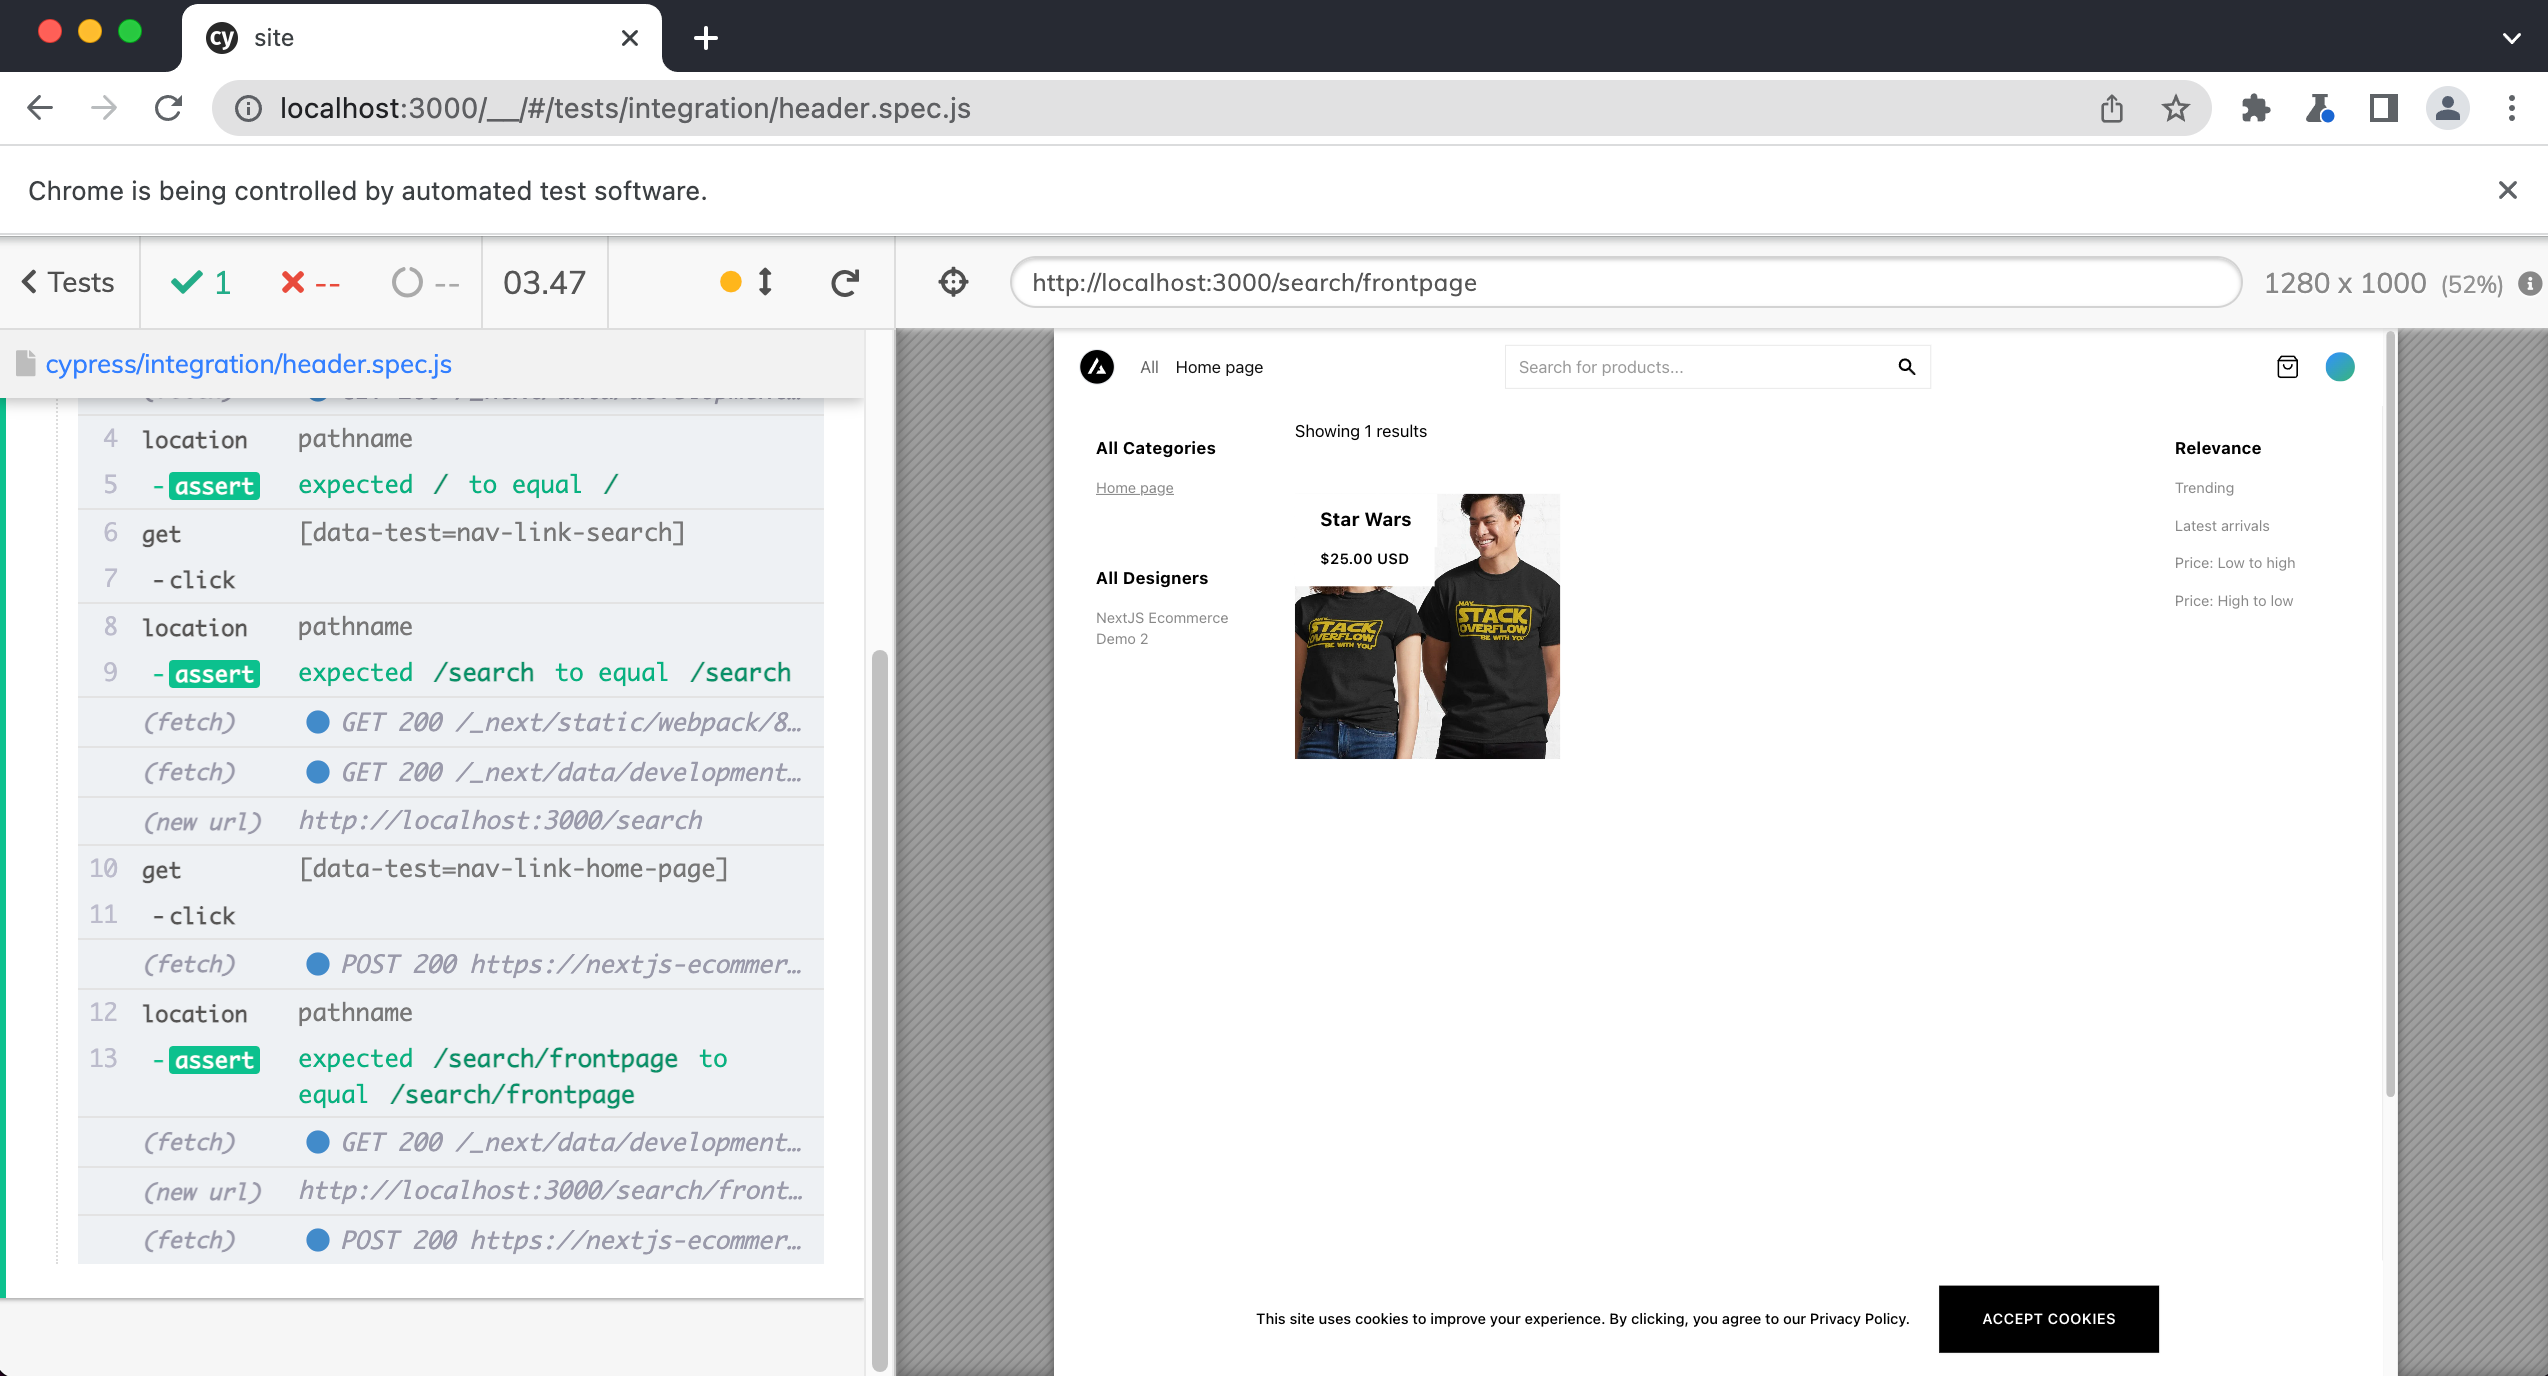
cy.location("pathname").should("eq", "/search")
cy.getBySel("nav-link-home-page").click()
cy.location("pathname").should("eq", "/search/frontpage")
})
})
When we re-run our test we see that it is failing, why?
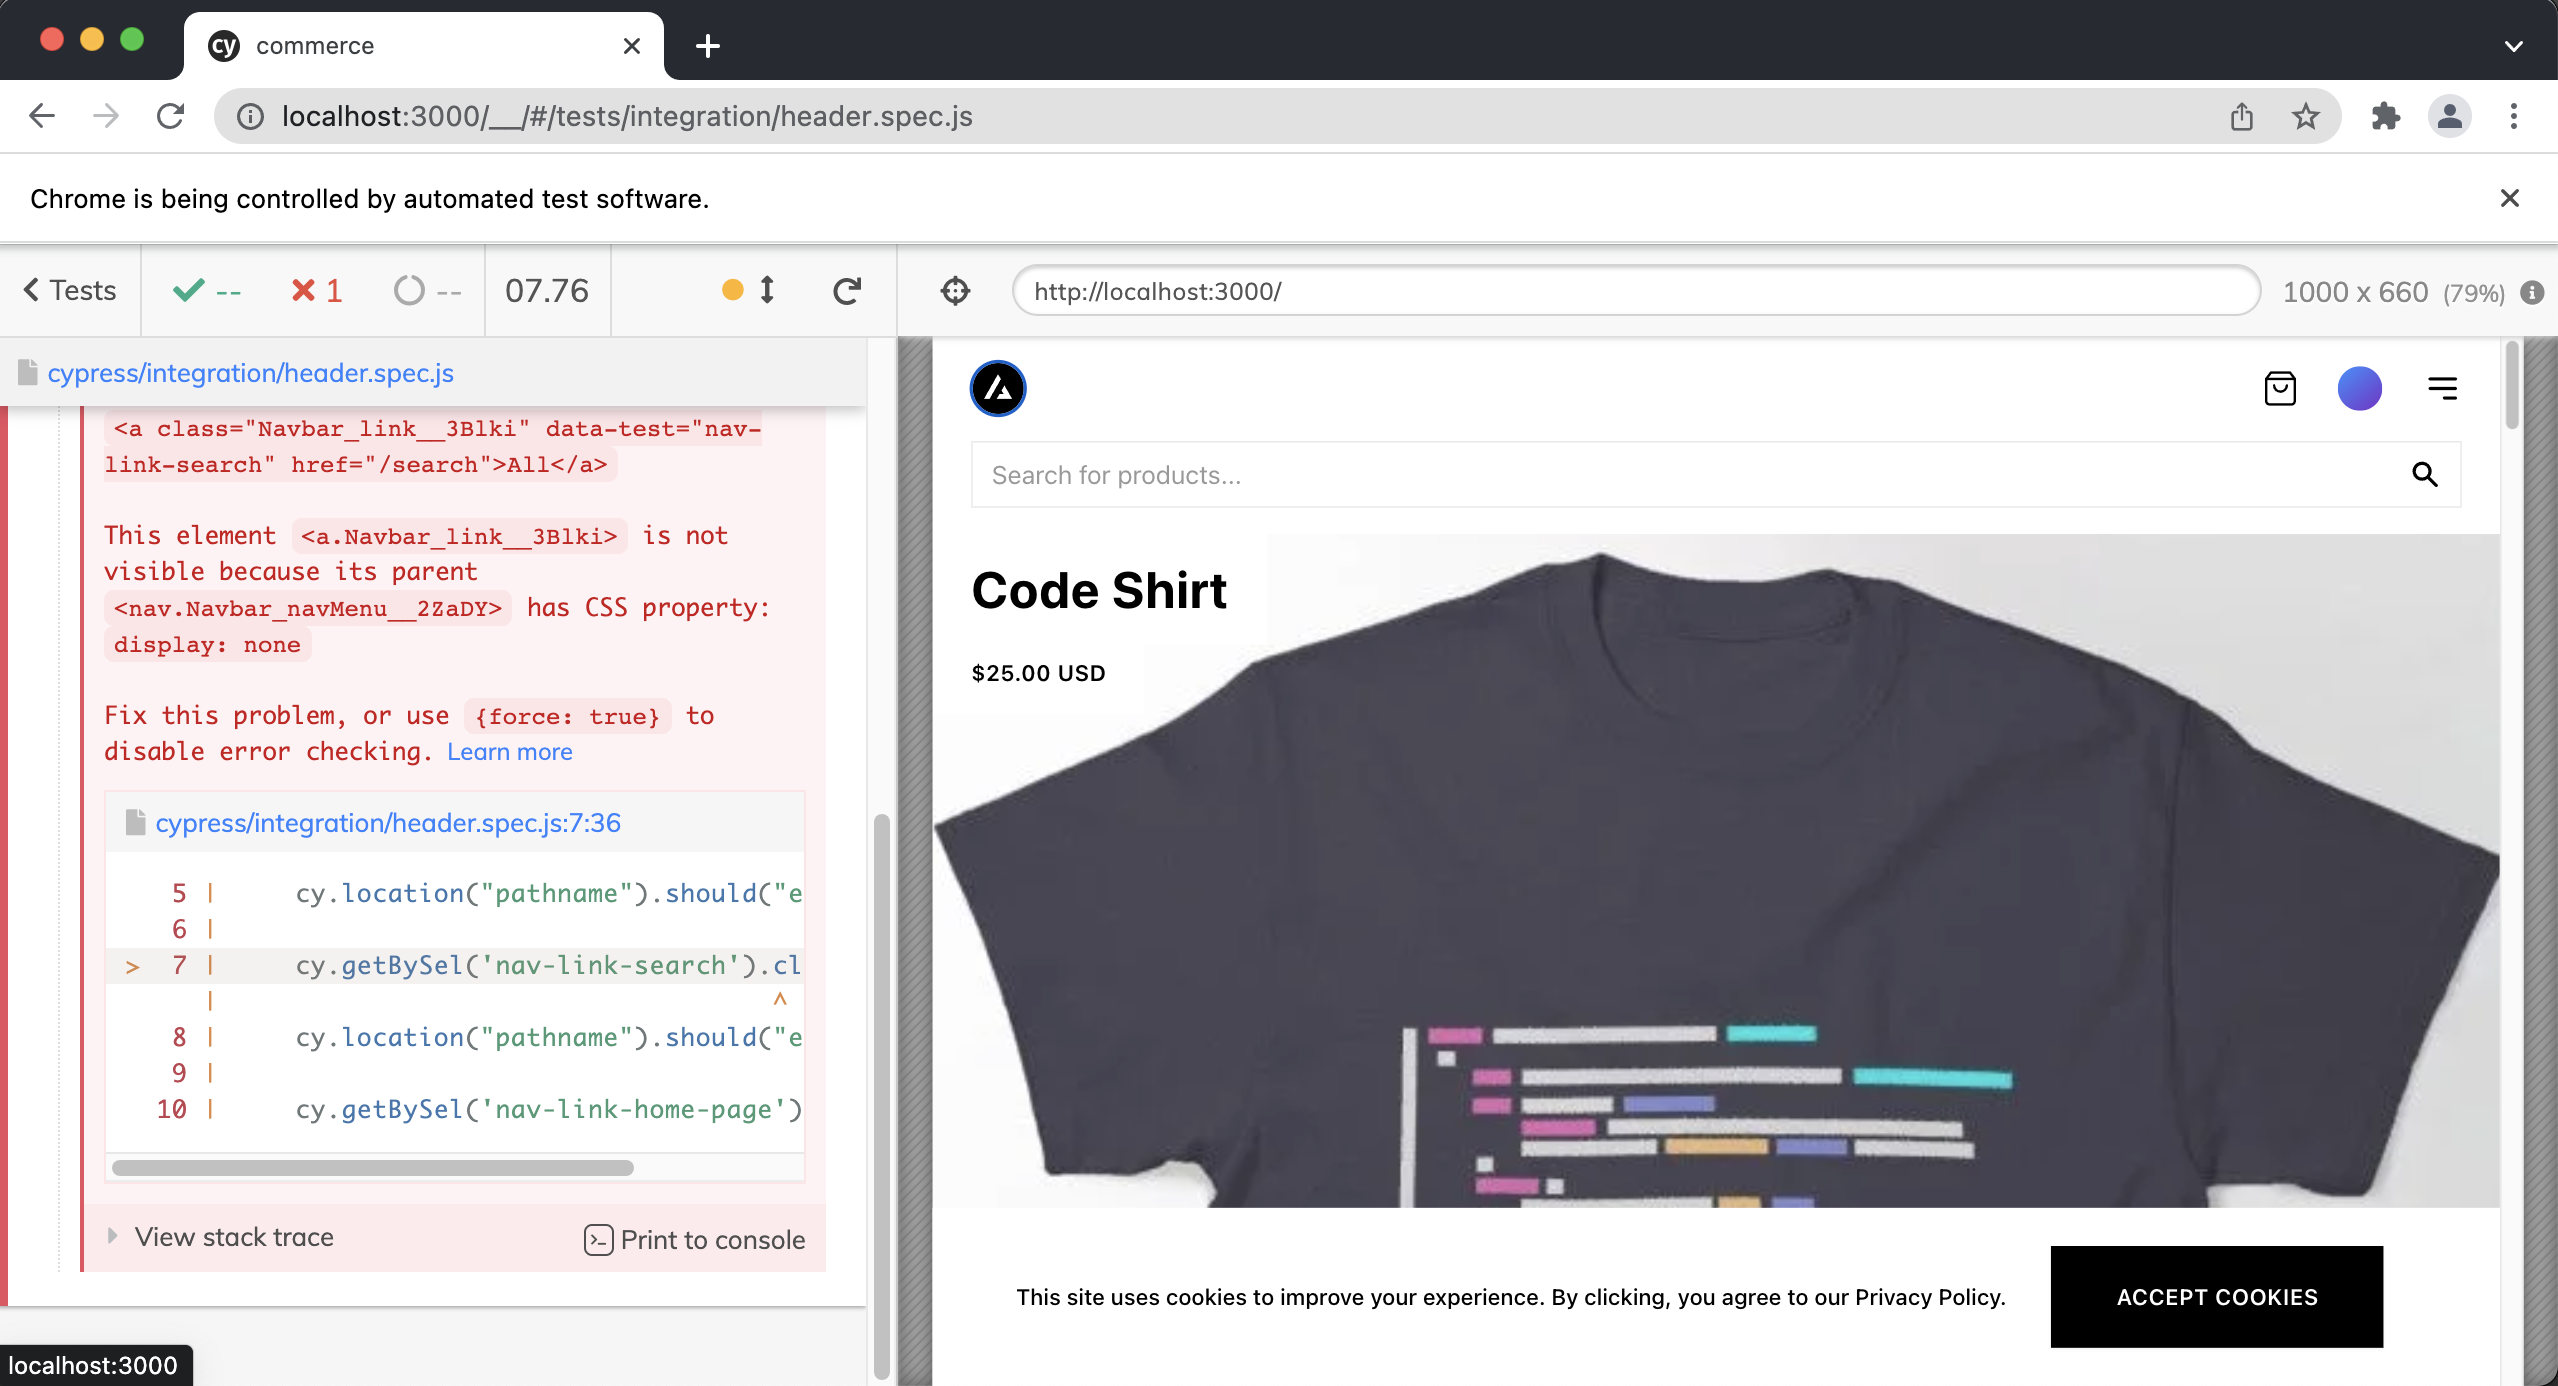
If we look closely at our application, we can see that those links do not appear in the header. This is because Cypress by default opens the viewport to "1000x660" which is too narrow. One of the breakpoints in our Next.js application is hiding these links when it is 1000px wide. We can modify the default viewport size by adding the following to the cypress.config.ts file.
import { defineConfig } from "cypress"

export default defineConfig({
  viewportHeight: 1000,
  viewportWidth: 1280,
  e2e: {
    baseUrl: "http://localhost:3000",
  },
})
Now our test should be passing
Testing the Search Bar
Let's write a test to make sure that the search bar in the header returns the correct results
Add the following new test inside of header.spec.js
describe("Header", () => {
it("links to the correct pages", () => {
cy.visit("/")
cy.getBySel("logo").click()
cy.location("pathname").should("eq", "/")
cy.getBySel("nav-link-search").click()
cy.location("pathname").should("eq", "/search")
cy.getBySel("nav-link-home-page").click()
cy.location("pathname").should("eq", "/search/frontpage")
})
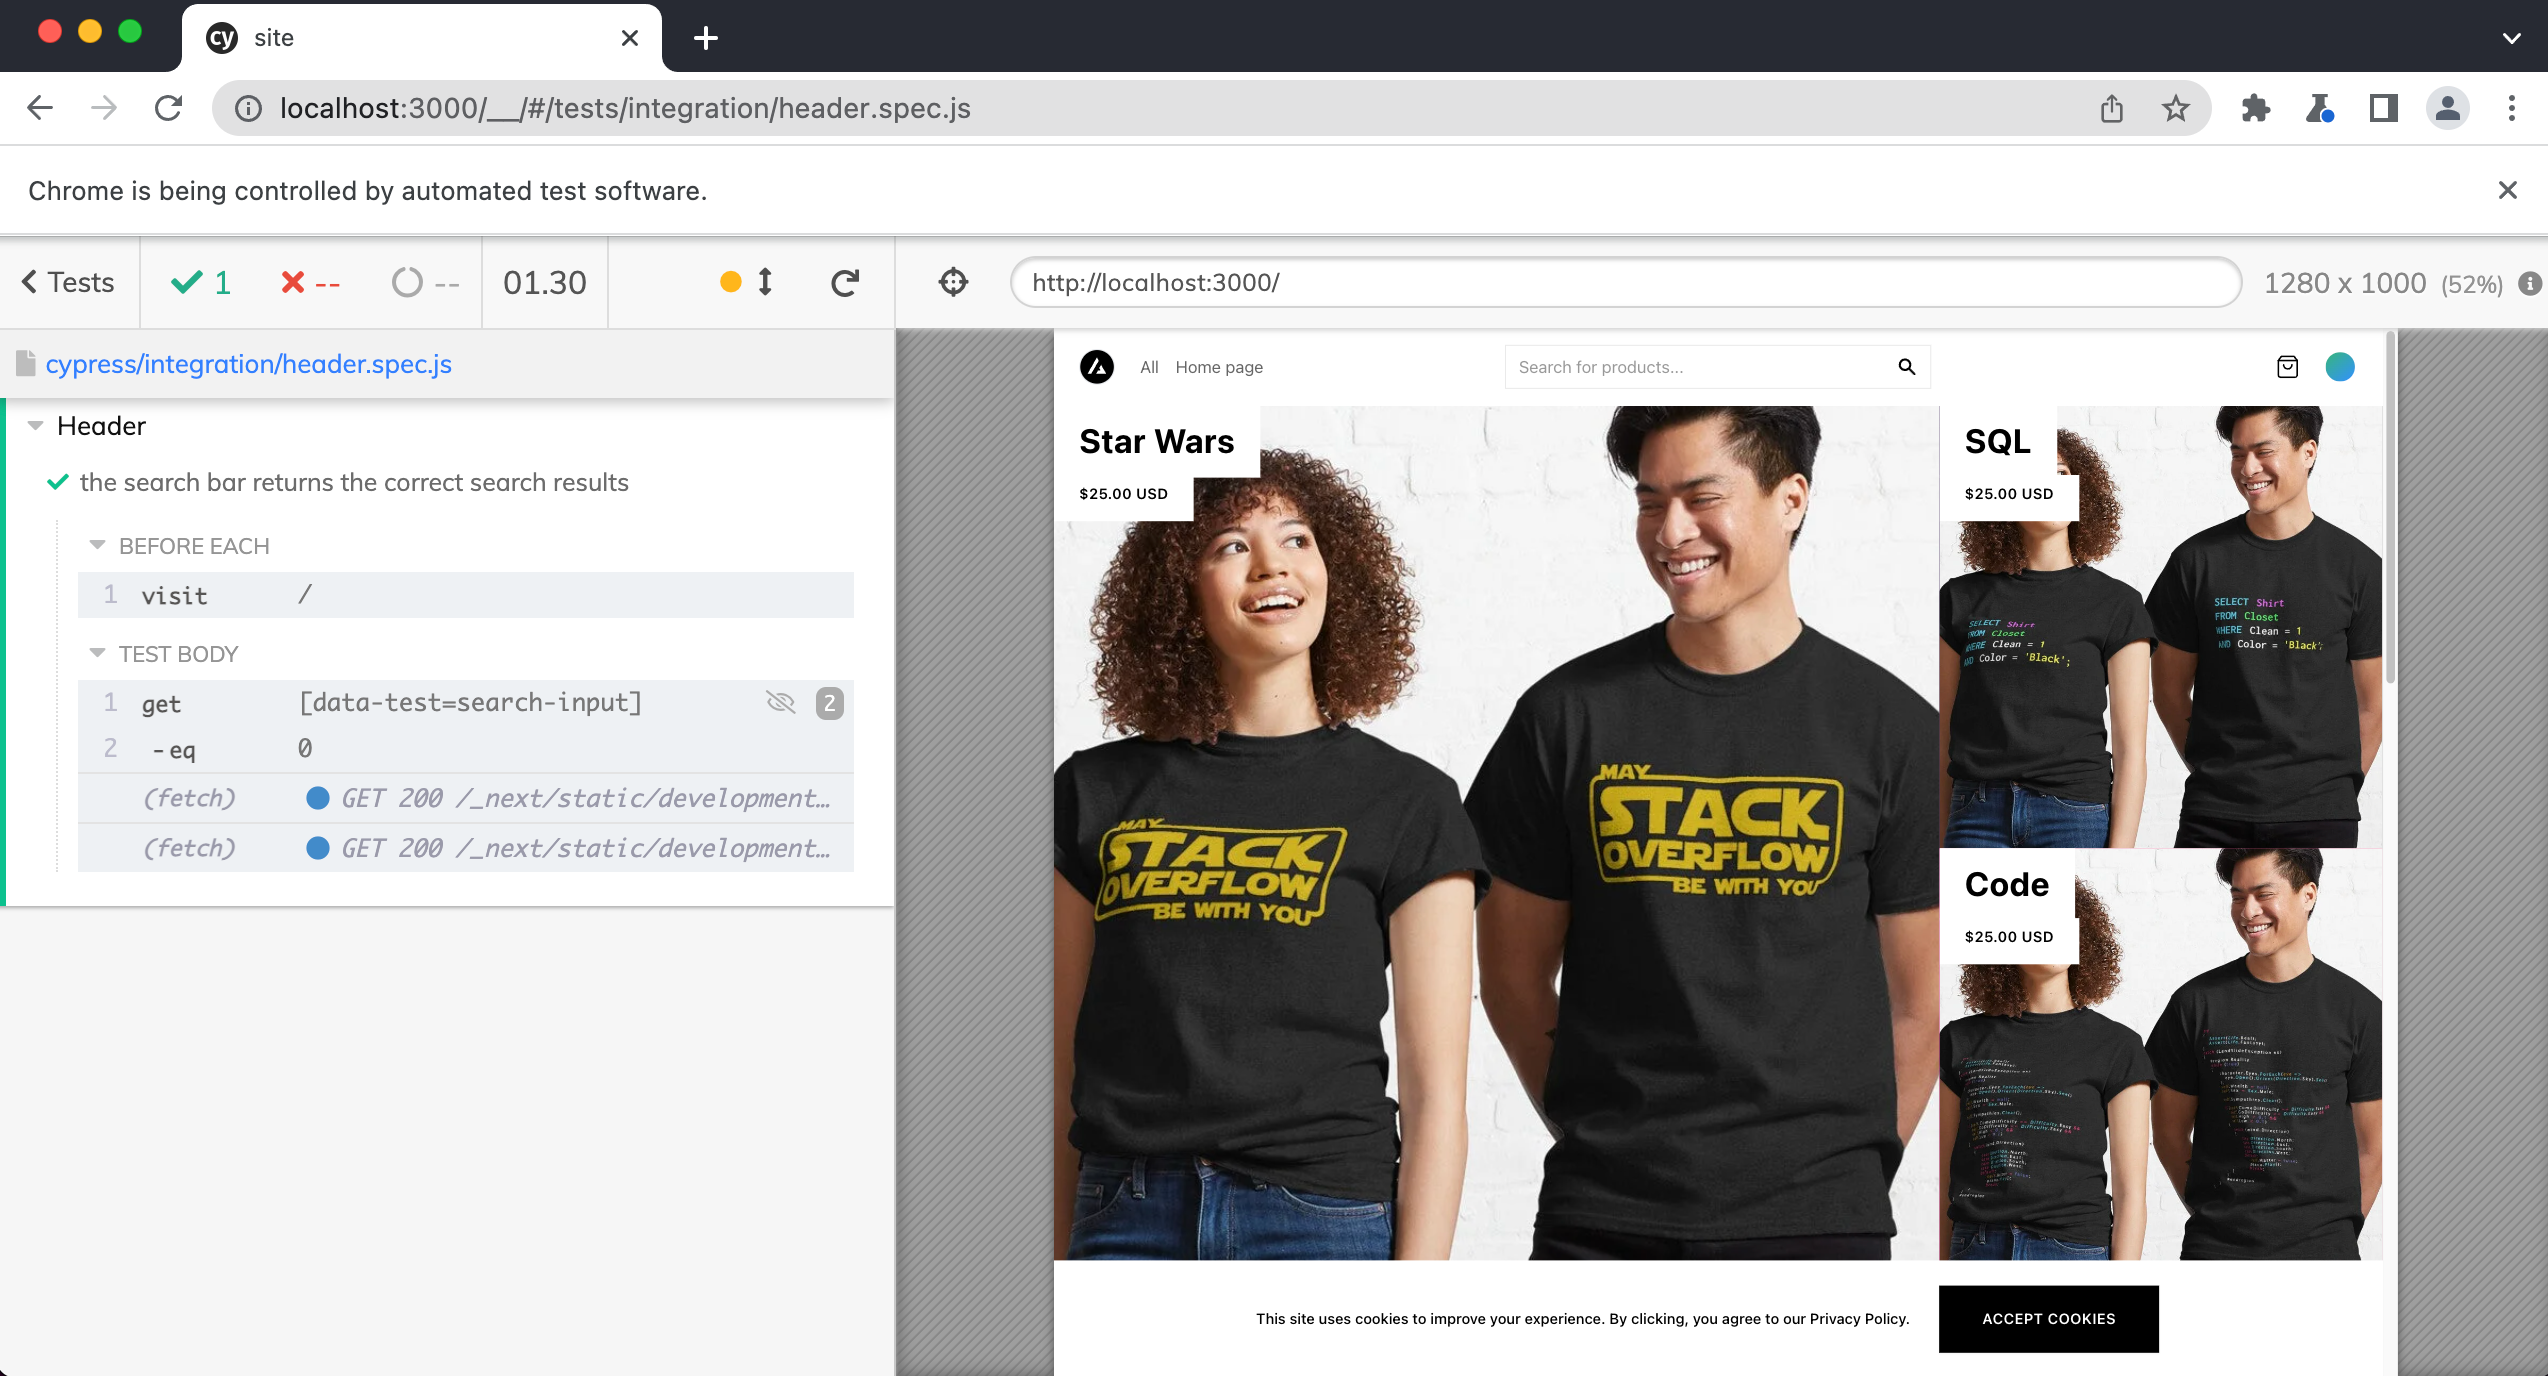
it("the search bar returns the correct search results", () => {
cy.visit("/")
})
})
beforeEach() hooks
You will notice that within each test, we have to specifically tell Cypress where to navigate in our app before our test can be executed. We can remove this duplication by using a beforeEach() hook. This hook will run any code we put inside of it before each test is run, hence the name beforeEach()
describe("Header", () => {
  beforeEach(() => {
    cy.visit("/")
  })

  it("links to the correct pages", () => {
    cy.getBySel("logo").click()
    cy.location("pathname").should("eq", "/")

    cy.getBySel("nav-link-search").click()
    cy.location("pathname").should("eq", "/search")

    cy.getBySel("nav-link-home-page").click()
    cy.location("pathname").should("eq", "/search/frontpage")
  })

  it("the search bar returns the correct search results", () => {})
})
Now Cypress will visit the home page before each and every test in this file.
Within components/common/Searchbar/Searchbar.tsx update the <input> element with the following data-test attribute data-test="search-input":
import { FC, memo, useEffect } from 'react'
import cn from 'clsx'
import s from './Searchbar.module.css'
import { useRouter } from 'next/router'

interface Props {
  className?: string
  id?: string
}

const Searchbar: FC<Props> = ({ className, id = 'search' }) => {
  const router = useRouter()

  useEffect(() => {
    router.prefetch('/search')
  }, [router])

  const handleKeyUp = (e: React.KeyboardEvent<HTMLInputElement>) => {
    e.preventDefault()

    if (e.key === 'Enter') {
      const q = e.currentTarget.value

      router.push(
        {
          pathname: `/search`,
          query: q ? { q } : {},
        },
        undefined,
        { shallow: true }
      )
    }
  }

  return (
    <div className={cn(s.root, className)}>
      <label className="hidden" htmlFor={id}>
        Search
      </label>
      <input
        id={id}
        className={s.input}
        placeholder="Search for products..."
        defaultValue={router.query.q}
        onKeyUp={handleKeyUp}
        data-test="search-input"
      />
      <div className={s.iconContainer}>
        <svg className={s.icon} fill="currentColor" viewBox="0 0 20 20">
          <path
            fillRule="evenodd"
            clipRule="evenodd"
            d="M8 4a4 4 0 100 8 4 4 0 000-8zM2 8a6 6 0 1110.89 3.476l4.817 4.817a1 1 0 01-1.414 1.414l-4.816-4.816A6 6 0 012 8z"
          />
        </svg>
      </div>
    </div>
  )
}

export default memo(Searchbar)
Now we can .get() the search bar like so:
// header.spec.js

it('links to the correct pages', () => {
// ...

it('the search bar returns the correct search results', () => {
    cy.getBySel('search-input').eq(0)
  })
tip
This search component is actually in the DOM twice, one for desktop and one for mobile. By using .eq(0) we are grabbing the one for desktop.
only()
Since, we now have two tests in this file, Cypress will always run both tests each time we save. We can use .only() to have it only run a single one like so:
it.only("the search bar returns the correct search results", () => {
  cy.getBySel("search-input").eq(0)
})
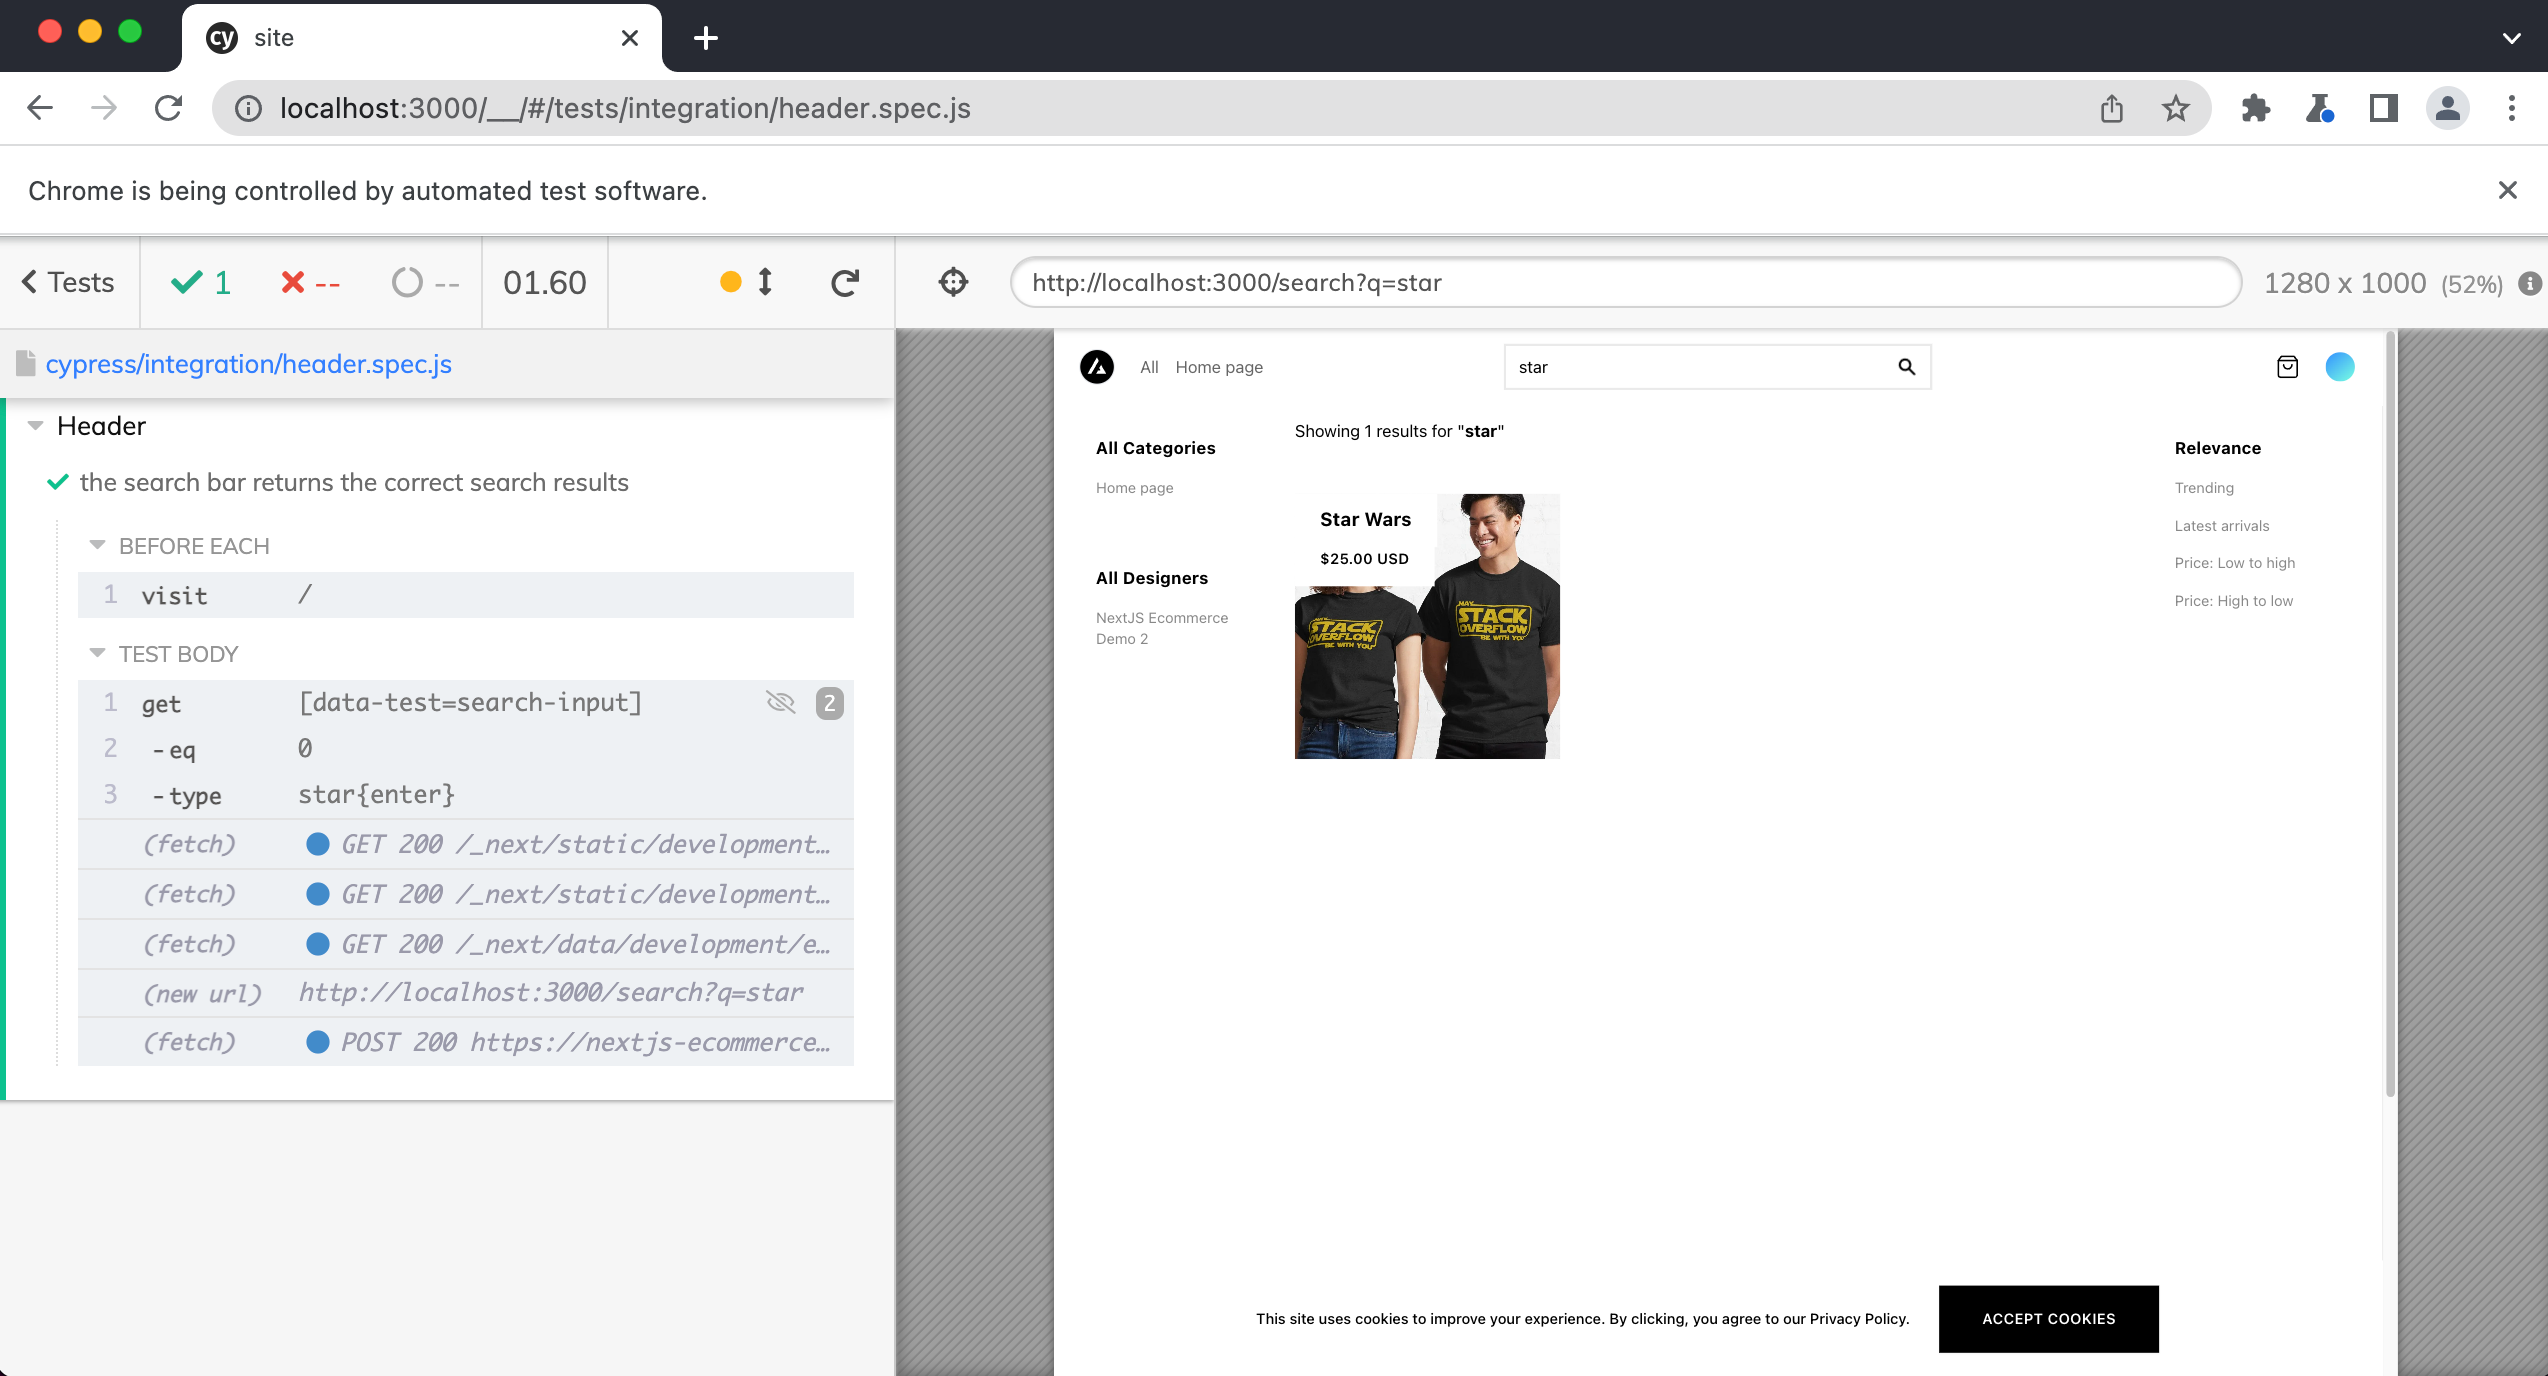
Let's try to search for the "Star Wars" by typing in the word "star"
it.only("the search bar returns the correct search results", () => {
  cy.getBySel("search-input").eq(0).type("star")
})
We can also simulate pressing the enter key like so:
it.only("the search bar returns the correct search results", () => {
  cy.getBySel("search-input").eq(0).type("star{enter}")
})
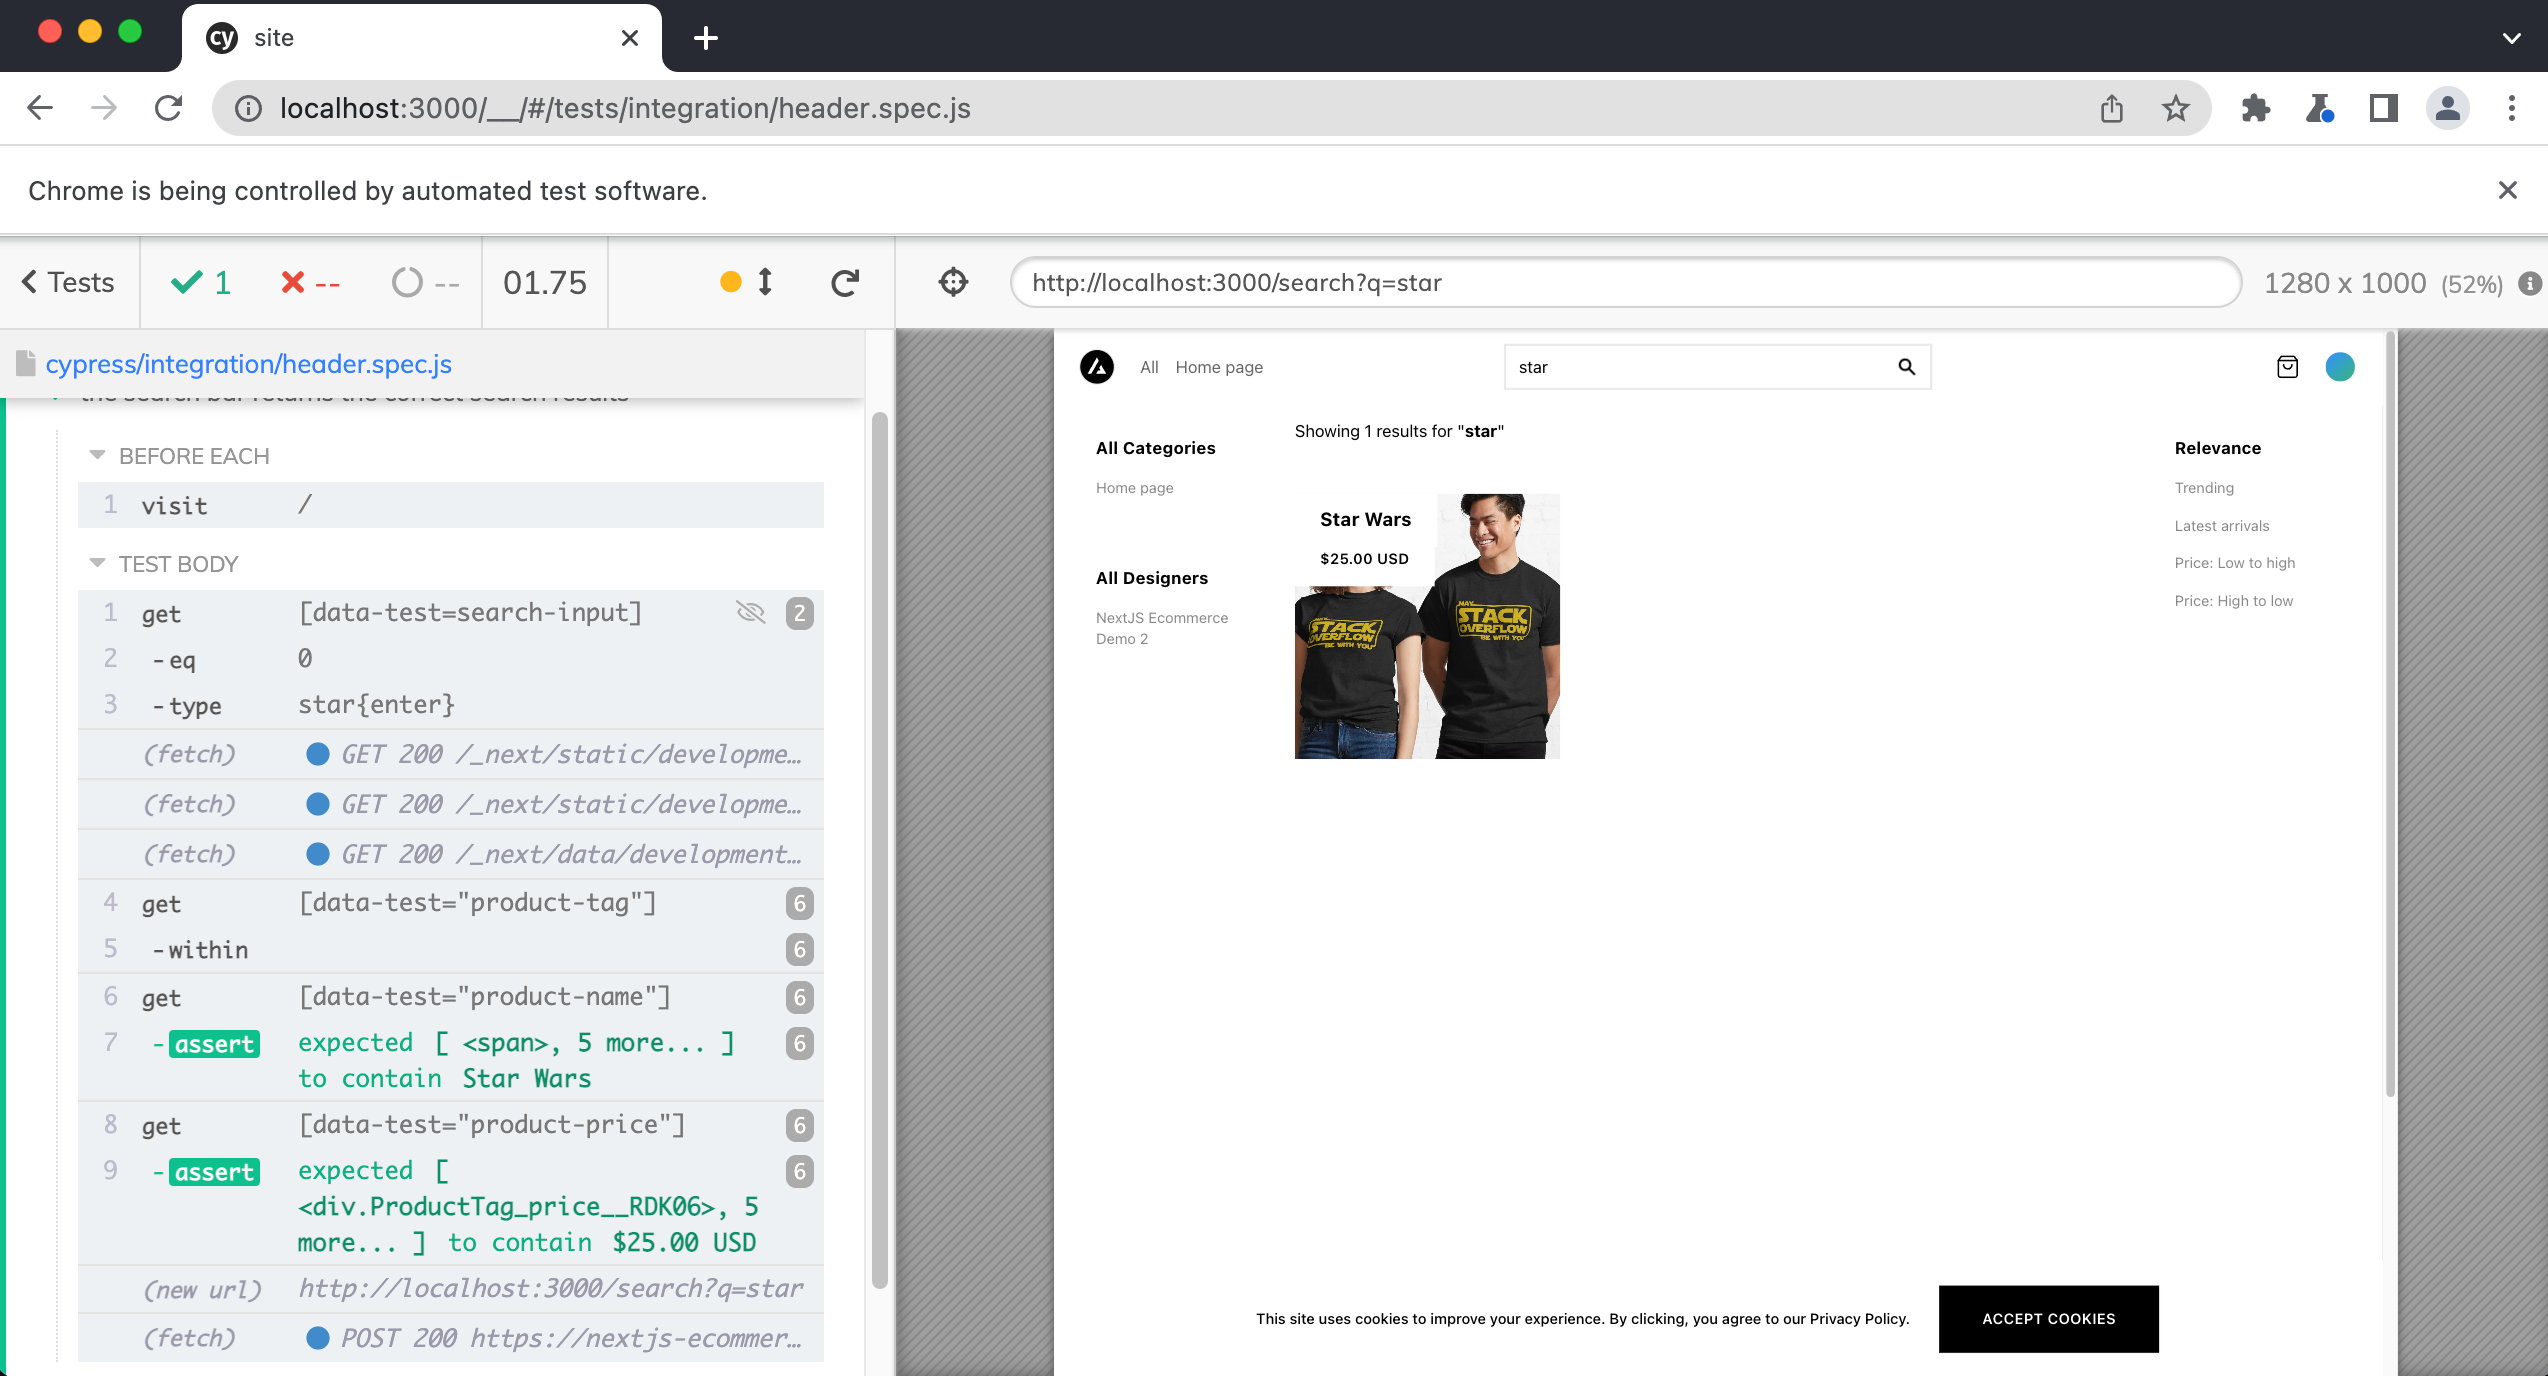
Now let's confirm that the correct product is displayed in the search results. We can borrow some of the same code we used in our home.spec.js test.
it.only("the search bar returns the correct search results", () => {
  cy.getBySel("search-input").eq(0).type("star{enter}")

  cy.get('[data-test="product-tag"]').within(() => {
    cy.get('[data-test="product-name"]').should("contain", "Star Wars")
    cy.get('[data-test="product-price"]').should("contain", "$25.00 USD")
  })
})
Testing the Shopping Cart
Let's write one more test that confirms that our shopping cart is working.
Create a new file within cypress/e2e called shopping-cart.spec.js and add the following:
describe("Shopping Cart", () => {
  it("users can add products to the cart", () => {
    cy.visit("/")
  })
})
First, we will need to click on a product to add it to the cart.
describe("Shopping Cart", () => {
  it("users can add products to the cart", () => {
    cy.visit("/")
    cy.getBySel("product-tag").eq(0).click()
  })
})
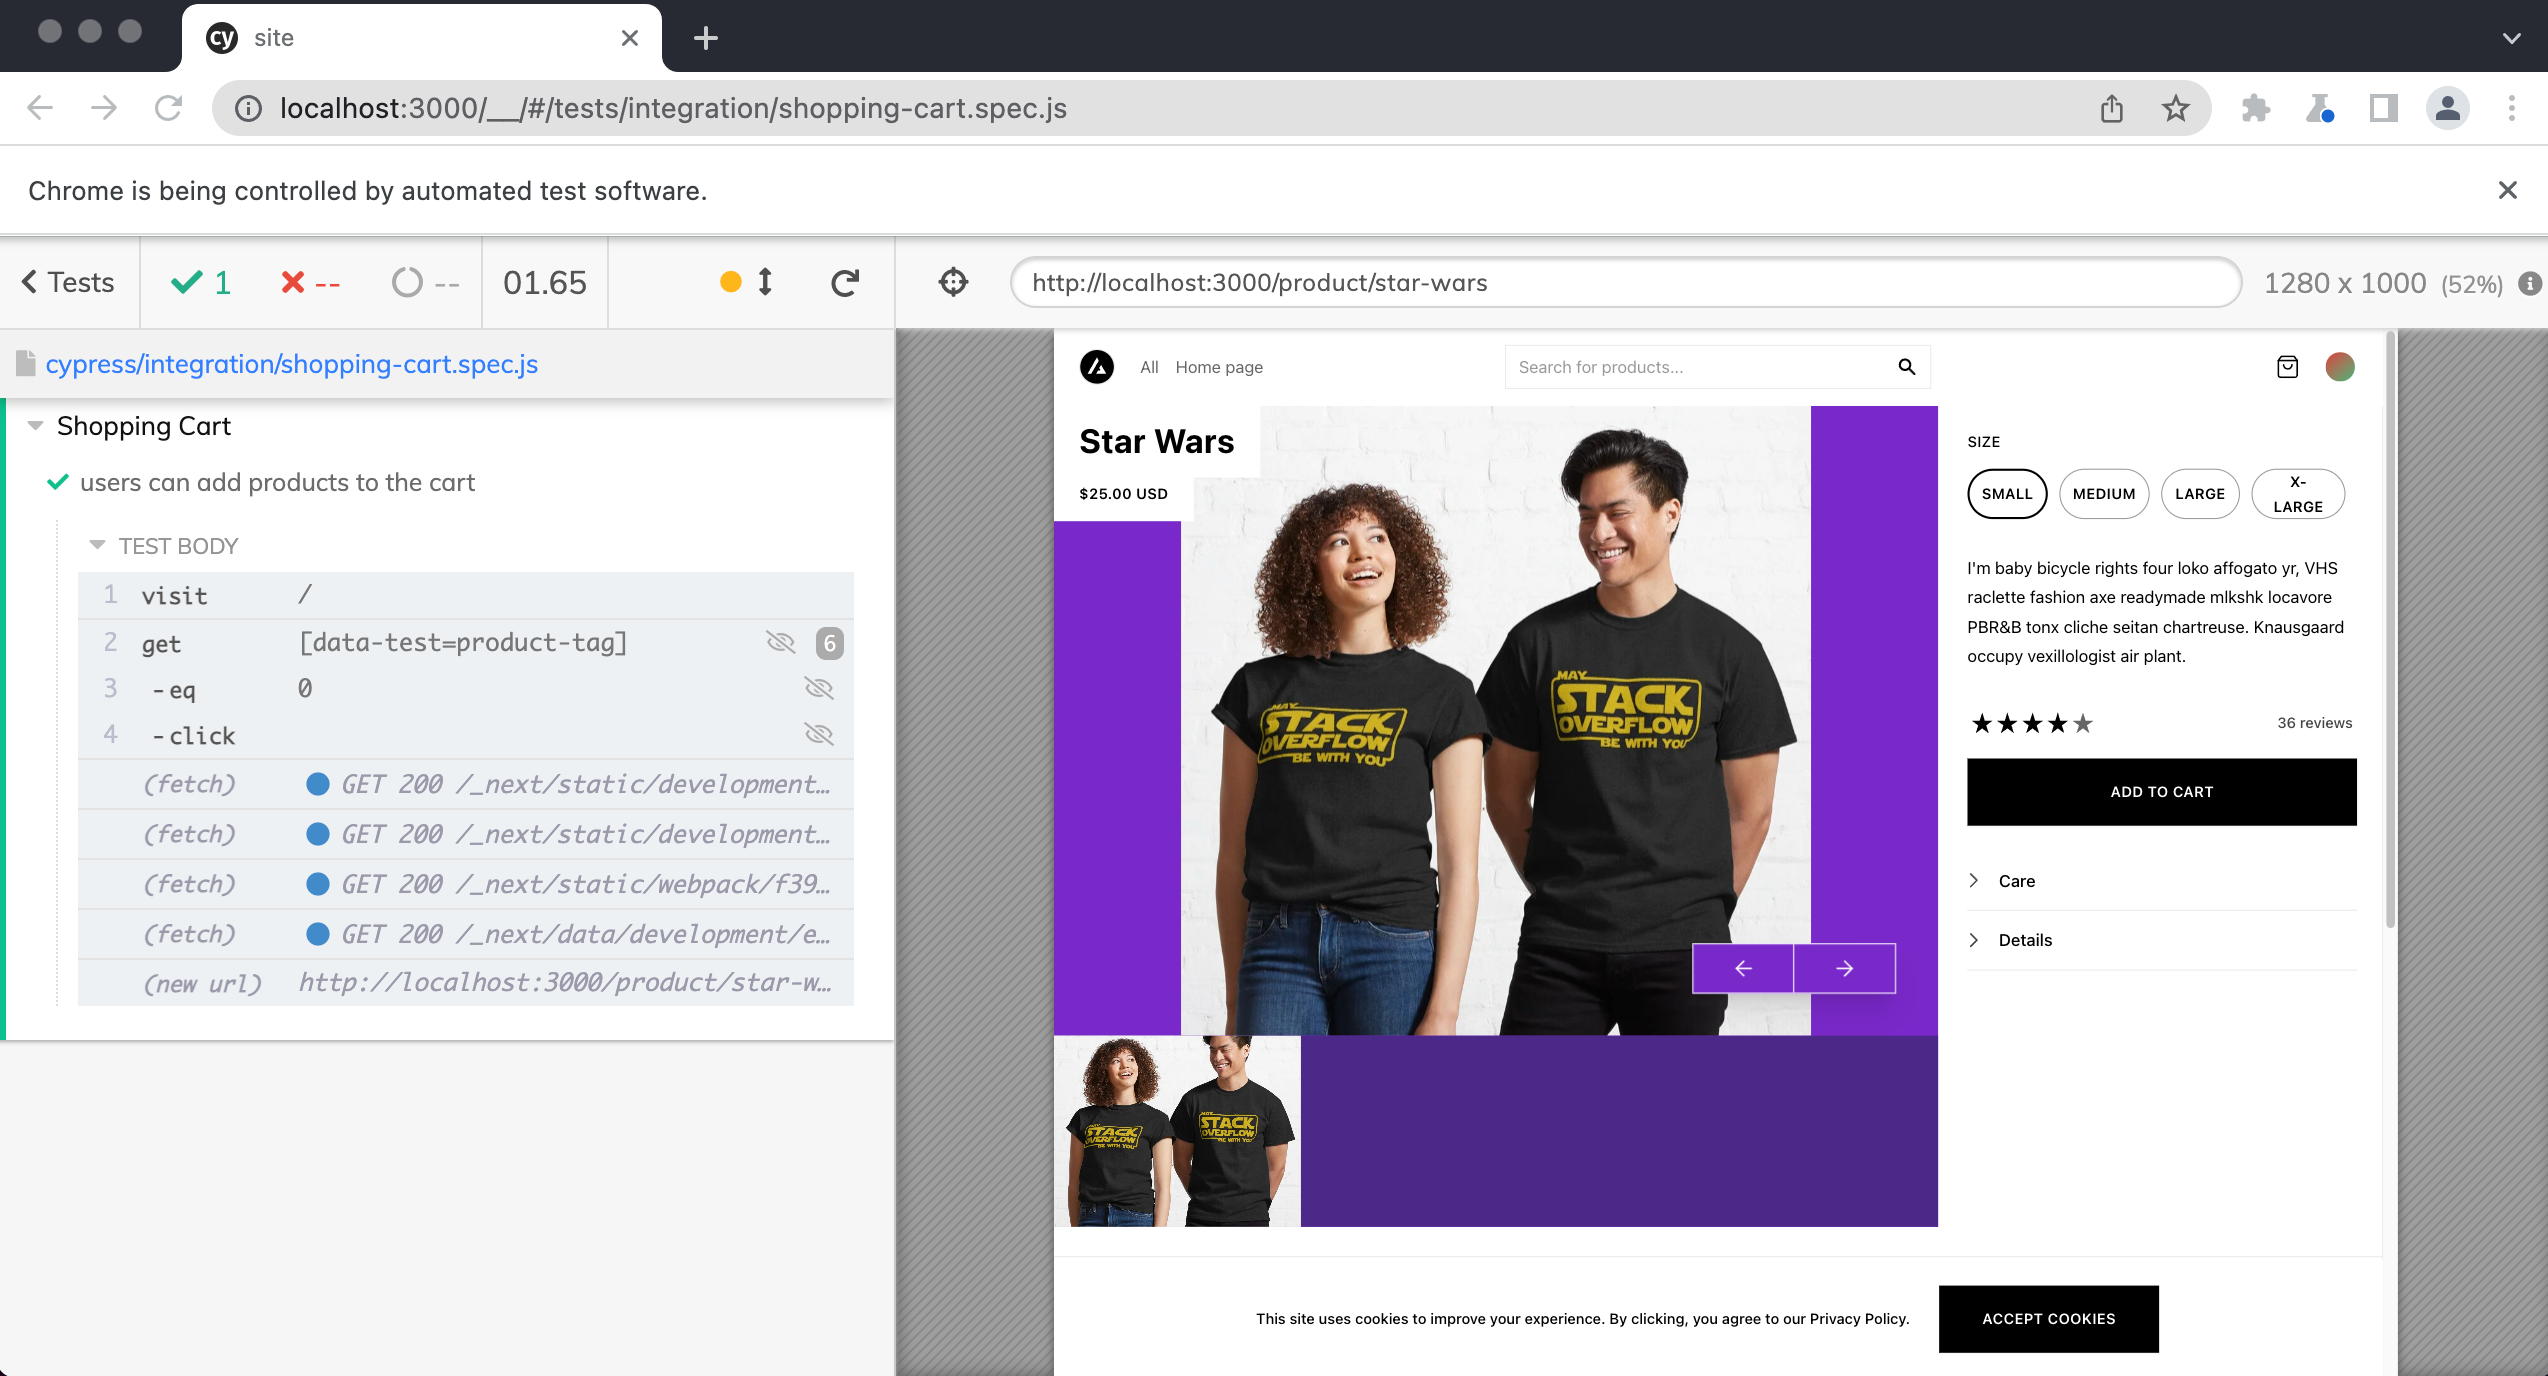
Next, we will need to click on the "Add to Cart" button.
describe("Shopping Cart", () => {
  it("users can add products to the cart", () => {
    cy.visit("/")
    cy.getBySel("product-tag").eq(0).click()
    cy.get('[aria-label="Add to Cart"]').click()
  })
})
Notice how we are getting the element by using the aria-label attribute.
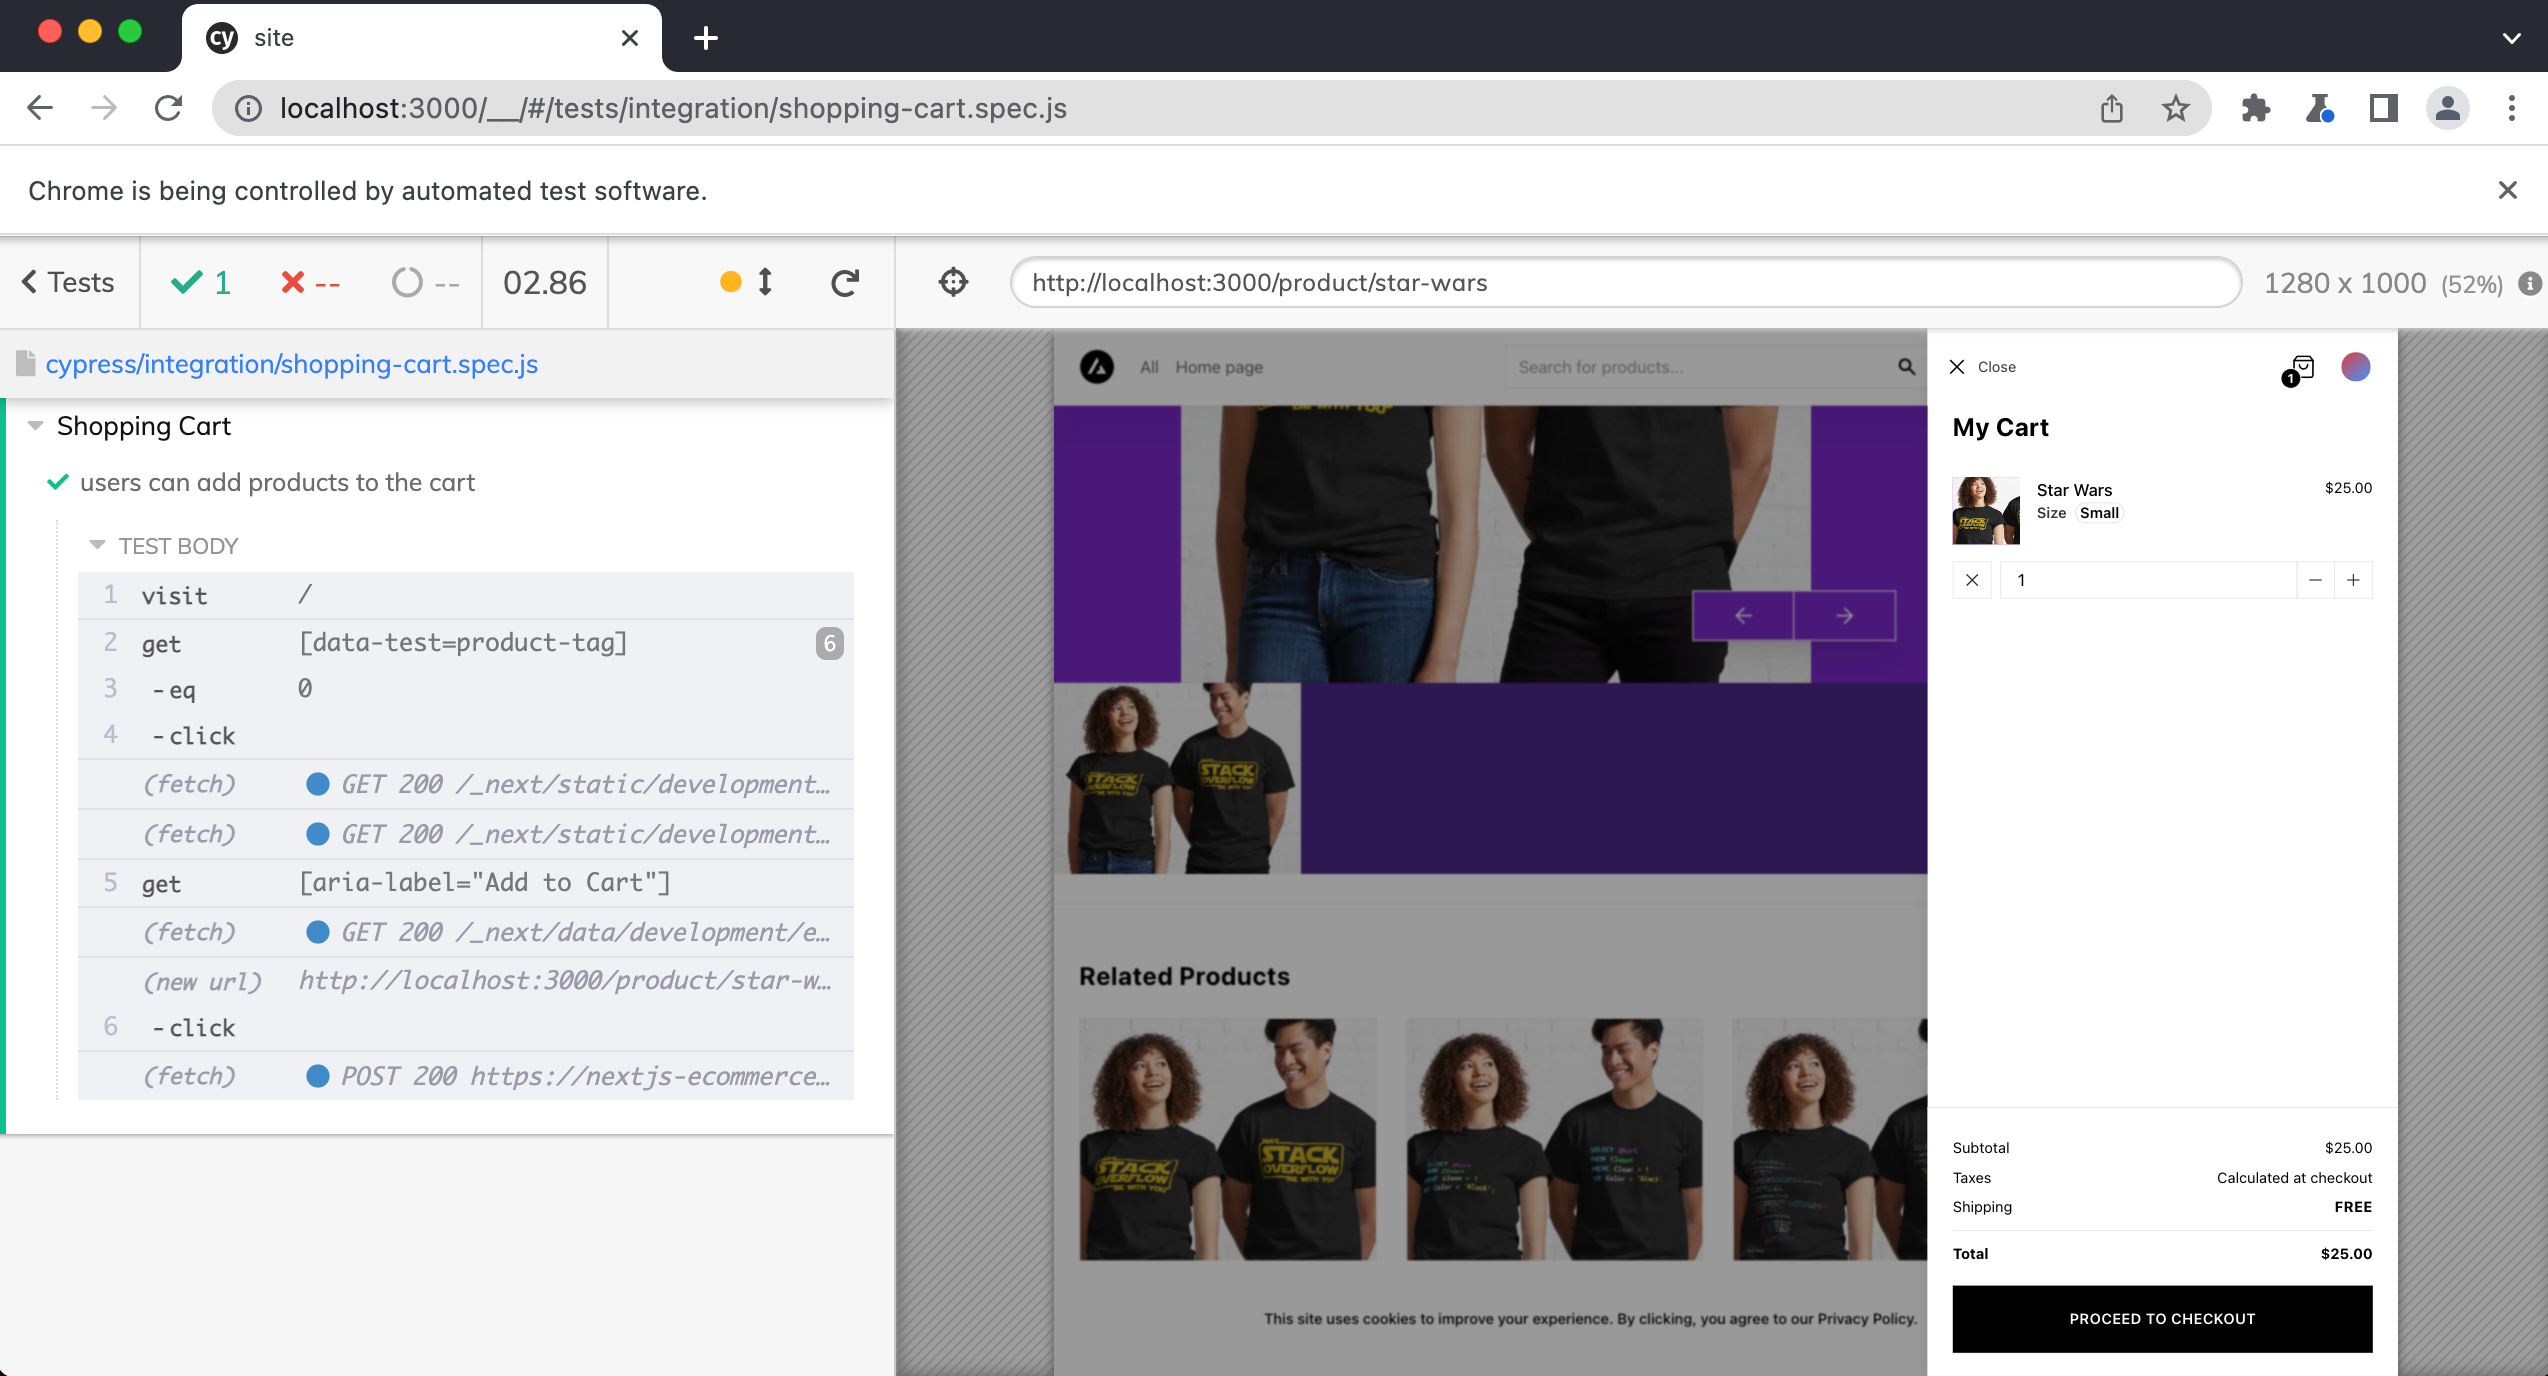
Now we just need to confirm that our shopping cart has our item in it.
describe("Shopping Cart", () => {
  it("users can add products to the cart", () => {
    cy.visit("/")
    cy.getBySel("product-tag").eq(0).click()
    cy.get('[aria-label="Add to Cart"]').click()
    cy.get('[aria-label="Cart items: 1"]').contains("1")
  })
})

Conclusion
In this lesson, we learned how to install Cypress and how to write several different tests to ensure that our store is working as expected. We also learned how to customize the Cypress test runner within the cypress.config.ts file as well has how to use custom Cypress commands.
Practice
Now would be a great time for you to practice writing more Cypress tests. Here are some ideas for tests you could write.
- Write a test that confirms the shopping cart can contain multiple items.
- Write a test that confirms your images have the correct
alttags. - Write a test that confirms the “Accept Cookies” popup displays on the bottom of the page.
- Write a test that confirms the language selector in the footer, navigates to the correct page.