Transaction View Overview & Setup
In this section, we will be discussing the various tests located within the cypress/tests/ui/new-transaction-view.spec.ts file.
Let's break down what is happening within the beforeEach() as it is important to understand what is going on since this hook is running before each test.
beforeEach()
const ctx: NewTransactionCtx = {}

beforeEach(() => {
  cy.task("db:seed")

  cy.intercept("GET", "/transactions*").as("personalTransactions")
  cy.intercept("GET", "/transactions/public*").as("publicTransactions")
  cy.intercept("GET", "/transactions/*").as("getTransaction")
  cy.intercept("PATCH", "/transactions/*").as("updateTransaction")

  cy.intercept("GET", "/checkAuth").as("userProfile")
  cy.intercept("GET", "/notifications").as("getNotifications")
  cy.intercept("GET", "/bankAccounts").as("getBankAccounts")

  cy.database("find", "users").then((user: User) => {
    ctx.authenticatedUser = user

    cy.loginByXstate(ctx.authenticatedUser.username)

    cy.database("find", "transactions", {
      receiverId: ctx.authenticatedUser.id,
      status: "pending",
      requestStatus: "pending",
      requestResolvedAt: "",
    }).then((transaction: Transaction) => {
      ctx.transactionRequest = transaction
    })
  })

  cy.getBySel("nav-personal-tab").click()
  cy.wait("@personalTransactions")
})
You can find out more information about the custom Cypress commands used here.
The ctx object is an empty object that we will later populate within the beforeEach() with some user data used through the tests in this file.
First, we are using a custom Cypress task to seed our database.
cy.task("db:seed")
Next, we use cy.intercept() to intercept various requests and aliasing them.
cy.intercept("GET", "/transactions*").as("personalTransactions")
cy.intercept("GET", "/transactions/public*").as("publicTransactions")
cy.intercept("GET", "/transactions/*").as("getTransaction")
cy.intercept("PATCH", "/transactions/*").as("updateTransaction")

cy.intercept("GET", "/checkAuth").as("userProfile")
cy.intercept("GET", "/notifications").as("getNotifications")
cy.intercept("GET", "/bankAccounts").as("getBankAccounts")
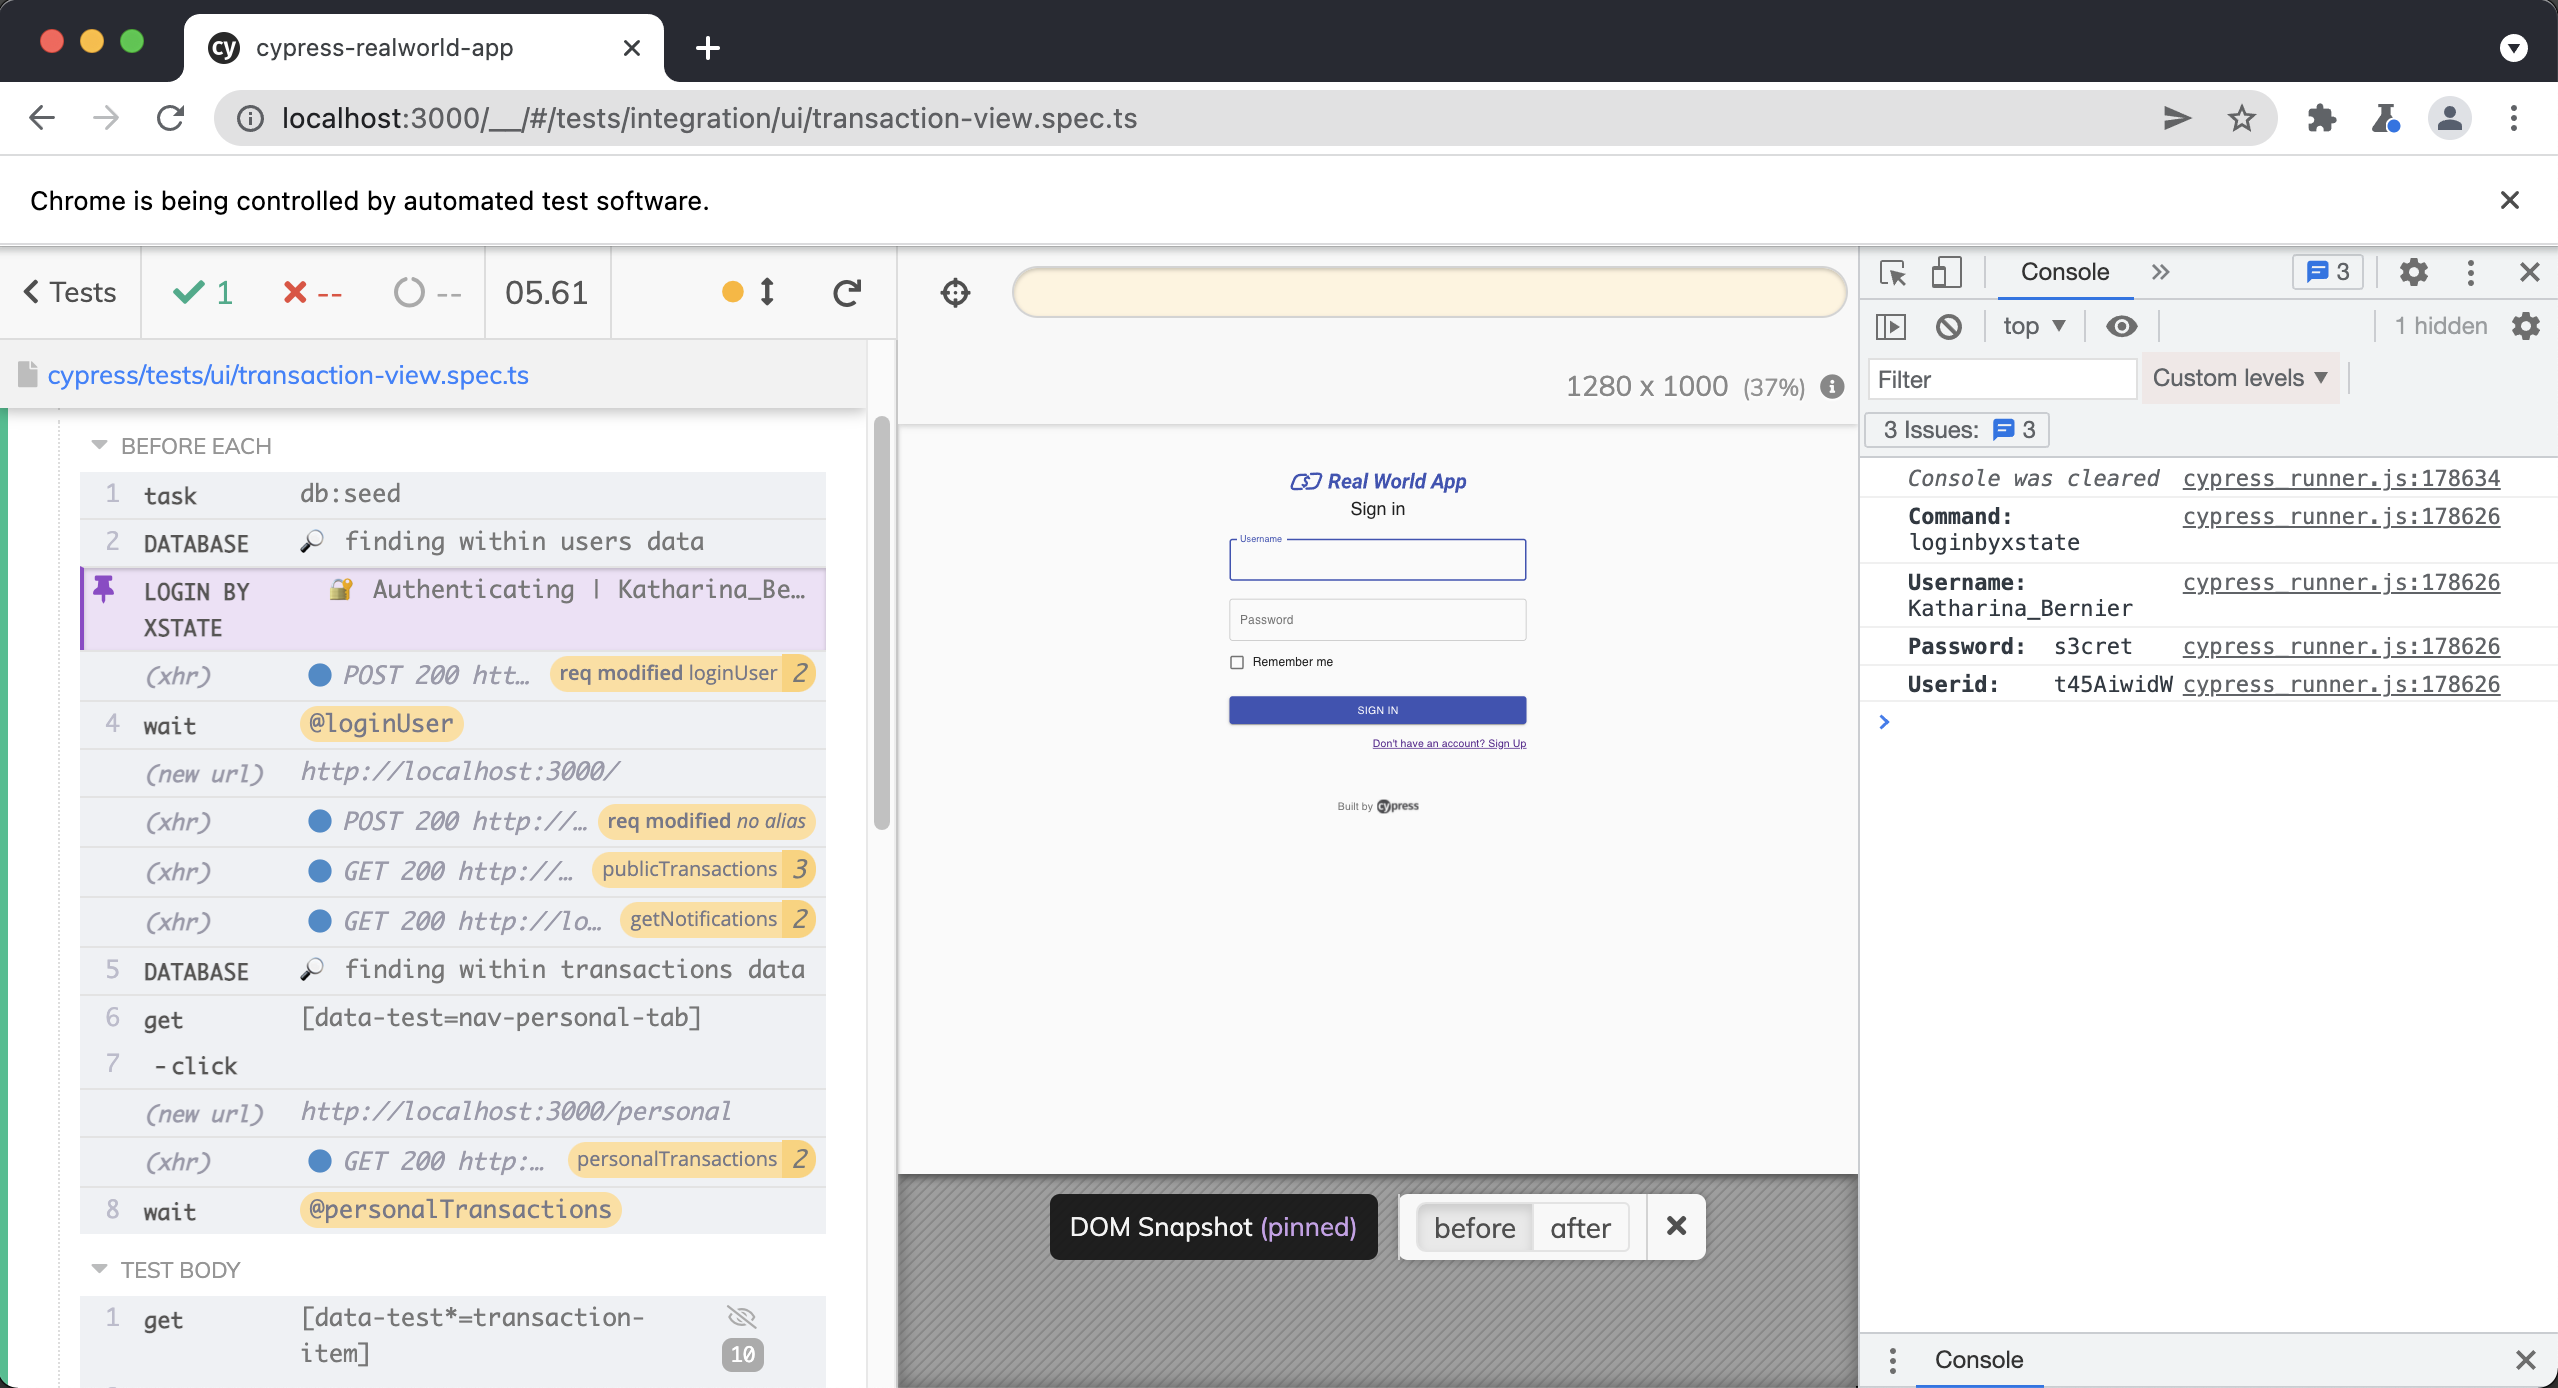
Then, we use a custom Cypress command cy.database() to retrieve the users from our database. We then add this user to our ctx object and log in with cy.loginByXstate().
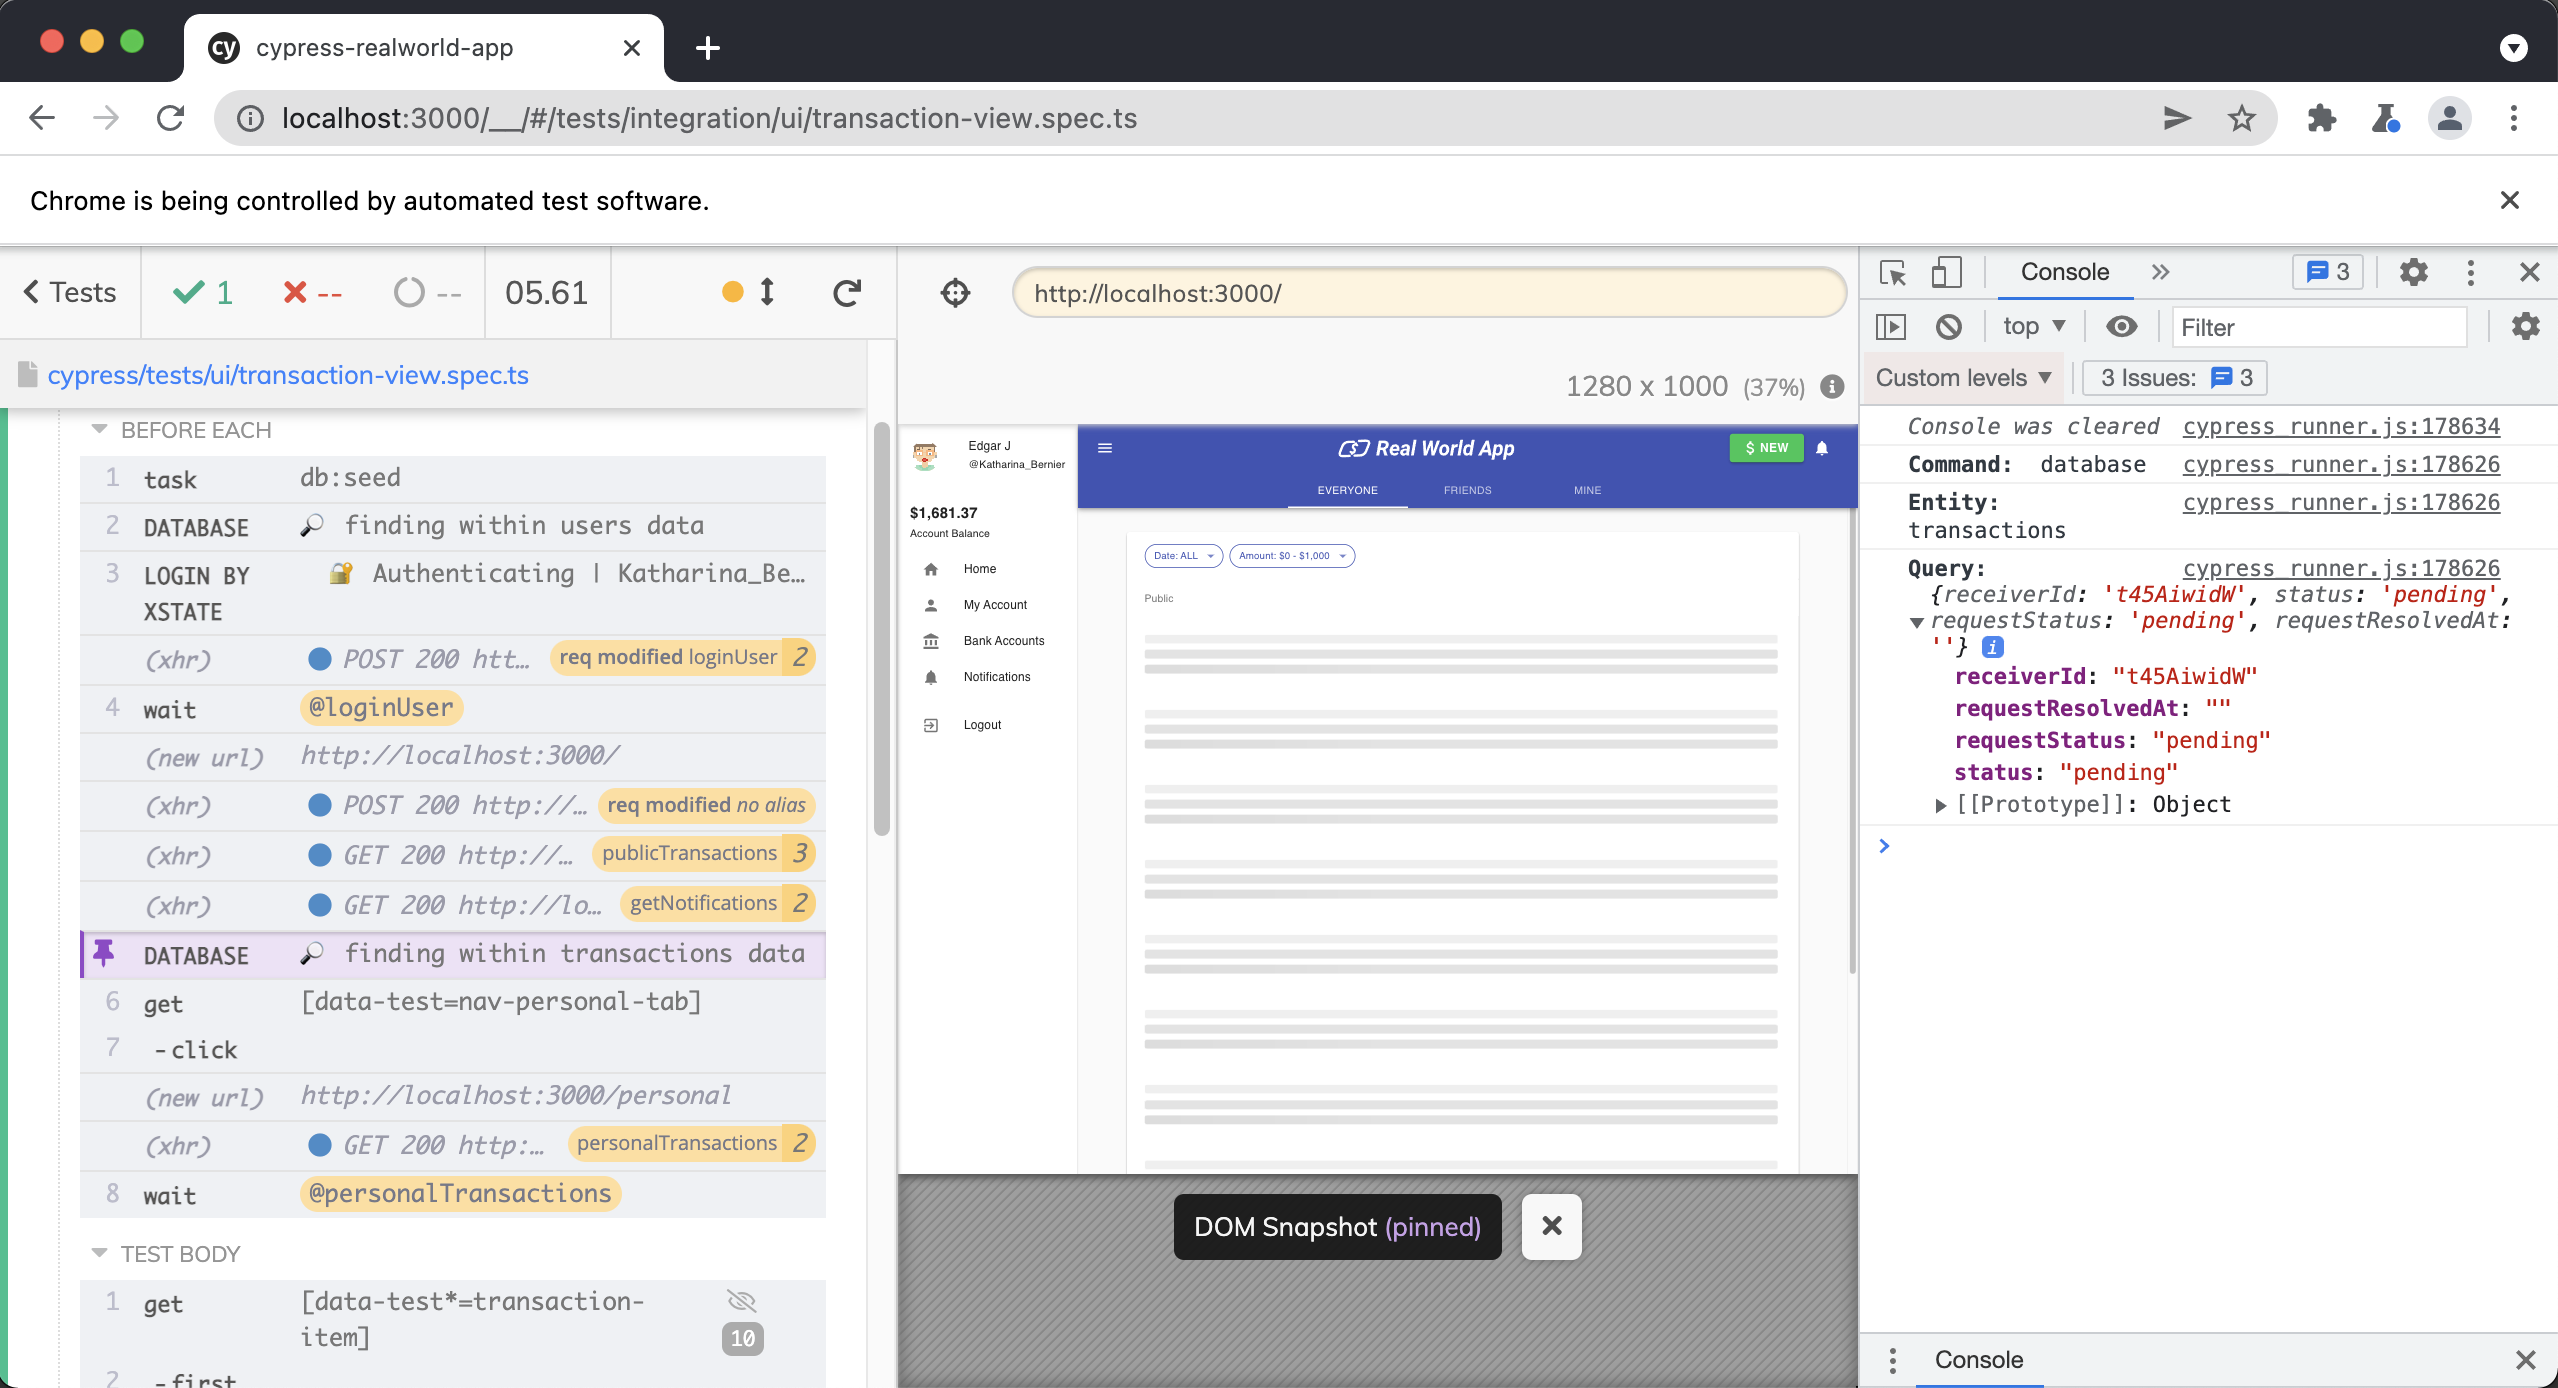
We then perform another query to our database using cy.databse() to find all of the "pending" transactions for our user and store said pending transaction on the ctx object.
cy.database("find", "users").then((user: User) => {
  ctx.authenticatedUser = user

  cy.loginByXstate(ctx.authenticatedUser.username)

  cy.database("find", "transactions", {
    receiverId: ctx.authenticatedUser.id,
    status: "pending",
    requestStatus: "pending",
    requestResolvedAt: "",
  }).then((transaction: Transaction) => {
    ctx.transactionRequest = transaction
  })
})
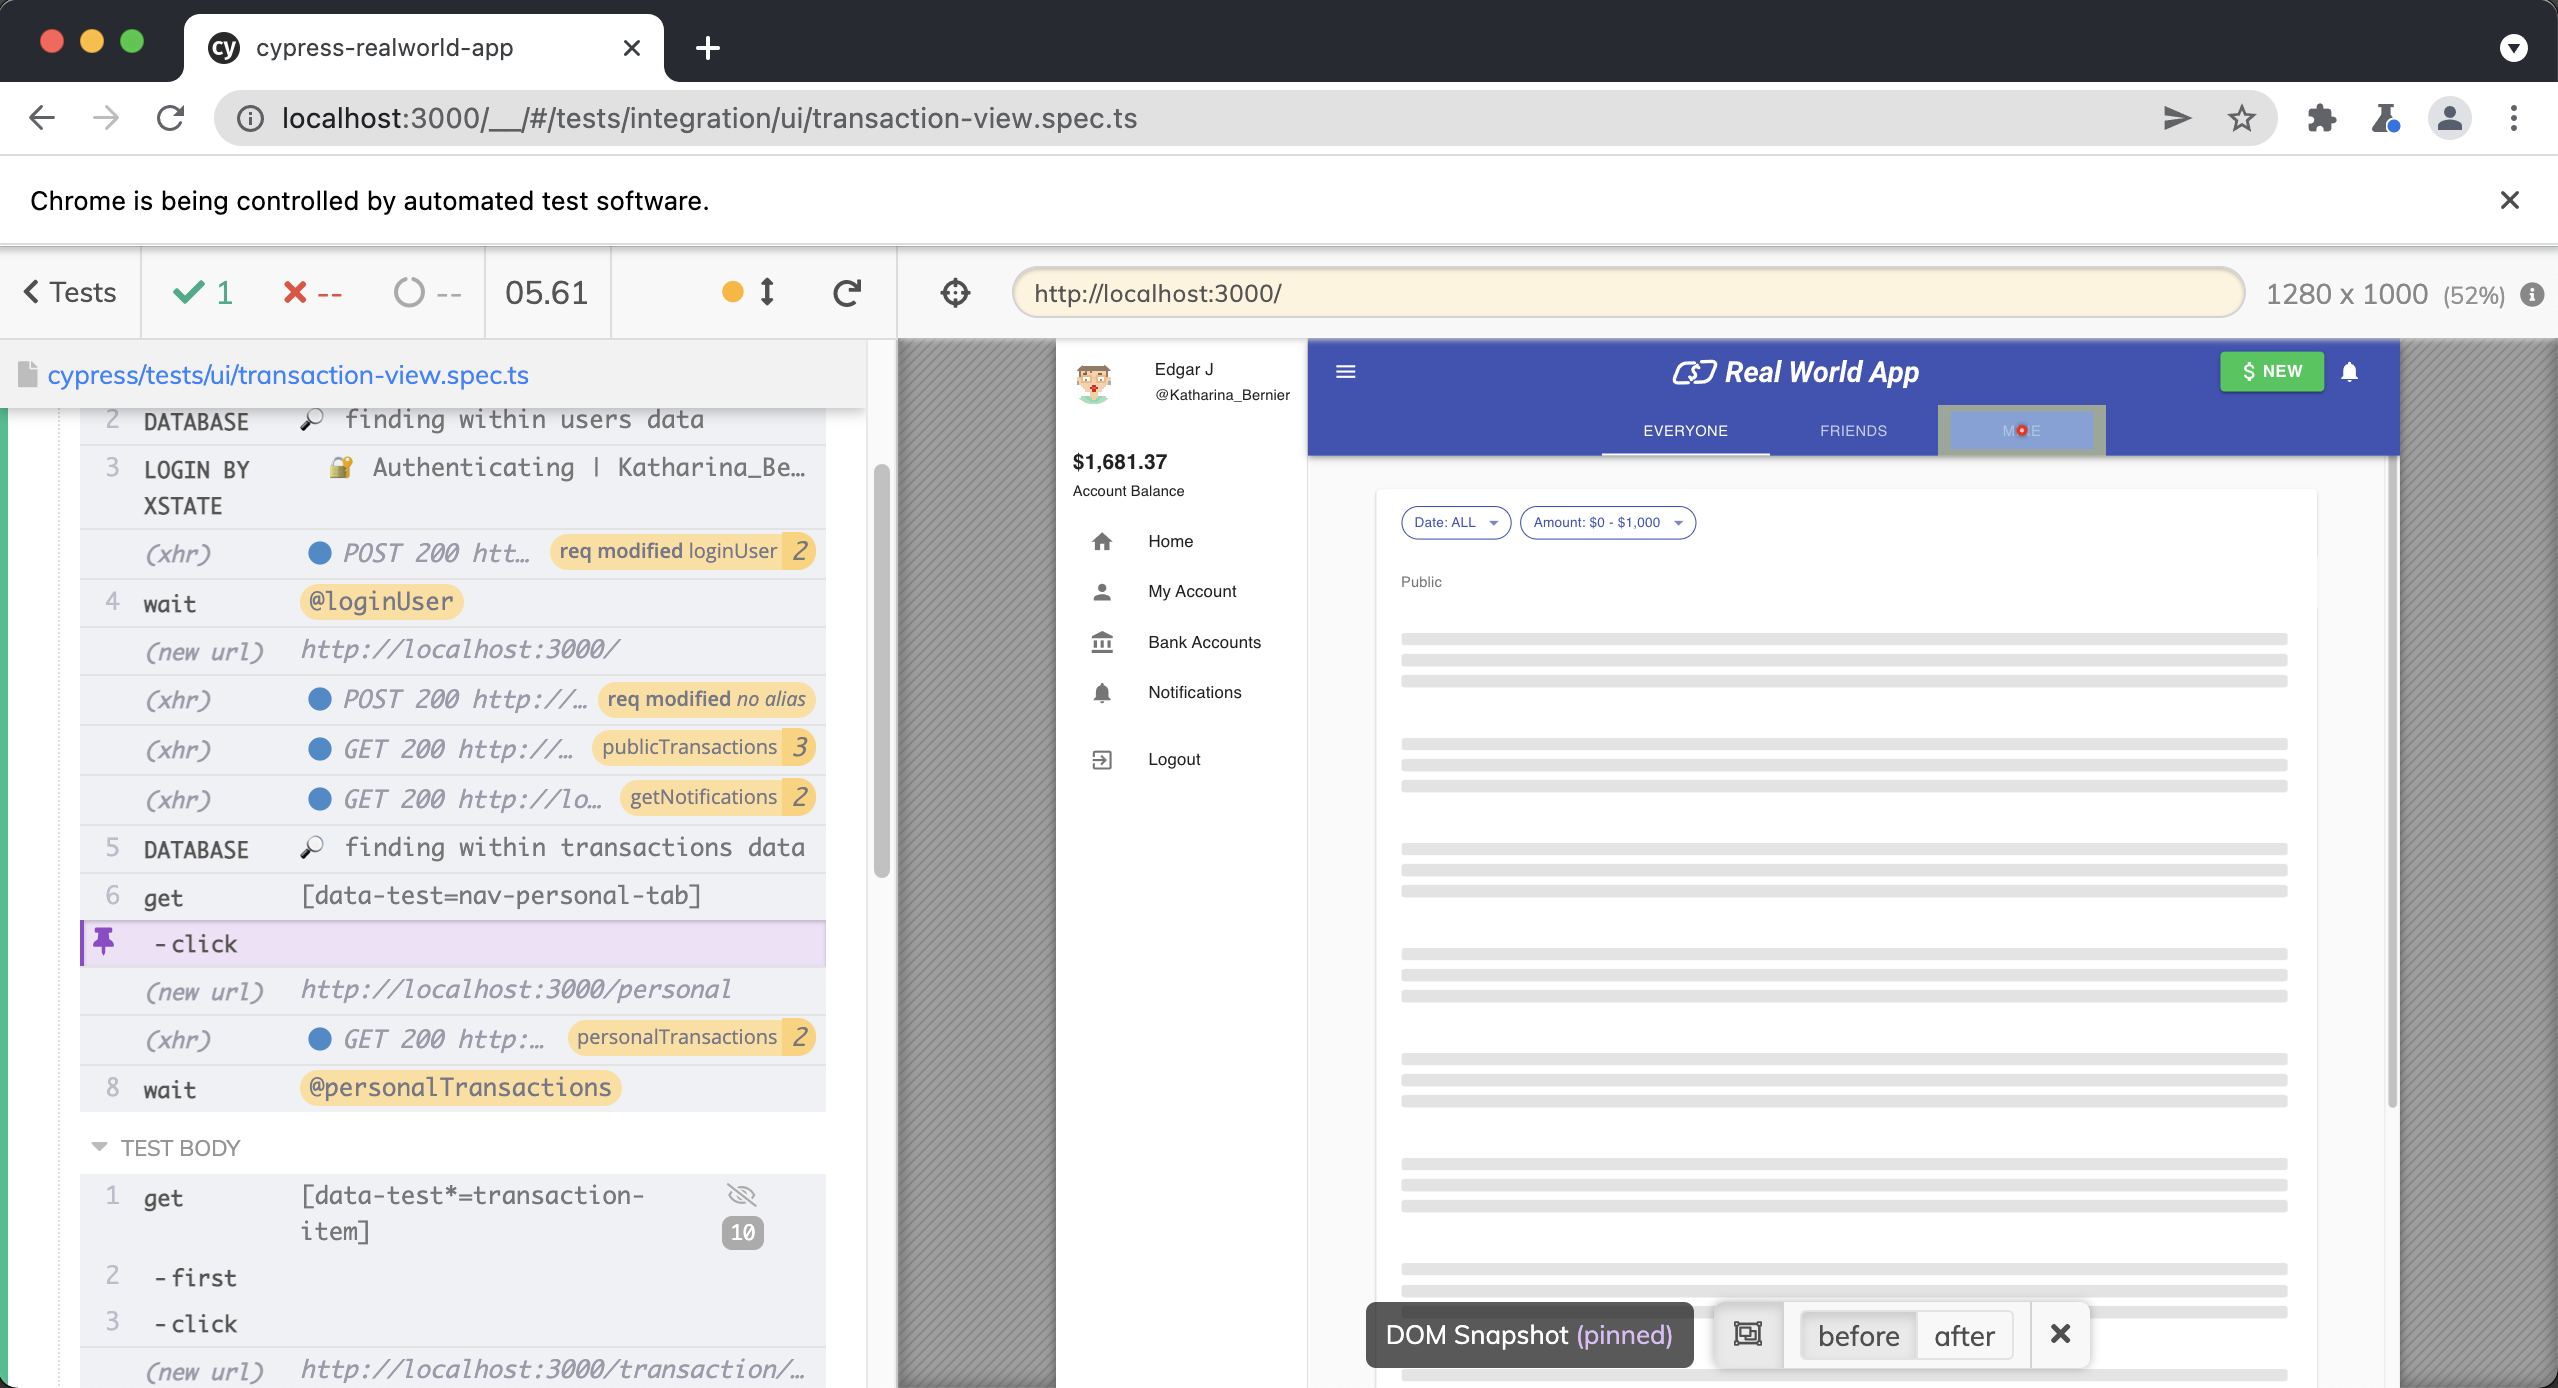
Finally, we click on the personal transaction tab and wait on the @personalTransactions intercept.
cy.getBySel("nav-personal-tab").click()
cy.wait("@personalTransactions")